So, you’ve got a bunch of taro and need help figuring out what to do with it? Well, you have come to the right place to learn how to cook taro in 7 easy ways. As a bonus, I also share several recipes where I use taro, whether for a dessert, snack, or meal.
What is Taro
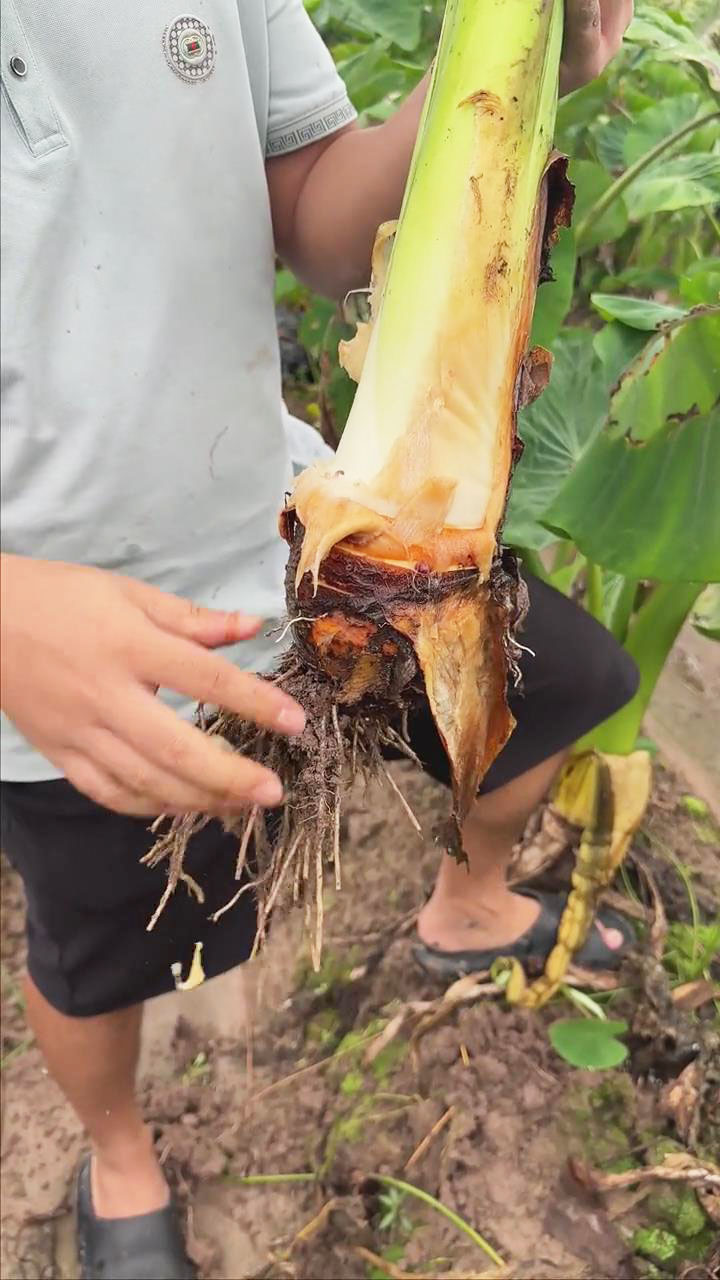
Taro (Colocasia esculenta) is a starchy root vegetable from the Araceae plant family. Its skin is typically brown to gray, while its flesh is white with tiny purple specks. When it comes to taste and texture, you can say it is similar to a regular potato–it’s sweet, starchy, and nutty.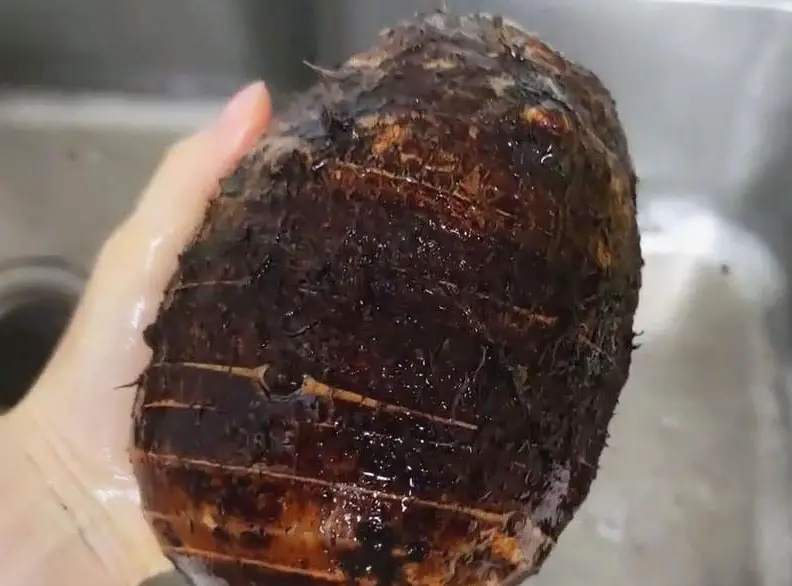
Keep in mind that taro is an entirely different vegetable from regular potatoes, sweet potatoes, yam, and yuca. Their key differences are further explained in my in-depth guide, Taro Vs Sweet Potato Vs Yam Vs Yuca. You can cook taro just like a potato, including frying, air-frying, and steaming, to name a few.
However, the big and important difference between taro and other starchy vegetables is that taro is high in oxalate crystal, meaning it is incredibly toxic when eaten raw. Moreover, it can cause skin irritation when touched with bare hands. But don’t worry, as long as it is cooked well and handled with food-safe gloves, taro is completely safe.
On the plus side, taro root is super healthy! It is rich in vitamins, such as vitamins C, B6, and E, which are beneficial for the skin, immunity, and vision, among other things. Moreover, it is a good source of dietary fiber and carbohydrates, which are beneficial for better digestion, blood sugar control, and healthy weight loss.
First, How To Choose Taro
Before diving in on ways to cook taro, let’s talk about how to choose the right taro for your dish. I always recommend using fresh taro that has been freshly dug up with a bit of soil. If you can’t find fresh taro, you can opt for frozen or canned taro.
If buying fresh taro, here are some tips to keep in mind:
- Look: You may find small and large taro roots in the market. Smaller taro roots are typically lighter in color and its flesh is white without the purple specks. On the other hand, larger taro roots are the ones with white flesh embedded with purple specks. Moreover, it has a stronger earthy, nutty, and sweet taste. When choosing based on skin, avoid the ones with soft, mushy areas and black spots. If the taro root is sold pre-chopped, check the flesh and see if the specks are still purple. You should avoid buying the ones with brown specks already.
- Feel: It should feel heavy when picked up. You can pick the heaviest one by carrying two taro roots, one on each hand. The heavier taro has better flavor and moisture.
Second, How To Prepare Taro Before Cooking
If it is your first time preparing taro, don’t skip this part just yet. As mentioned, taro has high levels of calcium oxalate, which can be toxic when eaten raw. Moreover, it can cause skin irritation as you chop and touch its slimy layer.
Thus, it is highly recommended to use food-safe gloves when handling taro. Follow these tips on how to prepare taro safely:
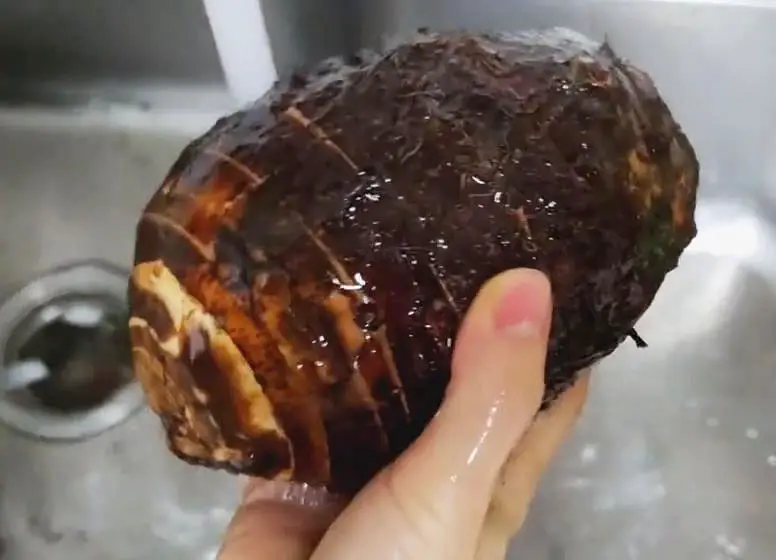
- Scrub the taro: Scrub the skin to remove dirt, soil, and hairy parts. Rinse the taro thoroughly with water to clean it. This step also helps remove additional toxins. When doing this step, use food-safe plastic gloves. If you accidentally touch it with your bare hands, make sure to wash your hands thoroughly and avoid touching your eyes.
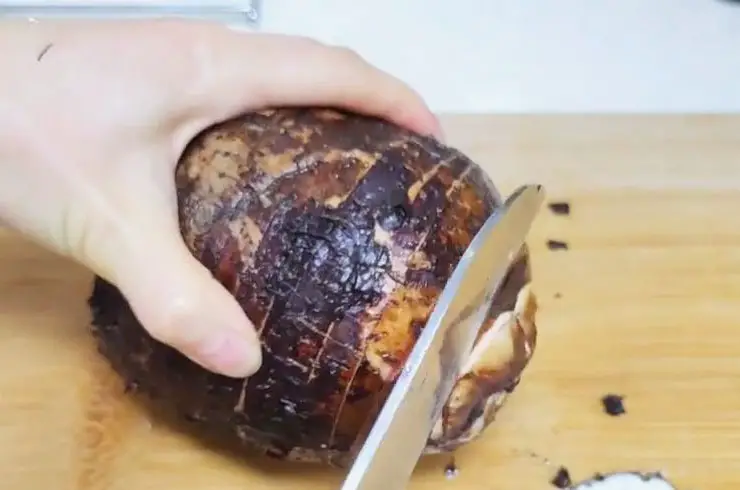
- Peel the skin: Continuing to wear your gloves, use a knife to cut off both ends of the taro. Then, using a peeler or a knife, carefully peel off the skin. Be cautious as the taro can become slimy, so ensure a firm grip to avoid slipping while peeling. If you find peeling difficult, you can parboil the taro in simmering water for about 10 minutes or less. This softens the taro and makes it easier to remove the skin.
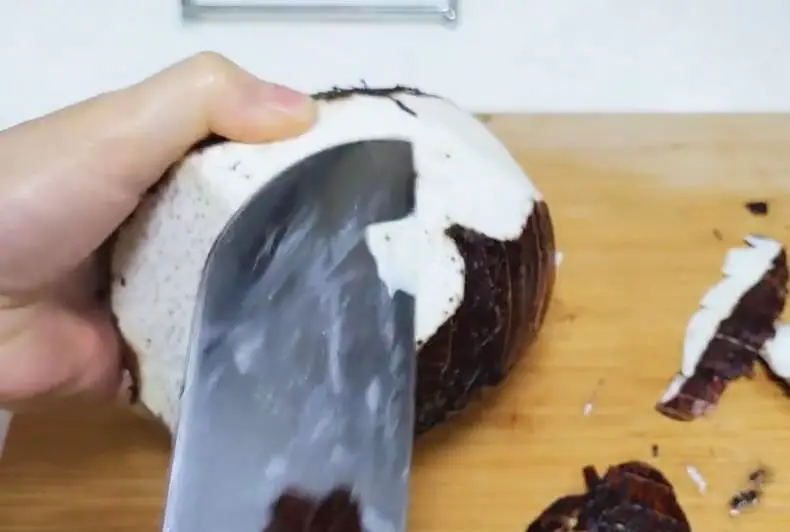
- Rinse the flesh: After peeling the skin, you will notice the flesh can be a bit slimy. You can simply rinse it off with running water and pat dry it after. Alternatively, it also helps to rub it in salt and rinse with cold water.
- Cut the taro: The last step depends on what you are cooking. Cut the taro according to your desired shape and size for your meal.
- Soak in salt water: This optional step before cooking is helpful in removing excess starch. Soak the slices of taro in salt water for 10 to 15 minutes.
- Store: If you won’t cook the chopped taro right away, you can store it in the fridge in an airtight container for up to 3 days or in the freezer for a week or more. For a whole unpeeled and uncut taro, simply store it in the pantry in a cool dry place and away from direct sunlight.
Lastly, How To Cook Taro In 7 Ways
Now that you know more about choosing the right taro and how to prepare it safely, let’s get cooking! Basically, you can cook taro in 7 ways: fry, air-fry, stir-fry, steam, bake, boil, and roast. There’s no correct or better cooking method since it will depend on your recipe.
You will know the taro is cooked when its white flesh becomes cream-colored and its bright purple specks turn darker. Moreover, it should be soft enough to pierce a fork without force. To be sure, I always say that it is better to overcook than undercook the taro just to be extra careful not to ingest the toxins.
Before proceeding with the cooking steps, follow these 3 preparation steps first:
- Scrub and peel the taro skin. Don‘t forget to wear plastic gloves.
- Rinse the taro flesh with water and chop it into your desired shape.
- Soak the taro slices in salt water or plain water for 10 to 15 minutes to remove starch. (Optional)
Here are the 7 ways to cook taro and bonus recipes to try:
1. Frying (Pan, Shallow, and Deep-Fry)
Fry is the best cooking method for crunchy snacks and sweets. Depending on your preference, you can pan-fry, shallow-fry, or deep-fry. This gives you a crunchy outer layer with a soft, starchy center.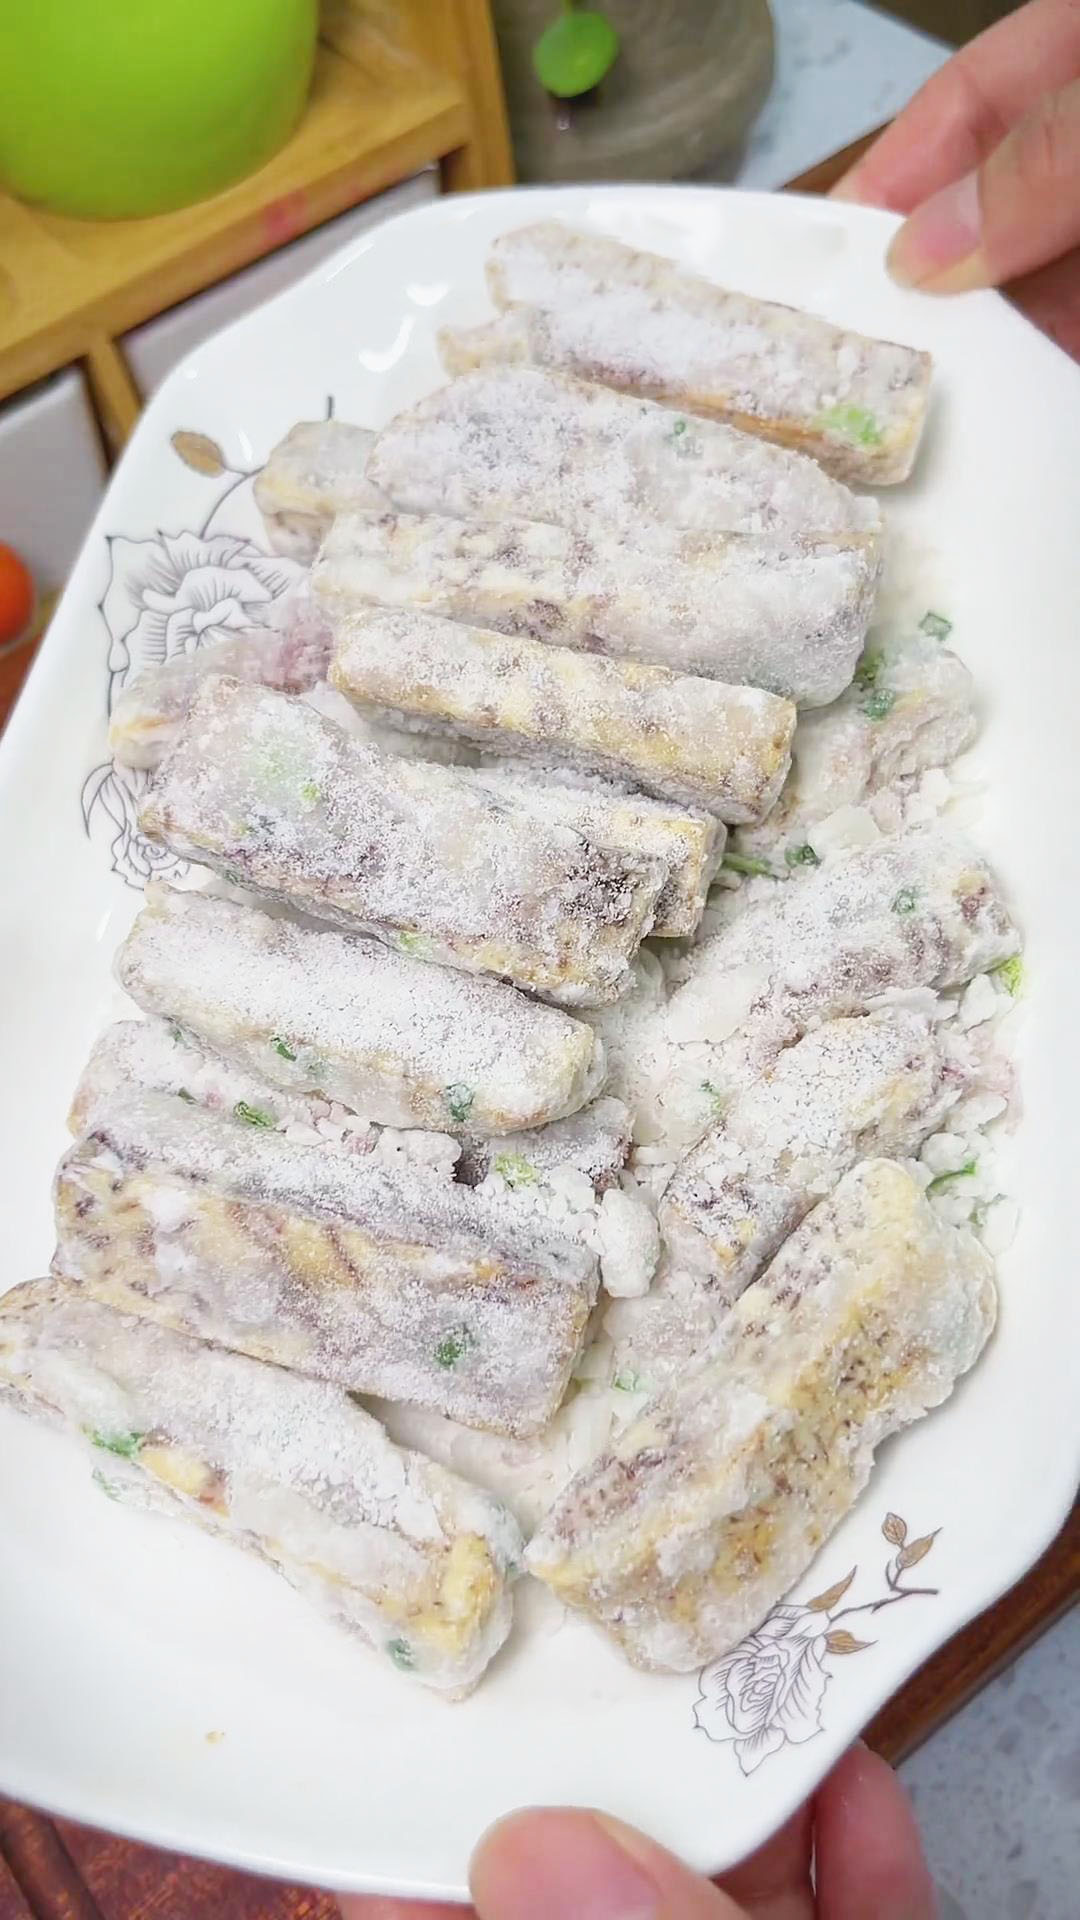
With frying, you can make Sugared Taro or Taro Fries. From my taro fries recipe, here’s how you can fry taro:
- Heat a pan with oil until it starts to sizzle and smoke.The oil amount depends on whether you want to pan-fry, shallow-fry, or deep-fry the taro.
- Place the taro sticks in the hot oil carefully.
- Cook the taro sticks until they have a golden brown, crispy exterior and a soft center. Use a fork to pierce through the taro to check if it is cooked.
2. Air-Frying
If you are trying to cut out or cut down oil, then you should opt for air-frying. Not only is it a healthier option, but it is also a more convenient cooking method. It requires minimal active cooking time since you only need to pop it in the air fryer basket and leave it to cook.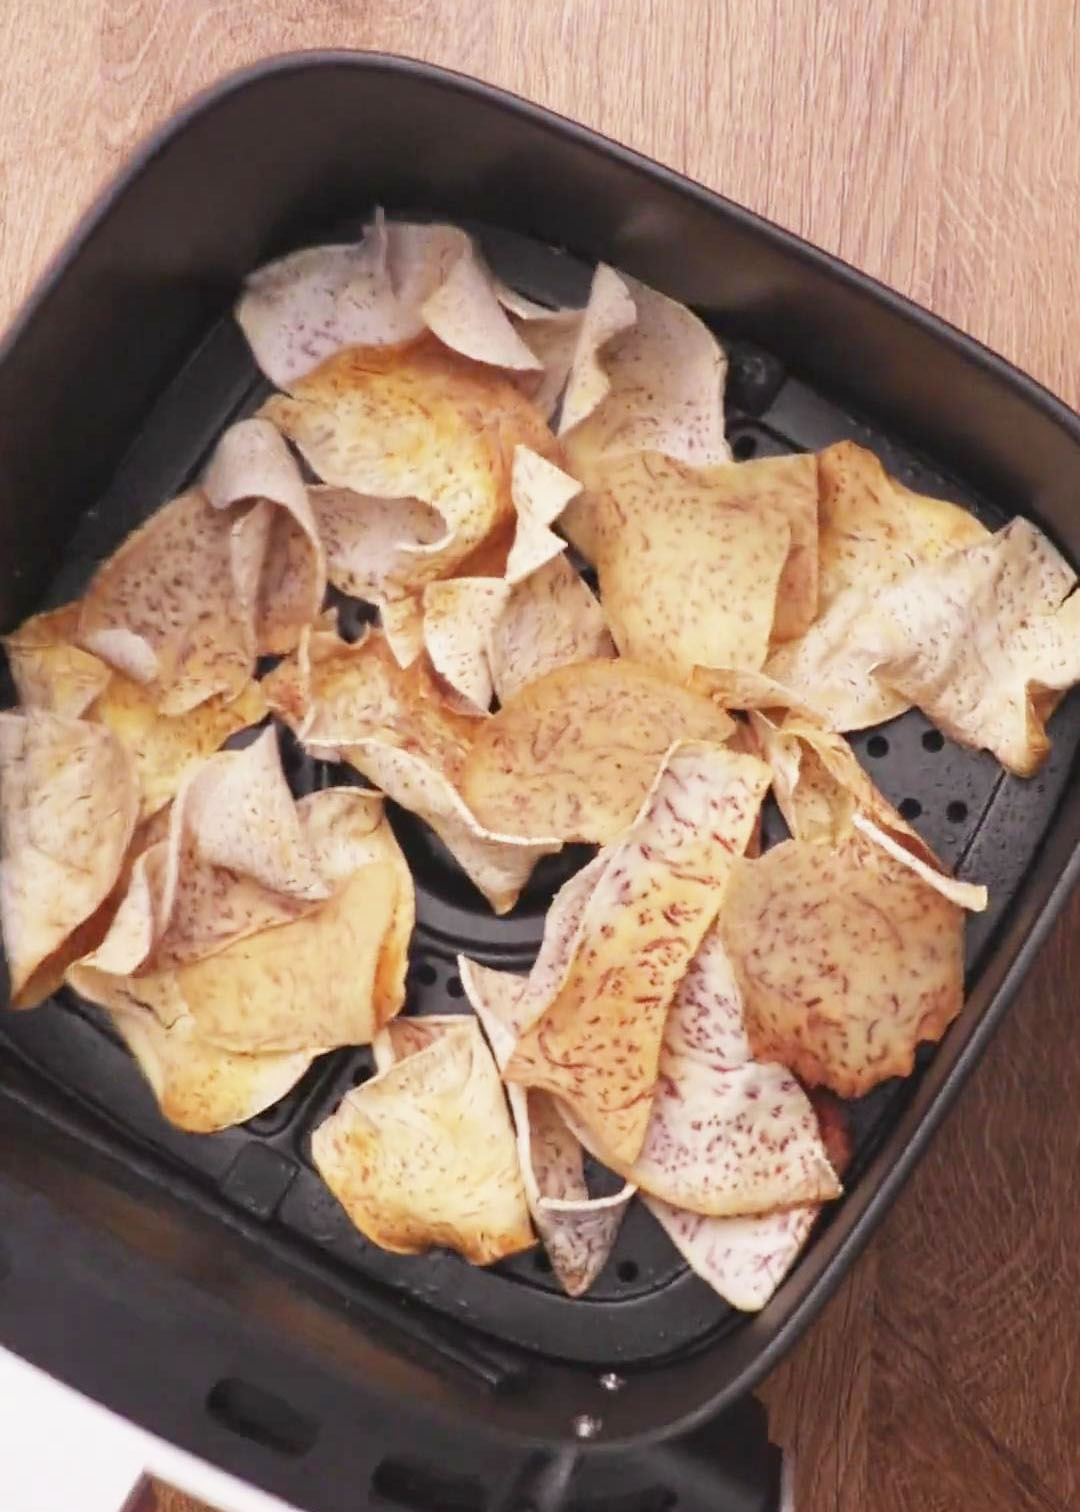
Moreover, you don’t have to clean it constantly since you can place parchment paper in the air fryer basket and throw it out after use. With an air-fryer, you can use it to make Air-Fried Taro Chips and Taro Fries. Here’s how you can air-fry taro:
- After chopping the taro, coat it with your desired seasonings.
- Place the coated taro in the air fryer basket. You can line the air fryer with parchment paper for minimal cleanup. If you like, you can spray some oil to coat the taro.
- Set the air fryer to 180°C or 356°F and cook for 20 minutes or less, depending on the amount of taro and size.
- After 10 minutes, flip them over to cook the other side. Continue cooking until brown and crispy.
3. Stir-Frying
Stir-frying is a bit different from regular frying since it involves cooking on high heat and fast stirring. Generally, stir-frying should not take very long since the ingredients are chopped into thin strips or small pieces. To incorporate taro for stir-frying, try my One-Pot Taro Rice (Yam Rice) recipe.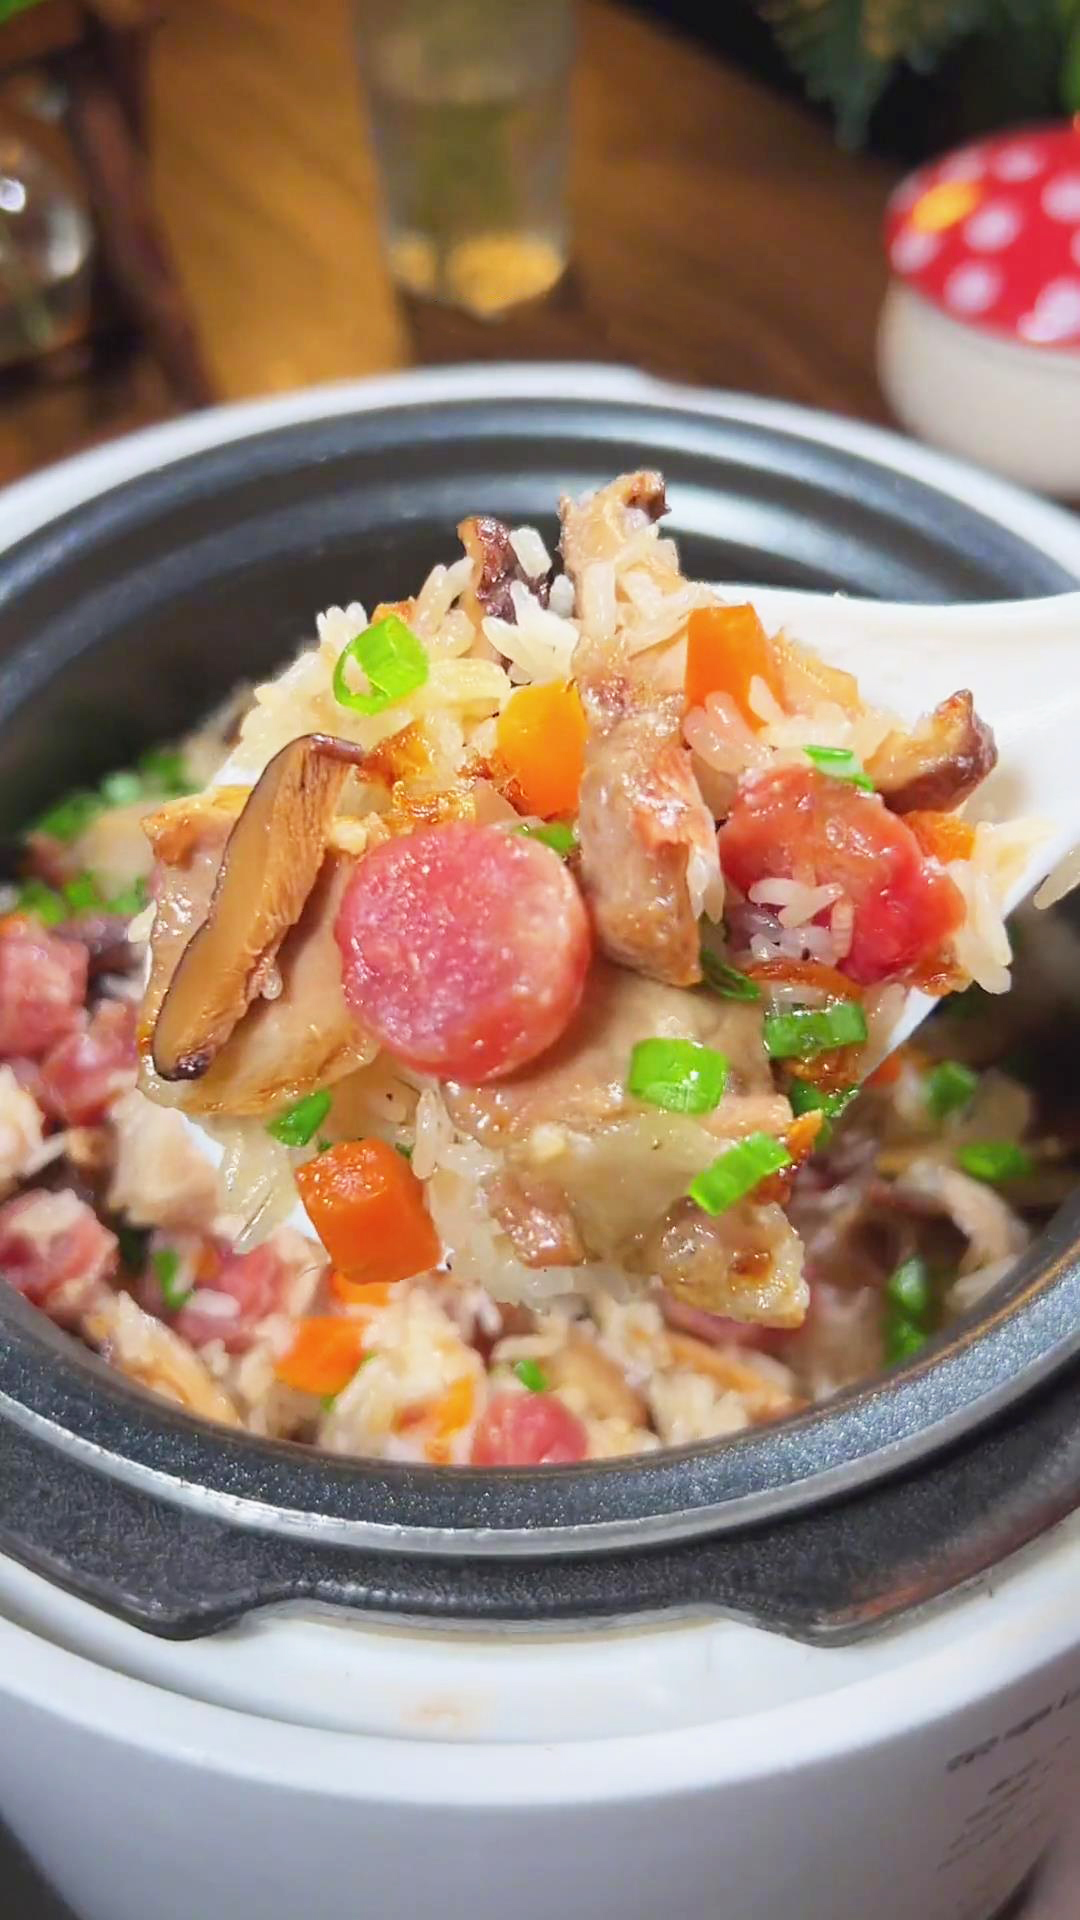
For this recipe, it is best to cut the taro into thin strips or small cubes. Here’s how to stir-fry taro based on my sample recipe:
- Heat a non-stick pan with 1 to 2 tablespoons of oil. Since my one-pot recipe incorporates pork belly, there is no need to add oil; simply let the pork belly fat melt.
- Stir-fry the taro with the other flavoring ingredients until fork-tender.
- Continue with the rest of the recipe steps.
4. Steaming
Another healthy cooking method is steaming. You don’t need oil to cook it, just the hot steam from the water of your steamer. If you don’t have a regular steamer, you can still steam without a steamer in different DIY methods.
Use a regular steamer or a traditional bamboo steamer basket. Taro is typically steamed until soft enough to eat or mash and then stir-fried to create a filling known as taro paste. This can be used as an alternative to classic red bean paste and is versatile for fillings in buns, mochi, bread, and cakes. Here are some recipes where steamed taro is needed:
- Taro Snow Skin Mooncake With Cheese
- Gluten-Free Dumplings (Taro Dumpling Skin)
- Taro Mochi Recipe With Taro Filling
- Wu Gok 芋角 (Deep-Fried Taro Dumpling Puffs)
- Taro Bubble Milk Tea
- Steamed Chinese Taro Cake (Yam Cake)
- Steamed Taro Bun
- Taro Balls
Before placing the taro in the steamer basket, make sure it is cut into small chunks to make it fit and cook faster. Steaming time may vary, depending on the amount of taro. Follow these steps to steam taro:
- Fill the steamer with water.
- Place the taro slices in the steamer basket and cover with a lid.
- Steam for 30 minutes or until soft. Use the fork test to check if the taro is tender.
5. Baking
Baking is similar to air-frying in terms of limiting oil and inactive cooking time. You just need to place the taro in the baking tray and leave it to bake until cooked. However, baking typically takes longer than air-frying.
So whether you want to make a healthy snack or dessert, baking is an excellent option. I tried baking taro in my Oven-Baked Taro Fries recipe. Again, simply cut the taro into your desired shape and prepare a baking tray lined with parchment paper.
Follow these easy steps for baking:
- Season the taro with your favorite seasonings.
- Place the taro slices on a baking tray lined with parchment paper. If you like, you can spray oil to coat the taro.
- Preheat the oven to 180°C or 356°F.
- Bake for 15 minutes or until golden brown and crispy.
6. Boiling
You can opt for this method if you are going to make soup, mashed taro, and many more. I used the boiling method to make Taro Sago (Tapioca) Dessert Soup. You can boil a whole taro or smaller cuts of taro.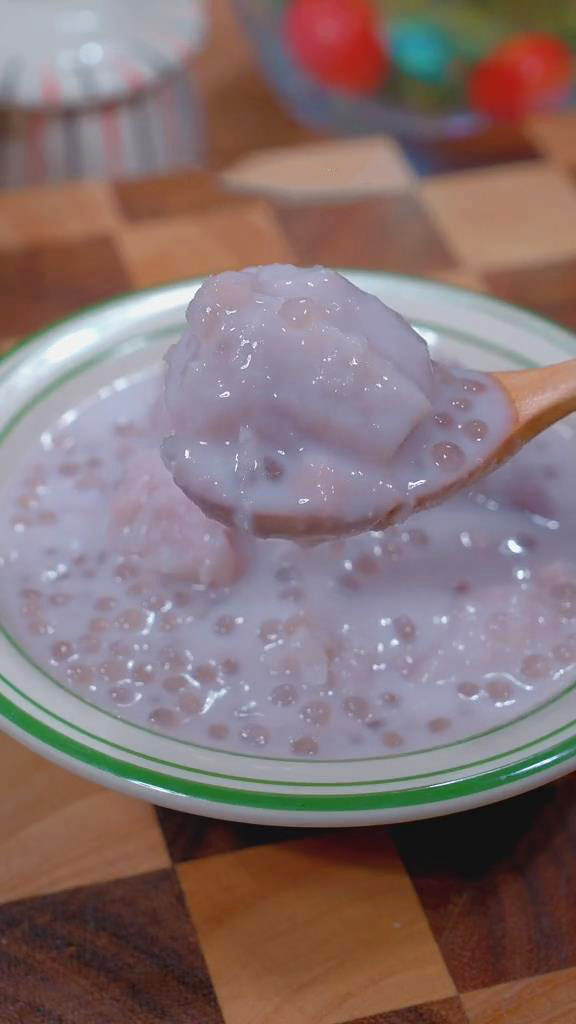
Boiling time varies on the amount of taro needed, but just make sure not to overcook it to avoid making it too soft. Here’s the best way to boil taro:
- Place the taro in a pot of water.
- Cover the pot and bring to a boil on high heat.
- Once it boils, lower the heat and simmer for 15 minutes or until soft. Use the fork test to see if the taro is tender.
7. Roasting
In my opinion, roasted vegetables always taste better since roasting amplifies the taste. Moreover, it adds a hint of caramelized and smoky taste and a touch of golden char. Roasting is slightly different from baking since it needs a higher temperature and dry heat.
Here are some suggestions on how to roast taro:
- Parboil or steam cleaned and chopped taro until fork-tender.
- Coat the taro with your desired seasonings.
- Preheat the oven to 200°C (400°F).
- Place the taro on a baking tray on a single layer.
- Insert the baking tray on the top rack and bake for 30 minutes or until golden brown and charred. If your oven has a broil function, broil taro for 10 minutes. Remember to keep flipping the taro every 3 minutes to avoid burning and to cook evenly.

