I’ve liked Korean culture and food since the age of 14 but I was never fond of kimchi. The idea of uncooked, sour, fermented vegetables did not appeal to me. The only time you would see me eating kimchi is when I’m dining at Korean restaurants and I’m so hungry that I eat whatever is available on the table, which almost always involves kimchi. But things changed about 5 years back when I lived in Korea for 9 months (at the age of 21). I was exposed to kimchi every single day and eventually found myself getting accustomed to its taste. Now, while I can’t say that I loooove to eat kimchi on its own, I do like kimchi in my dishes (kimchi stew, army stew, kimchi pancake etc.). But kimchi is relatively pricey to buy in Singapore; it costs about $15 for a 1kg packet! If you make your own kimchi, it will cost around only $4 per kg, depending on what ingredients you’d like to put inside. For that vast difference in cost, I think it’s worth the effort making your own kimchi, especially if you are going to consume a lot in the long run. And kimchi is not difficult to make! My recipe is a very basic kimchi recipe, so you can add on more ingredients like radish and salted fermented shrimps (saeujeot 새우젓) if you’d like. I’m not a fan of radish and I don’t fancy the taste of salted fermented shrimps so I omitted those two.
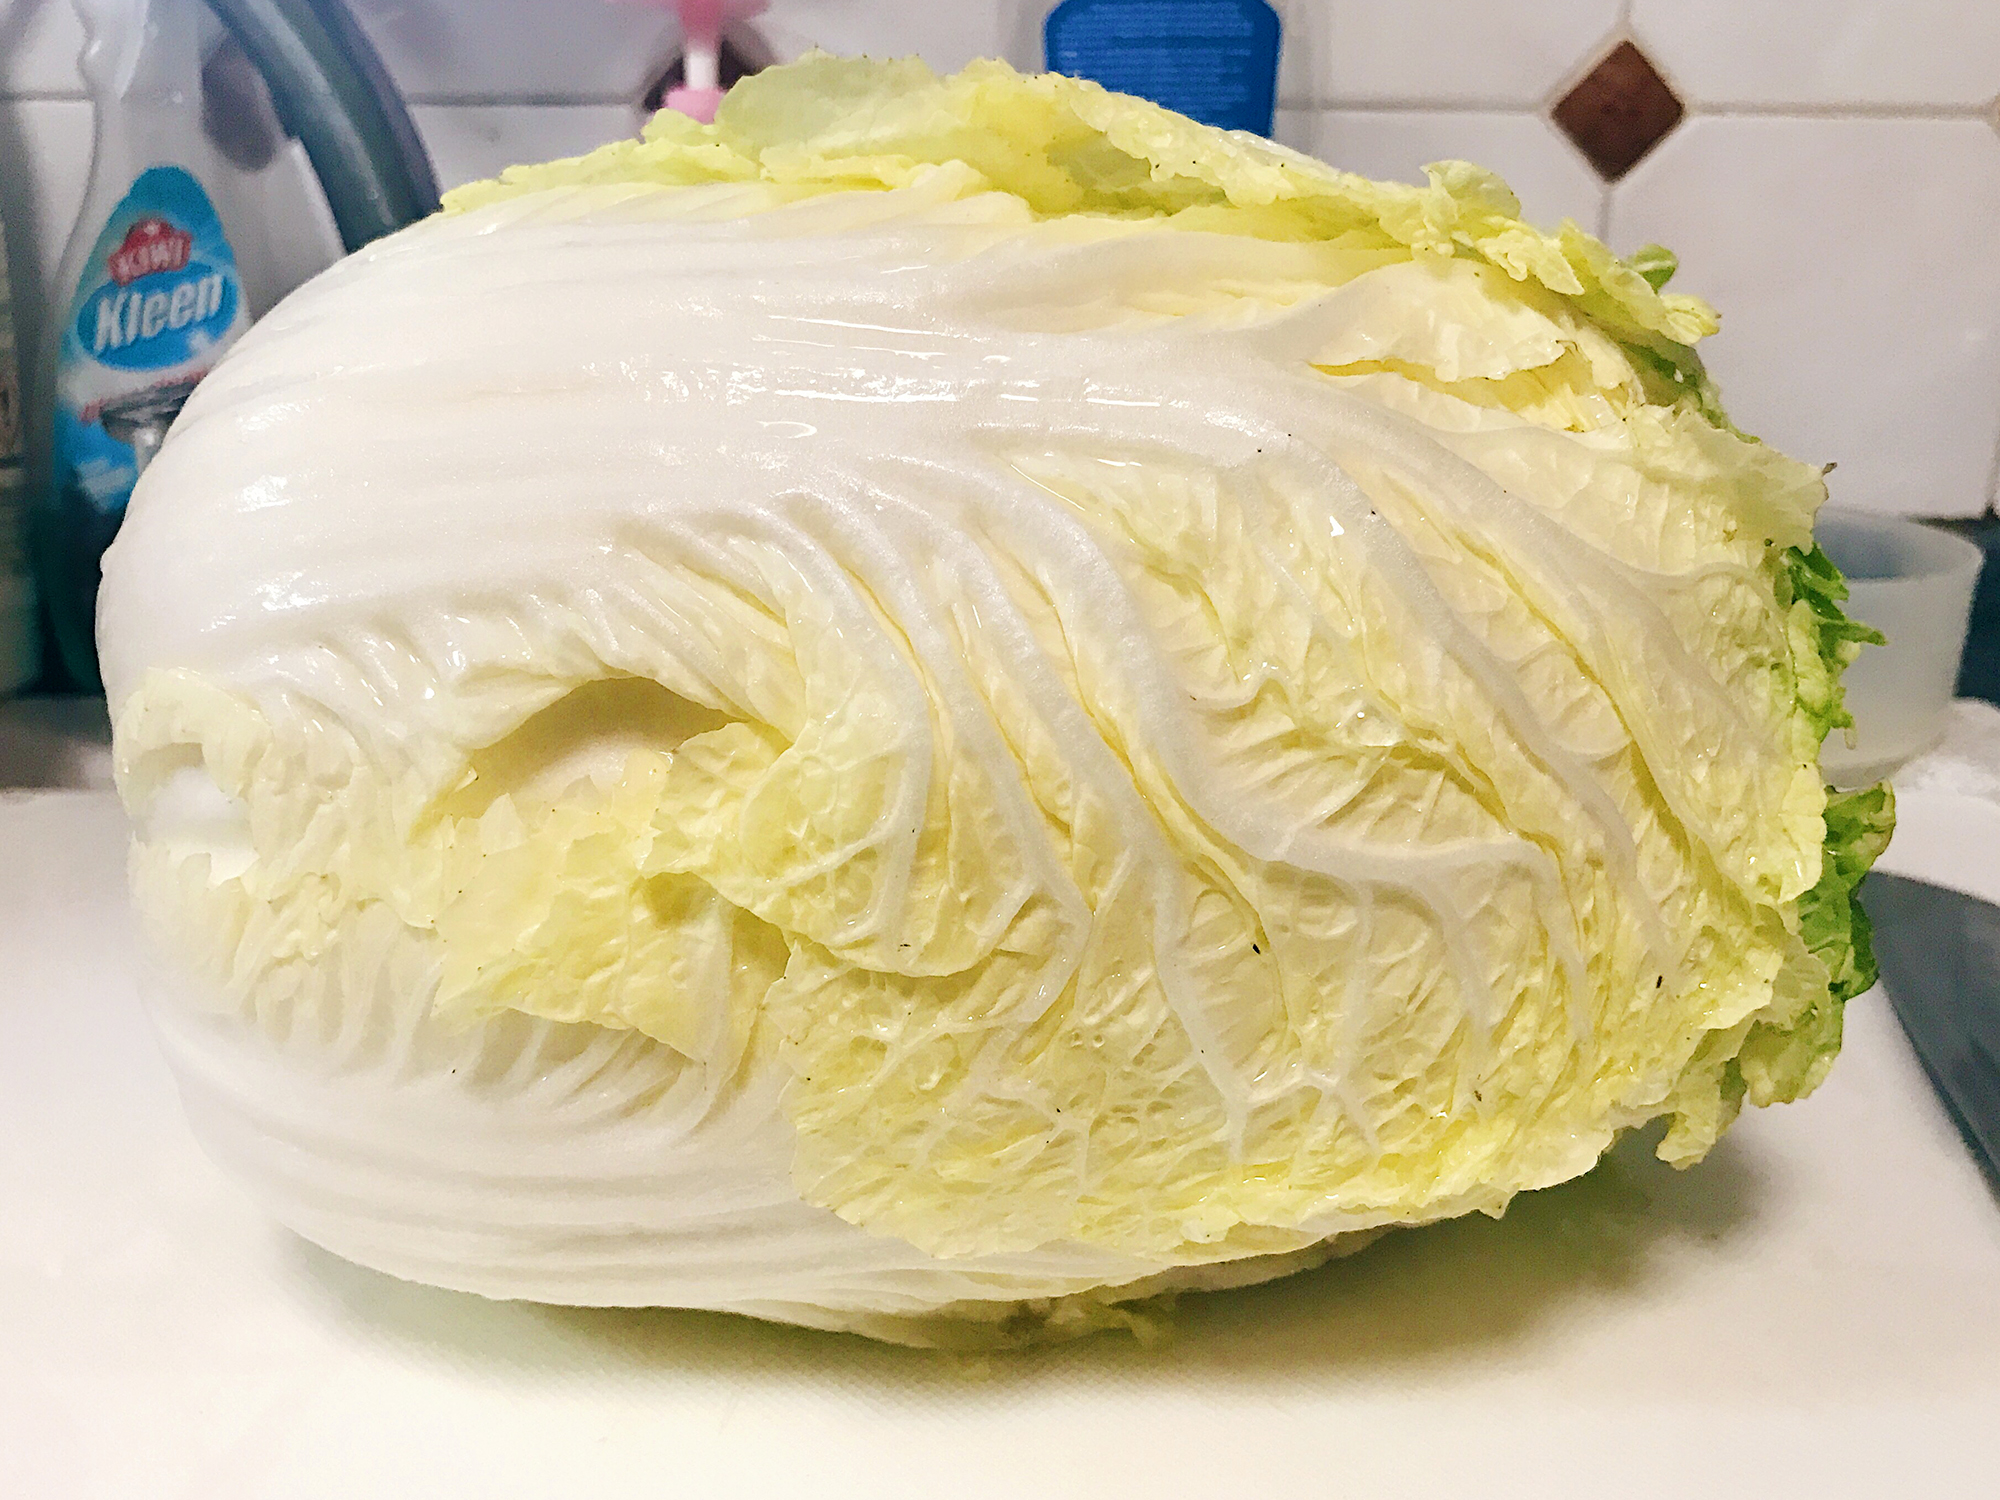
Kimchi is made using napa cabbage. In some of Singapore’s supermarkets, napa cabbage also goes by the name wong bok. This cabbage is usually oblong-shaped, and features green outer leaves and light yellow inner leaves. There are numerous types of cabbages so avoid getting the wrong type!
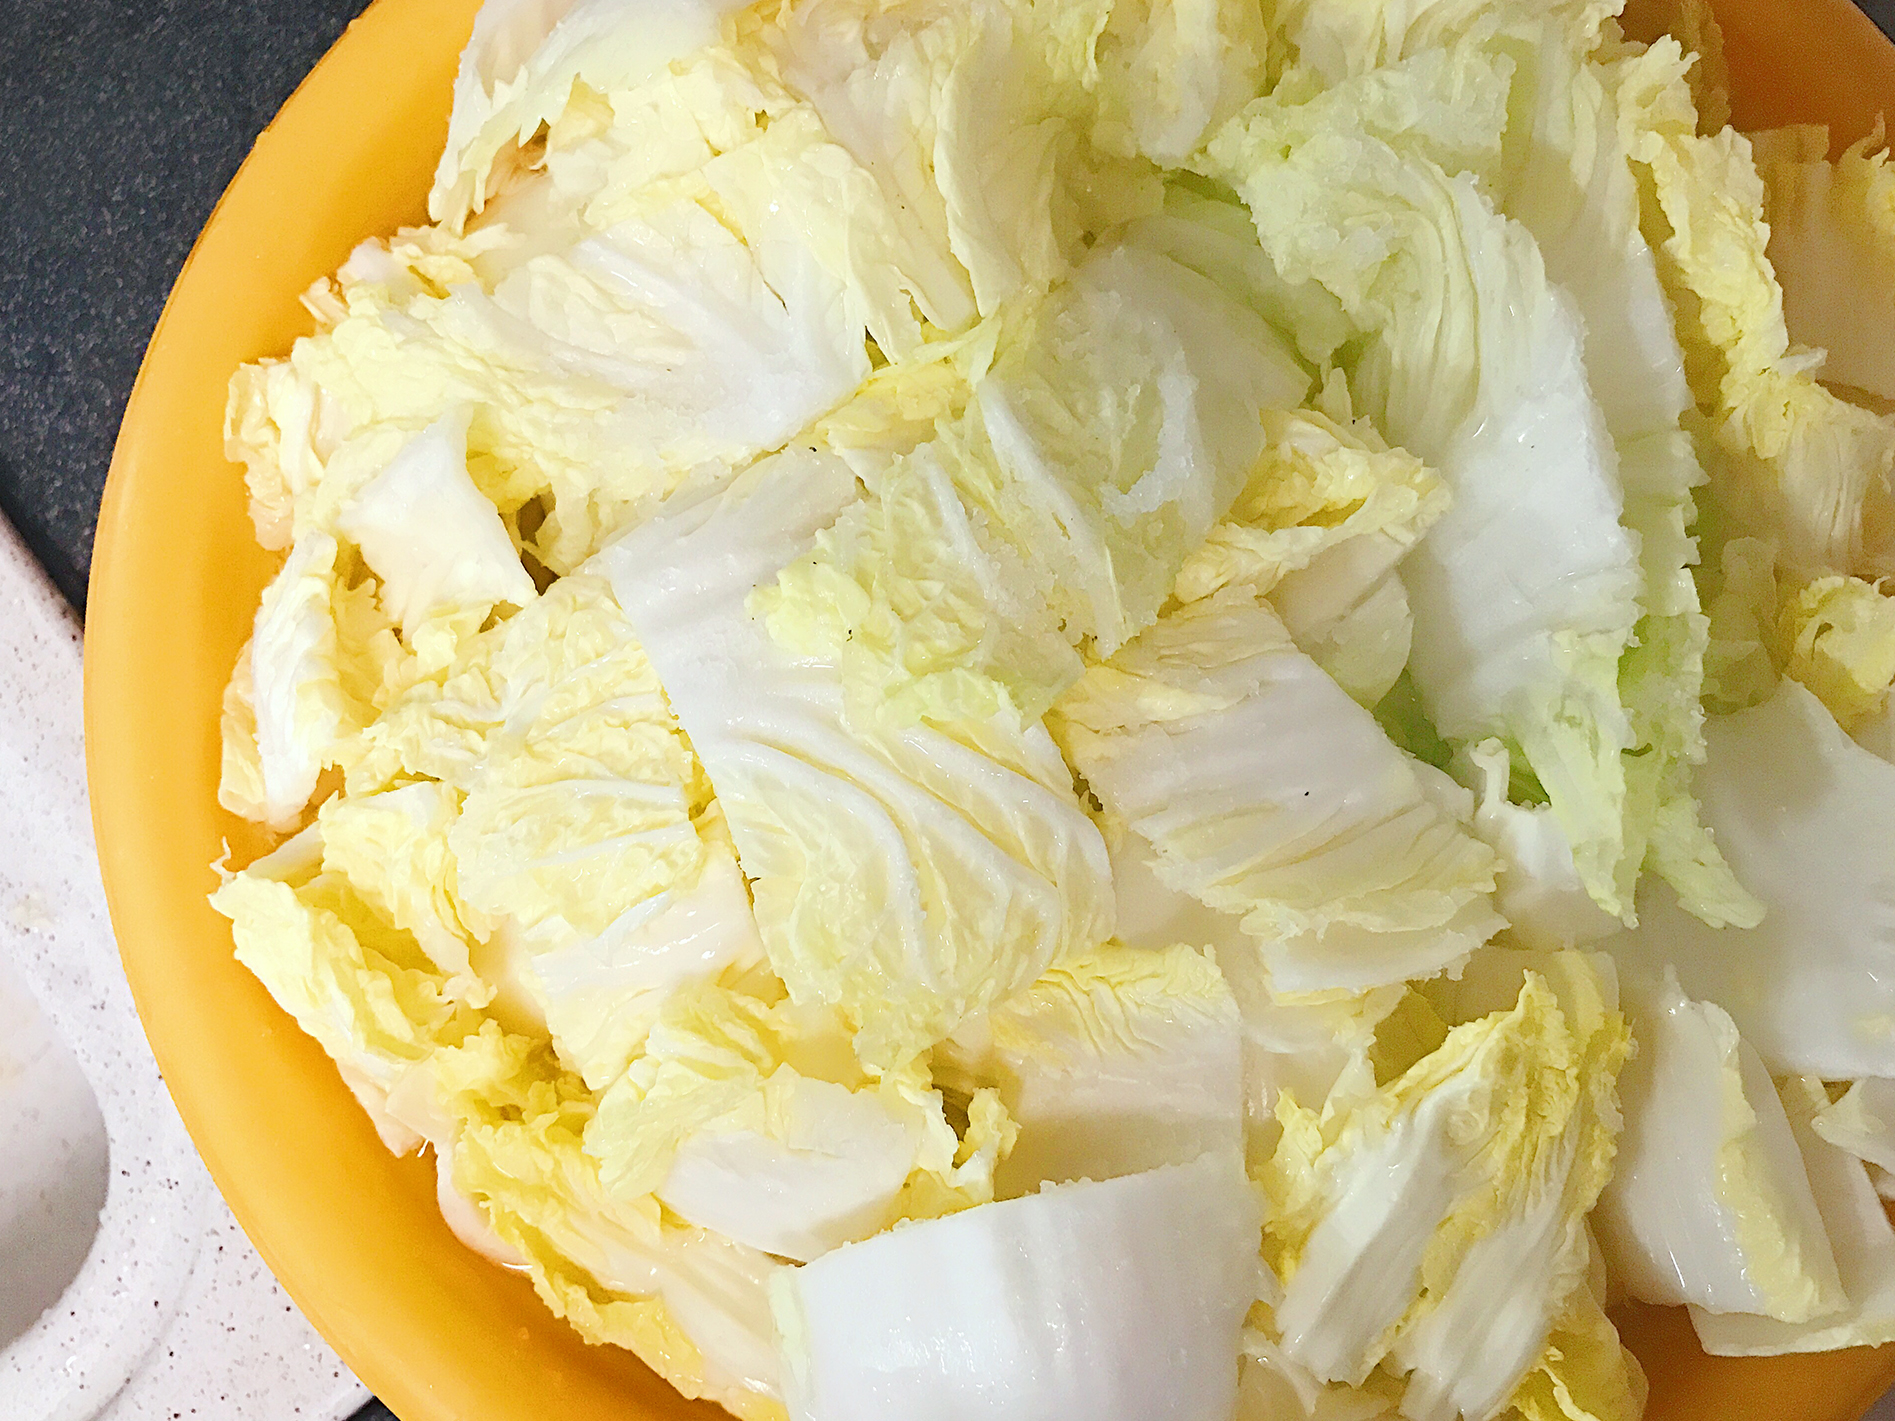
First, remove the outer leaves if necessary. They are usually slightly blackened and dirty, so I would almost always remove the outer leaves. Then chop them into bite sizes. Traditionally, kimchi paste is spread onto whole cabbages and left to ferment as they are, but I find that to be awfully troublesome when it comes to eating. Chopping into bite sizes is a much wiser choice! Place the cabbage into a large basin, sprinkle salt all over the cabbage and fill the basin with water. Leave the cabbage to soak in the water for at least 90 minutes, rotating the cabbage from the bottom to the top every 30 minutes.
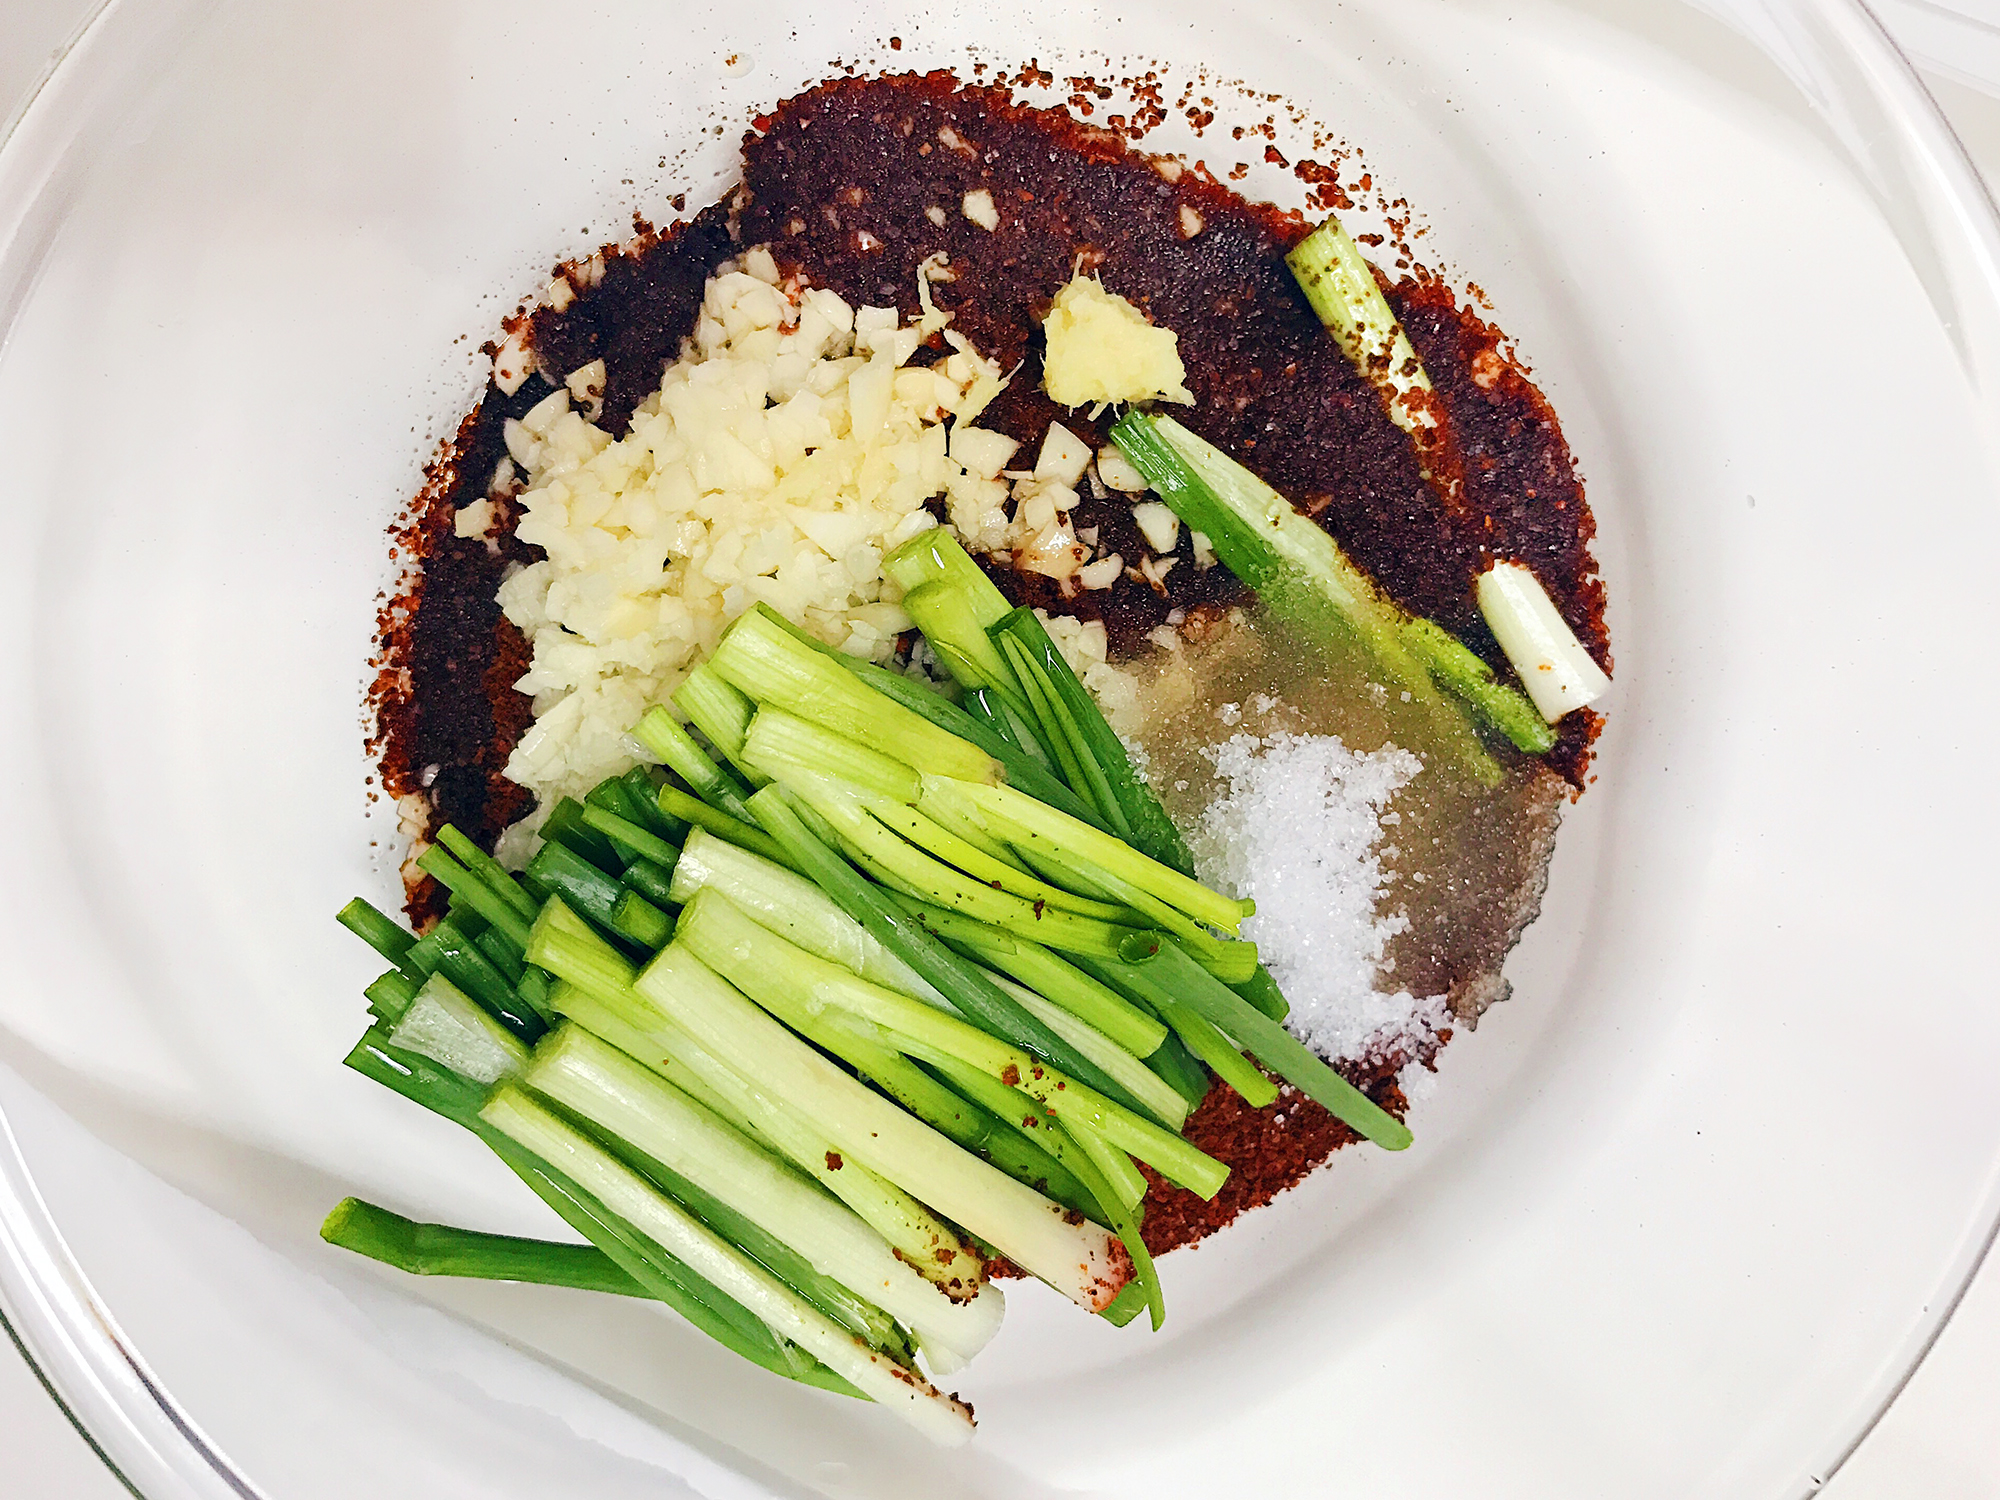
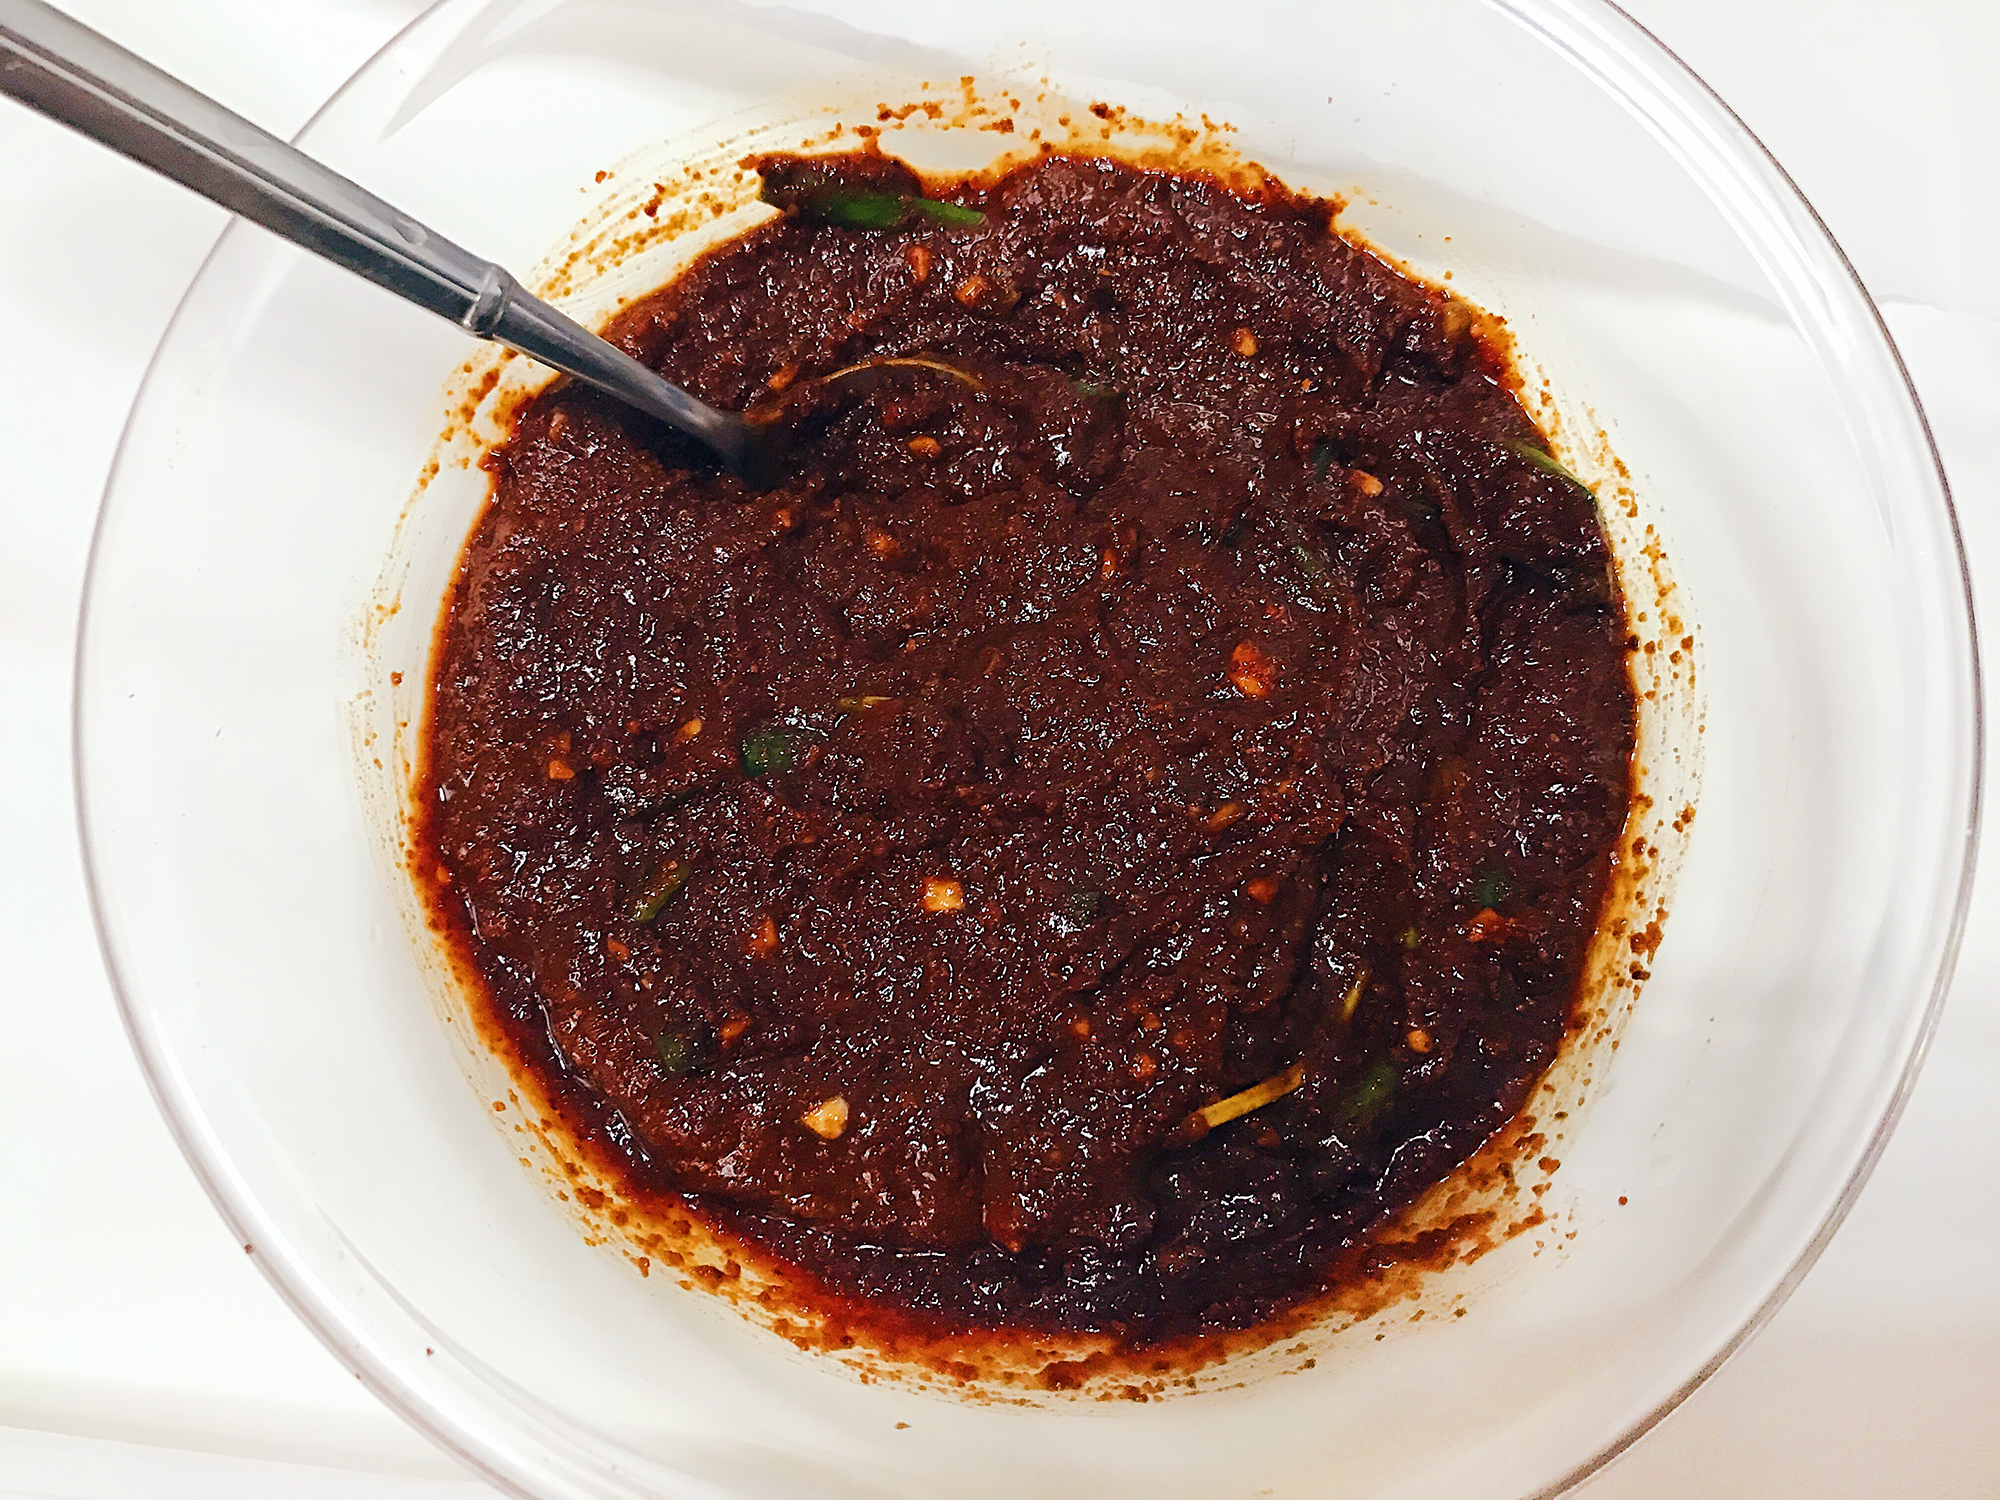
Mix the spring onions, hot pepper flakes (gochugaru 고추가루), fish sauce, minced garlic, grated ginger, sugar and water to form a thick paste. I love my food spicy, so I personally feel that 1 cup of hot pepper flakes doesn’t pack enough of a punch. If you love your food spicy, you can add ½ cup more of hot pepper flakes!
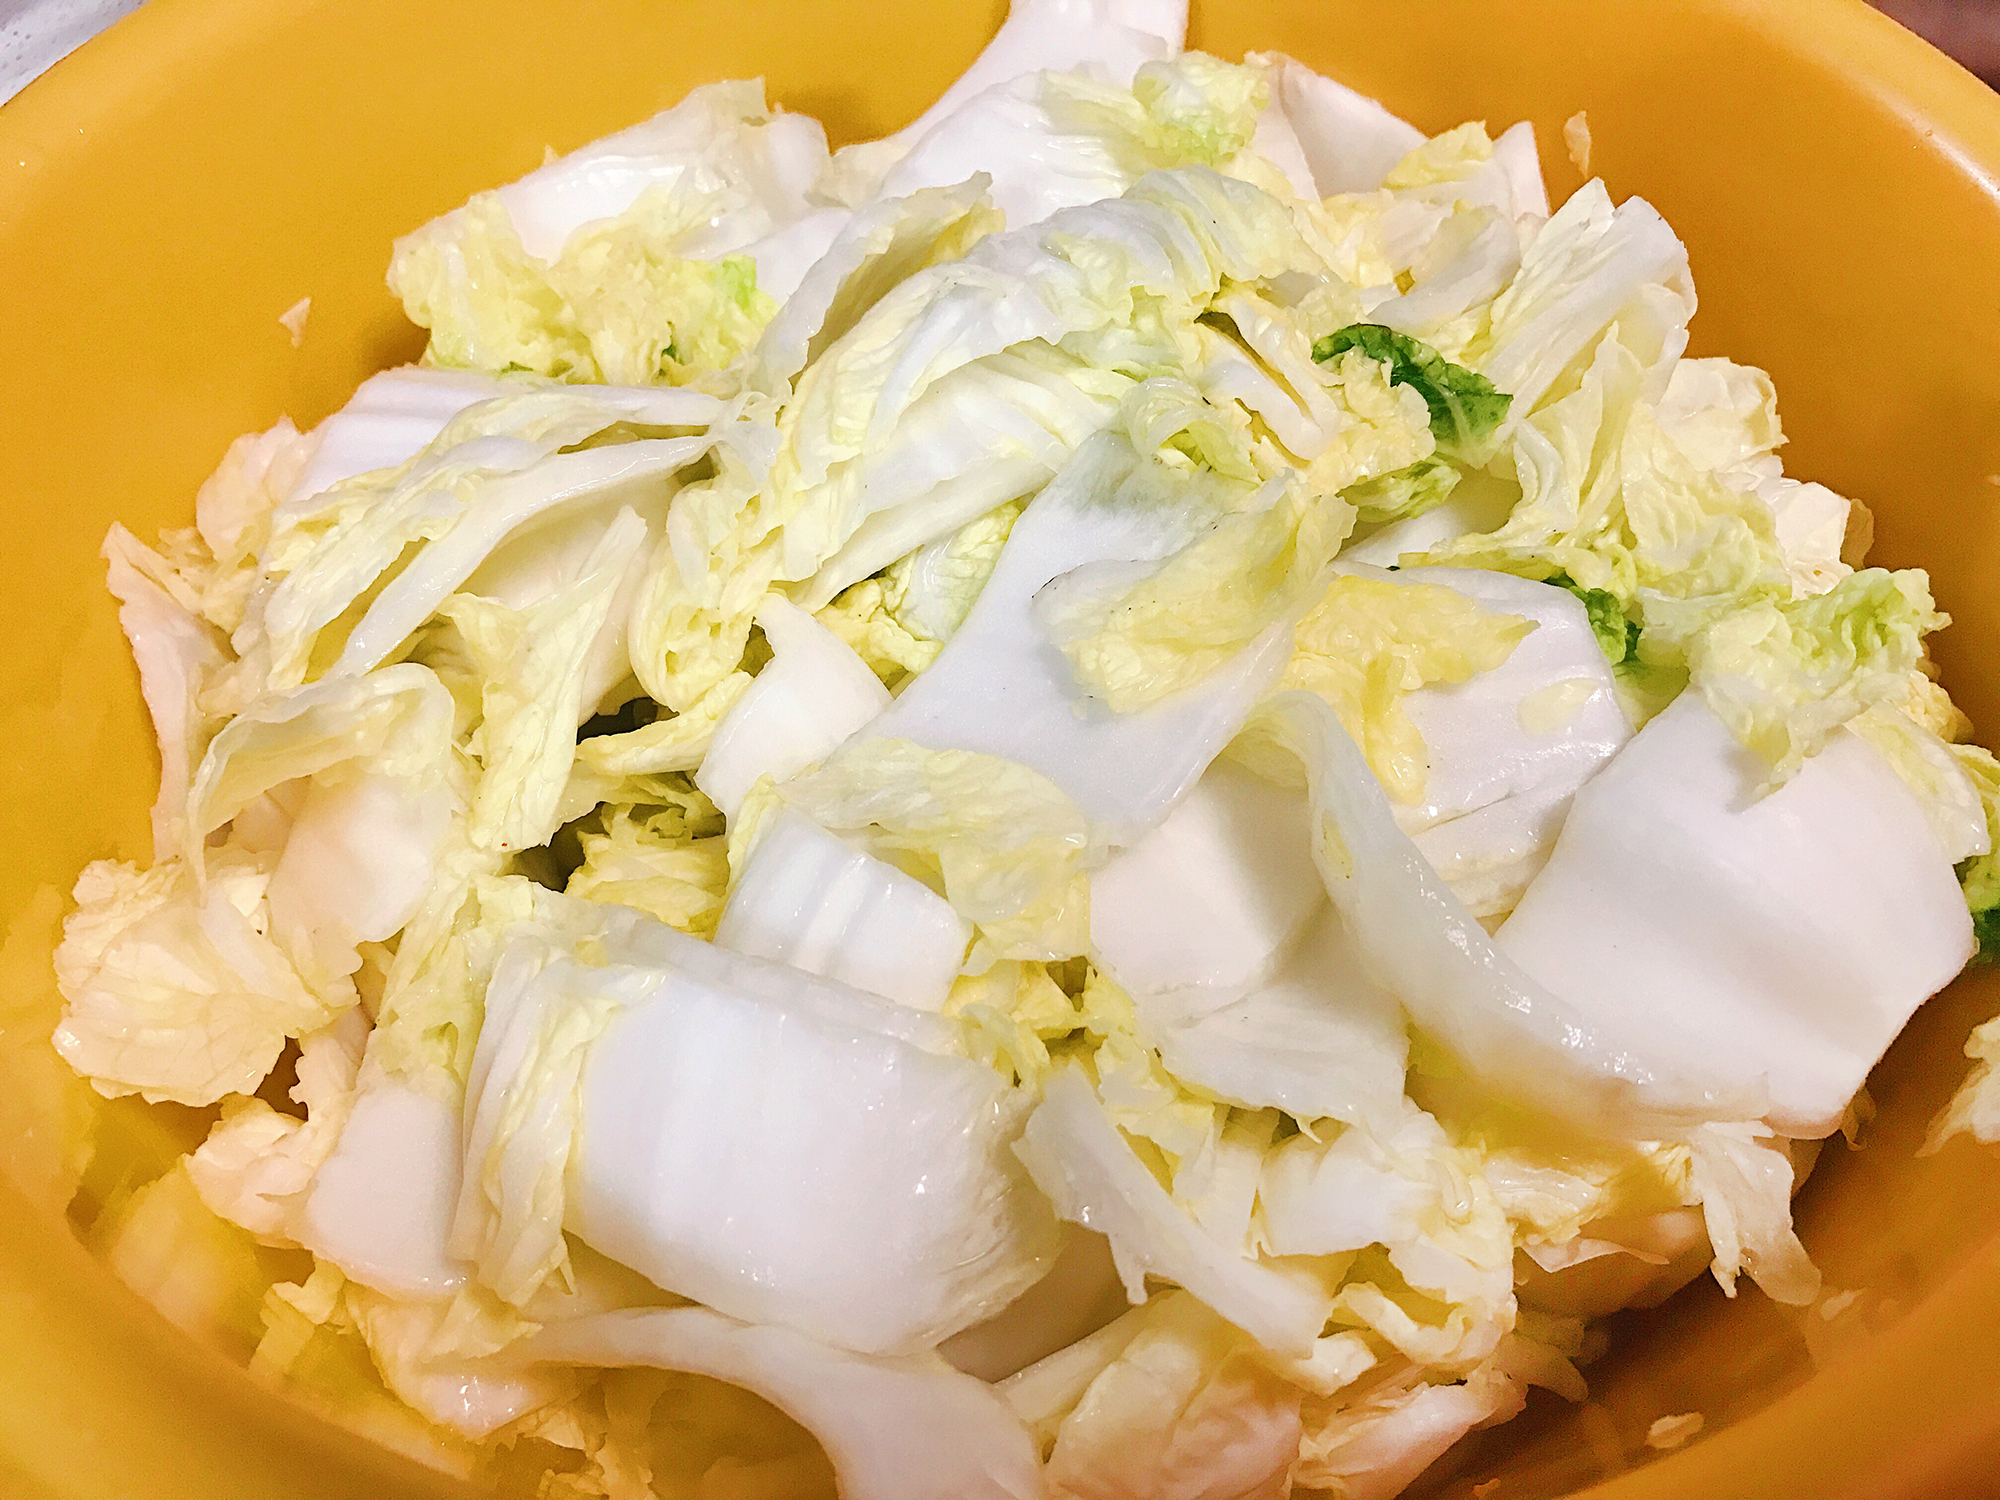
Once the cabbage has turned soft, drain the water in the basin. Wash the cabbage to remove any excess salt.
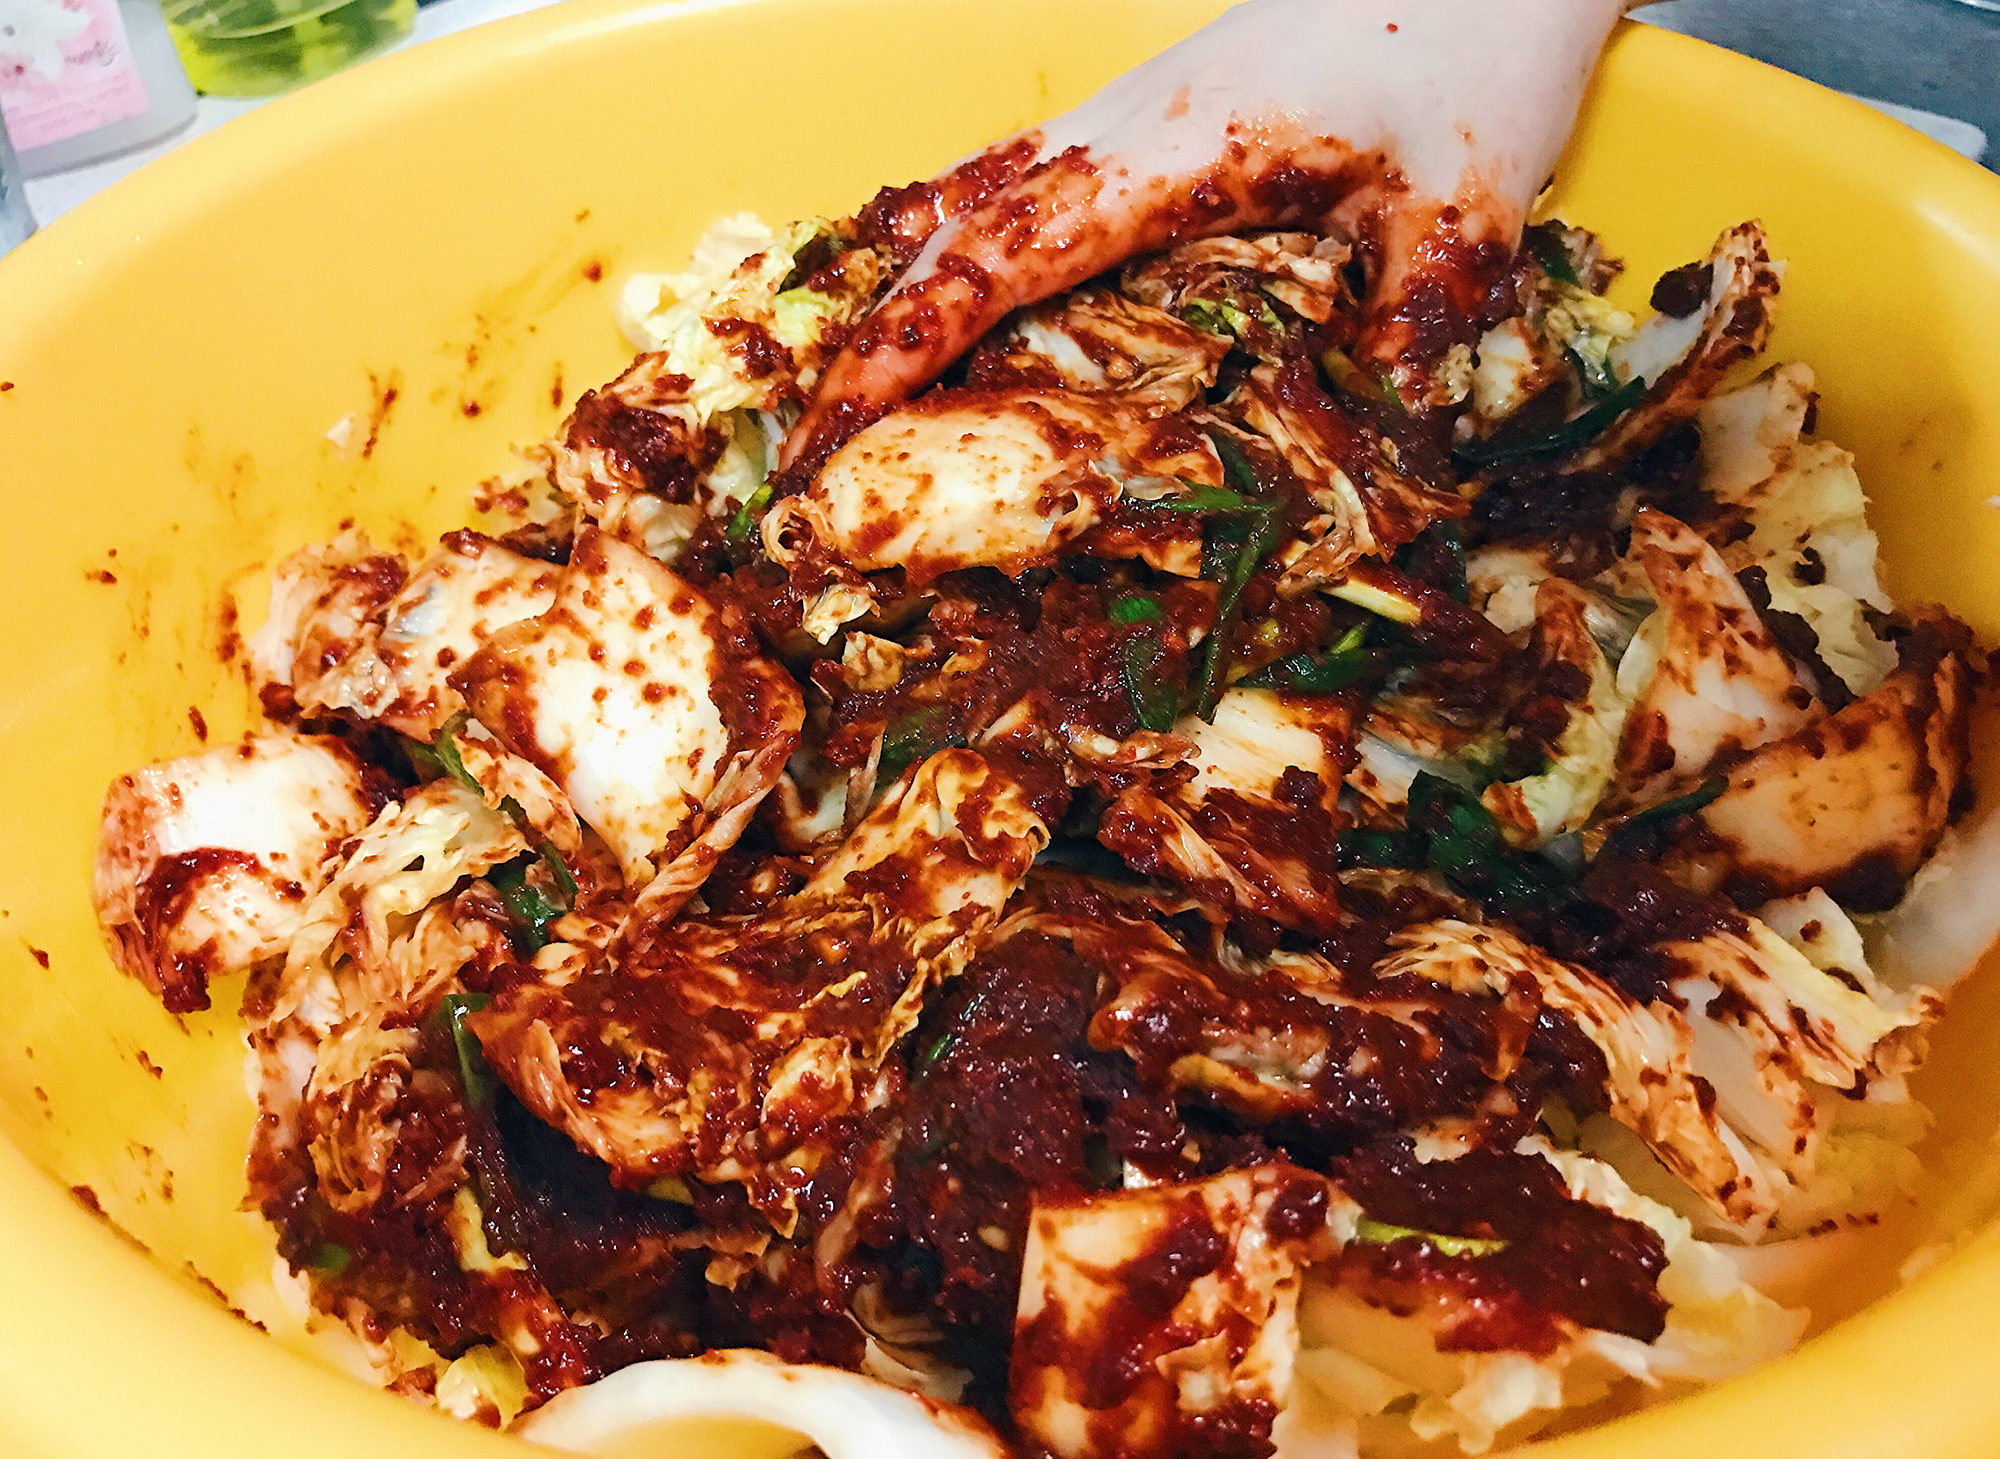

Mix the chilli paste into the cabbage. Warning: Use a glove if you don’t want your hand to be reeling from the heat of the chilli paste for the next hour.


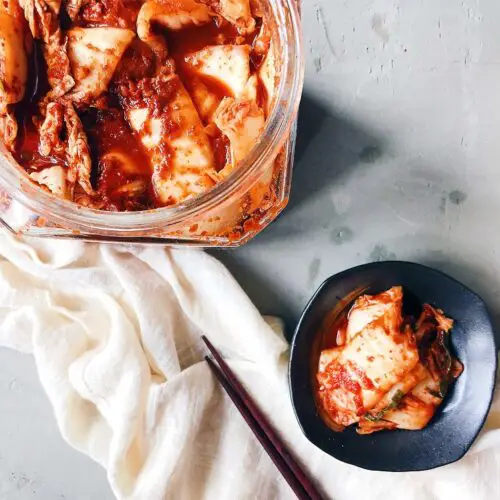
Store the kimchi in air-tight jars and leave at room temperature to ferment for at least 2-3 days.
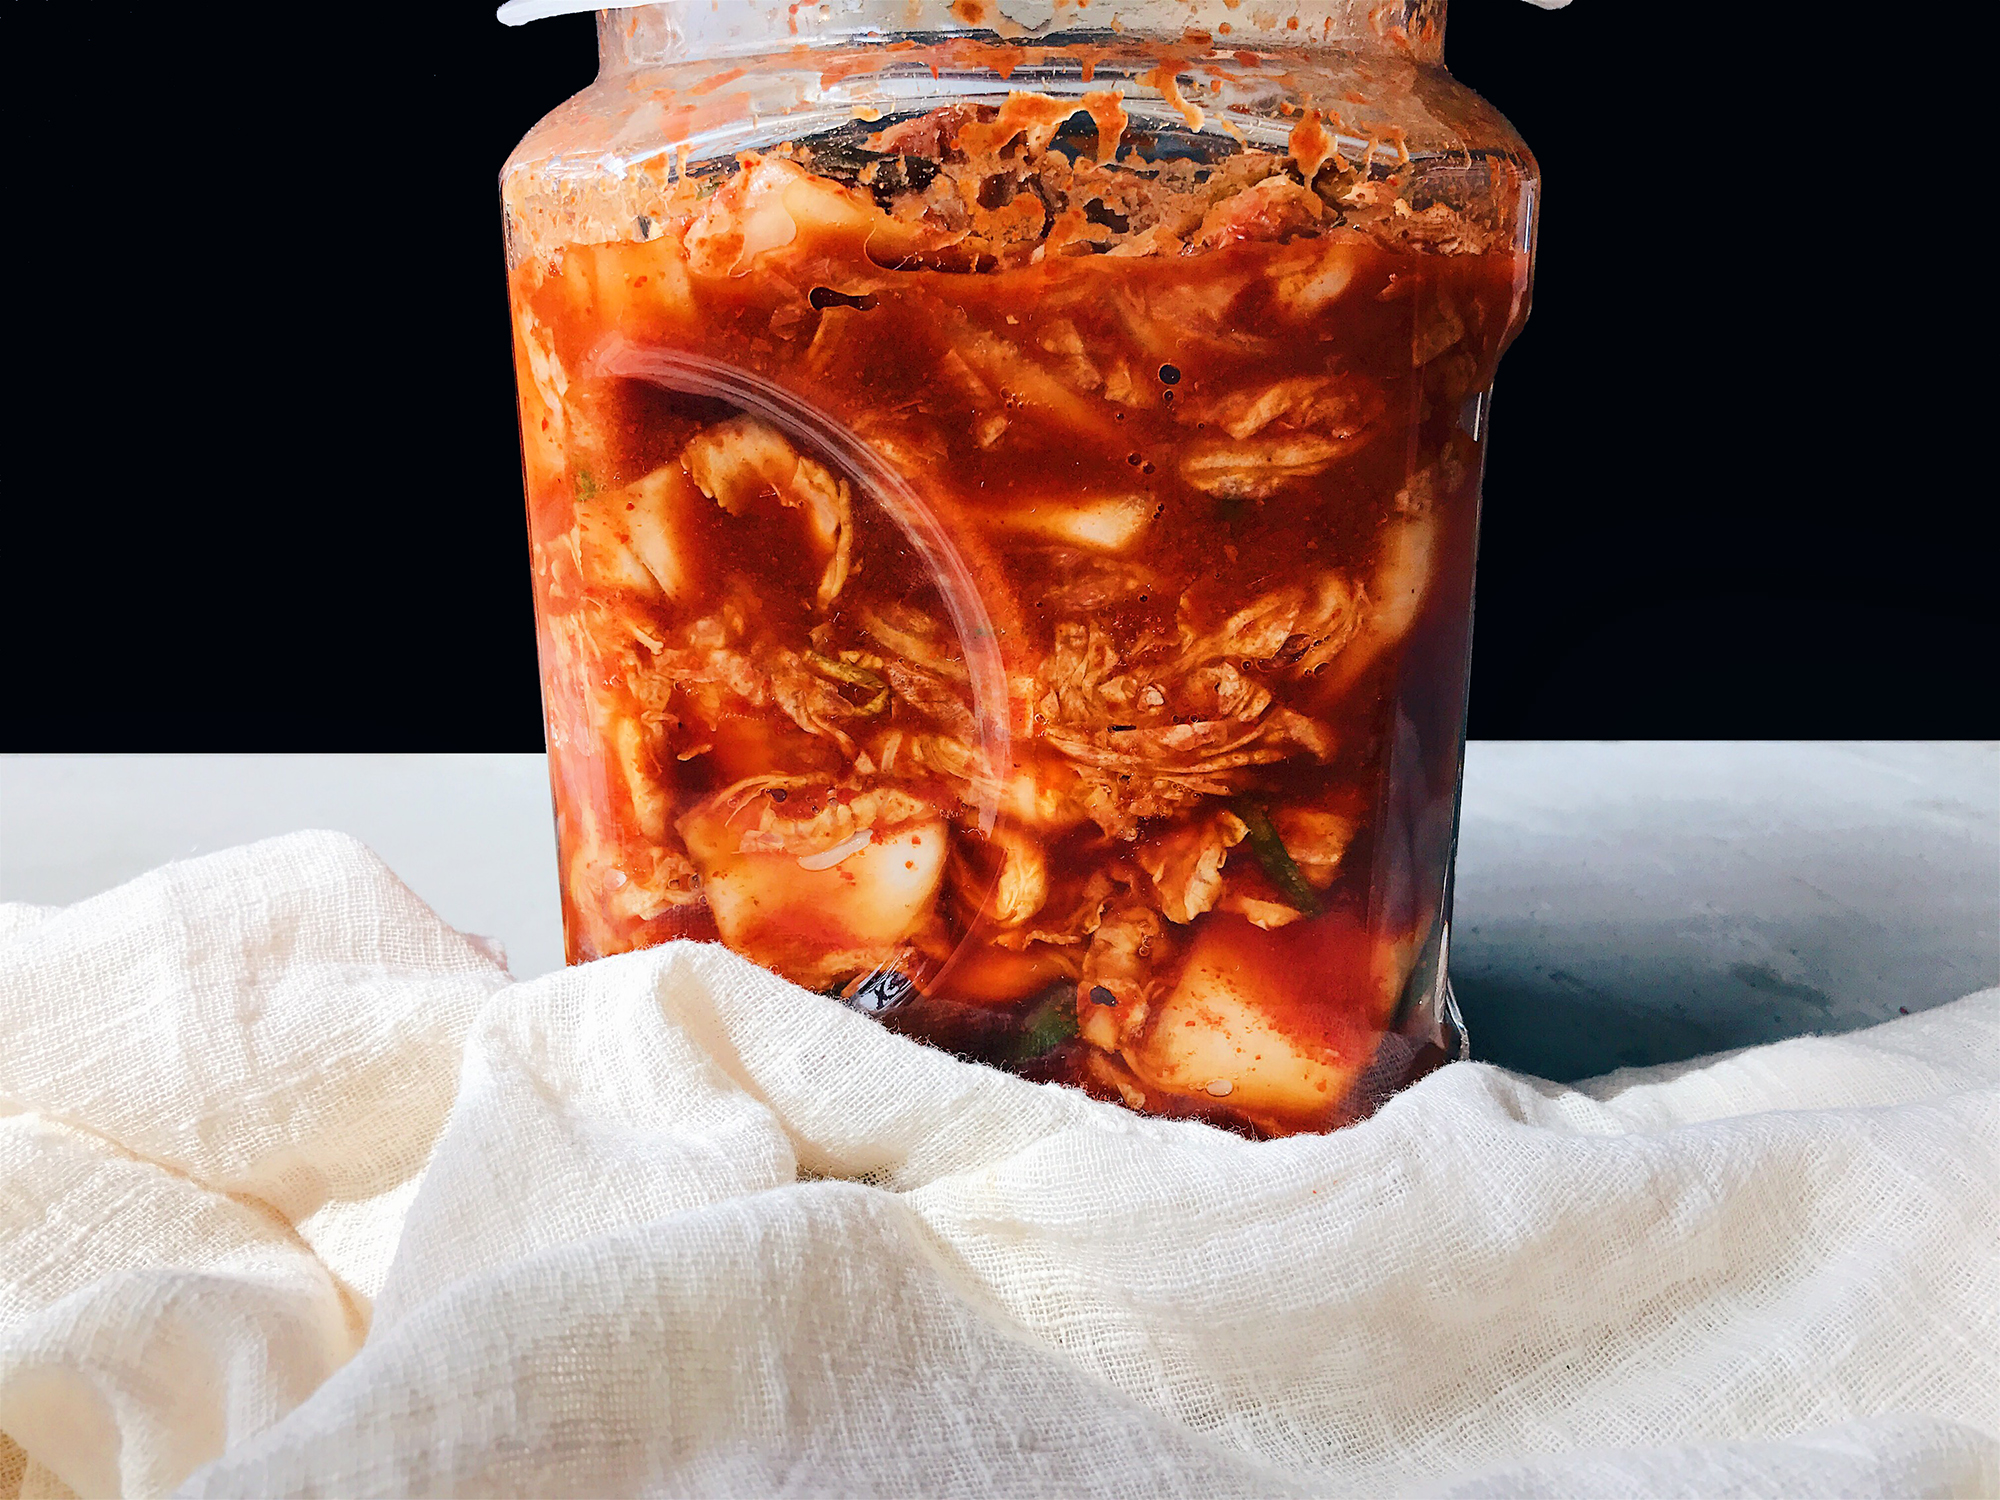
If you see air bubbles forming or detect a sour smell, it’s a sign that your kimchi is fermenting well. Liquid level also increases just after one day. After the kimchi has fermented, transfer the jar in the refrigerator and your kimchi can be savoured for up to three months.
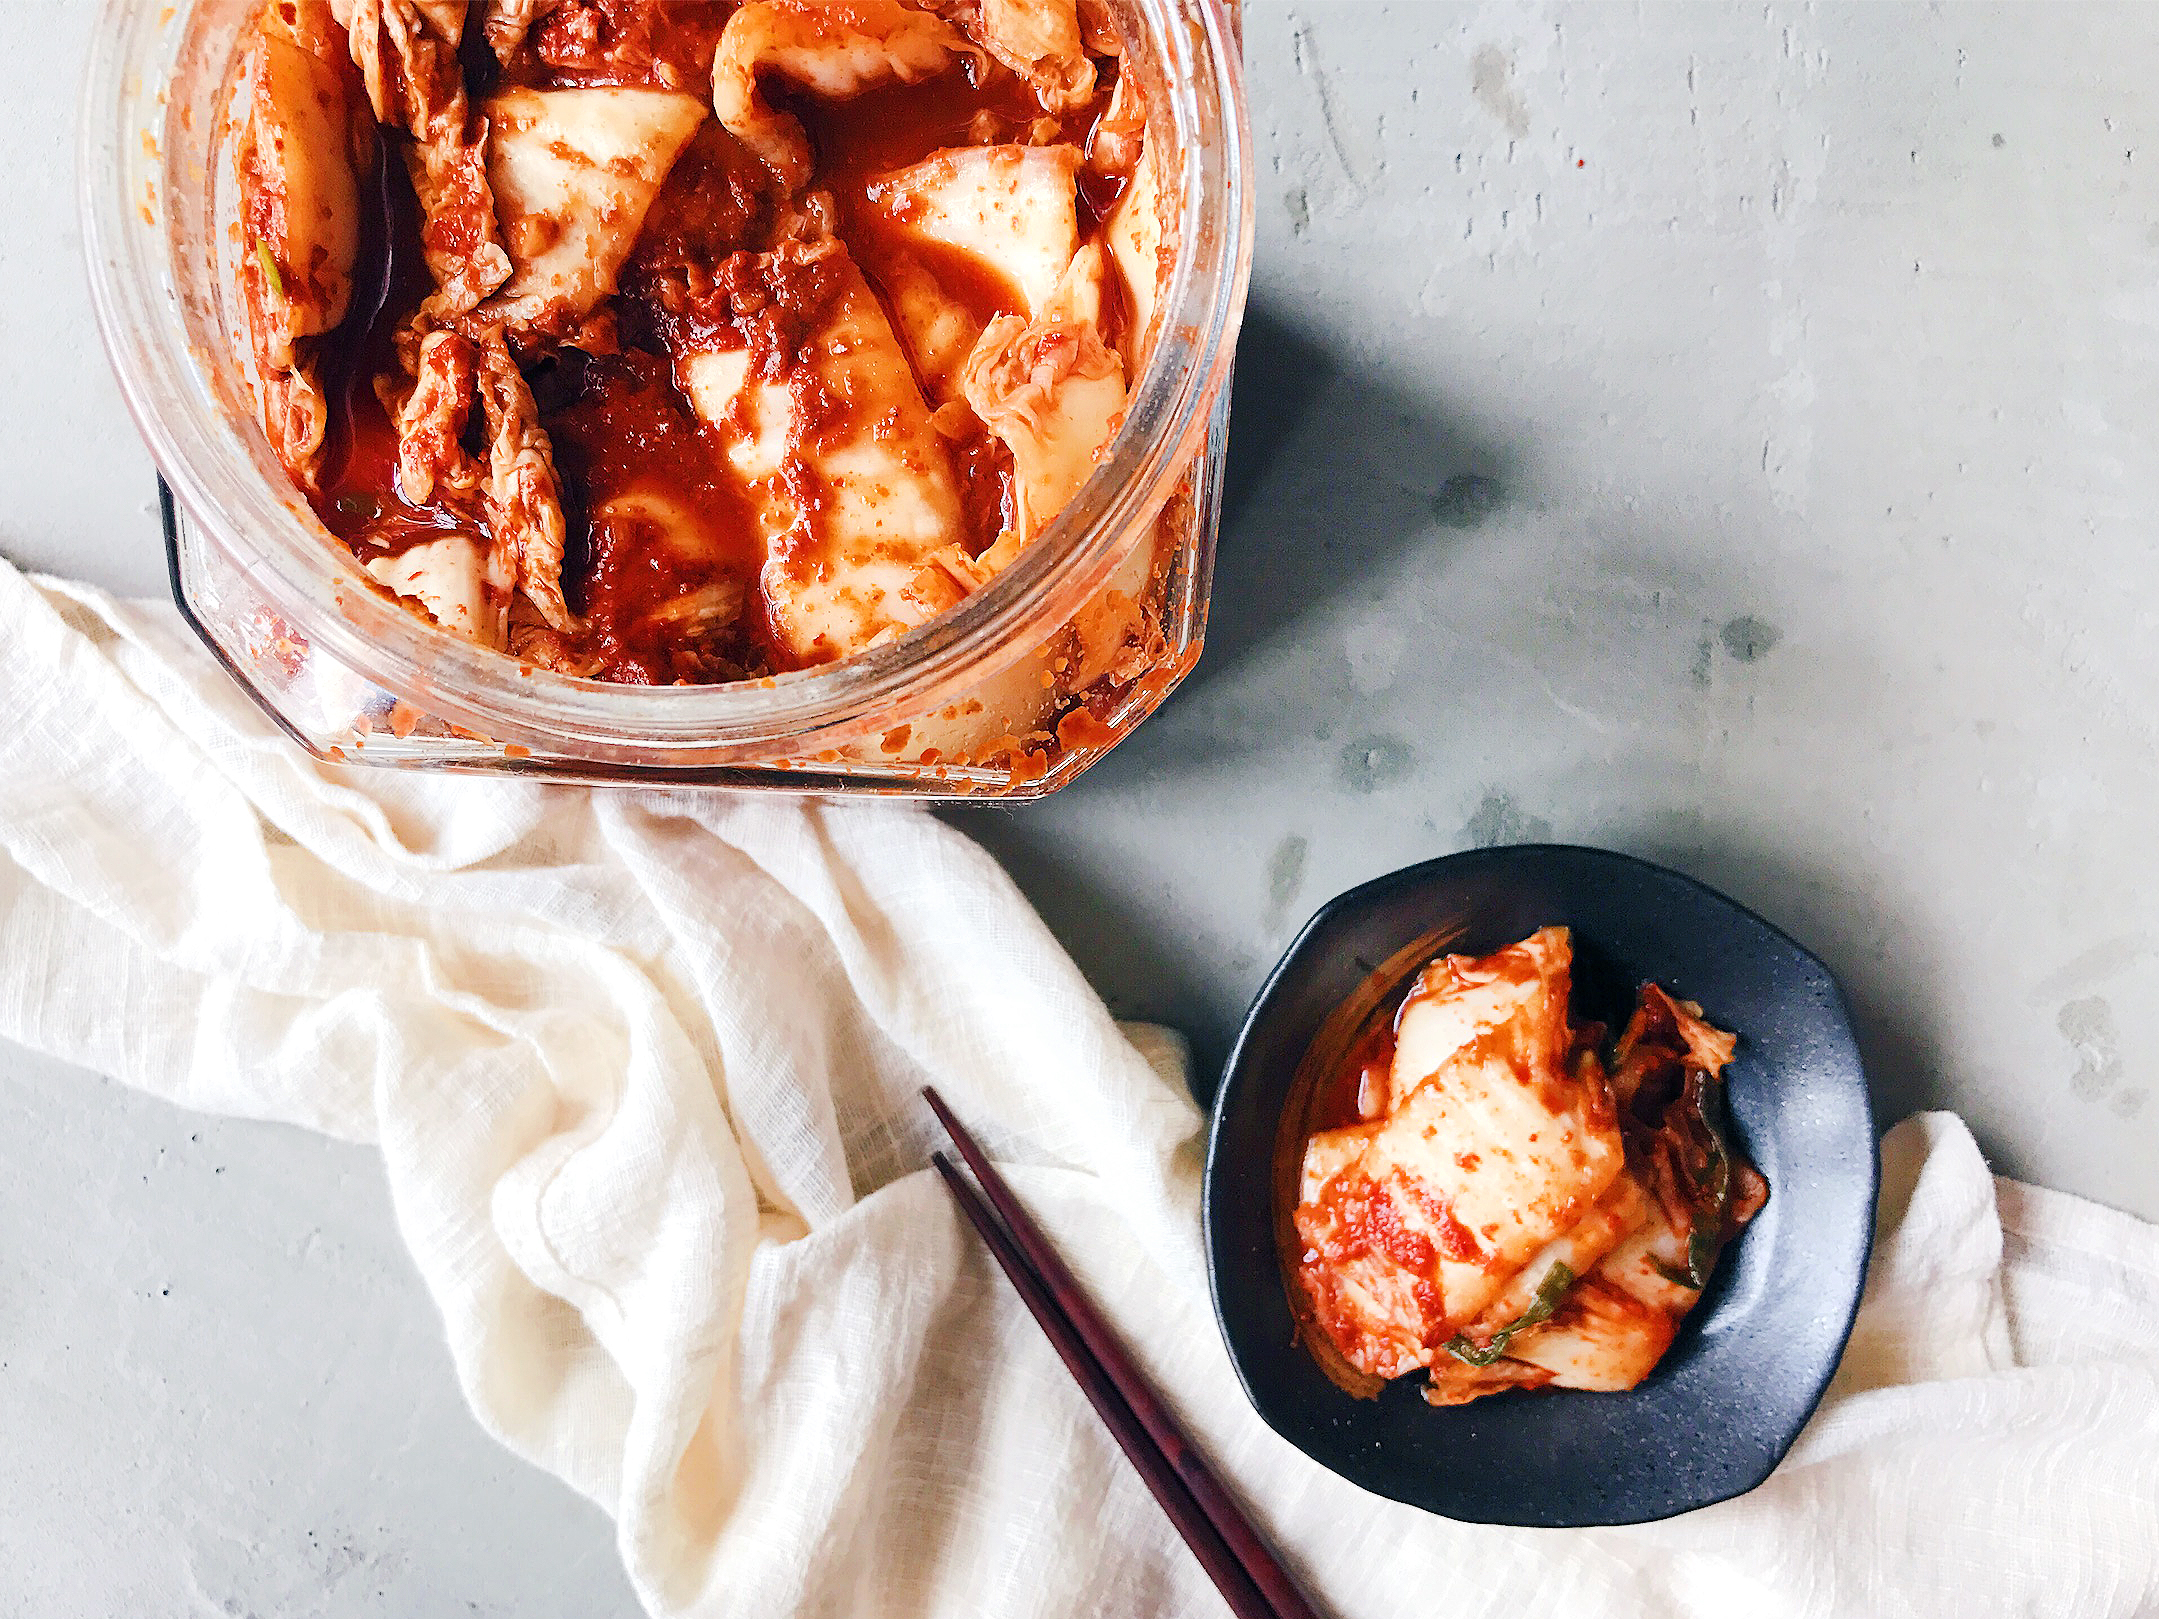
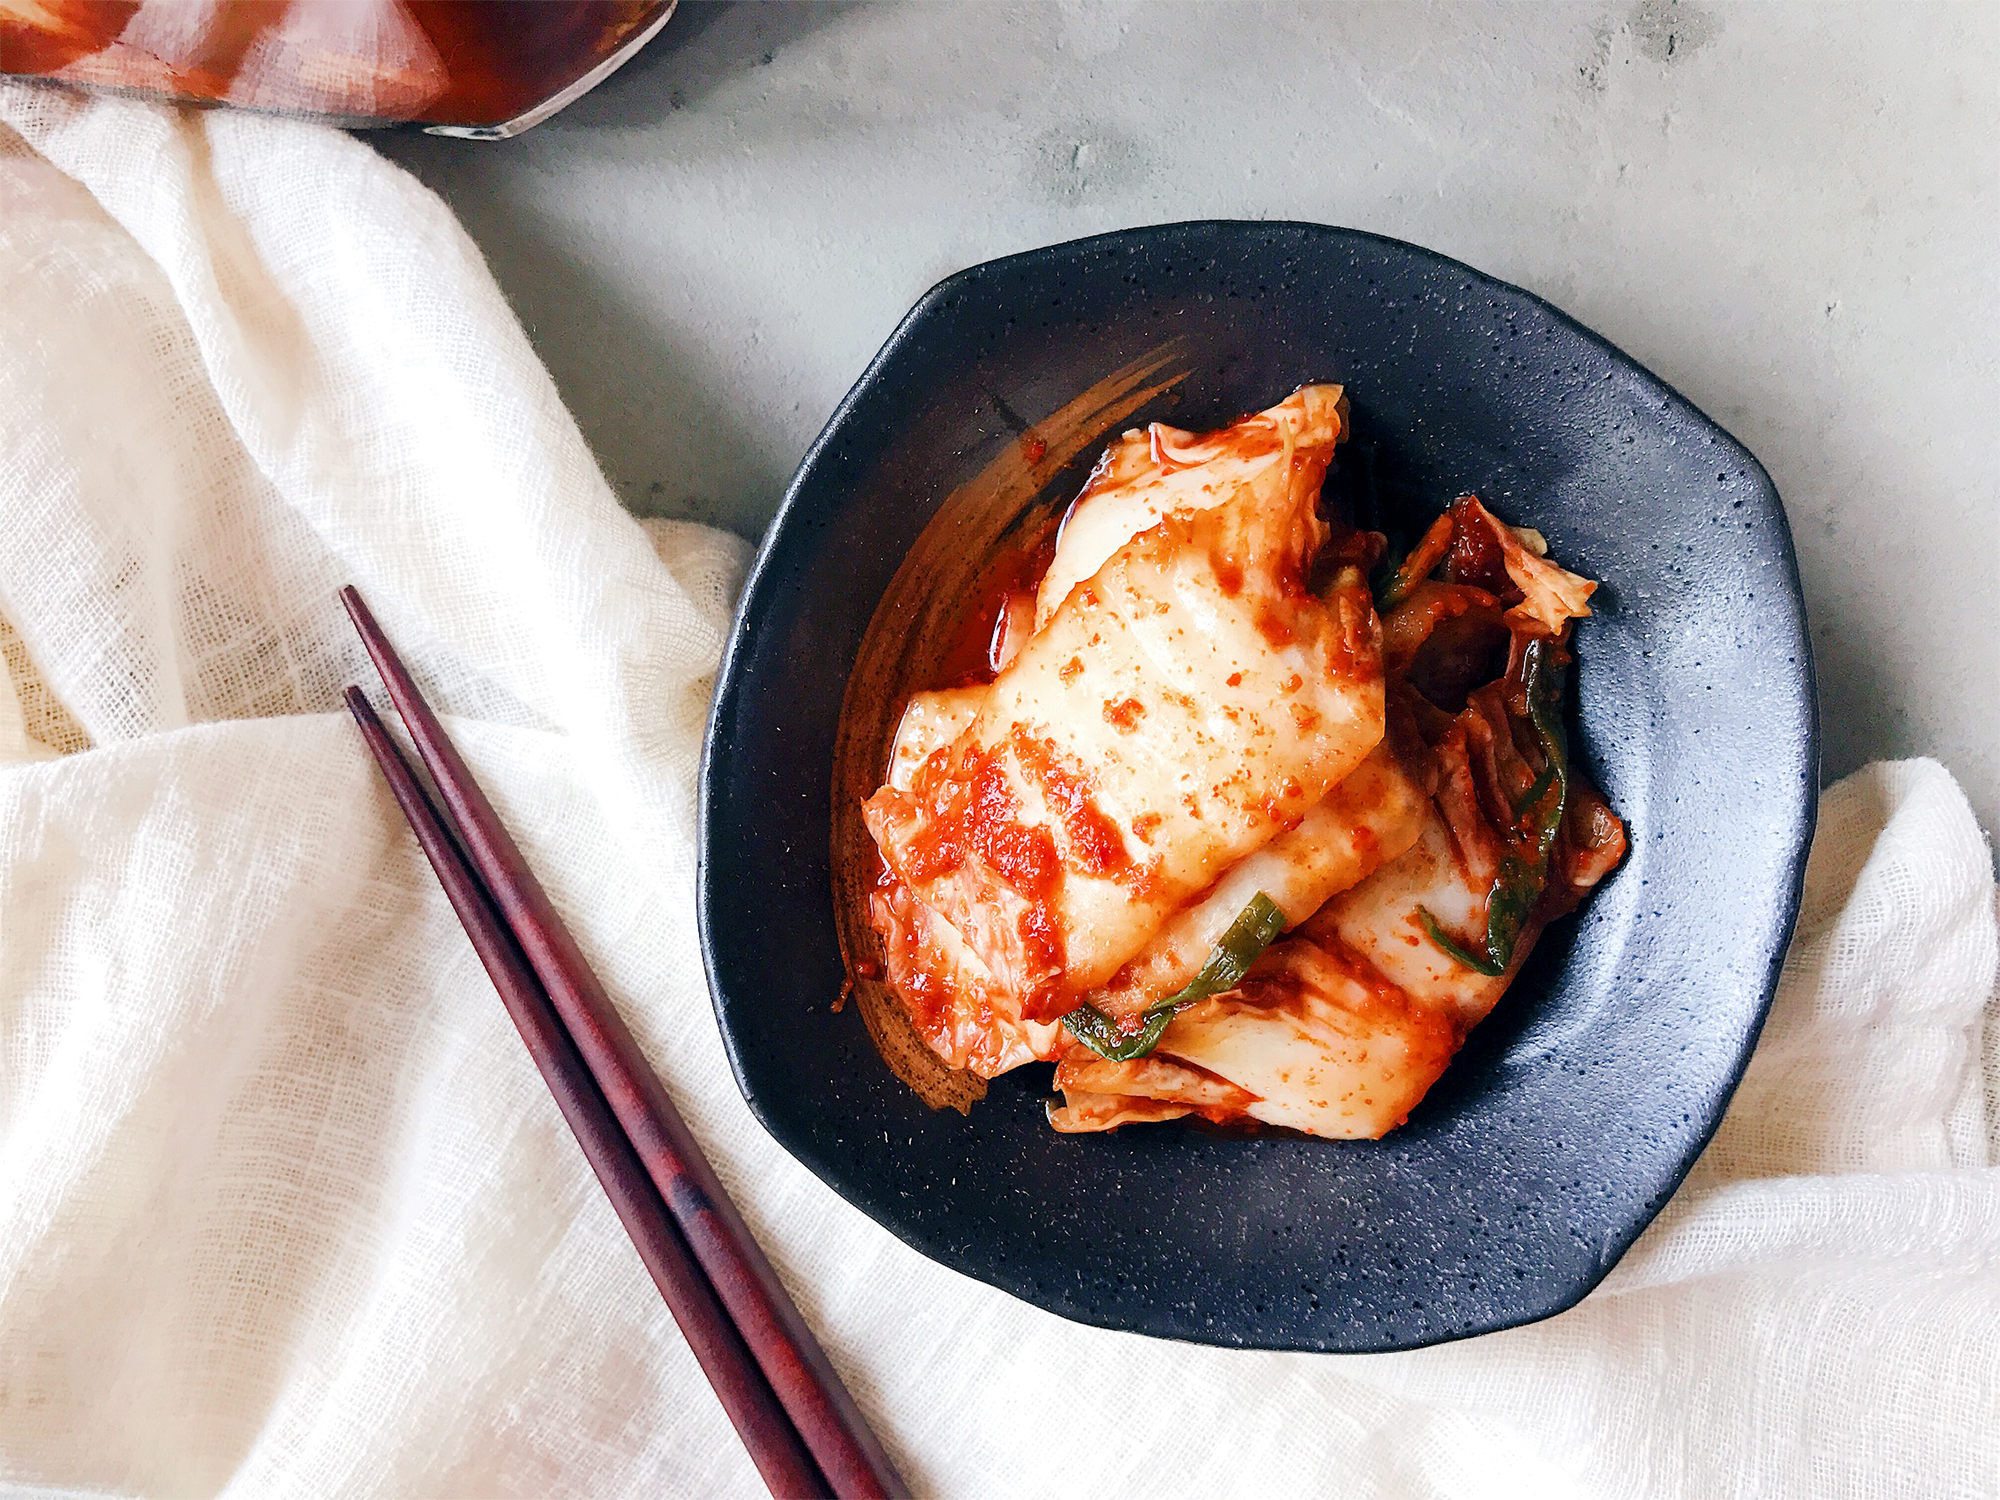
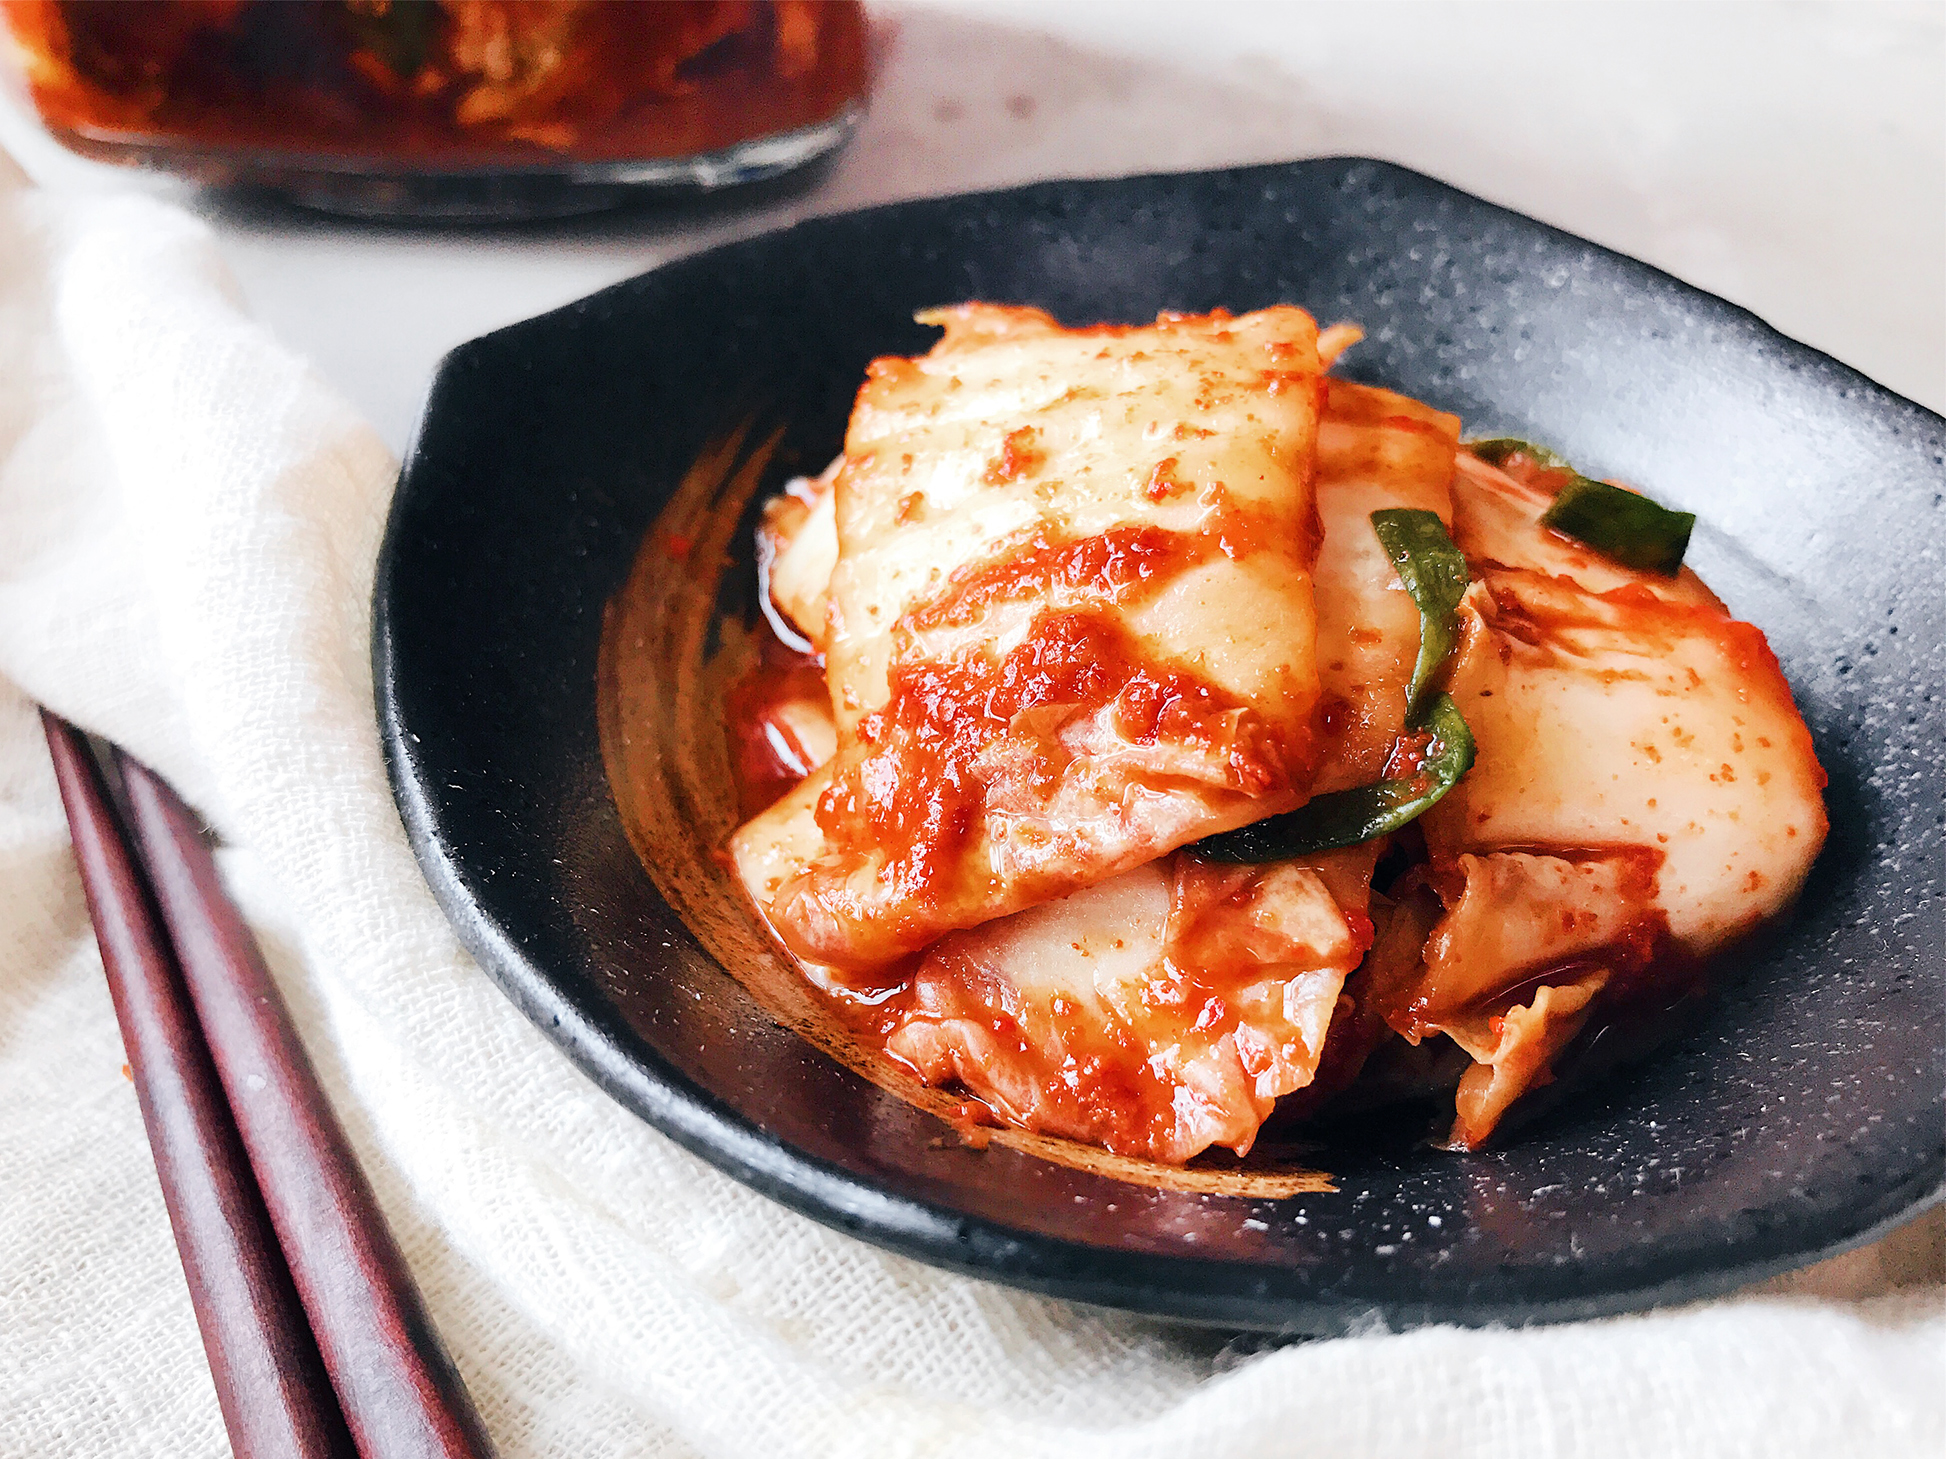
Enjoy the kimchi on its own if you like, or you can use it in a plethora of Korean recipes! The amount of kimchi you get from the recipe really depends on how much liquid you use, but using 2kg of cabbage will get you at least 2.5kg of kimchi or more!
Here are a few things to take note of:
- Pack kimchi tightly in a jar to minimize air exposure, but avoid filling the jar to the brim. While fermenting, countless air bubbles will form and some allowance needs to be given for them to escape. If your jar is fully filled, the liquid in your jar will overflow during the fermentation period, causing a big mess.
- Greater exposure to air means a greater chance of mould developing on the kimchi. If you do not have enough liquid to keep the kimchi entirely submerged, you can add some more water into the jar. I didn’t because I don’t want to dilute the kimchi juices. What you can do is ensure that the kimchi not submerged in water are covered with chilli paste, which can help in preventing mould formation. Also, during the fermentation period, the cabbage will release water so the liquid level will rise in due time.
Easy Kimchi
Ingredients
- 2 kg napa cabbage ($6.40)
- 0.50 cup salt ($0.68)
- 6 spring onions (matchsticks) ($0.60)
- 1 cup Korean hot pepper flakes ($3.168)
- 4 tbsp fish sauce ($0.136)
- 6 cloves garlic (minced) ($0.168)
- 1 tsp ginger (grated) ($0.03)
- 2 tbsp sugar ($0.038)
- 1 cup water
Instructions
- Wash napa cabbage thoroughly. Remove blackened outer leaves if necessary. Remove the stalk then chop cabbage into bite size pieces.
- Place cabbage in a large basin and sprinkle salt onto the cabbage. Massage salt into the leaves, then add enough water just to cover the cabbage. Leave cabbage to soak for at least 1.5 hours, rotating the cabbage from top to bottom every 30 minutes.
- Once cabbage is soft, drain away water and rinse cabbage to remove excess salt.
- In another bowl, mix the hot pepper flakes, fish sauce, minced garlic, minced ginger, sugar and water together. Mix the paste into the cabbage.
- Store the kimchi in an air-tight jar to ferment at room temperature for about 2-3 days. Air bubbles and a sour smell are signs of the kimchi fermenting. Once fermented, transfer the kimchi to the refrigerator. The kimchi can keep for up to three months.