No need to have a green thumb to sprout your own mung beans in the comfort of your home. This in-depth guide shares detailed steps with essential tips that will help you sprout mung beans successfully. Follow my 10 detailed steps using your basic kitchenware to sprout fresh, crisp, and great-tasting mung beans.
What Are Mung Beans?
Mung beans are also called mongo beans, bean sprouts, green gram, and moong beans. It is a legume made into a sweet or savory dish, such as mung bean savory soup, green bean dessert soup, mung bean paste for buns, and mung bean cake. You can eat the green round seeds or the stems when sprouted.
When cooked, mung beans are slightly sweet and starchy. It is a superfood packed with protein, vitamins, and minerals. For every cup of boiled mung beans, you get 14.2 grams of protein, 5.4 grams of fiber, vitamin B’s, vitamin C, folate, manganese, magnesium, calcium, iron, potassium, zinc, and many more.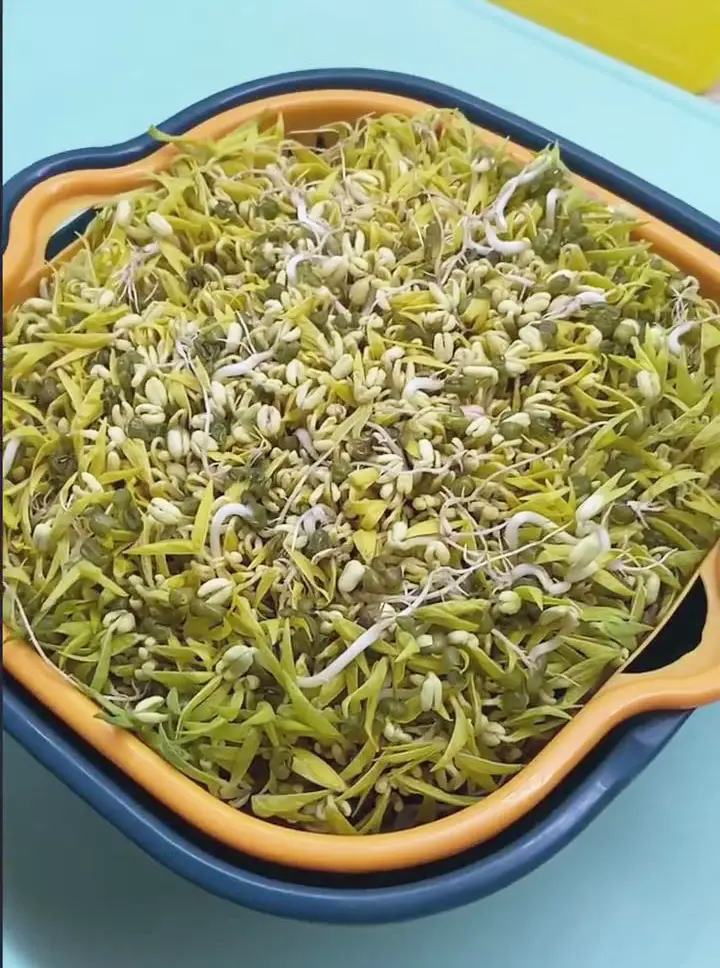
On the other hand, sprouted mung beans taste nutty and grassy with a crisp, juicy texture. The nutrients are not that different from mung bean seeds since mung bean sprouts are still high in fiber, vitamins, minerals, and with 3.16 grams of protein for every 100g. Overall, among the nutritional benefits are that they reduce the risk of getting diseases with their many antioxidants, lowers cholesterol, boost heart health, reduce blood pressure, and manage blood sugar, among other things.
Why Sprout Your Own Mung Beans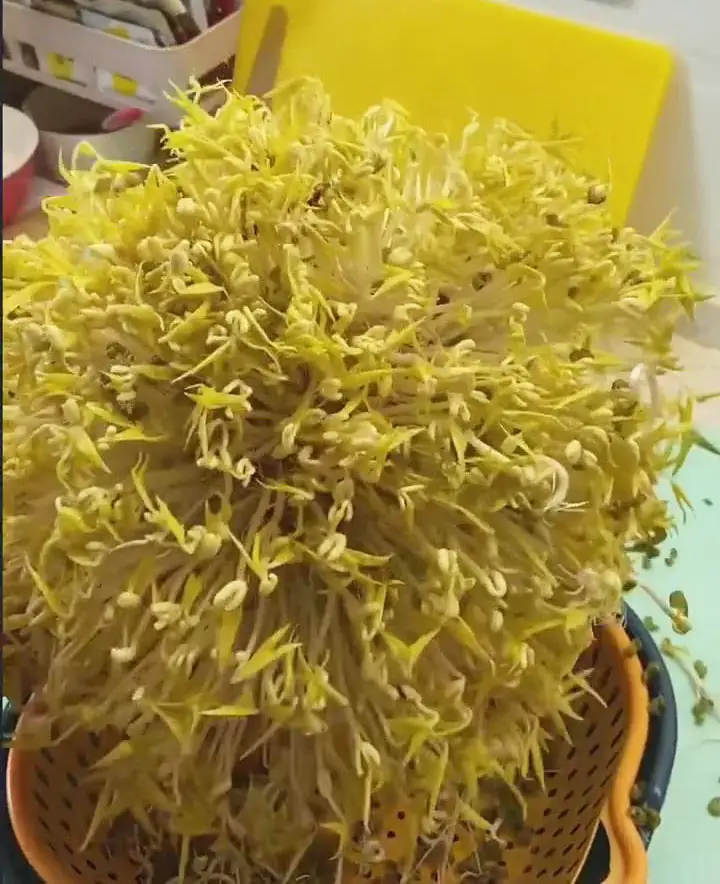
Mung bean sprouts are typically available in grocery stores and markets. So, you may ask– why bother making your own when you can buy them in stores? Well, let me tell you why growing your own mung bean sprouts is way better than purchasing them in the store.
Pros:
- You have assurance that the mung bean sprouts are fresh and clean.
- It has no preservatives or harmful chemicals.
- It is easy to make them. You don’t need complicated kitchenware; just a sieve, gauze, and a clean container.
- It is a lot cheaper than store-bought since you made them on your own.
- It is fun and satisfying! There is just something relaxing and satisfying about taking care of plants and seeing them grow thanks to your helpful hands.
- Haven’t grown plants before? Well, tick this off from your checklist of New Things To Do. It’s a new activity you can try for you to learn a new hobby or a fun activity to do with the kids.
Cons:
- Well, a slight con can be (but not totally a problem though) is that you have to wait for a couple of days for them to sprout. It is not entirely a con. It is just that I am way too excited to cook and eat them for a healthy hearty meal.
How To Use Mung Bean Sprouts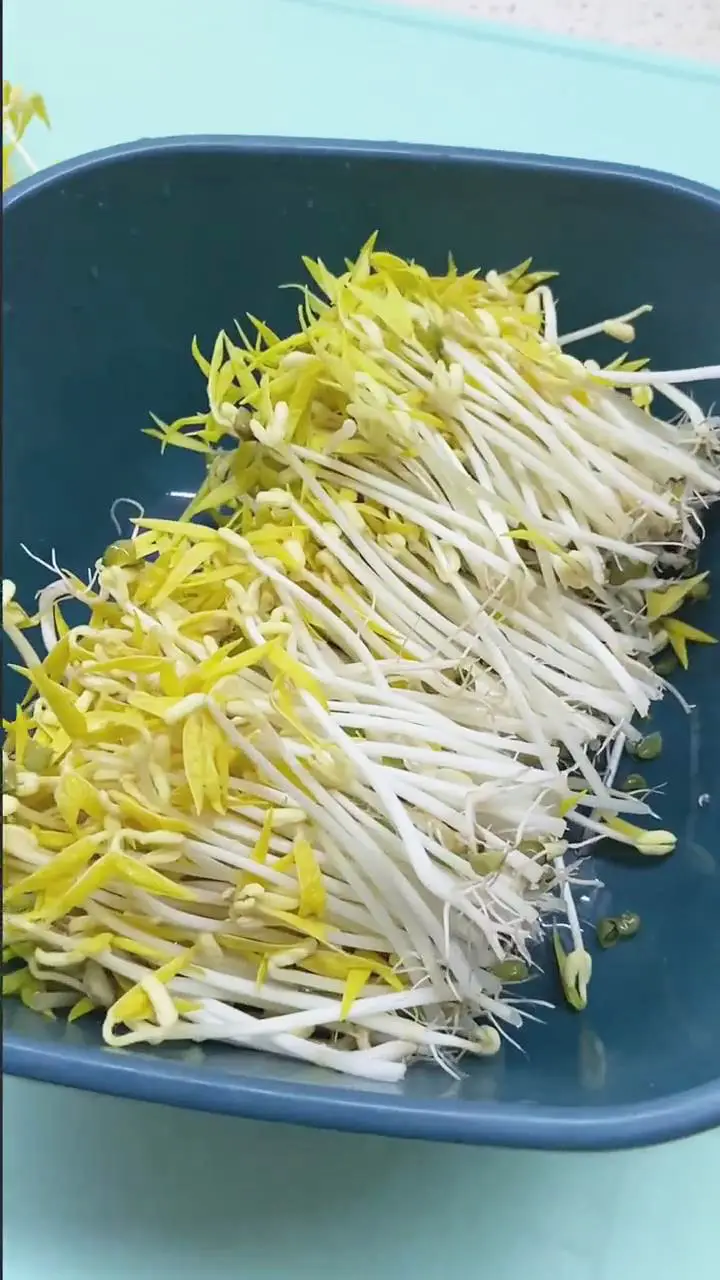
Now that you have mung bean sprouts, what do you do with them? There are countless ways to incorporate mung bean sprouts to your meal. They are super versatile since you can have them raw or cooked for light and heavy dishes.
Here are several ways to use mung bean sprouts.
- Stir Fry: Stir fry them just like in my Stir-Fry Bean Sprouts recipe, or add them to stir-fry dishes like Chinese Beef Chow Fun and Shrimp Chow Mein.
- Soup and Porridge: Cook them in soup and porridge dishes.
- Sandwiches and Wraps: Add them to your sandwich or wrap.
- Salads: Incorporate them into your salad.
- Spring Rolls: Use them as an add-on ingredient in vegetable spring rolls.
- Mixed Vegetables: Include them as an add-on vegetable for recipes requiring mixed vegetables.
How To Store Mung Bean Sprouts
After growing mung bean sprouts, keep them in an airtight container lined with a paper towel to absorb moisture. You can store them in the fridge for up to 5 days. However, I recommend consuming them within 1 to 2 days to relish their freshness.
When you are ready to use mung bean sprouts, rinse them once more to clean them throughly. Before using, check if the mung bean sprouts are still good. The stems should still be white and crisp when snapped with your fingers.
If the stems are soggy, slimy, and brown, they should be discarded since they are already spoiled. For a longer shelf life, freezing mung bean sprouts is also possible. To freeze, blanch the mung bean sprouts for 2 minutes, transfer them to a bowl of ice water to stop them from further cooking, store them in a freezer-proof sealed container, and freeze.
What You Need To Sprout Mung Beans
Here are my recommended kitchenware and ingredients to use. I also share below several tips on which tools to use and how to pick the best mung beans for sprouting.
Kitchenware:
All the kitchenware should be pristine clean and dry. You don’t want to risk contaminating the mung beans during the sprouting process.
- Heat-resistant container: Use a clean heat-resistant container for cleaning the mung beans and pouring hot water for soaking.
- Sprouting container: I used a container with an integrated sieve. You can assemble your DIY sprouting container using a large container and place a separate sieve in it. I recommend placing the mung beans on a sieve to make it more convenient to drain for morning and evening rinses.
- Cloth gauze: The mung beans are placed on top of the gauze. This extra-thin white cloth with tiny holes will let the mung beans cling to it. The gauze also helps keep the mung beans moist.
- Damp cloth towel: Use a clean, damp cloth towel. Place it on top of the mung beans to cover them and keep them moist. This also helps the mung beans grow in a dark environment. Why a dark environment? The instructions below explain this further.
- Heavy object: After covering the mung beans with a damp cloth, place a heavy item on top to compress them. I used a large container filled with water that fits well with my original container. Compressing the mung beans helps start the sprouting process and lets them grow thicker. The heavy object is placed on the first night of sprouting. For the next nights, you don’t need to place the weight anymore since you just cover the mung beans with the damp cloth used.
- Kitchen shears: After completing the sprouting process, give the mung bean sprouts a gentle shake to remove the skins. Then, use your kitchen shears to snip off the mung bean sprouts from the gauze. You will see the roots are firmly attached to the gauze, so you will need to use shears to take them off easily.
Ingredients:
You only need mung beans and water. Again, since you want everything to be clean, I recommend using clean filtered water to prevent the mung beans from being contaminated with dirt from tap water.
- Mung beans with shell (green): Use green mung beans with the shell on. Do not use yellow mung beans, which are split mung beans without the skin. When picking green mung beans, choose the freshest ones or organic ones. Avoid those that are harvested for more than a year or are expired. Old mung beans will not sprout.
- Hot water(50°C to 60°C): Use hot water to soak the beans overnight to prevent contamination and kill bacteria.
10 Detailed Steps To Sprout Mung Beans + Expert Tips
Check out my Instagram or TikTok 1-minute tutorial video to learn about each step. If you have tips and recommendations, share them with us by commenting in the comments section. When you are done making mung bean sprouts, share a photo and tag me @kitchenmisadventures.
In a nutshell, the instructions call for soaking the mung beans, placing them on the prepared container with the weight, and rinsing daily. When it is ready, simply cut it off from the gauze. Prepare these things to get started:
Kitchenware:
- Heat-resistant container
- Sprouting container
- Cloth gauze
- Damp cloth towel
- Heavy object
- Kitchen shears
Ingredients:
- 200g of mung beans with shell (green)
- Hot water (used to soak mung beans overnight)
- Clean filtered water (for rinsing)
Follow these 10 steps:
- Place the mung beans in a clean bowl. Rinse well with clean, filtered water. Remove cracked mung beans, grains, and dirt.
- The mung beans should be thoroughly cleaned before proceeding with Step #2.
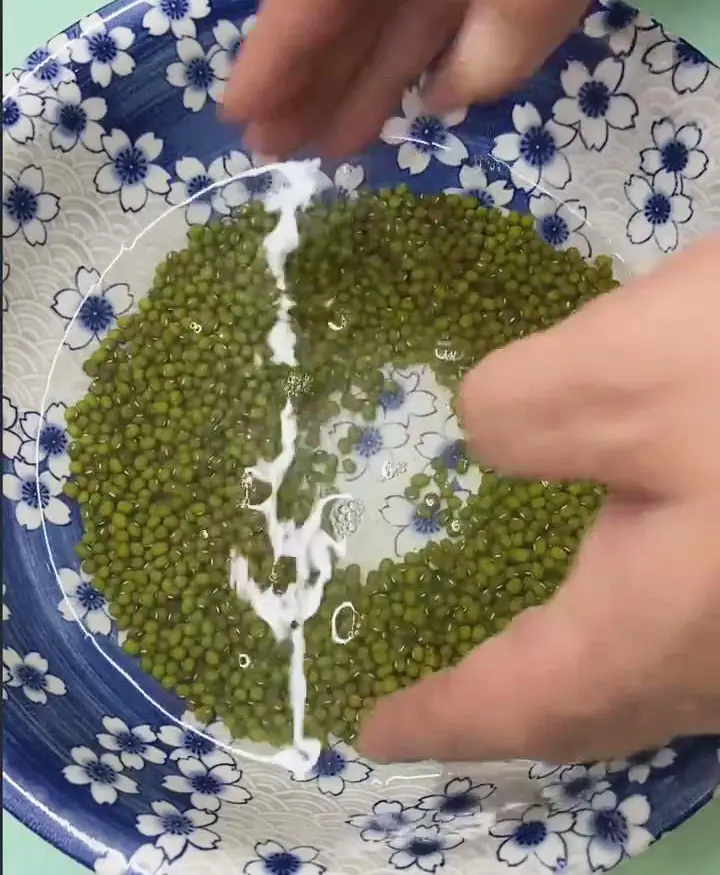
- The mung beans should be thoroughly cleaned before proceeding with Step #2.
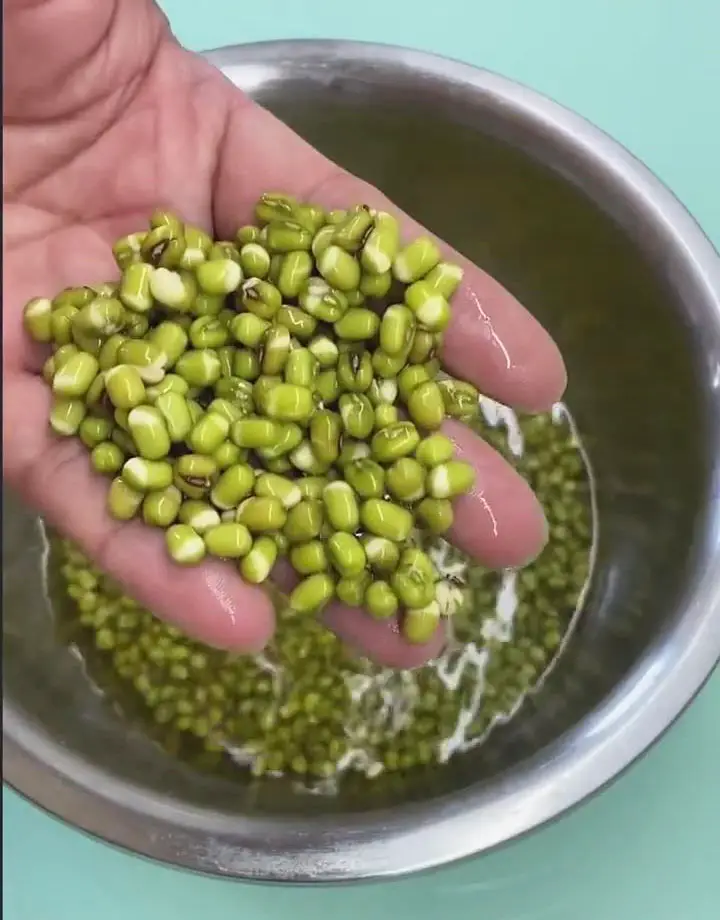
- Pour hot water (50°C to 60°C) into a heat-resistant bowl and let mung beans soak overnight. Afterward, rinse and drain well.
- Do not rush the soaking step. The beans should soak as long as possible to let them sprout. After soaking, their size should become bigger.
- If the soaking step is not long enough, the beans won‘t sprout.
- Moreover, make sure to use hot water to reduce contamination.
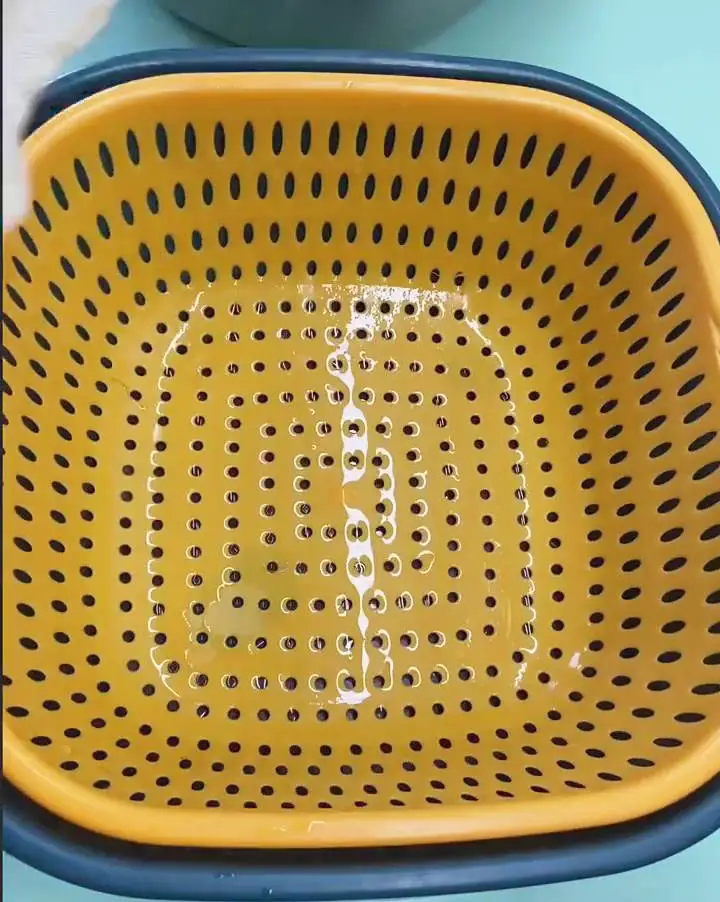
- Prepare your clean container with a sieve or a basket with large holes.
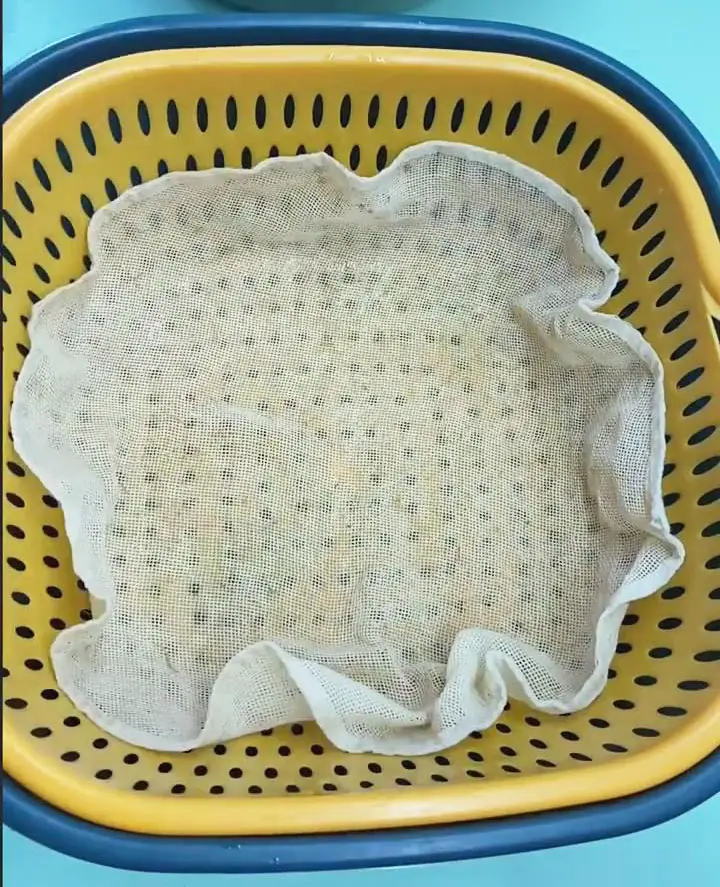
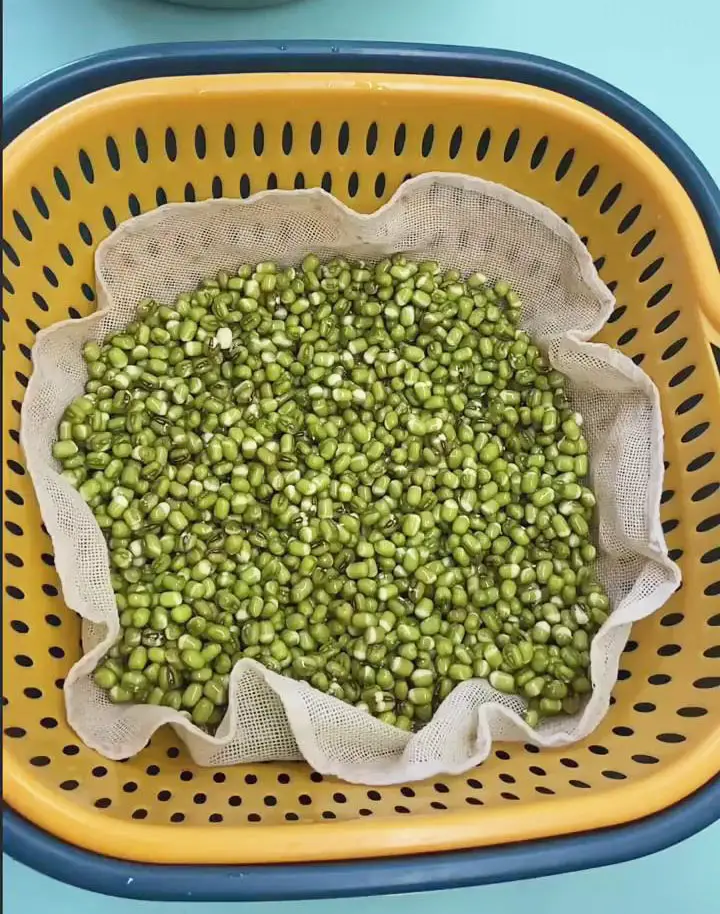
- Lay down a piece of clean gauze and place the soaked and drained mung beans on top.
- Place a clean damp towel on top, preferably a towel with good water absorbency.
- This helps create a dark environment and prevents flies or insects from getting into the mung beans during sprouting.
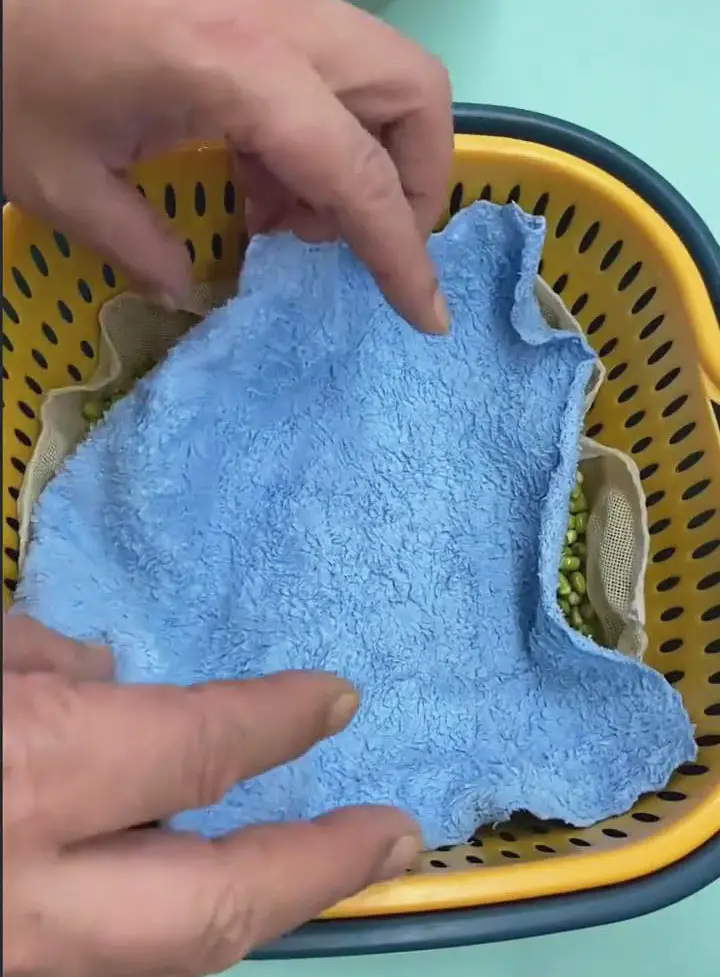
- This helps create a dark environment and prevents flies or insects from getting into the mung beans during sprouting.
- Place a heavy object on top to press down the mung beans. I used a container and filled it with water.
- Pressing down will help those sprouts stand up tall.
- Do this step only for the first night to initiate the sprouting process.
- Remove the weight for the next consecutive nights.

- Check the mung beans on the next day, and you’ll see those little buds popping up. After checking, cover it again with a damp towel.
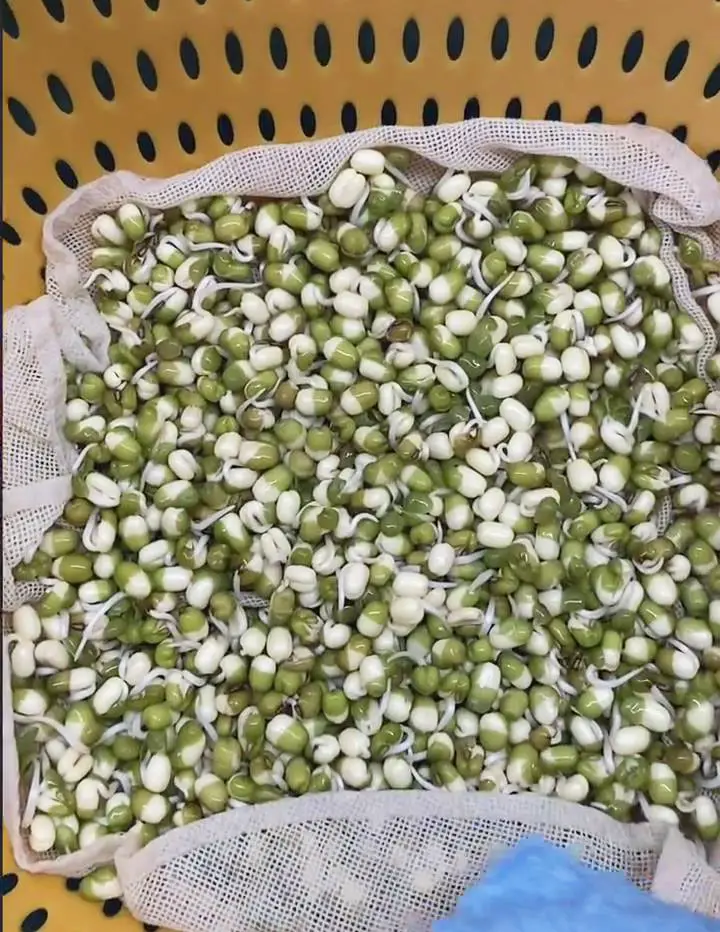
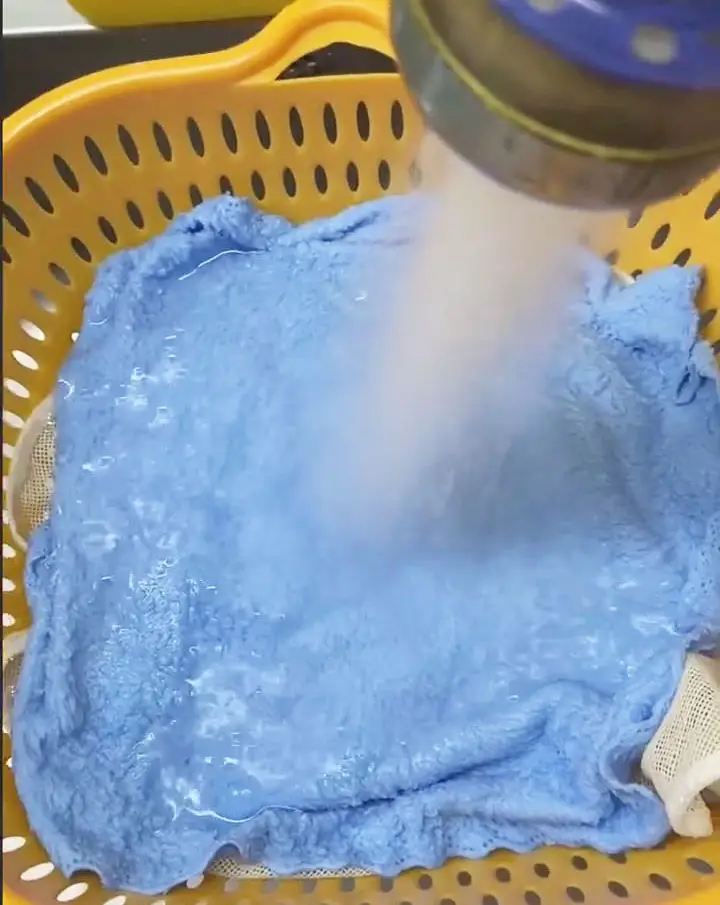
- Rinse them daily at least twice a day, one in the morning and another in the evening. Rinse with clean, filtered water while covered in a damp towel. After rinsing, put them back in a dark environment.
- Rinsing at least twice a day is important in preventing contamination, and keeping them fresh and healthy.
- I recommend using clean, filtered water for rinsing. You can also use boiled tap water and let it cool before using it as a rinse.
- Make sure to do the rinsing step while covered in a damp towel and avoid exposing the mung beans to bright light for too long. After rinsing, quickly put it back in a dark environment. Prolonged exposure to bright light can cause the mung beans to taste bitter and have a slightly pink stem.
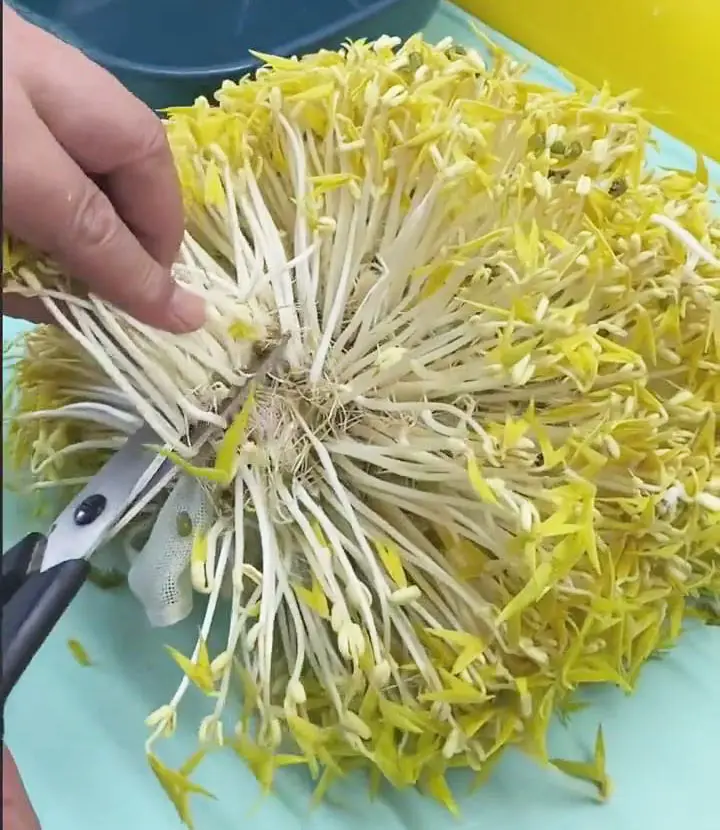
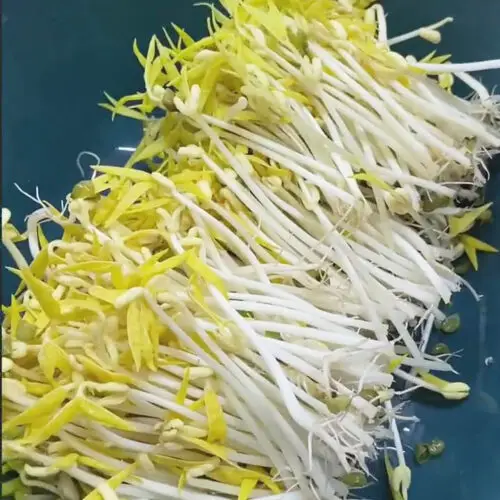
- After 4 days, you’ll have beautiful bean sprouts that are ready to eat! Lift off the mung bean sprouts from the container, turn it over, grab the gauze, and give it a gentle shake to help the bean skins fall off. You can also remove the skins with your fingers and let them slip off from the seeds.

- It takes 4 or more days to grow 2-inch mung bean sprouts.
- Wait for 6 days if you want longer mung bean sprouts.
- If you prefer shorter sprouts, you can check within 2 days.
- Snip off the stems from the gauze using clean kitchen shears. Rinse it well before cooking.
How To Sprout Mung Beans (A 10-Step Detailed Guide)
Equipment
- Heat-resistant container
- Sprouting container
- Cloth gauze
- Damp cloth towel
- Heavy object
- Kitchen shears
Ingredients
- 200 g of mung beans with shell green
- Hot water used to soak mung beans overnight
- Clean filtered water for rinsing
Instructions
Place the mung beans in a clean bowl. Rinse well with clean, filtered water. Remove cracked mung beans, grains, and dirt.
- The mung beans should be thoroughly cleaned before proceeding with Step #2.
Pour hot water (50°C to 60°C) into a heat-resistant bowl and let mung beans soak overnight. Afterward, rinse and drain well.
- Do not rush the soaking step. The beans should soak as long as possible to let them sprout. After soaking, their size should become bigger.
- If the soaking step is not long enough, the beans won't sprout.
- Moreover, make sure to use hot water to reduce contamination.
Prepare your clean container with a sieve or a basket with large holes.
Lay down a piece of clean gauze and place the soaked and drained mung beans on top.
Place a clean damp towel on top, preferably a towel with good water absorbency.
- This helps create a dark environment and prevents flies or insects from getting into the mung beans during sprouting.
Place a heavy object on top to press down the mung beans. I used a container and filled it with water.
- Pressing down will help those sprouts stand up tall.
- Do this step only for the first night to initiate the sprouting process.
- Remove the weight for the next consecutive nights.
Check the mung beans on the next day, and you'll see those little buds popping up. After checking, cover it again with a damp towel.
Rinse them daily at least twice a day, one in the morning and another in the evening. Rinse with clean, filtered water while covered in a damp towel. After rinsing, put them back in a dark environment.
- Rinsing at least twice a day is important in preventing contamination, and keeping them fresh and healthy.
- I recommend using clean, filtered water for rinsing. You can also use boiled tap water and let it cool before using it as a rinse.
- Make sure to do the rinsing step while covered in a damp towel and avoid exposing the mung beans to bright light for too long. After rinsing, quickly put it back in a dark environment. Prolonged exposure to bright light can cause the mung beans to taste bitter and have a slightly pink stem.
After 4 days, you'll have beautiful bean sprouts that are ready to eat! Lift off the mung bean sprouts from the container, turn it over, grab the gauze, and give it a gentle shake to help the bean skins fall off. You can also remove the skins with your fingers and let them slip off from the seeds.
- It takes 4 or more days to grow 2-inch mung bean sprouts.
- Wait for 6 days if you want longer mung bean sprouts.
- If you prefer shorter sprouts, you can check within 2 days.

