If you have been following me for a while, you may have noticed how I frequently use lard in my recipes. And now, I have finally decided to make my own, which I share here in this in-depth guide to rendering pork fat into lard. Read on to learn about lard benefits, storage suggestions, ingredient tips, and detailed steps.
What Is Lard?
If some people love butter for adding a rich taste and texture to a dish, you’d be surprised to learn that lard is the same. Lard is a type of fat made from rendered pork fat. It is melted pork fat which can be achieved by heating the pan at a low temperature.
The fat melts into a lightly golden oil and then becomes buttery white when solidified. Although other types of fat like butter or vegetable shortening can do the job of lard, the taste of lard is unmatched because it adds a hint of pork that does not overpower the main flavor of your dish. Aside from flavor and texture benefits, lard is great for frying since it has a high smoke point that reduces oxidation.
Making your own lard at home is so much better than store-bought lard that contains preservatives. Plus, homemade lard is cheaper. Lard has several benefits for cooking, but just make sure not to consume excessively since animal fats contain cholesterol.
How To Use Lard
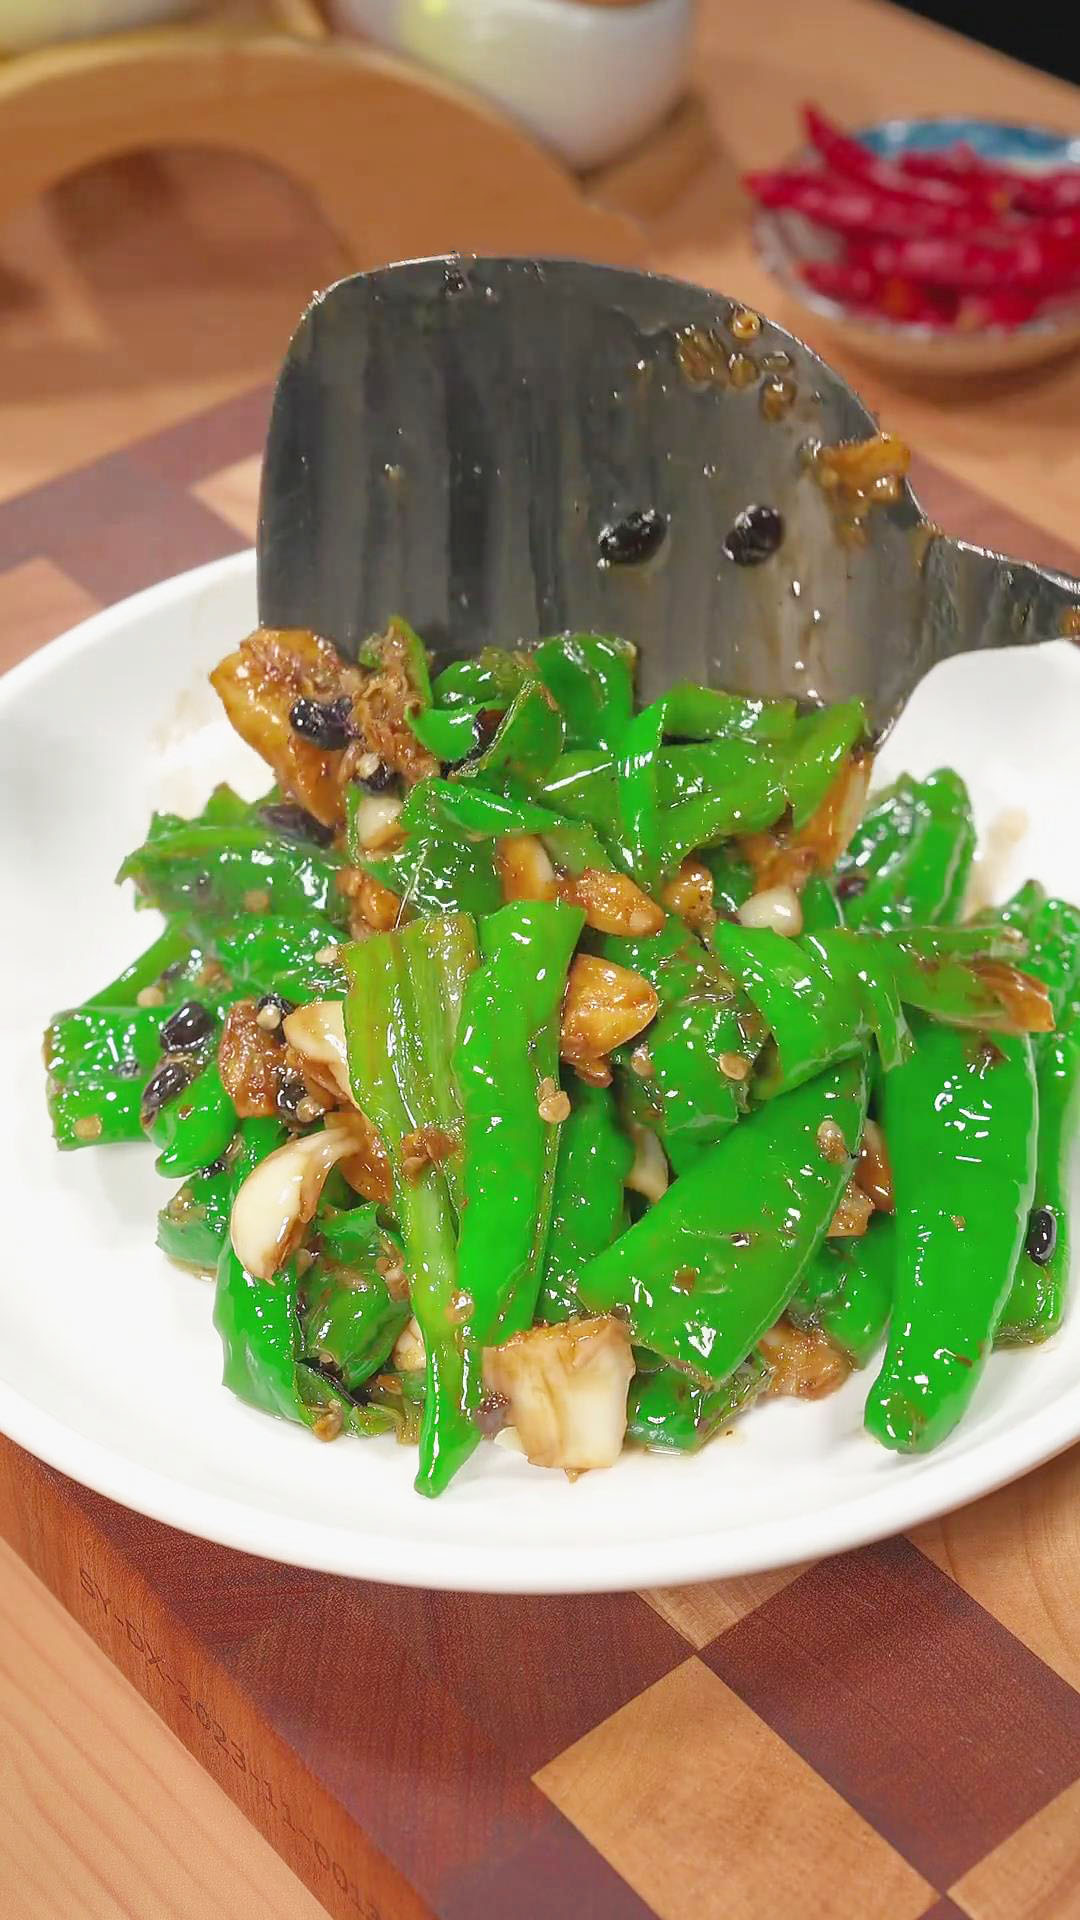
Once you have lard, you might forget about butter for a while. Use this to add a better flavor to pastries, bao buns, stir-fries, and dumplings. At the end of my recipe video, I showed an example of how I used lard for stir-fry.
I melted about a tablespoon of lard and stir-fried it with garlic and vegetables. For more details, you can refer to my Water Spinach Stir Fry recipe.
Here are my other recipes where I incorporated lard:
- Wife Cakes (Sweetheart Cakes)
- Suzhou Mooncake
- Char Siu Bao
- Steamed Fish (Chinese-Style)
- Steamed Salted Egg Yolk Buns (Liu Sha Bao/流沙包)
- Gluten-Free Dumplings (Taro Dumpling Skin)
- Pork And Shrimp Wonton Soup
- Wu Gok 芋角 (Deep-Fried Taro Dumpling Puffs)
- Red Bean Paste Buns
- Black Sesame Steamed Buns
How To Store Your Homemade Lard
Homemade lard can be stored in the pantry at room temperature, in the fridge, or in the freezer. Whichever storage method you choose, make sure it is stored in an airtight container, such as a glass jar with a seal so that it won’t spoil easily and avoid contamination. If you notice the lard has a rancid smell or mold already, do not use it anymore since this is a sign of spoilage.
- Pantry: Keep it at room temperature in a sealed container and store it for a month or more. Make sure it is away from direct sunlight and moist areas.
- Fridge: Keep it for up to 6 months in a sealed container. You can cover the container with cheesecloth first before sealing the lid to let it absorb the moisture when cooled in the fridge. Use a clean serving spoon every time you want to scoop out lard to prevent contamination and spoilage.
- Freezer: Keep it longer than 6 months or up to a year in a sealed freezer-safe container. Before freezing, divide the solidified lard into small portions. You can freeze it in cubes or scoops so it will be a lot easier to take out what you need without thawing an entire batch. I don’t recommend thawing and refreezing lard for safety and quality purposes.
Check Out These Recipe Tips For Quality Lard
Avoid making a mistake and follow my top tips for achieving a great-tasting lard. I share below some do’s and don’ts and a further explanation of why a certain step is crucial.
- Choosing pork fat: I used 1kg of pork fat for the recipe. You can use pork fat from the loin or back. Chop the fat into smaller pieces to render the fat faster. If using beef fat, you can follow the same process of rendering pork fat to make beef tallow.
- Blanching the pork fat: Before rendering the fat, I blanched it first for 3 minutes with green onion, ginger, and cooking wine. Similar to how I prepare other Chinese soups, like Black Chicken Soup, blanching helps to remove foul odors and impurities. Moreover, it also removes scum and blood that comes out from the pork fat.
- Green onions: Add 1 green onion tied in a knot. No need to chop it into pieces. Blanching with green onion helps remove the stinky pork smell.
- Ginger: Aside from green onion, slices of ginger also help clean and remove the pork smell. I used 2 slices of ginger, about 1 inch long.
- Cooking wine: Cooking wine is known to tenderize meat and assist in dissolving fats. Apart from removing foul odors, cooking wine also counters the gamey flavors of pork fat. Moreover, it improves the flavor with its sweet and briny taste. You can use Shaoxing wine, cooking sake, dry sherry, red wine vinegar.
- Rendering the pork fat: The result you want after rendering pork fat is a clear and lightly golden liquid. When solidified, the lard becomes creamy white. The taste should be neutral and not have a strong pork taste. Check out these do’s and don’ts when rendering fat to produce these ideal lard results.
- Do not cook the fat on high heat. It is best to maintain a low heat. Otherwise, it will burn the fat and have a burnt and smoky taste. Since the fat is burned already, the liquid will not be lightly golden, but more on a deep rust color.
- Do not overcook the fat. You know it is overcooked when the edges of the pan start to char. If the fat is overcooked, the lard will have a stronger pork taste. You can still use it, but a strong pork taste may not be suitable for certain recipes such as pastries.
- Wait until all the pork cracklings float. When the pork cracklings float, the lard is usually ready. Although a small amount of fat will be melted before the cracklings float, avoid taking the initial melted fat out since it is not yet ready.
- Strain the melted fat through a strainer or cheesecloth. In this way, it separates the residue and bits of cracklings. If you do not strain it thoroughly, the lard may grow mold or spoil quickly.
- Using the leftover cracklings: After scooping out all the lard, you will be left with pieces of cracklings. If you don’t want this to go to waste, here are various ways to use them:
- Fry until super crispy and eat it as a snack.
- Incorporate it in stir-fried dishes and soups.
- Grind the crispy cracklings into bits and use them as a topping in dishes like salad or rice.
Prepare The Kitchenware And Ingredients
You will need a non-stick pot for boiling and rendering the fat and a soup ladle for easy scooping. To strain the melted fat, use a strainer or cheesecloth. Remember to use a heat-resistant glass jar with a lid when transferring the lard since it is going to be hot.
For the ingredients, here’s what you need:
- 1000g of pork fat
- 1 green onion
- 3slices of ginger
- 1 tablespoon of cooking wine
- Optional stir-fry recipe: minced garlic and your choice of vegetables
Follow The 10 Steps To Make Lard
In a nutshell, the recipe steps call for blanching, rendering, and straining. Watch my short tutorial video on Instagram or TikTok to learn more about each step. When you are done making lard, remember to tag me @kitchenmisadventures to share your finished lard.
Use your homemade lard for my recipes on pastries, buns, stir-fries, and dumplings. If you have tips and recommendations, you can leave a comment in the comments section. Here are the 10 easy steps to make lard:
- Slice the pork fat evenly into smaller pieces. Wear gloves to avoid oily hands if you wish. The smaller the pieces, the faster they render.

- Put the pork fat slices directly into a pot of water. The water should be just enough to submerge all the pork fat pieces.
- Add green onion, ginger slices, and a dash of cooking wine.

- Blanch for 3 minutes. Then, remove the blanched pork fat and drain the water.

- Pour a bowl of water into the iron pot for rendering. Adding water helps prevent the pork fat at the bottom from burning and allows the fat to render slowly.

- Place the pork fat in the pot and start boiling it on medium heat. Boil until the water starts to evaporate and the oil is released.

- Lower the fire to low heat. Maintain low heat throughout the rendering process. This assures a white and fragrant lard without the burnt or smoky taste.
- After about fifteen minutes, the cracklings float and the lard is ready. It should have a light golden color.

- Strain the lard to separate residue and bits of cracklings. Transfer the lard to a heat-resistant container and refrigerate overnight. Allow the lard to cool down before storing in the fridge.


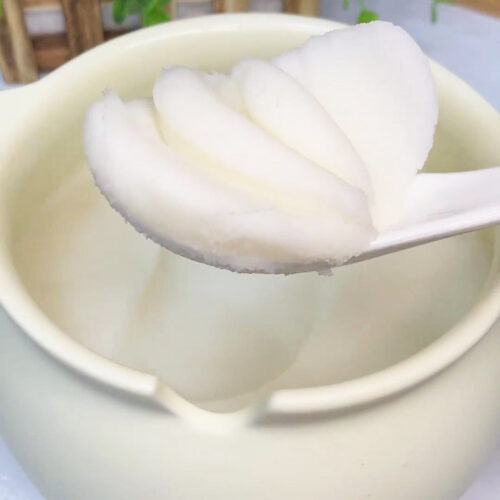
- After refrigerating, you will have a white solidified lard. At the end of my recipe video, I melted about a tablespoon of lard in the pan and stir-fried minced garlic and green vegetables.
How to Make Lard From Pork Fat
Ingredients
- 1000 g of pork fat
- 1 green onion
- 3 slices of ginger
- 1 tablespoon of cooking wine
Instructions
- Slice the pork fat evenly into smaller pieces. Wear gloves to avoid oily hands if you wish. The smaller the pieces, the faster they render.
- Put the pork fat slices directly into a pot of water. The water should be just enough to submerge all the pork fat pieces.
- Add green onion, ginger slices, and a dash of cooking wine.
- Blanch for 3 minutes. Then, remove the blanched pork fat and drain the water.
- Pour a bowl of water into the iron pot for rendering. Adding water helps prevent the pork fat at the bottom from burning and allows the fat to render slowly.
- Place the pork fat in the pot and start boiling it on medium heat. Boil until the water starts to evaporate and the oil is released.
- Lower the fire to low heat. Maintain low heat throughout the rendering process. This assures a white and fragrant lard without the burnt or smoky taste.
- After about fifteen minutes, the cracklings float and the lard is ready. It should have a light golden color.
- Strain the lard to separate residue and bits of cracklings. Transfer the lard to a heat-resistant container and refrigerate overnight. Allow the lard to cool down before storing in the fridge.
- After refrigerating, you will have a white solidified lard.