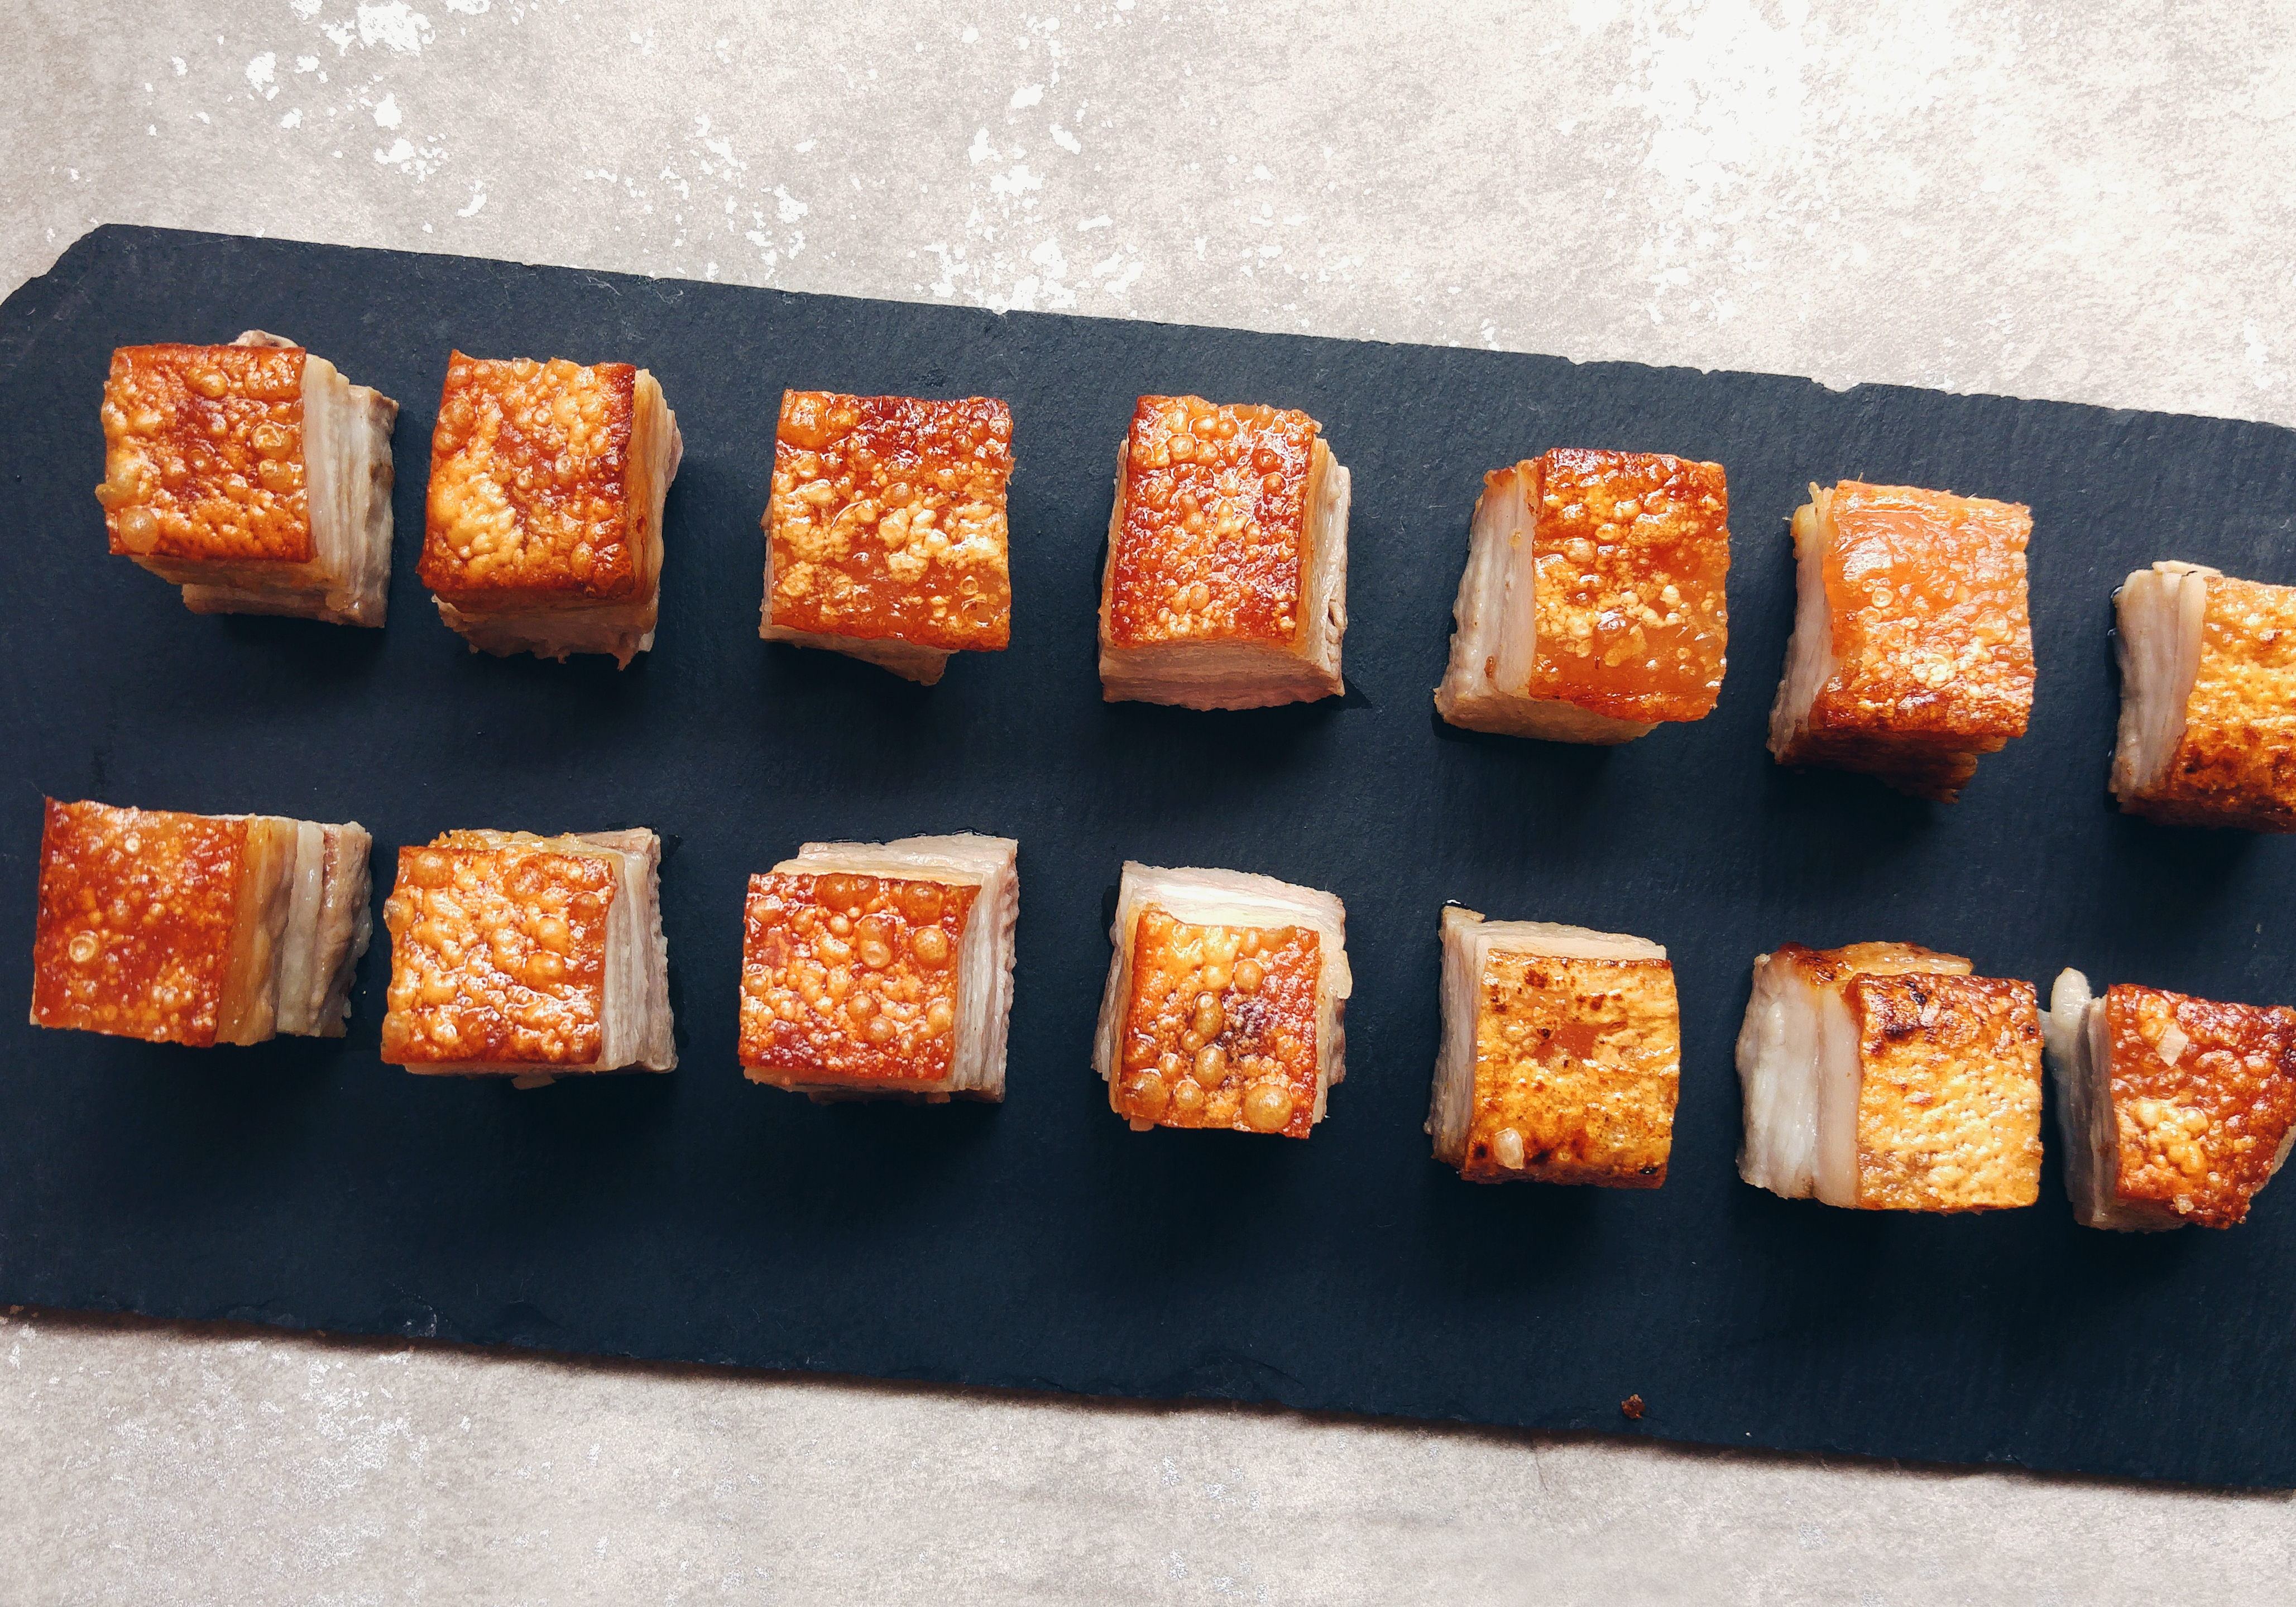
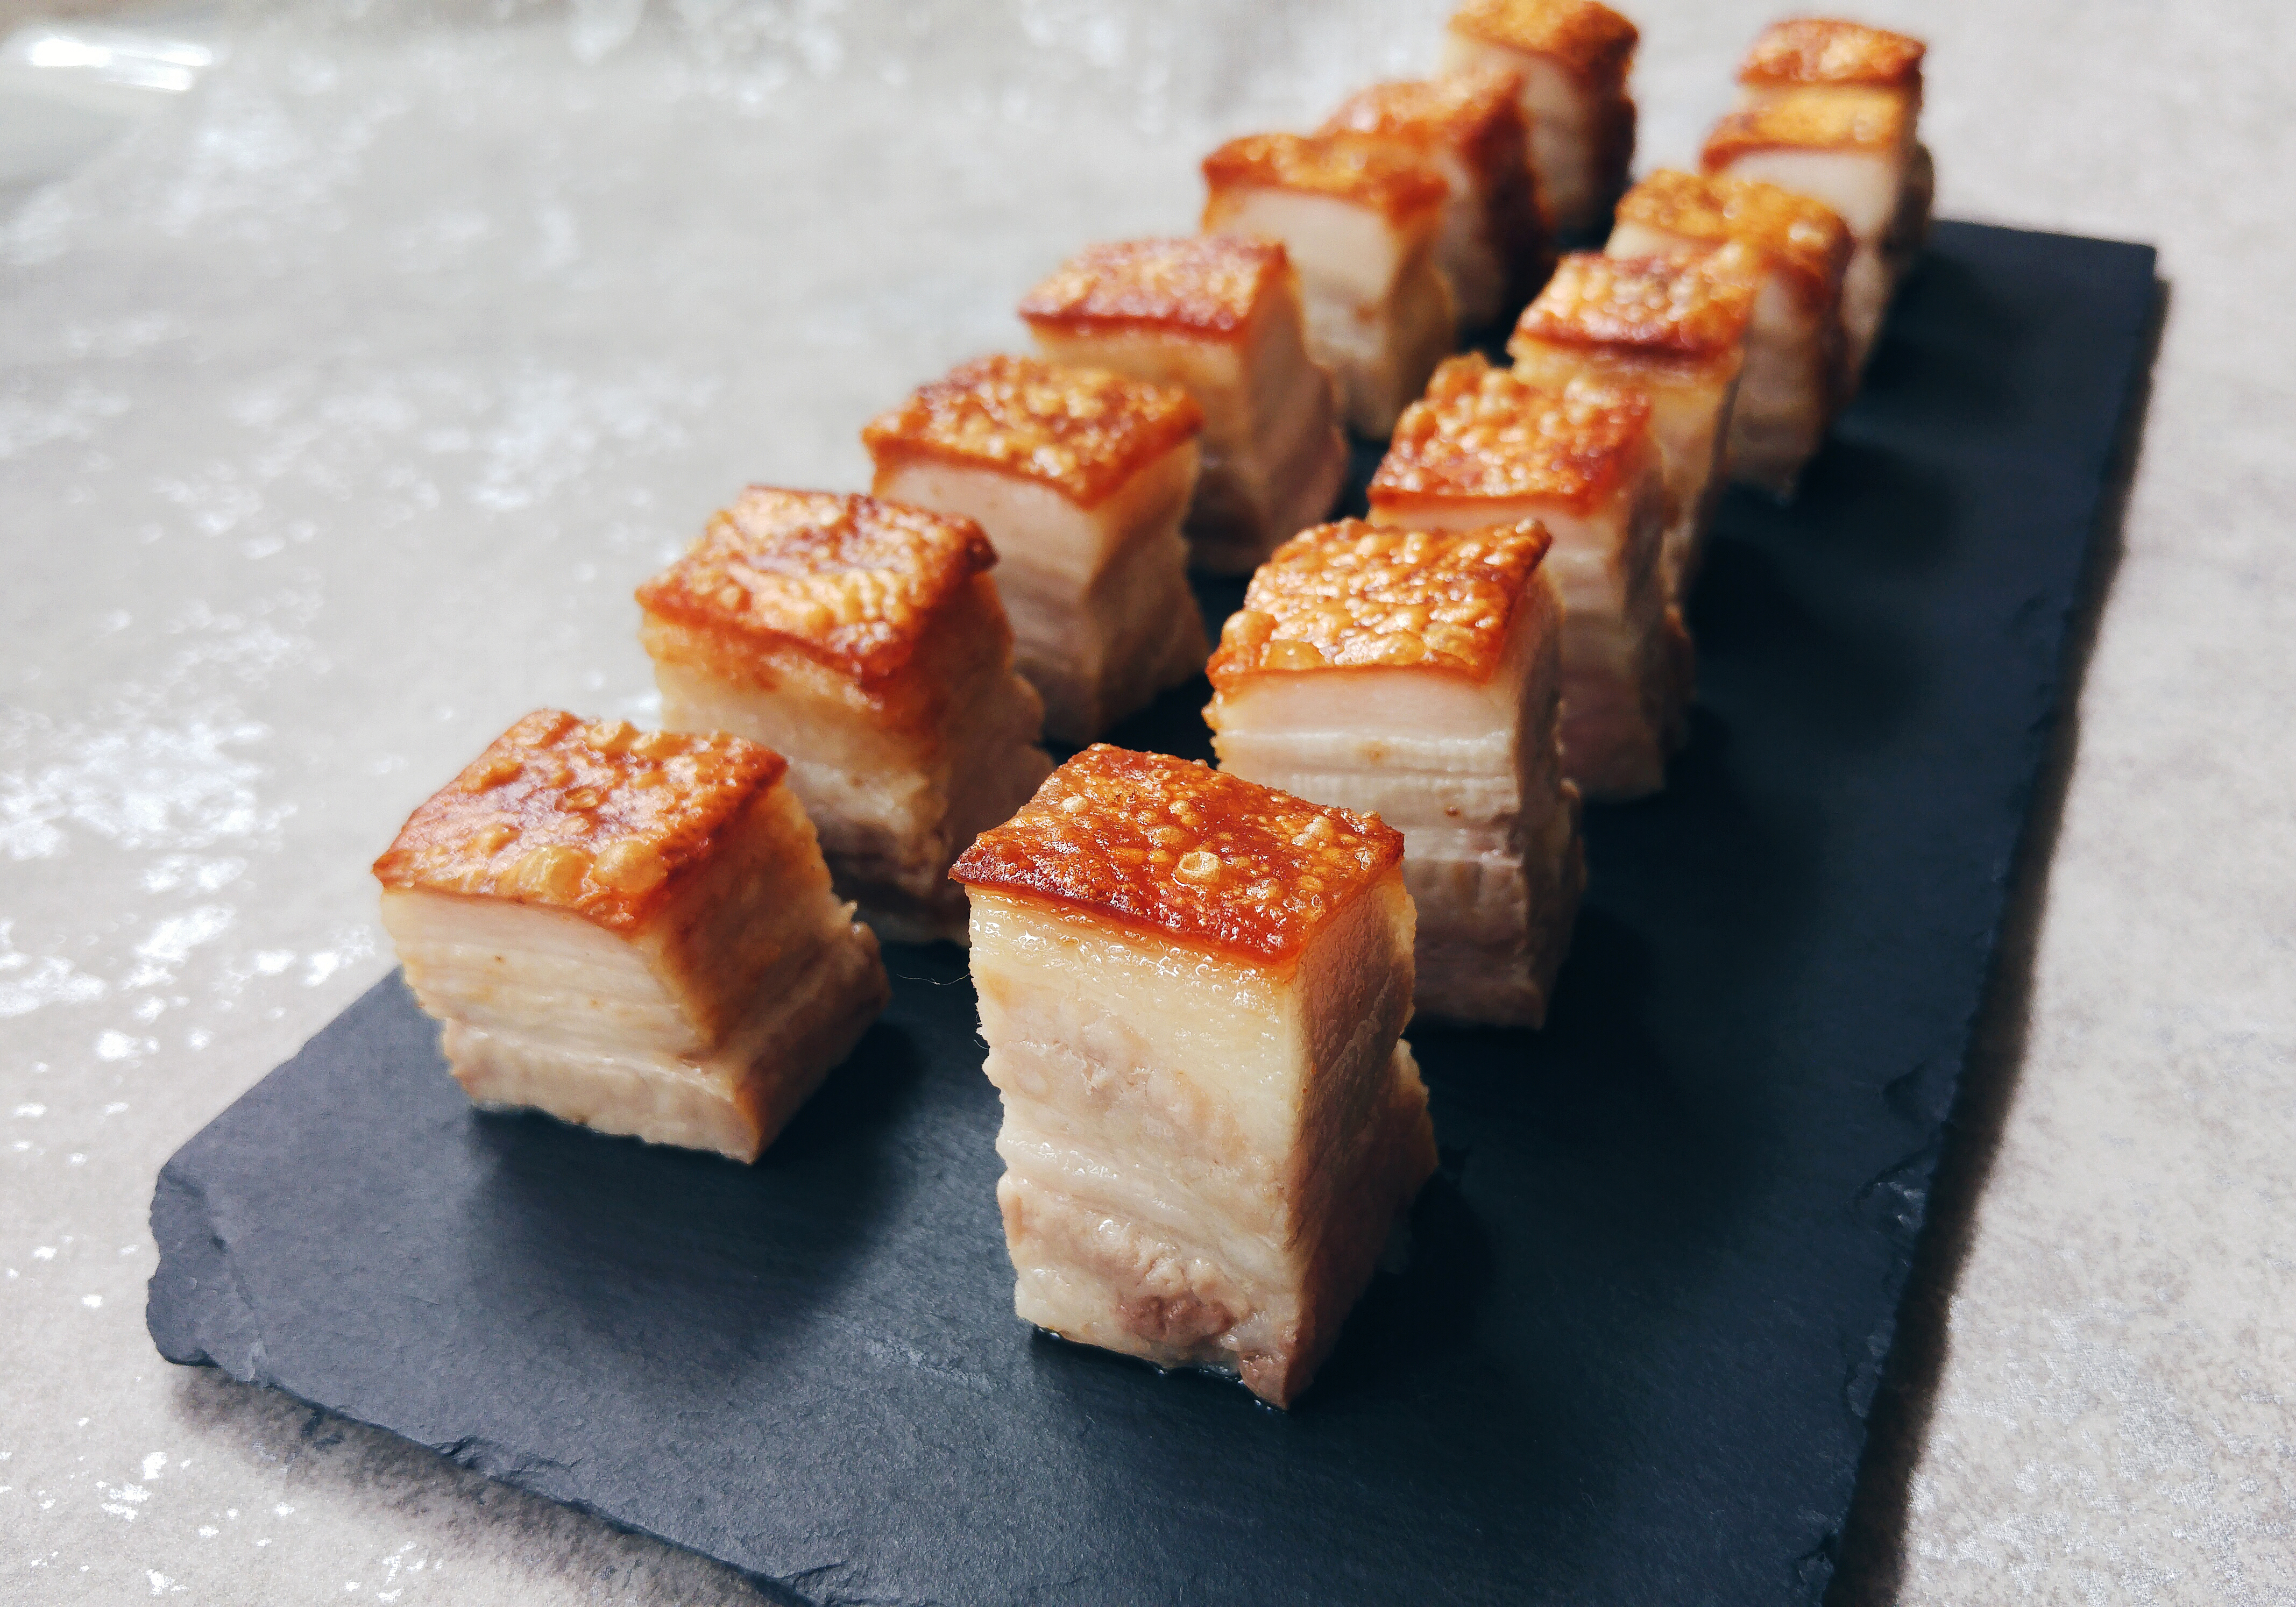
Roast pork belly is one of the occasional treats that I would have whenever I go to Crystal Jade with my family. Occasional not because it adds inches to my hips, but because it burns a hole in my parents’ pockets. I absolutely love roast pork belly – juicy, melt-in-your-mouth fats sandwiched between crispy crackling and tender, flavourful meat. They usually serve it as a plate of 10 small cubes at Crystal Jade, at the price of approximately $16.25 including GST. It’s so good but I can’t bear to spend so much on little cubes of meat that will disappear into my belly within seconds. So I decided to try making some crispy pork belly on my own – and turns out it’s really a lot easier than it seems!
All you really have to do is marinate the slab of meat overnight, and pop it into the oven the next day! It requires barely any effort and cooking skills – and the result is comparable to restaurant standard! Of course, it also depends largely on the quality of the meat you get. I bought pork belly from Giant supermarket once, and was really excited about my buy because the price per kilo is almost half that in NTUC. I did have slight hesitations about the quality because of the astoundingly low price, but decided to try it out anyway. And in the end, I was left sorely disappointed. There was a palpable difference between the meat quality from the two supermarkets, and I will never use pork belly from Giant again!
Usually people leave the pork belly as an entire block to roast in the oven, but I could only get mine in strips. I suppose there isn’t that much of a difference except that the pork belly strips will cook slightly faster since there’s a greater surface area exposed to heat.
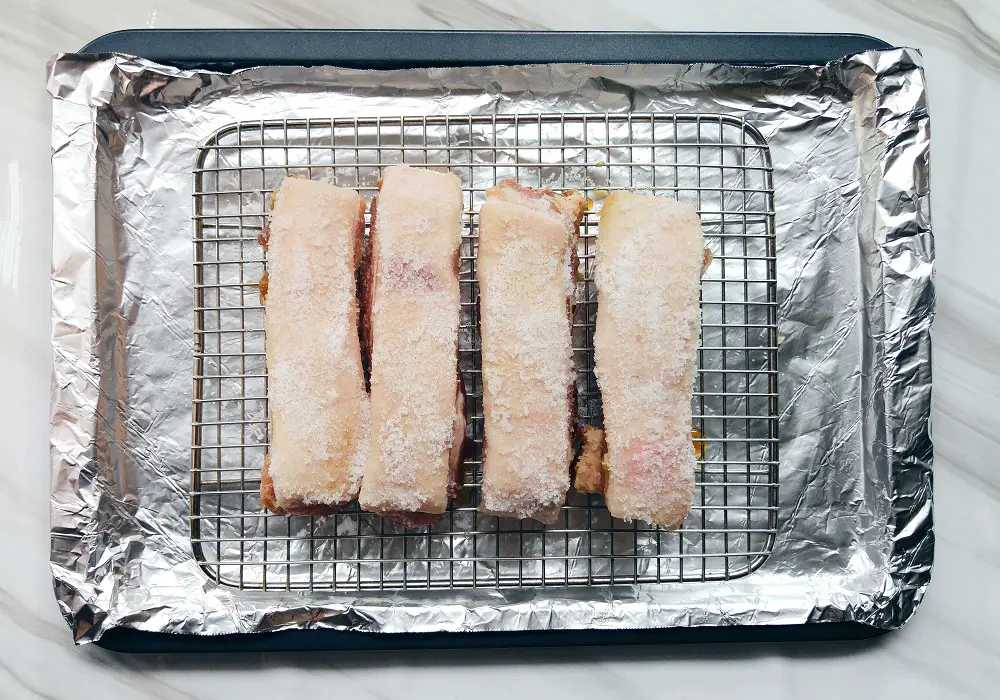
One important step is to cover the skin with a layer of salt before roasting in the oven. The salt helps to dry out the skin and make it crispy. Some may use a thicker layer of salt but I opted for less salt because 1) I didn’t want to waste too much salt and 2) I didn’t want the skin to taste too salty. And remember, line your baking tray with aluminium foil!! It makes cleaning up so much easier.
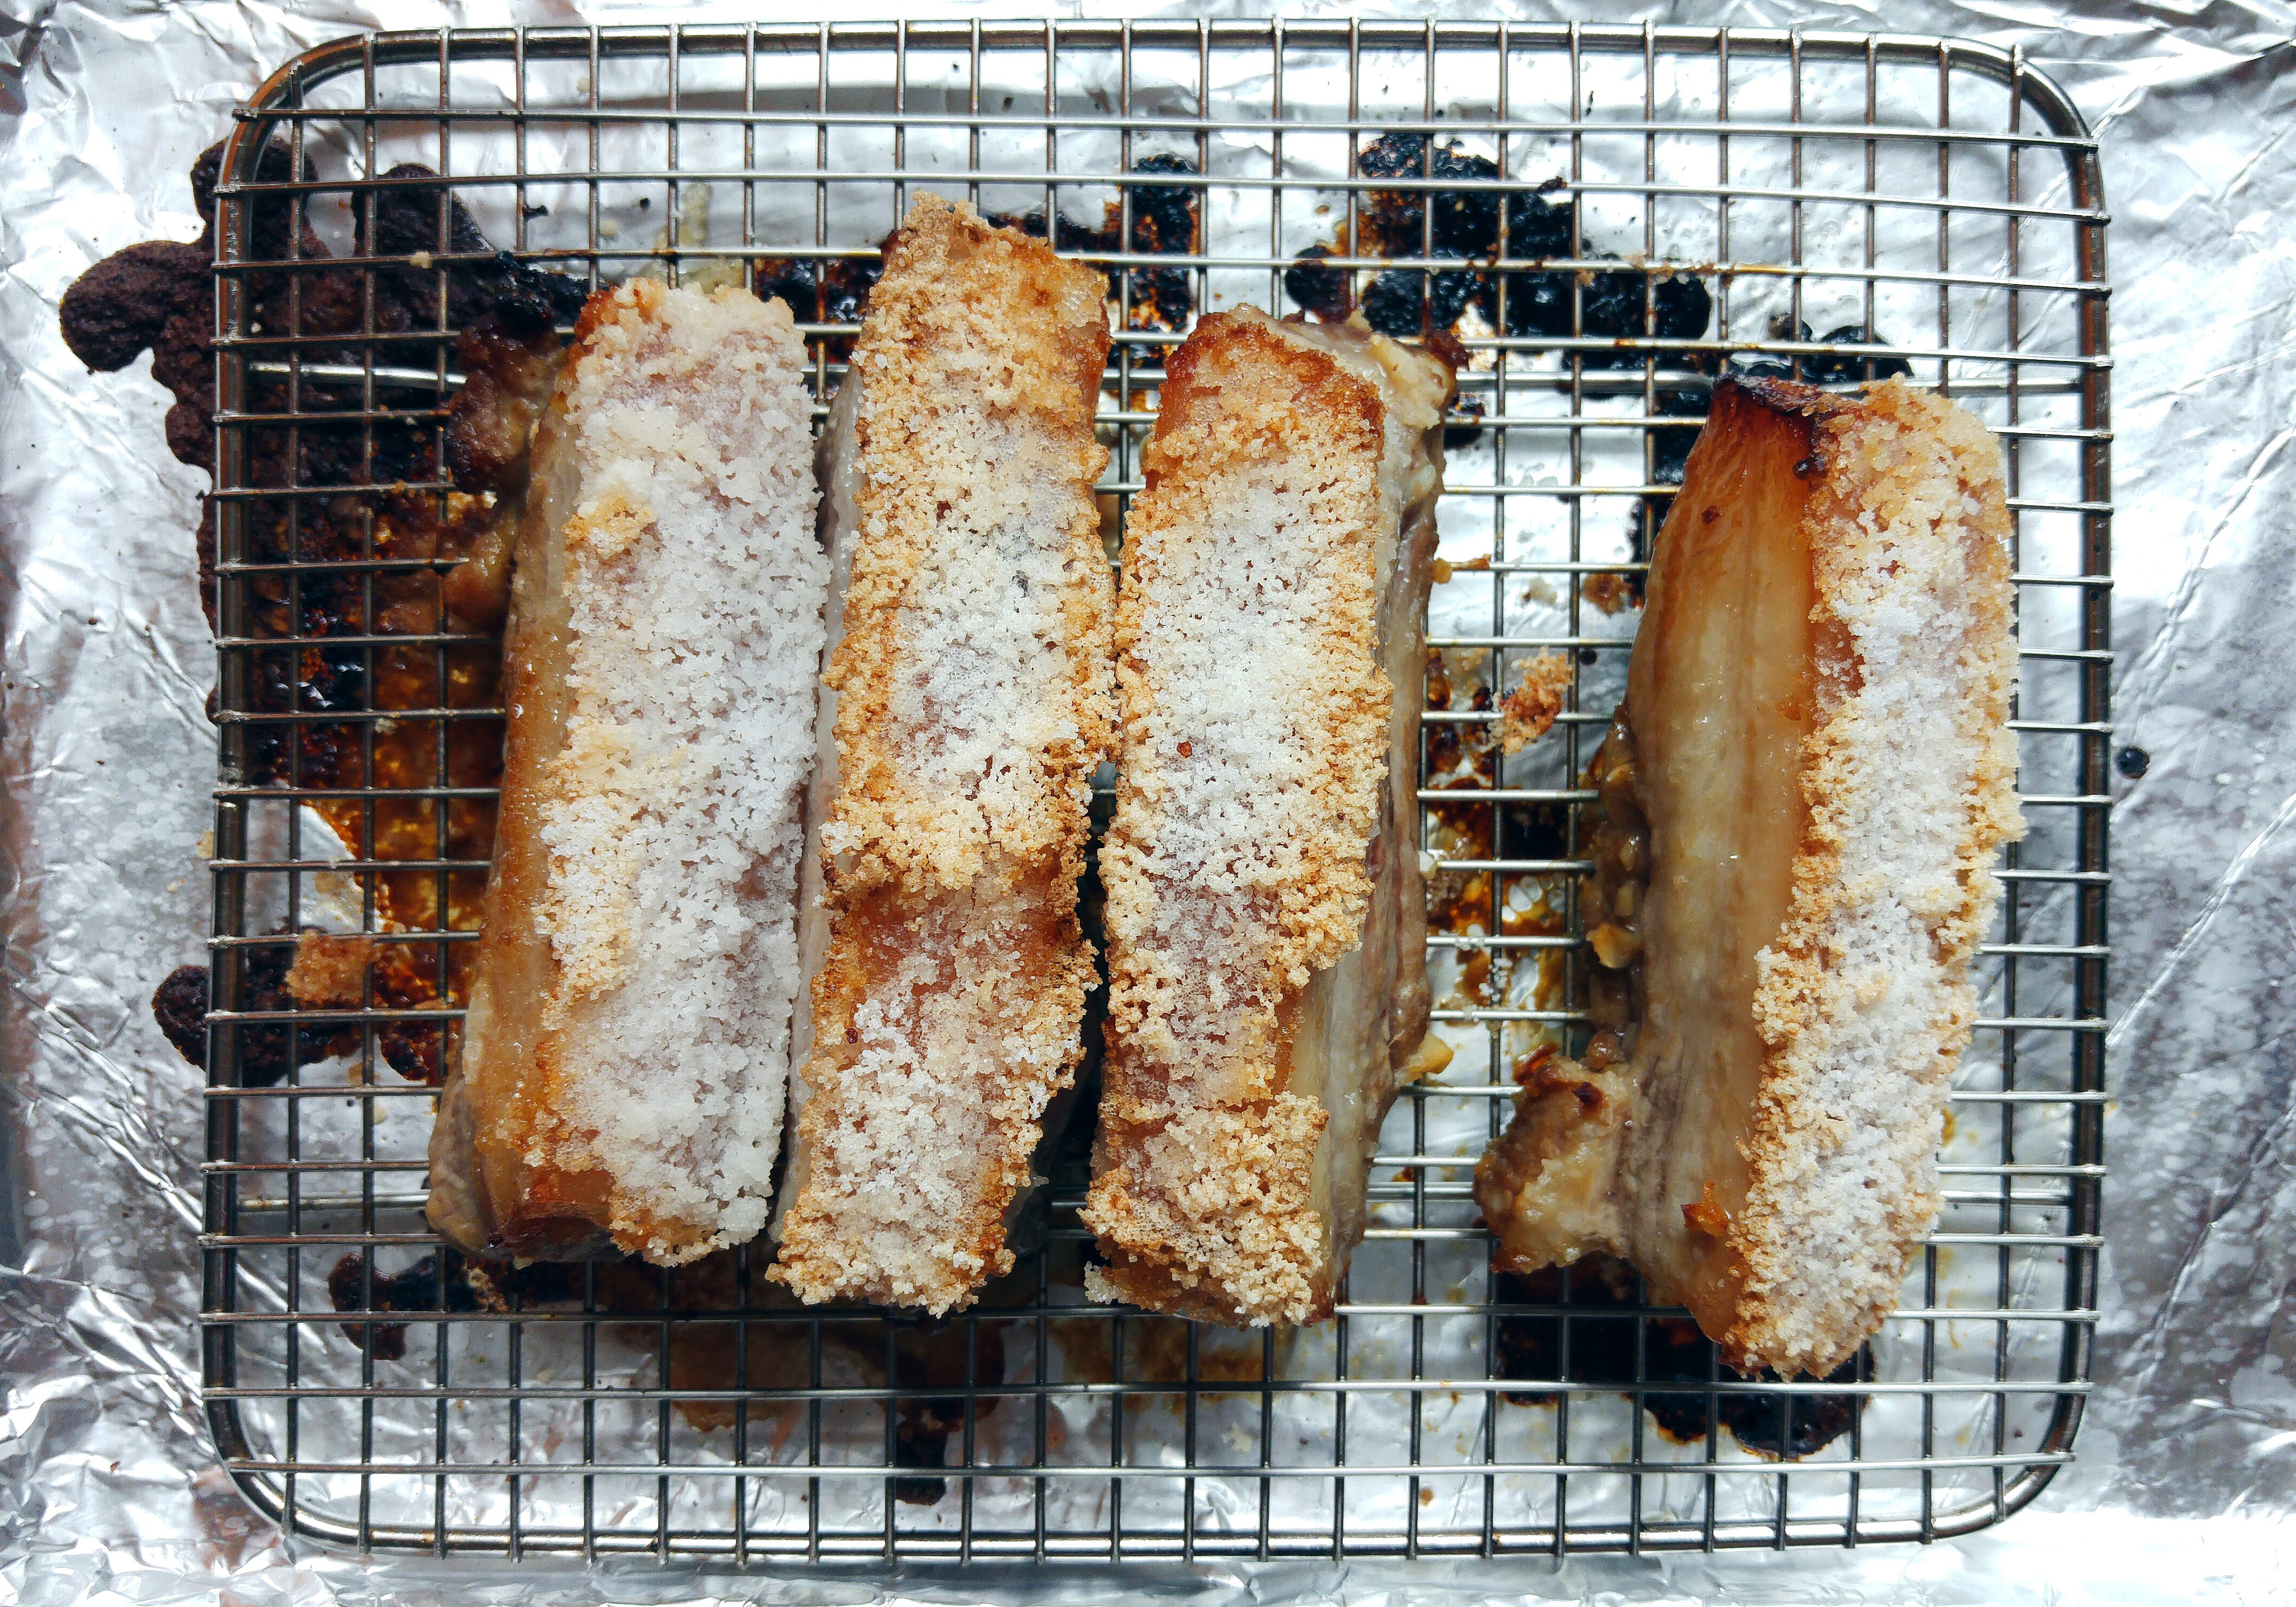
It was hard to get evenly-sized cubes because the meat I bought came in uneven heights, which means they don’t make for a perfect photo. Nevertheless, the taste of the final product was good! This is definitely a dish that ranks high on impressiveness level but low on difficulty, a perfect dish for bringing to a potluck party. I have to make this again sometime soon!
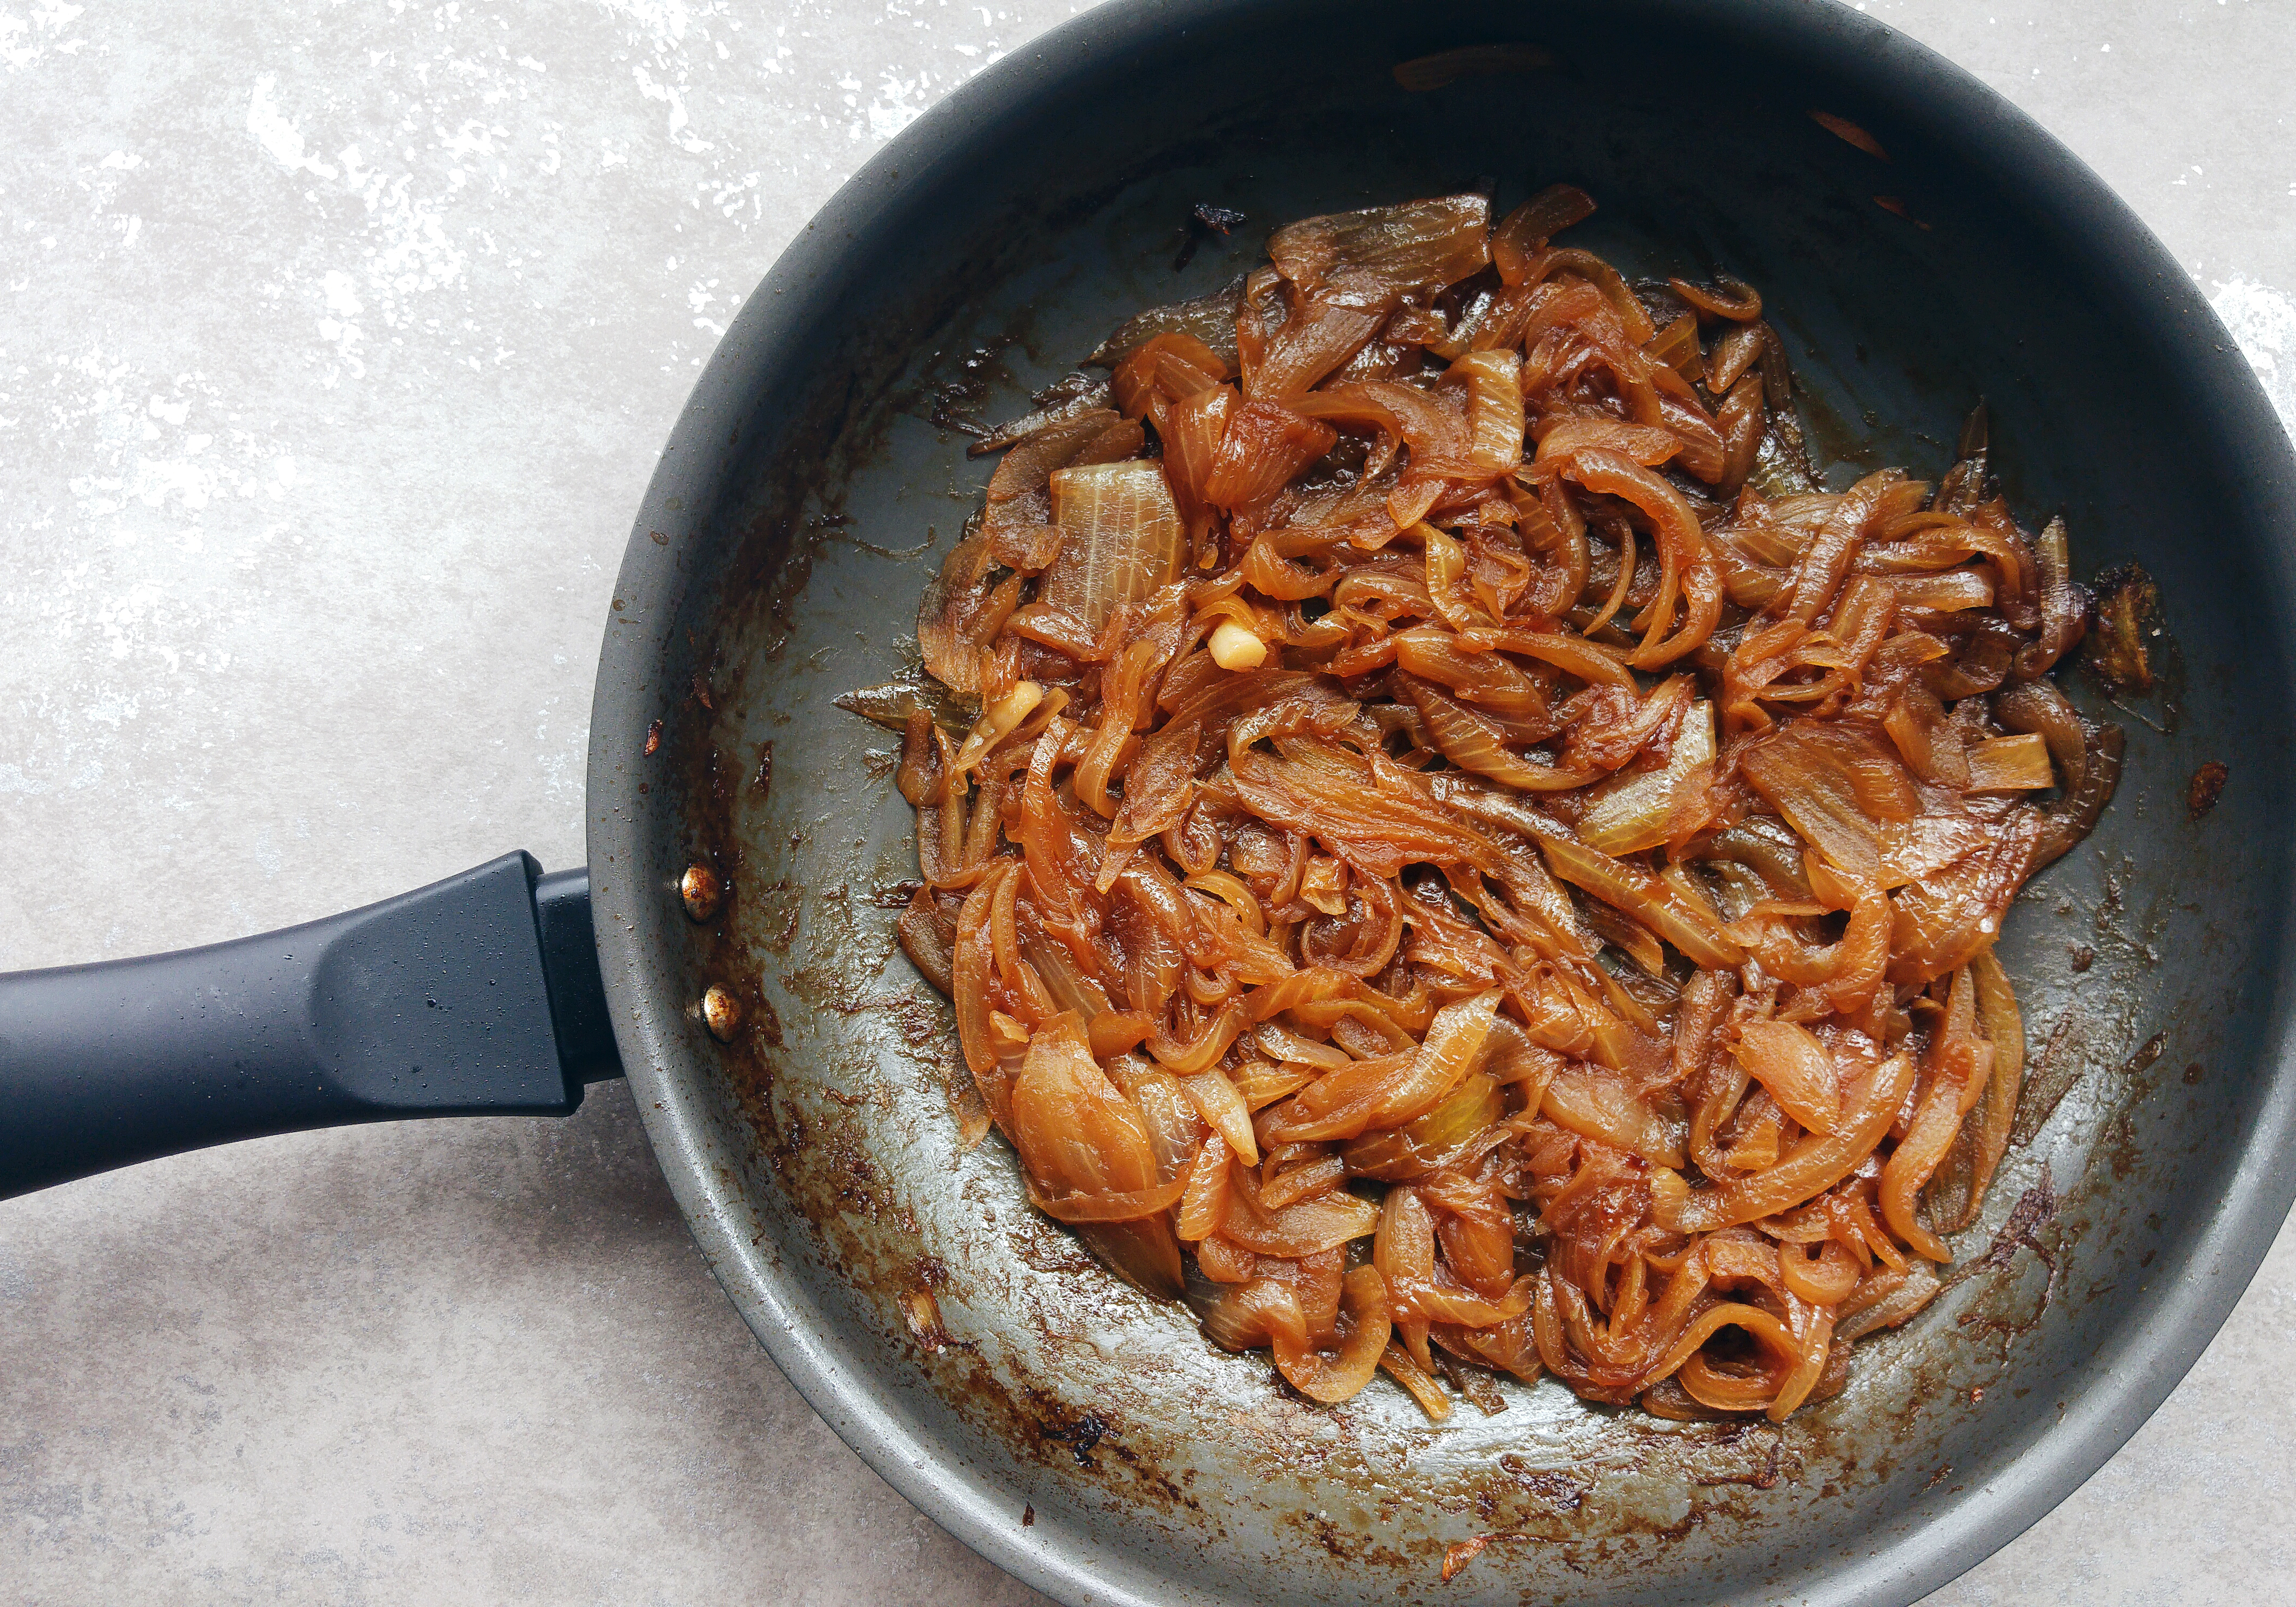
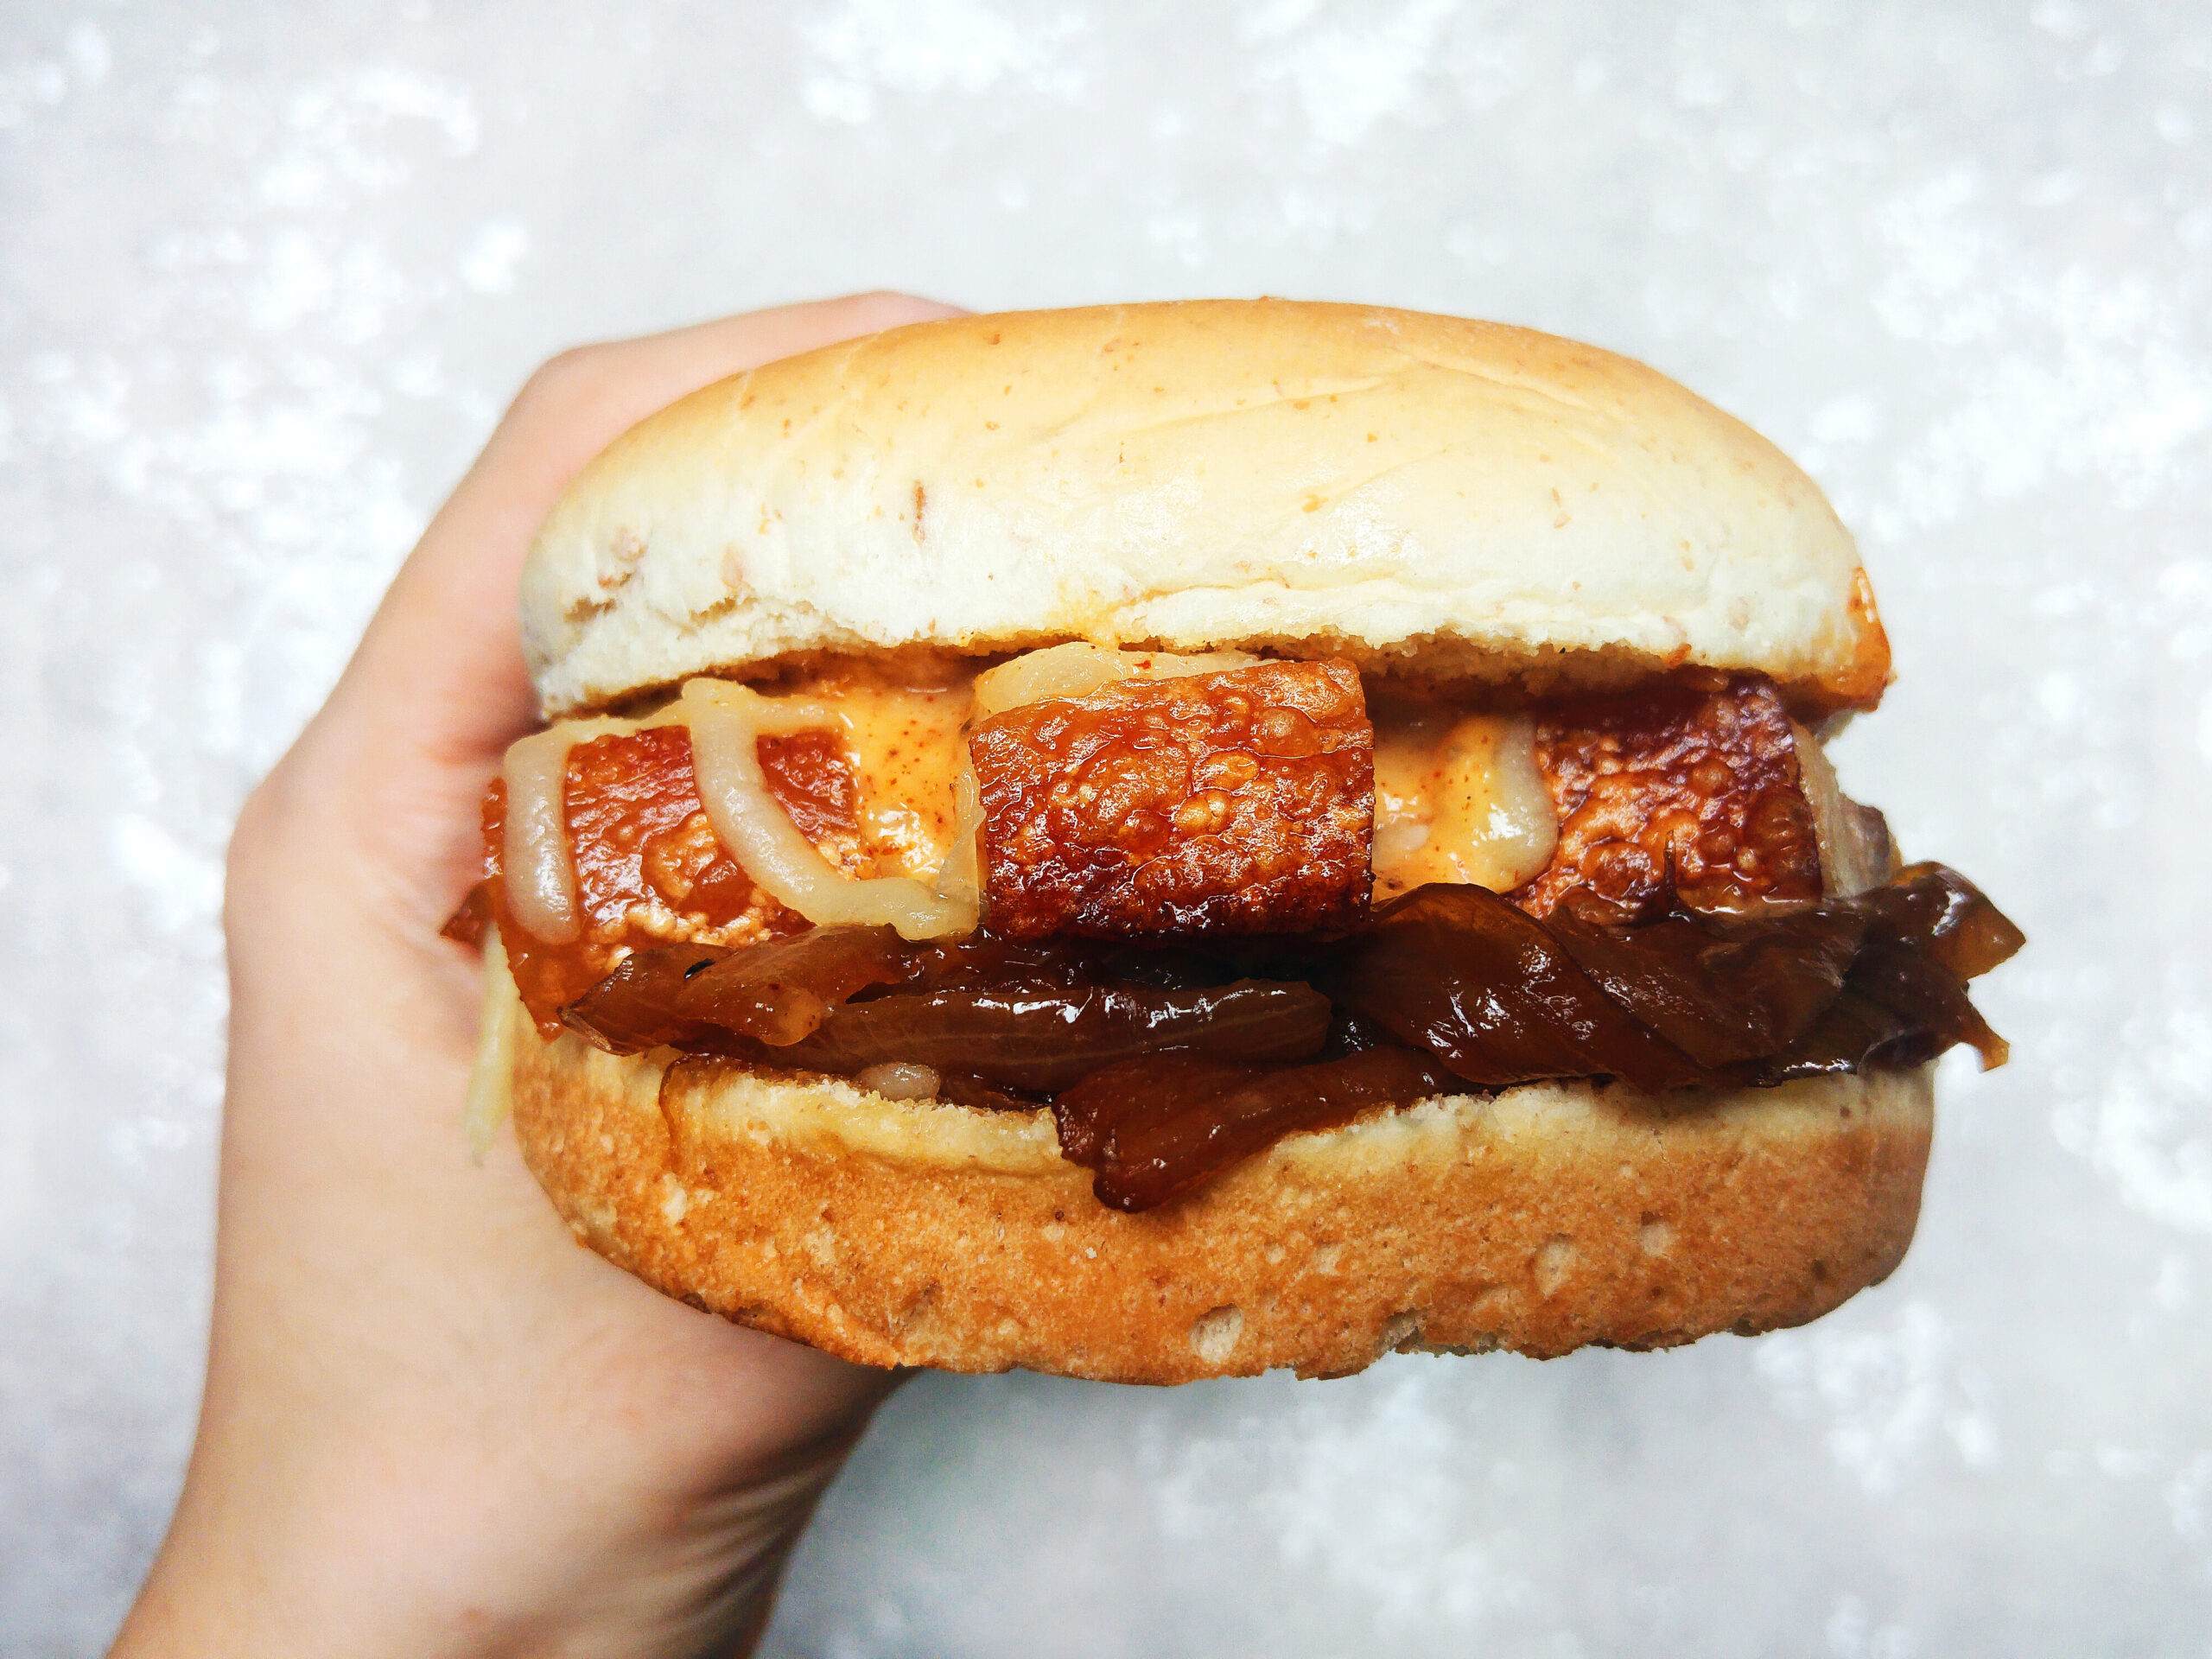
Decided to make some burgers out of the crispy roast pork belly so I went ahead to caramelize some onions, because deeply caramelized onions are the bomb. To really get good caramelized onions, you’d need to work at it for about an hour. But I couldn’t wait thaaaat long, so I spent about 25 minutes on my onions to get to this state, which I would say is kind of caramelized enough (to my liking).
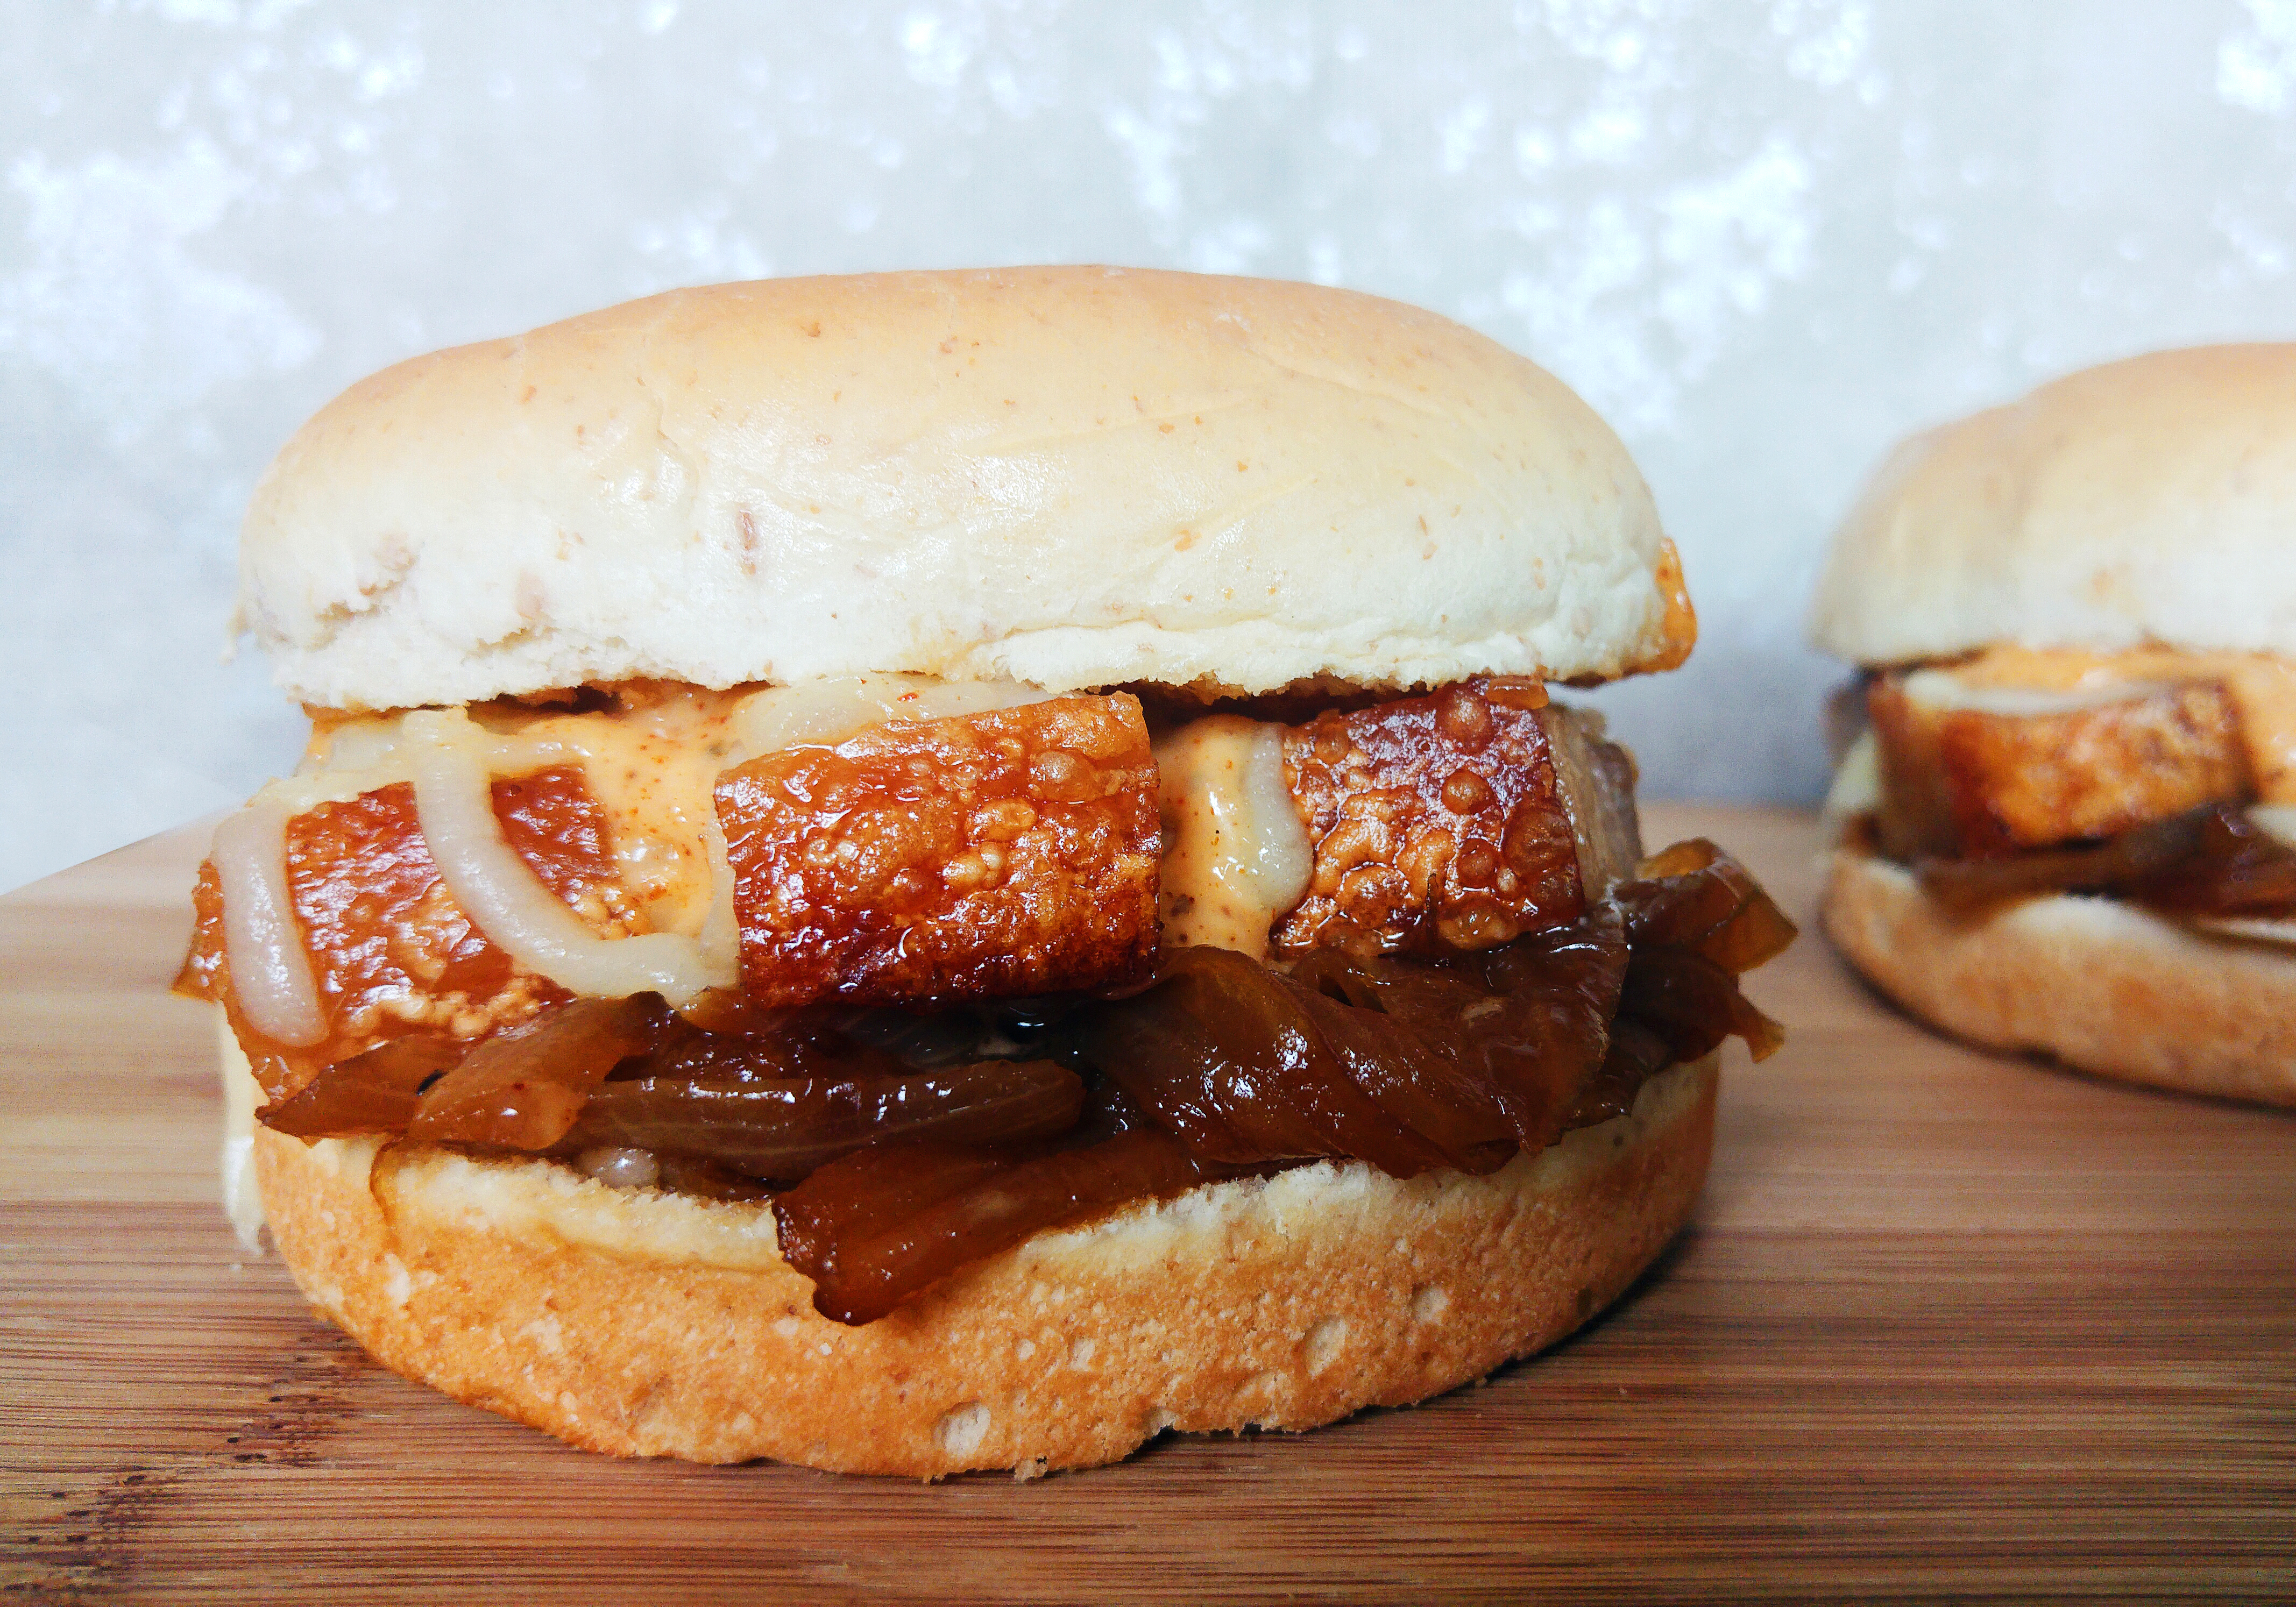
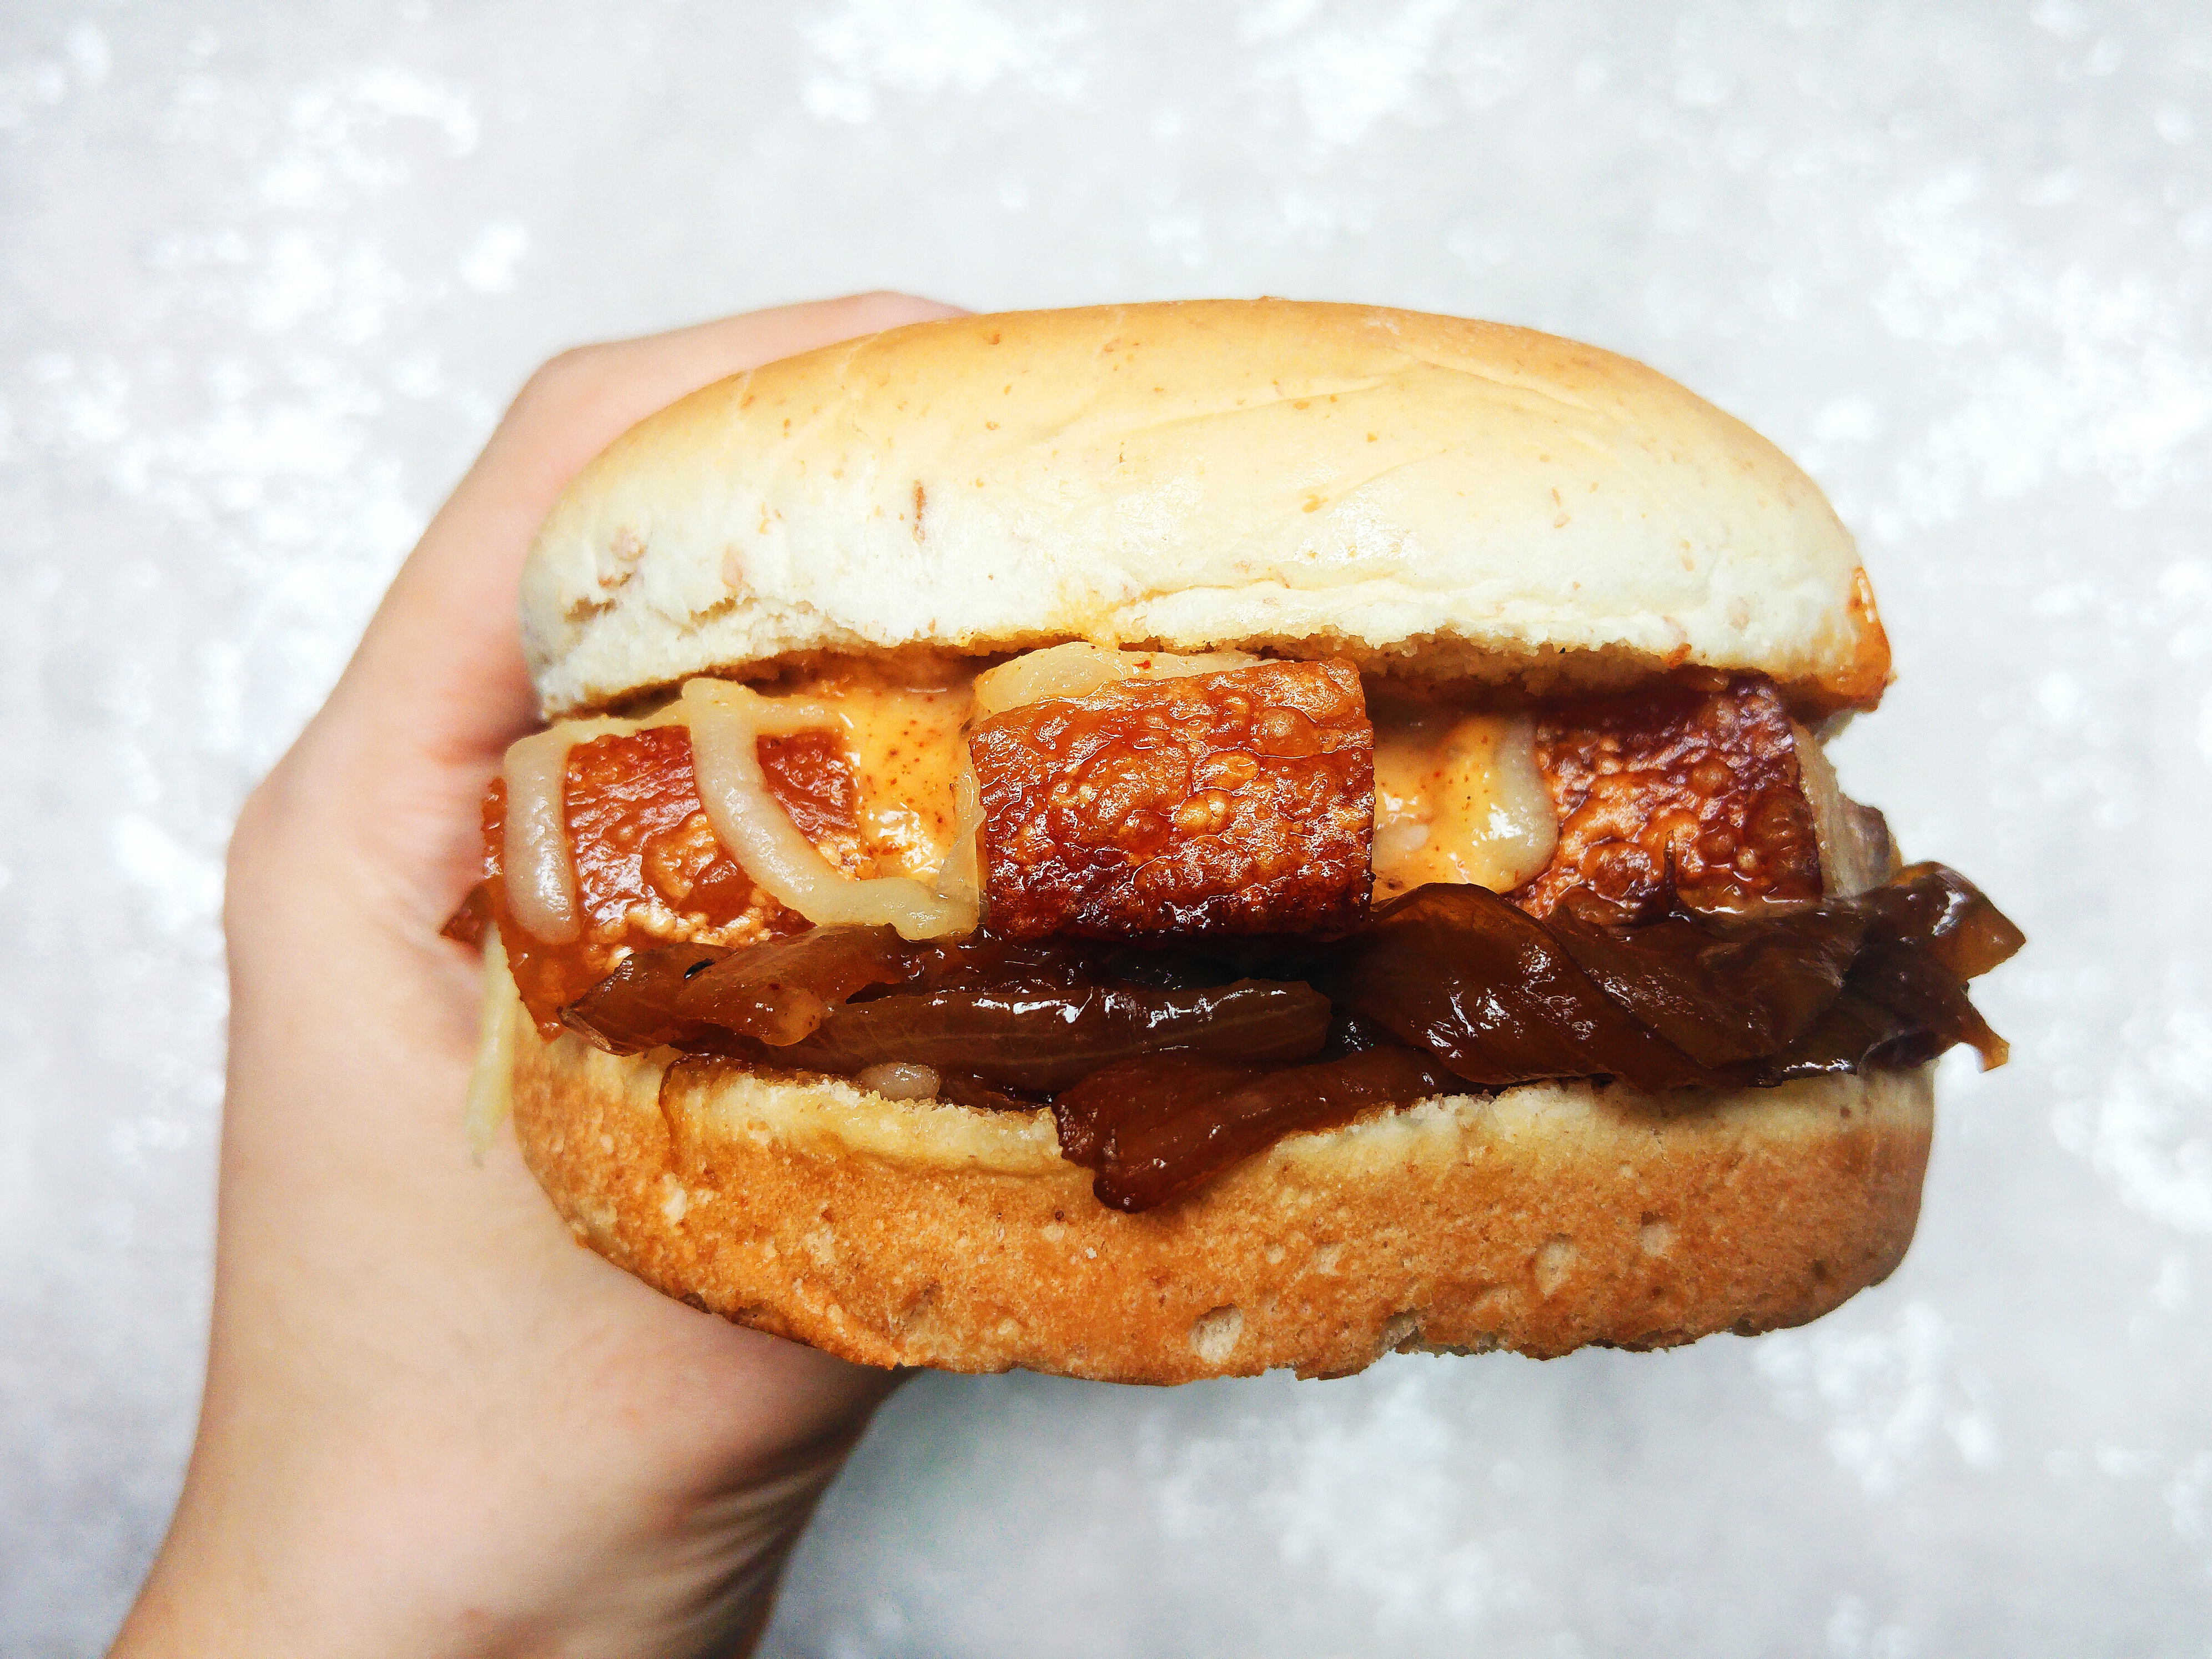
Topped off with some mozzarella cheese and mayonnaise, this crispy pork belly burger is really sweet, salty, crispy and juicy goodness all in one! Time to sink those teeth in!
DIY: ~$8.63 for 10 pieces
Dine out: ~$16.25 for 10 pieces (Crystal Jade)
Wow, you only spend half the amount you would spend in a restaurant if you make roast pork belly on your own! If you’re making in big batches, like 30-40 pieces and above, I think it’s highly worthwhile to do it on your own. It’s fun, there’s minimal effort required, and you’ll be really proud of yourself after tasting your own creation.
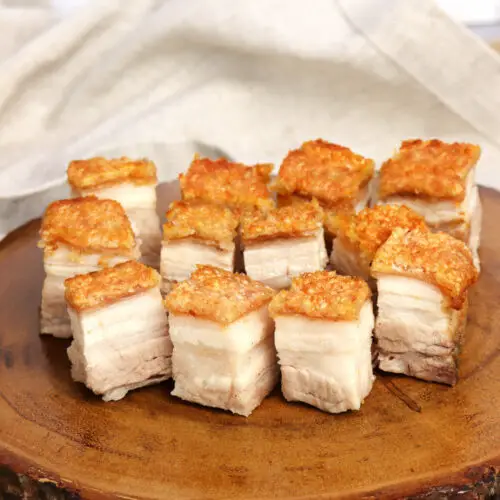
Crispy Pork Belly
Ingredients
- 500 g pork belly
- 4 tbsp light soya sauce
- 3 tbsp Chinese cooking wine
- 2 tbsp sugar
- 1 tsp five spice powder
- 1 tsp pepper
- salt (or coarse salt if you have)
Instructions
- Combine all ingredients (except salt) and pour marinade into a container big enough to contain the pork belly. Place pork belly into container skin side up, and leave pork belly to marinate in fridge overnight (at least 12 hours). This step adds more flavour to the meat, and helps to dry out the skin.
- The next day, preheat oven to 180°C. Remove pork belly from fridge and pat skin dry. Prick holes in the skin using any sharp metal object like a fork or metal skewer, then spread a layer of salt over the skin. The purpose of the salt is to prevent the skin from burning while roasting and also to absorb excess moisture on the skin.
- Line a roasting pan with aluminium foil. Place pork belly on a wire rack and then place wire rack onto the roasting pan. Add some water into the roasting pan as well, so that the drippings from the pork belly will cause too much smoke. Roast the pork belly for about 60 minutes, or longer if you can afford. The longer you roast, the more tender the meat.
- Remove pork belly from oven after 60 minutes, and remove salt crust that has formed on the surface as well as any excess salt. Switch oven to broiler mode. Then, return pork belly to oven and broil until the skin is golden brown and cripsy. This should take 15-25 minutes, depending on your oven as well. Do monitor the roast pork to make sure the skin doesn’t get burnt.
- Remove roast pork from oven and cut into squares. Serve with mustard or any preferred sauce.

