This post may contain affiliate links. Please read our disclosure policy.
Red bean paste is very commonly used in Chinese and Japanese pastries, from red bean pancakes to glutinous rice balls to dorayaki.
It’s amazing, or should I say alarming, how much sugar and oil the commercial red bean paste is laden with, and that’s something I never really thought about until I made red bean paste for myself.
I wanted to get store-bought red bean paste, but couldn’t find it at the supermarket, so I decided to make it from scratch.
I have to confess that while it isn’t difficult to make your own red bean paste, it’s rather time-consuming, so getting commercial red bean paste is definitely the easy way out.
But if you want a healthier option, you can make your own red bean paste as you will be able to control the amounts of sugar and oil that go into the paste.
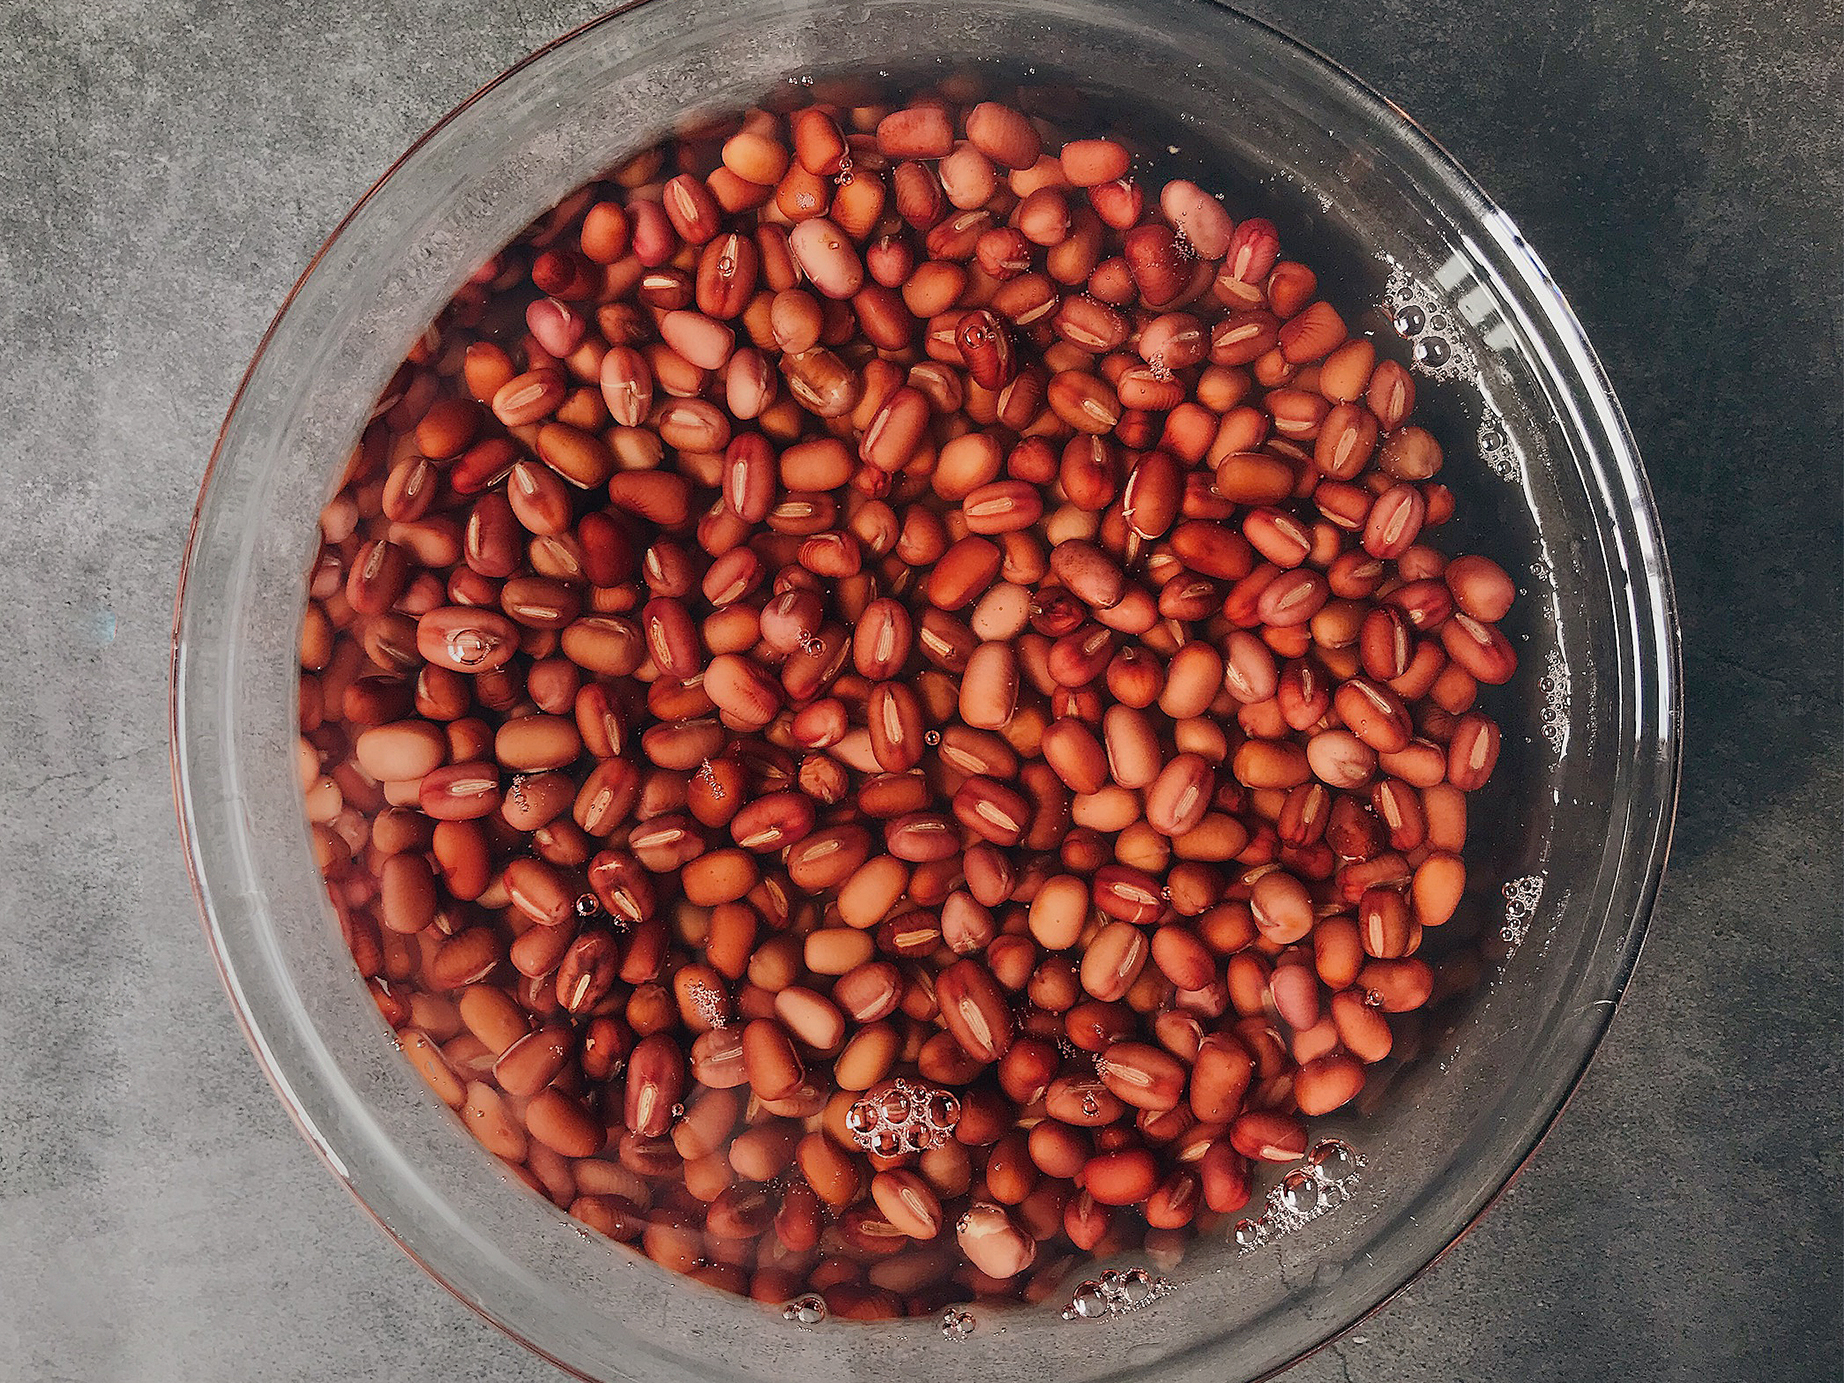
Highly crucial step: soak the red beans overnight for at least 8-12 hours. This will reduce the cooking time significantly.
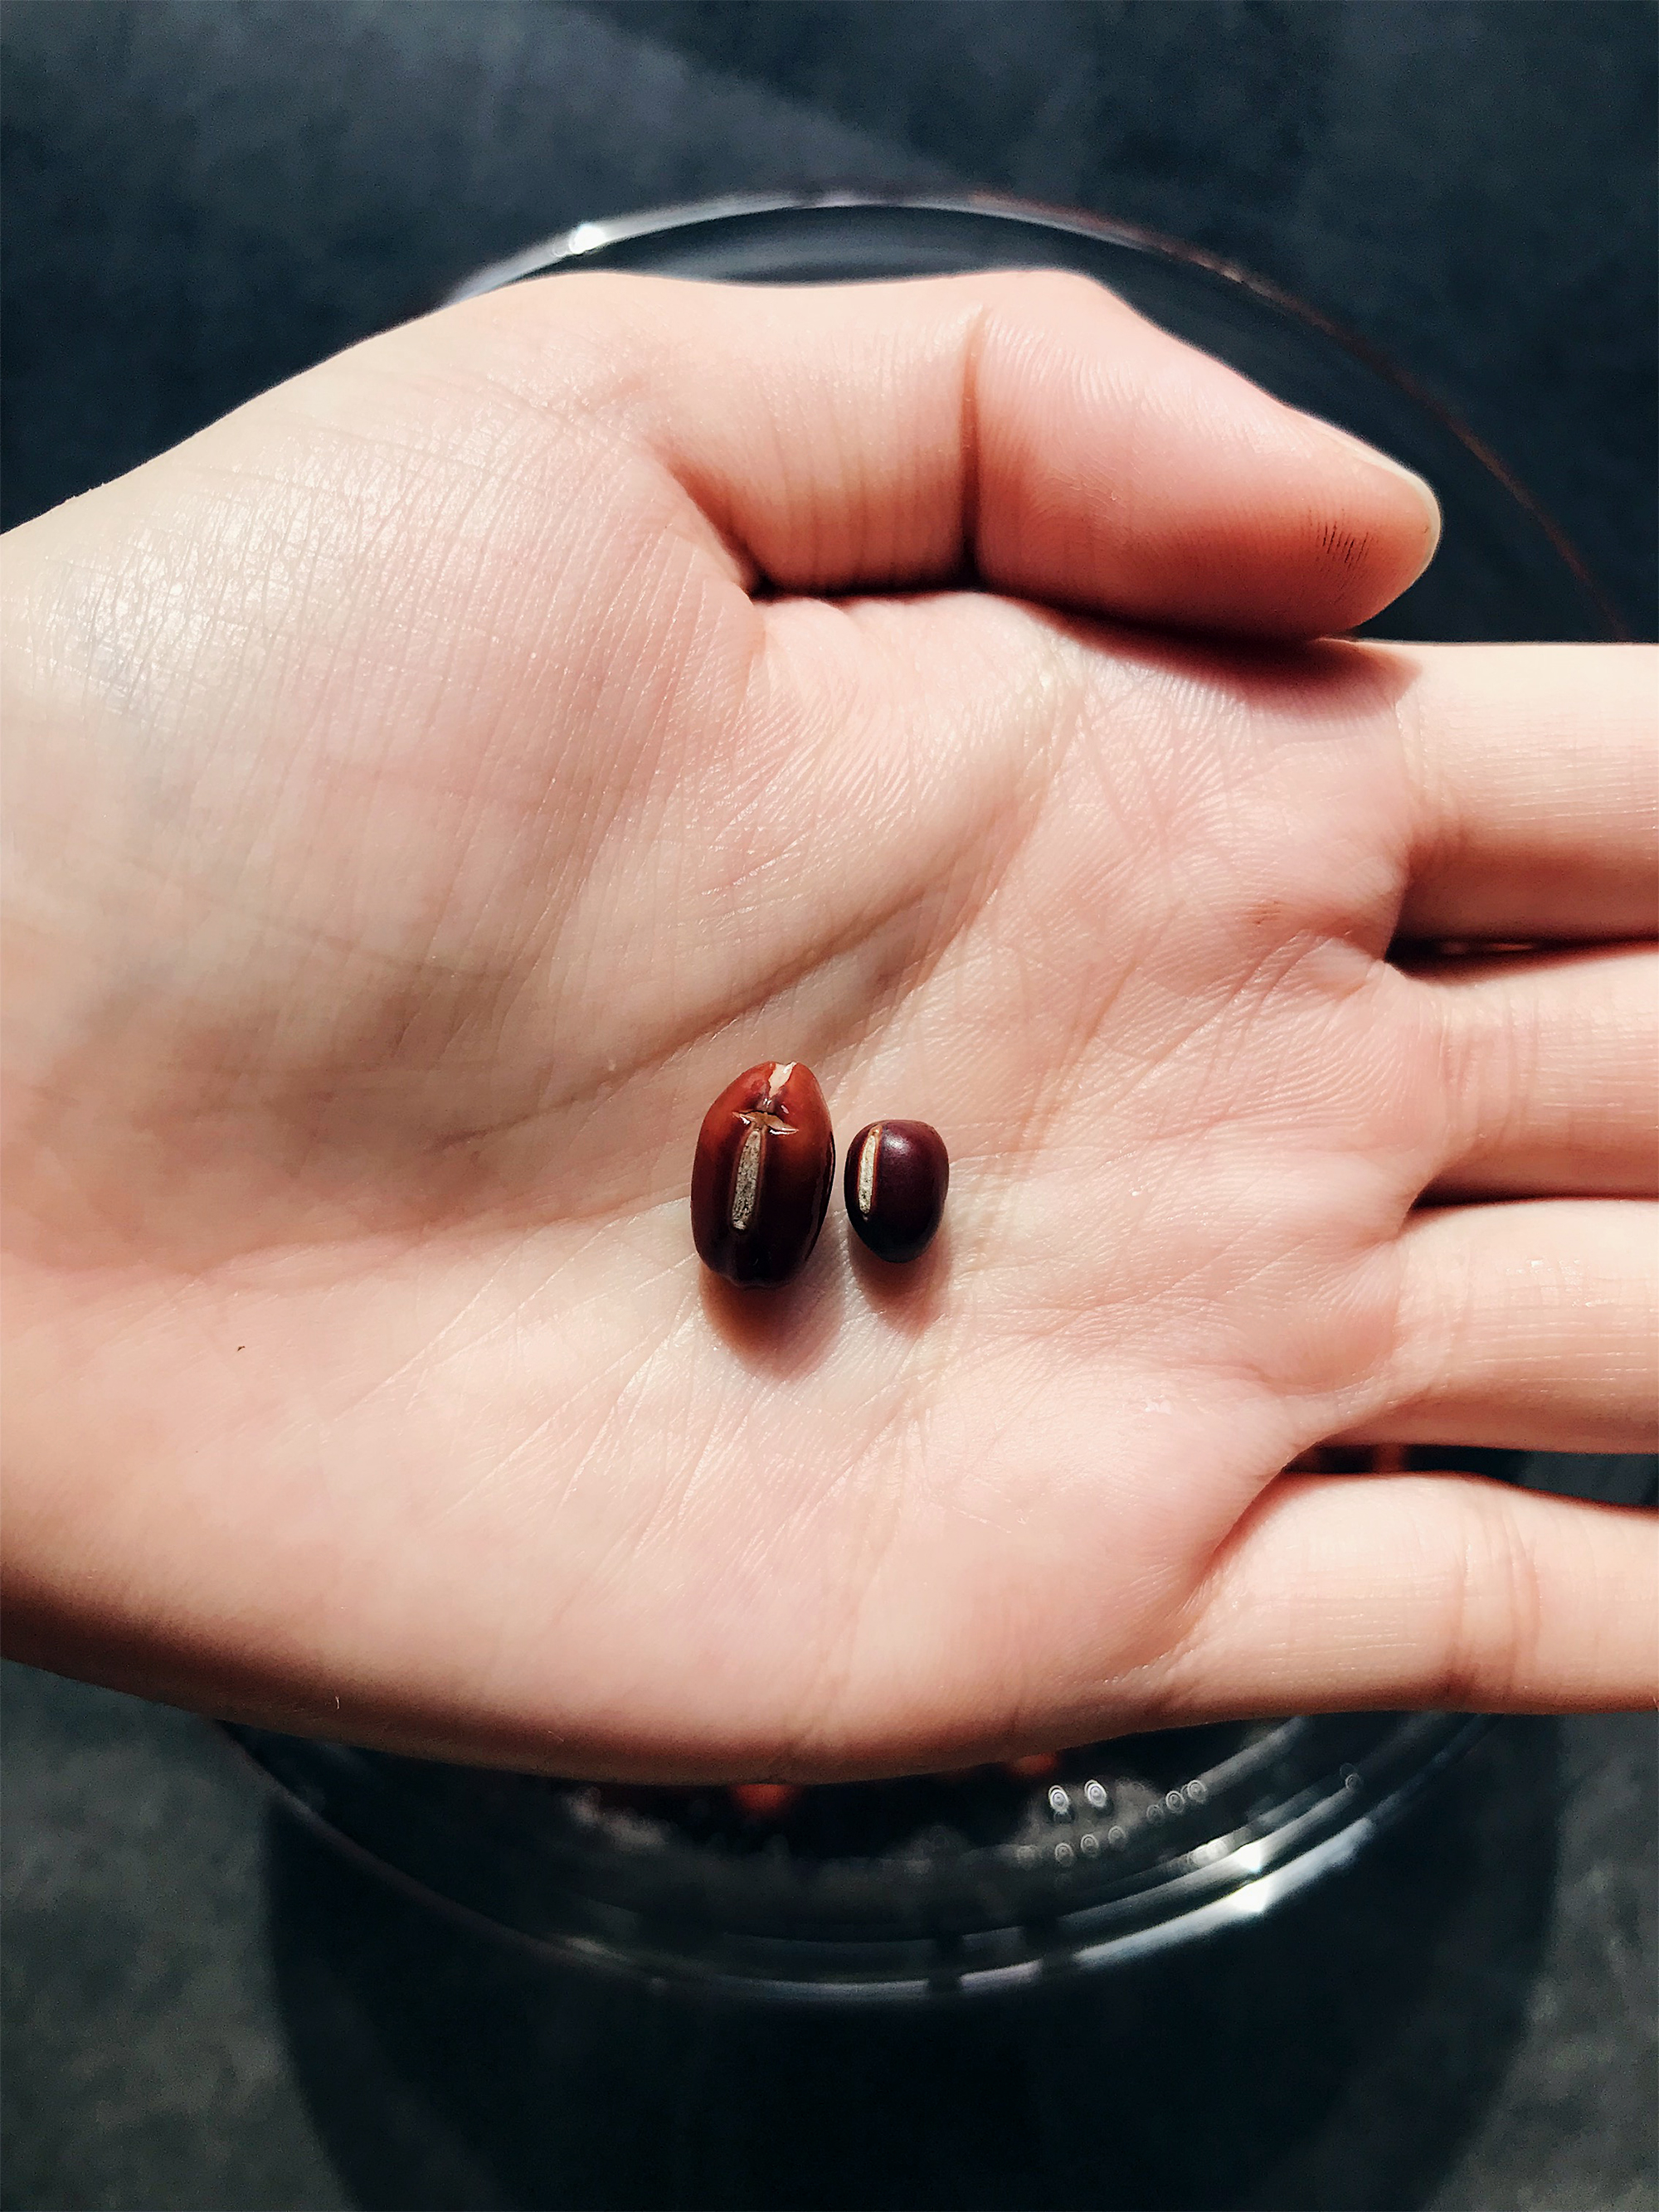
On the left is a red bean that has been soaked overnight. Look how much it has expanded as compared to the one on the right that hasn’t been soaked!
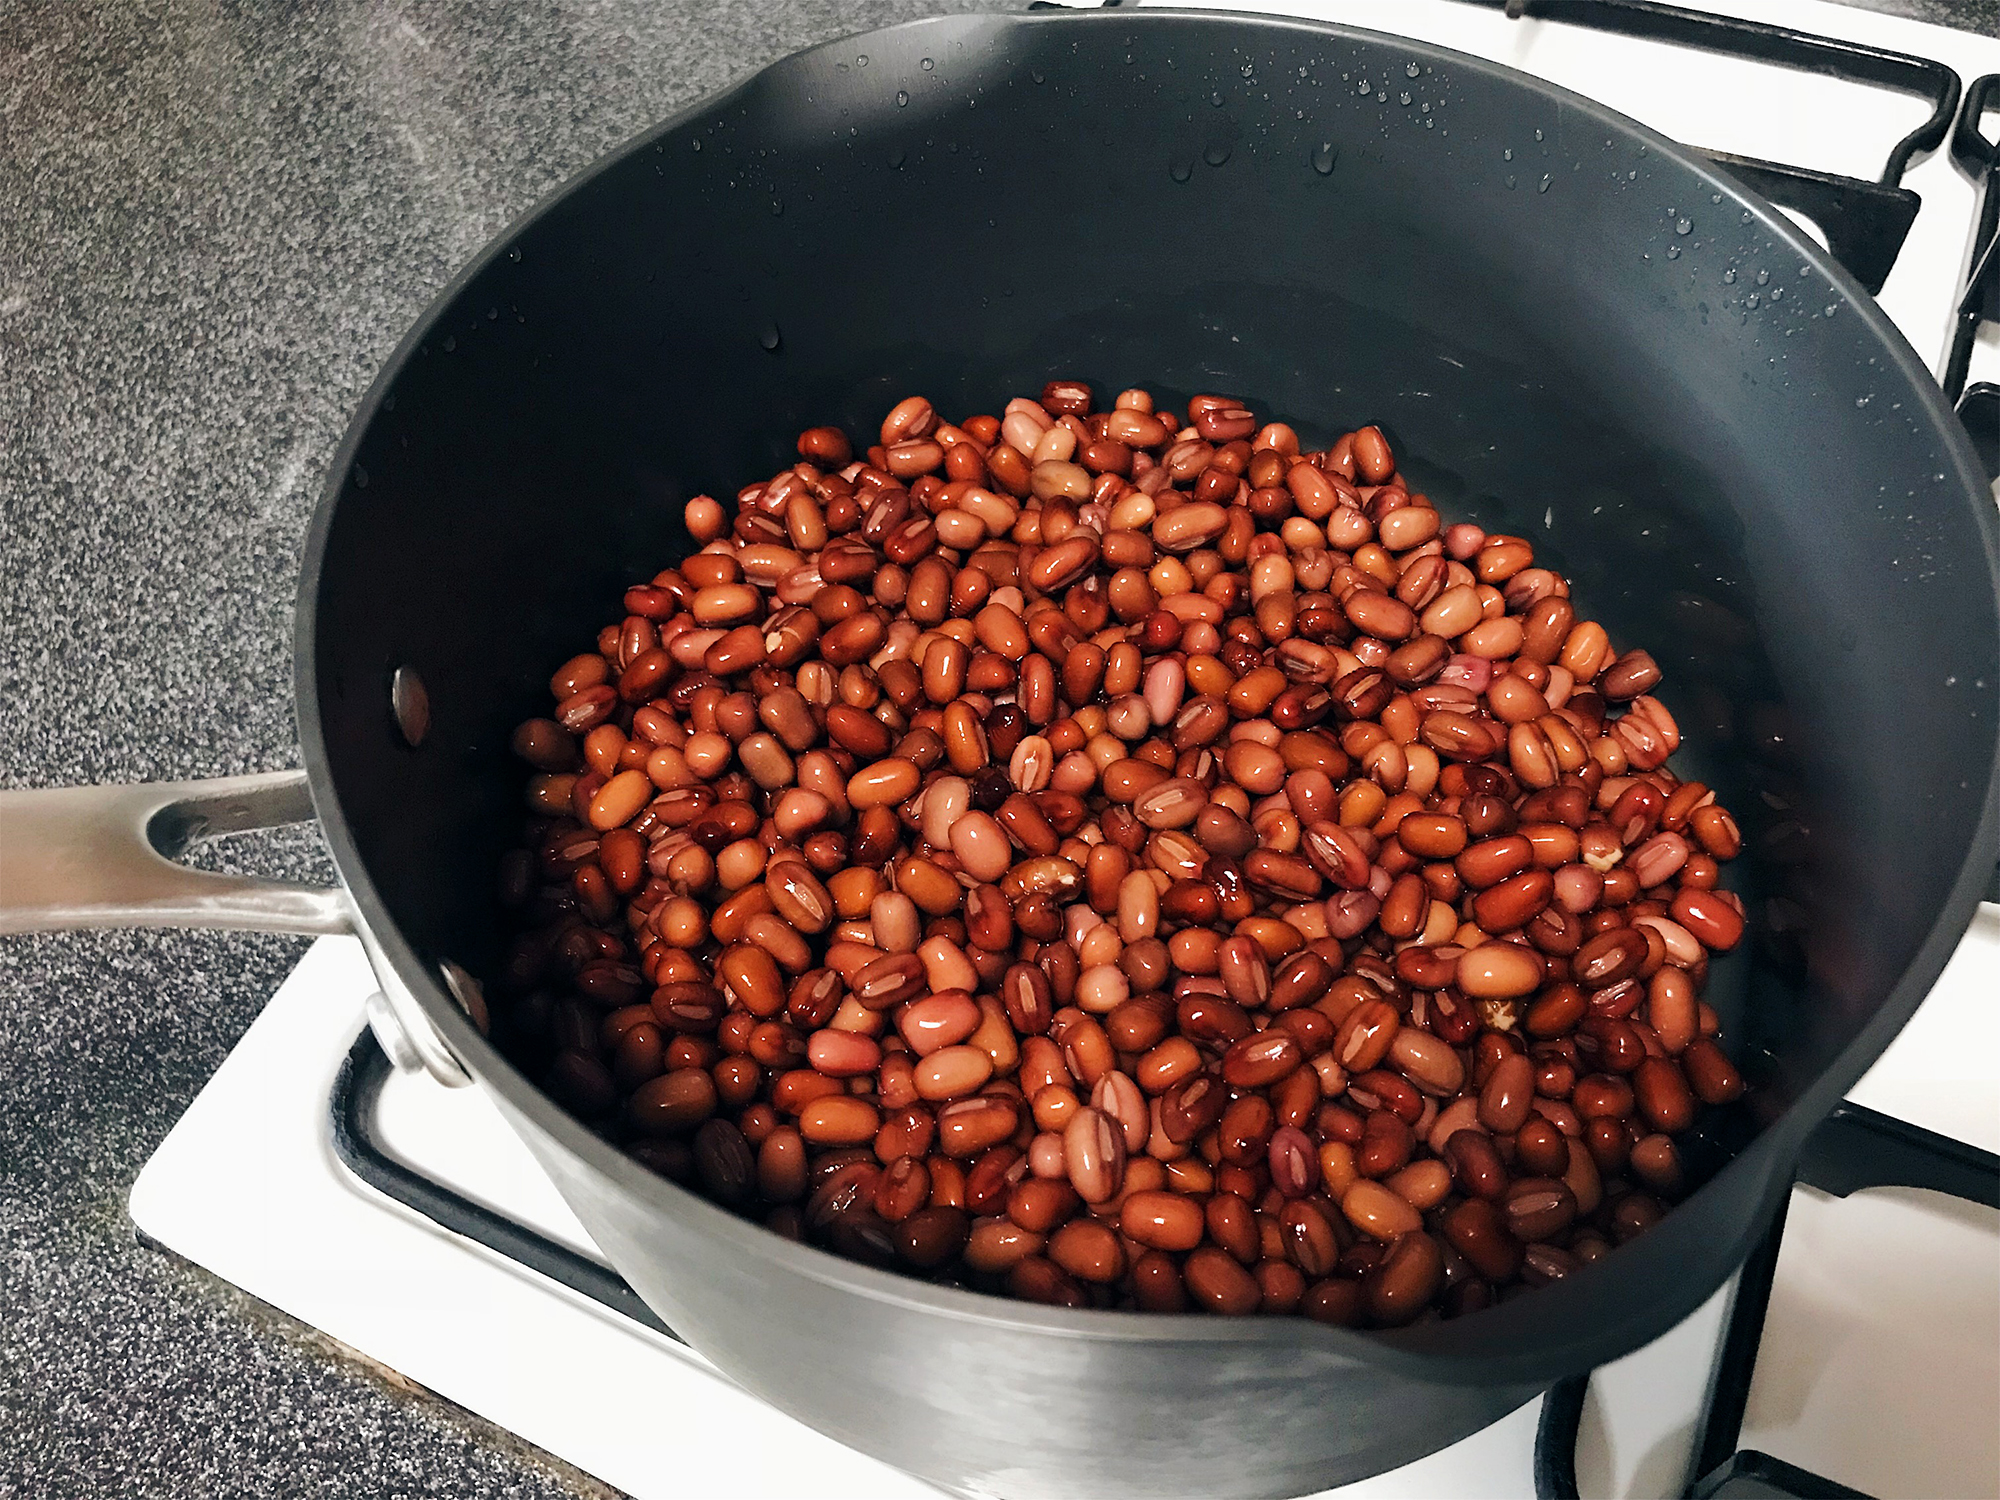
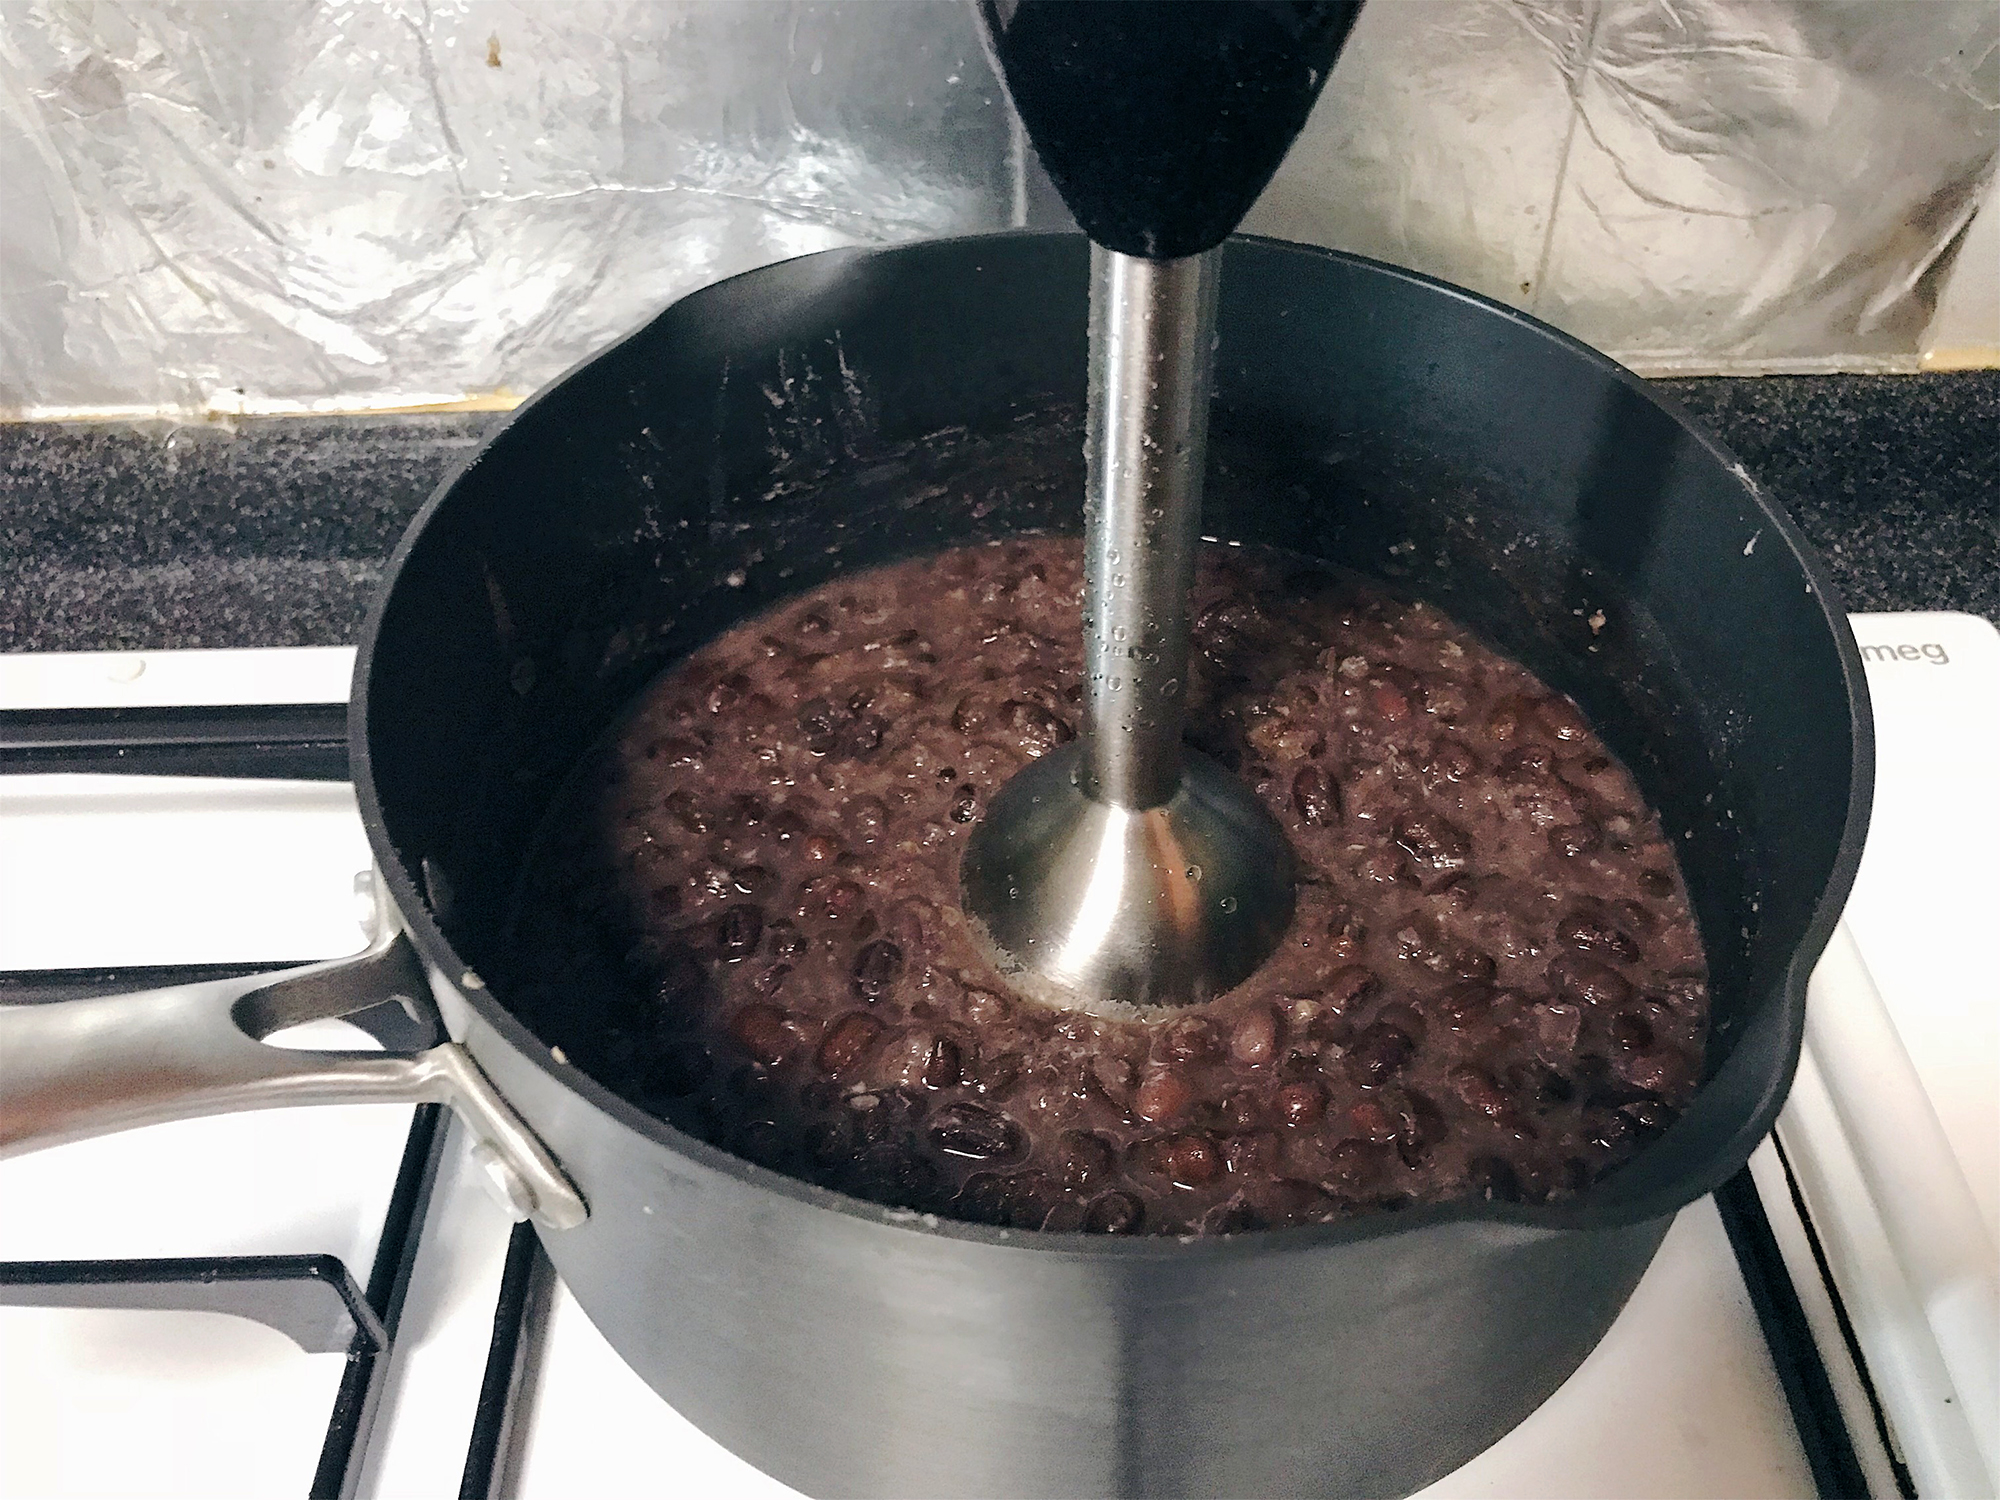
Put red beans and water in a deep pot and bring to a boil. A deep pot will be ideal because we will need to use an immersion blender to blend the red beans later.
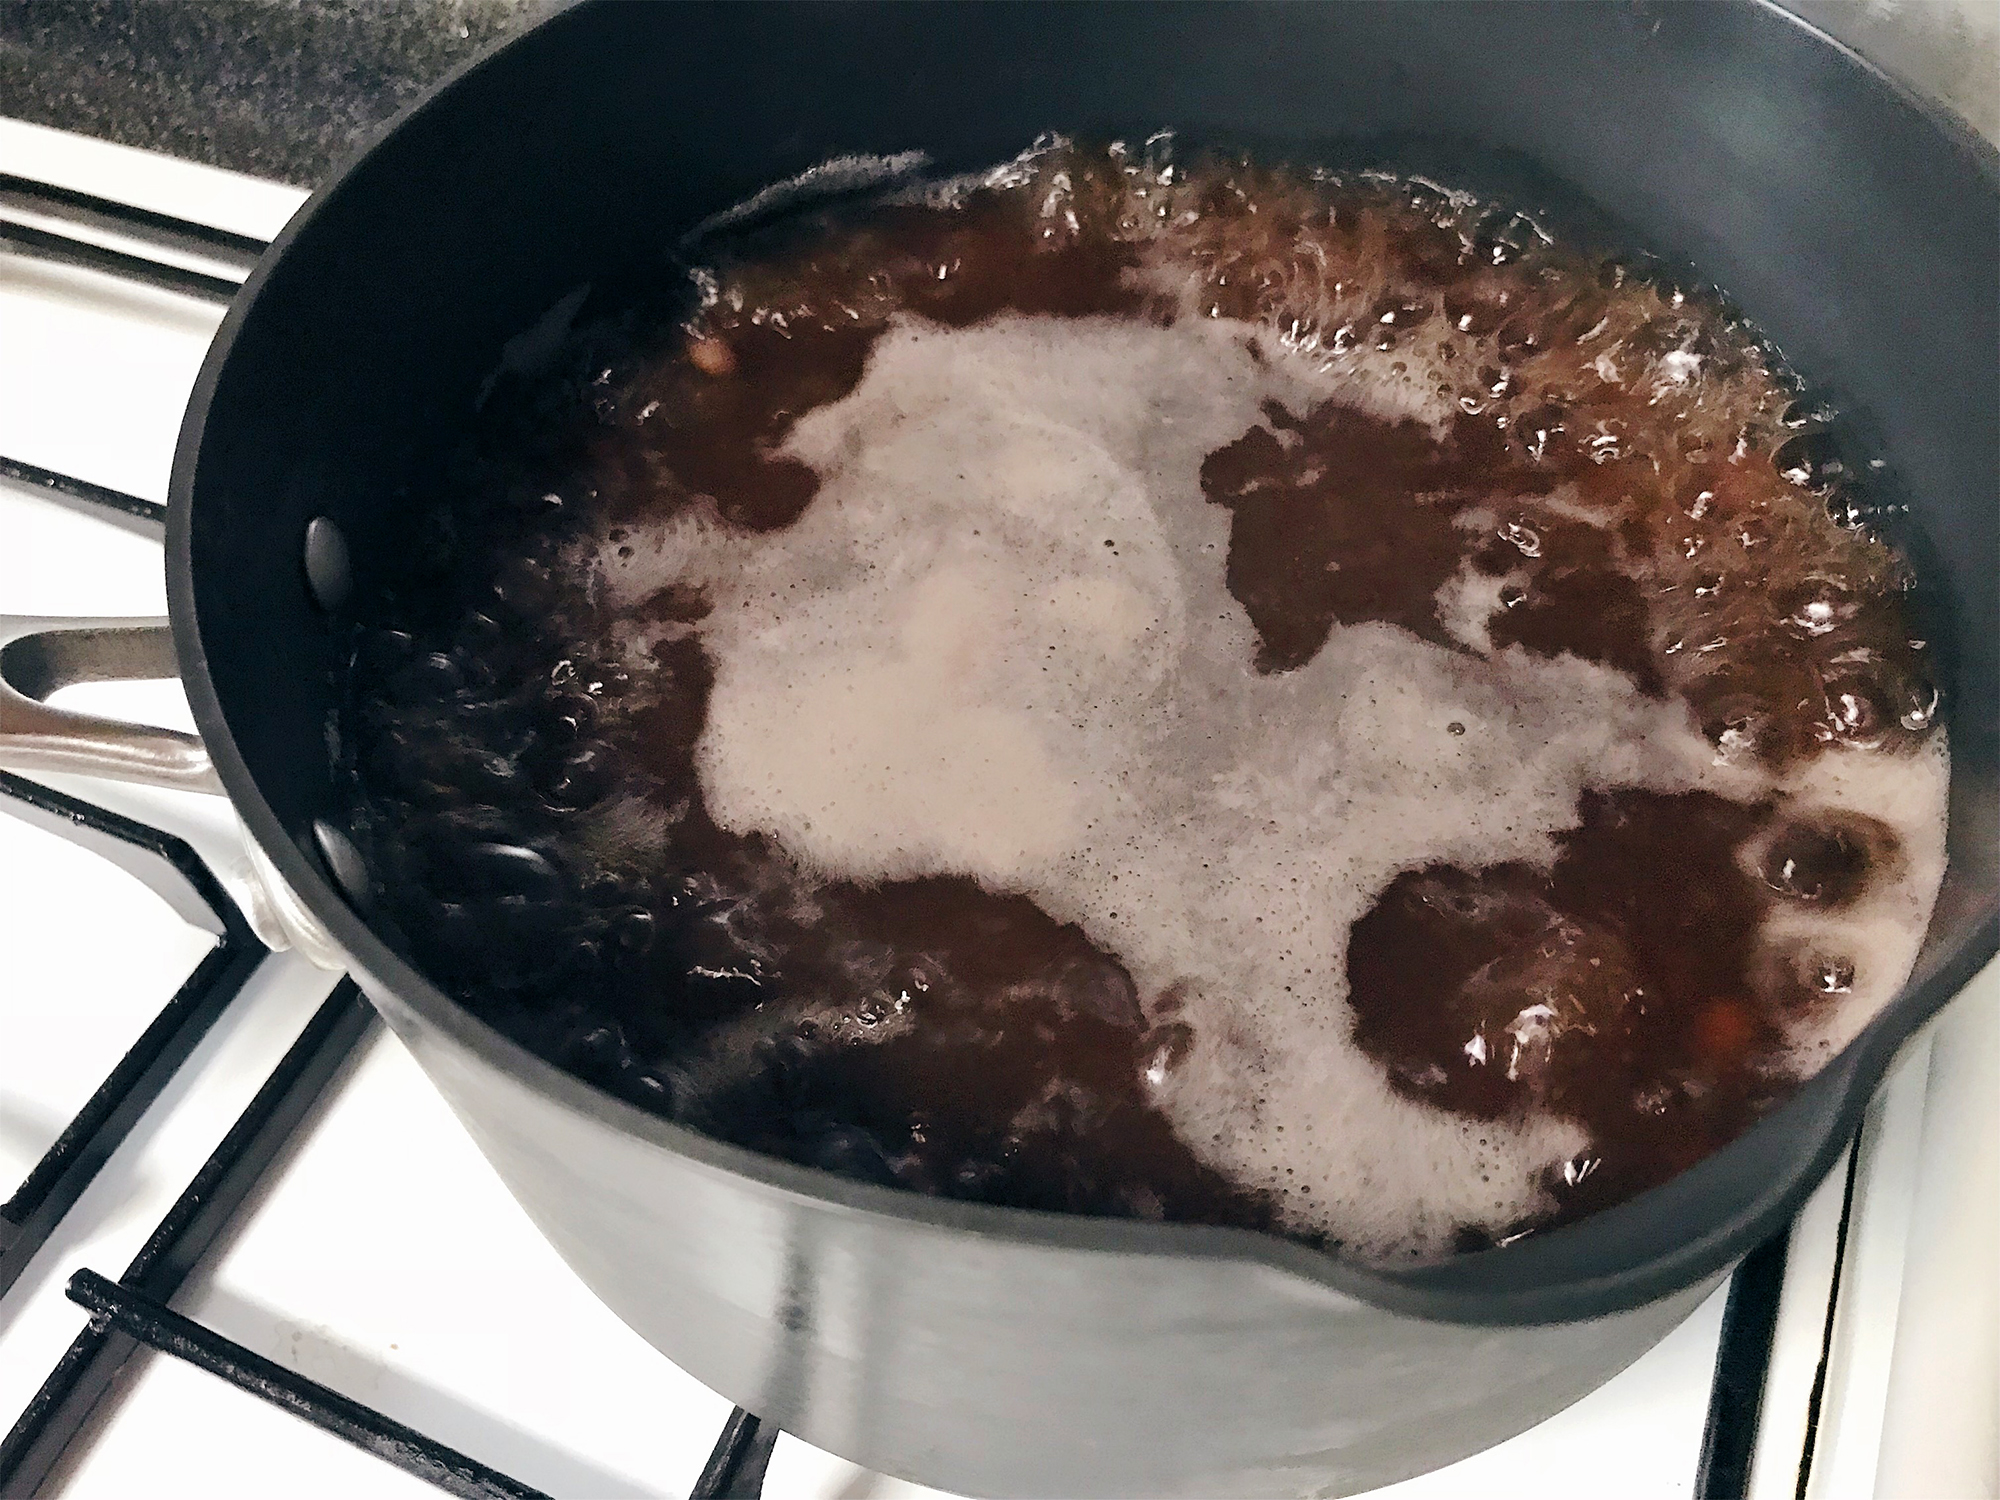
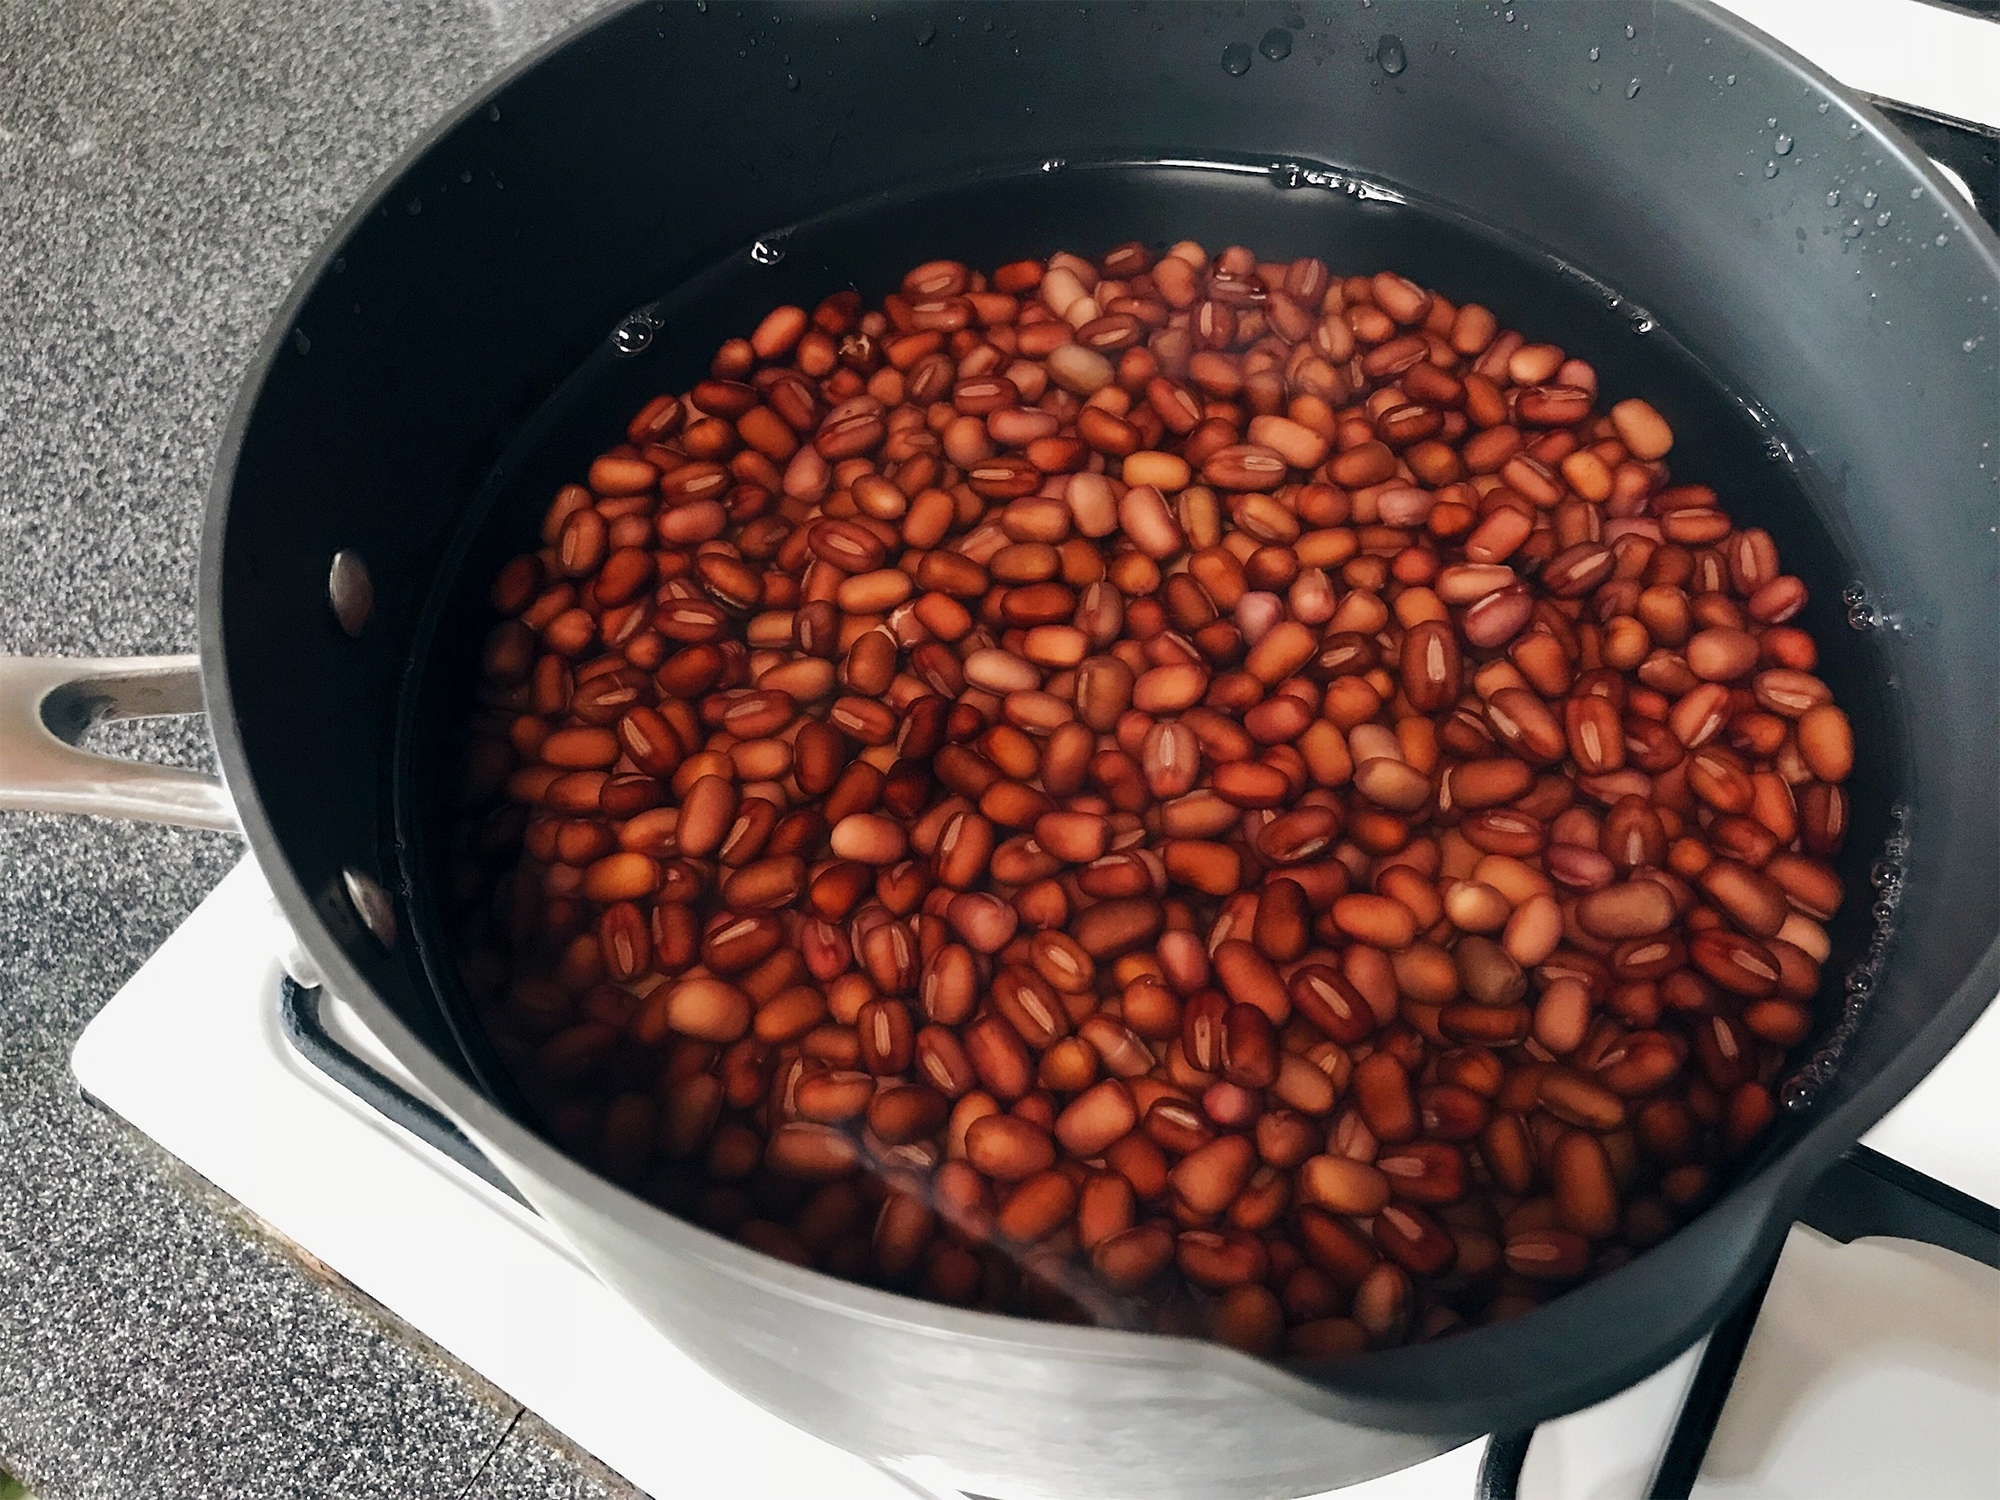
Let it boil~ Let it boil~ Boil the red beans for at least 40 minutes until they become soft. You can use a pressure cooker if you want to reduce the cooking time even further.
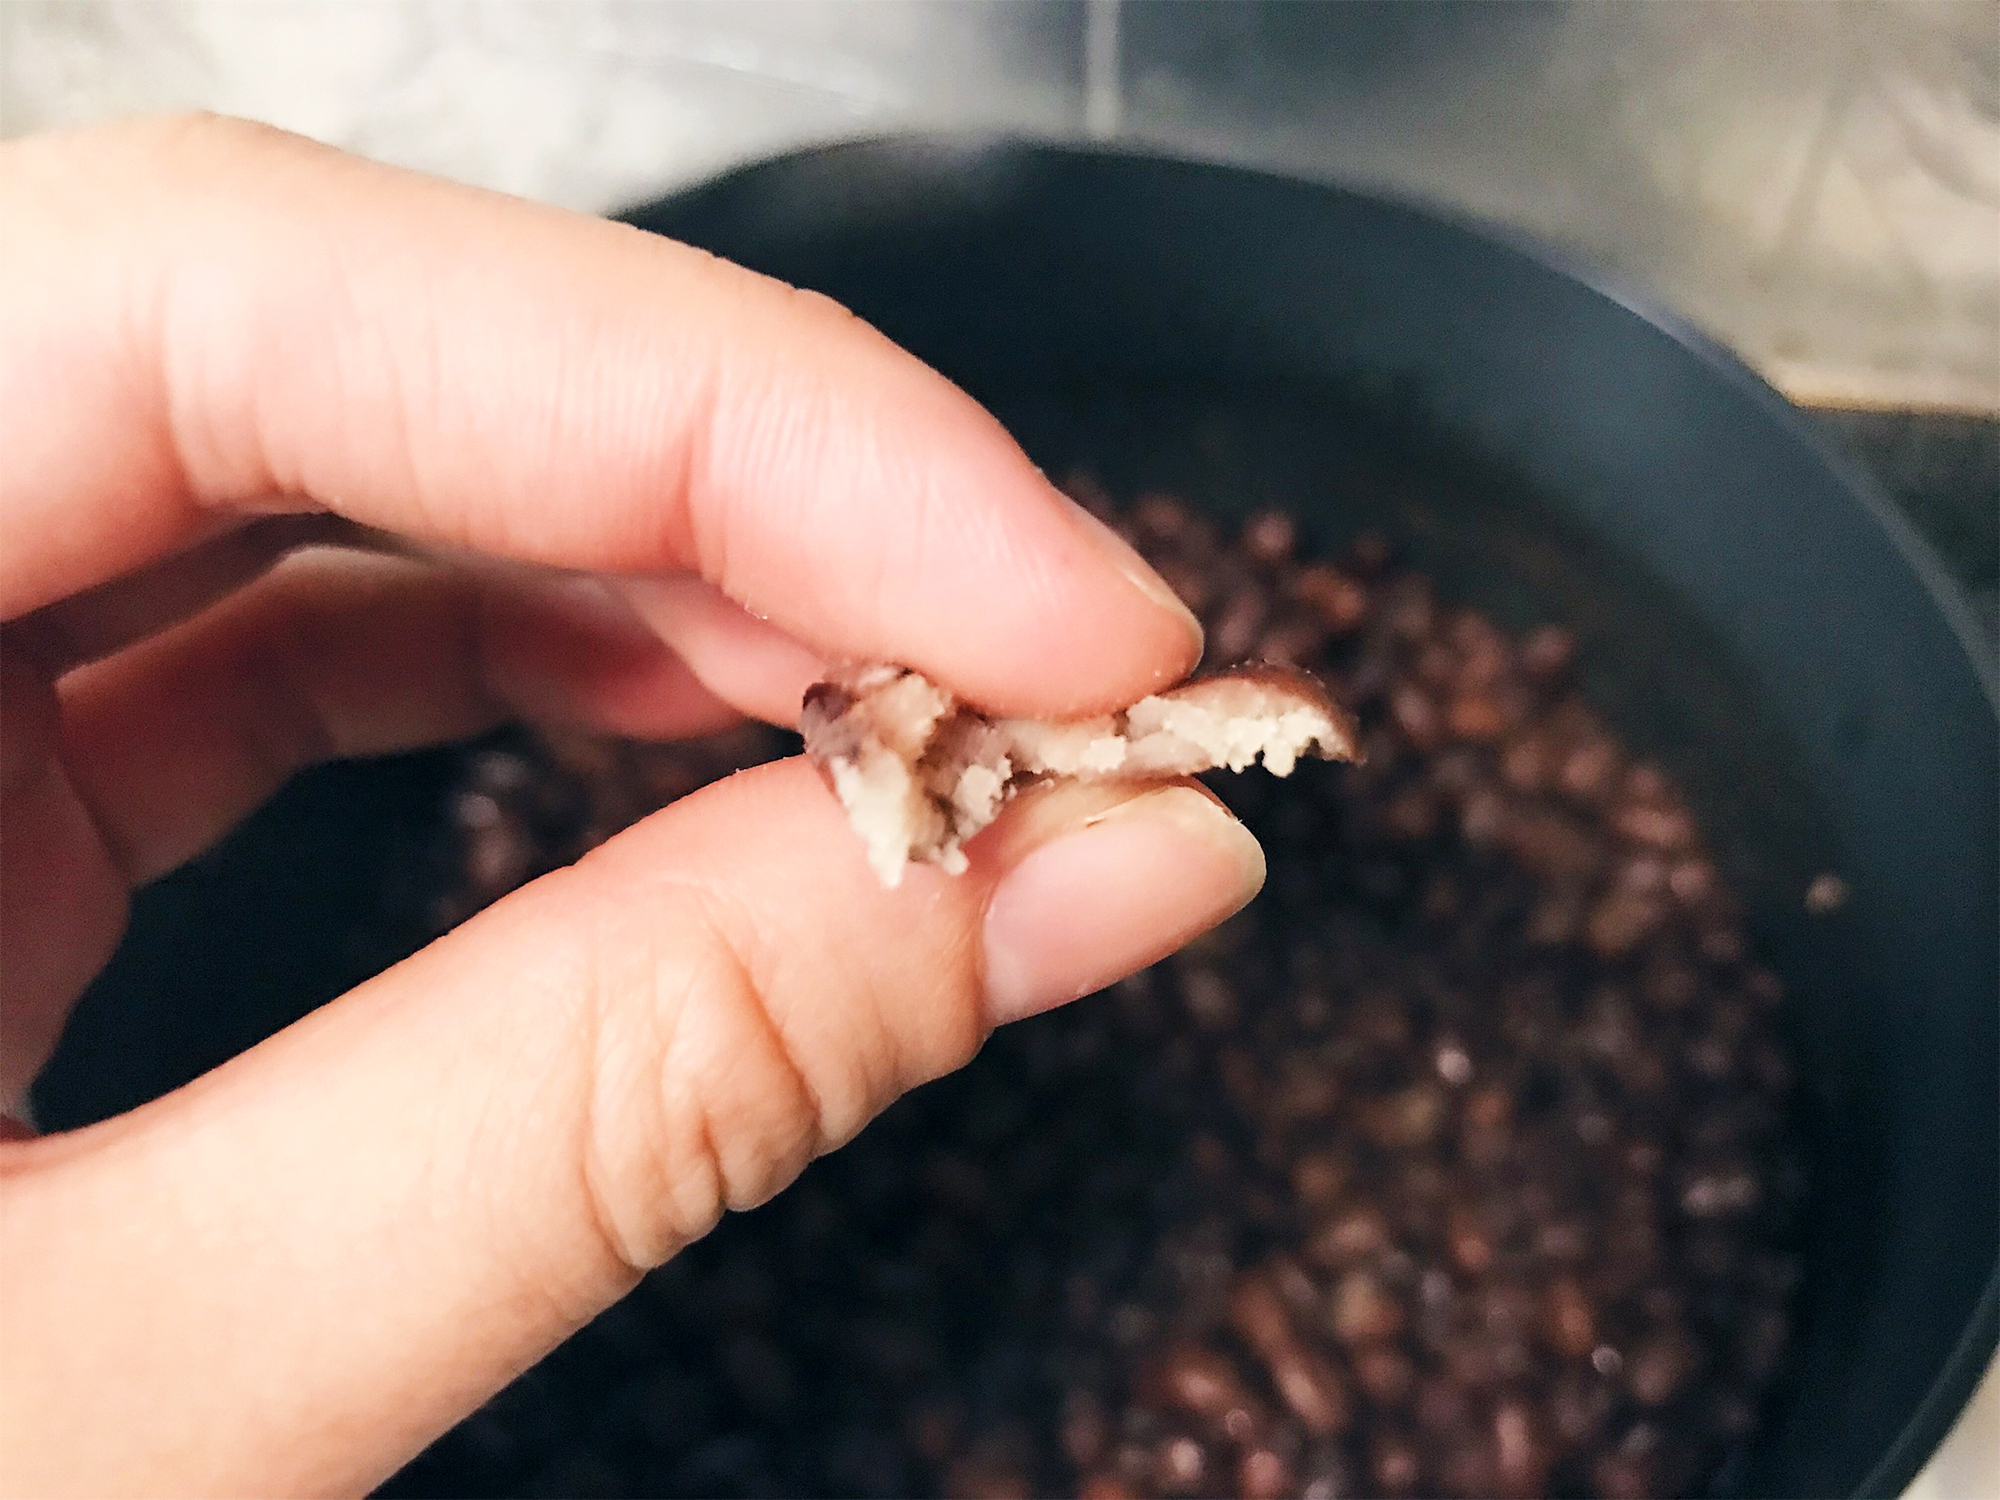
The red beans are ready to be blended if you can smash it with your fingers.
Note: In my recipe, I used an immersion blender to blend the red beans. I actually tried to smash the red beans through a sieve so as to remove the skins, but it was way too time-consuming and messy. Using the sieve method will give you a finer and smoother red bean paste, but if you want to save the hassle, you can also blend the red beans like I did. It won’t be as smooth but I assure you it’s good enough.
Another note: Ensure there’s at least some liquid when blending your red beans. If there’s no more liquid after boiling the red beans, add some. Conversely, if there’s still a lot of leftover liquid after boiling, pour some away.
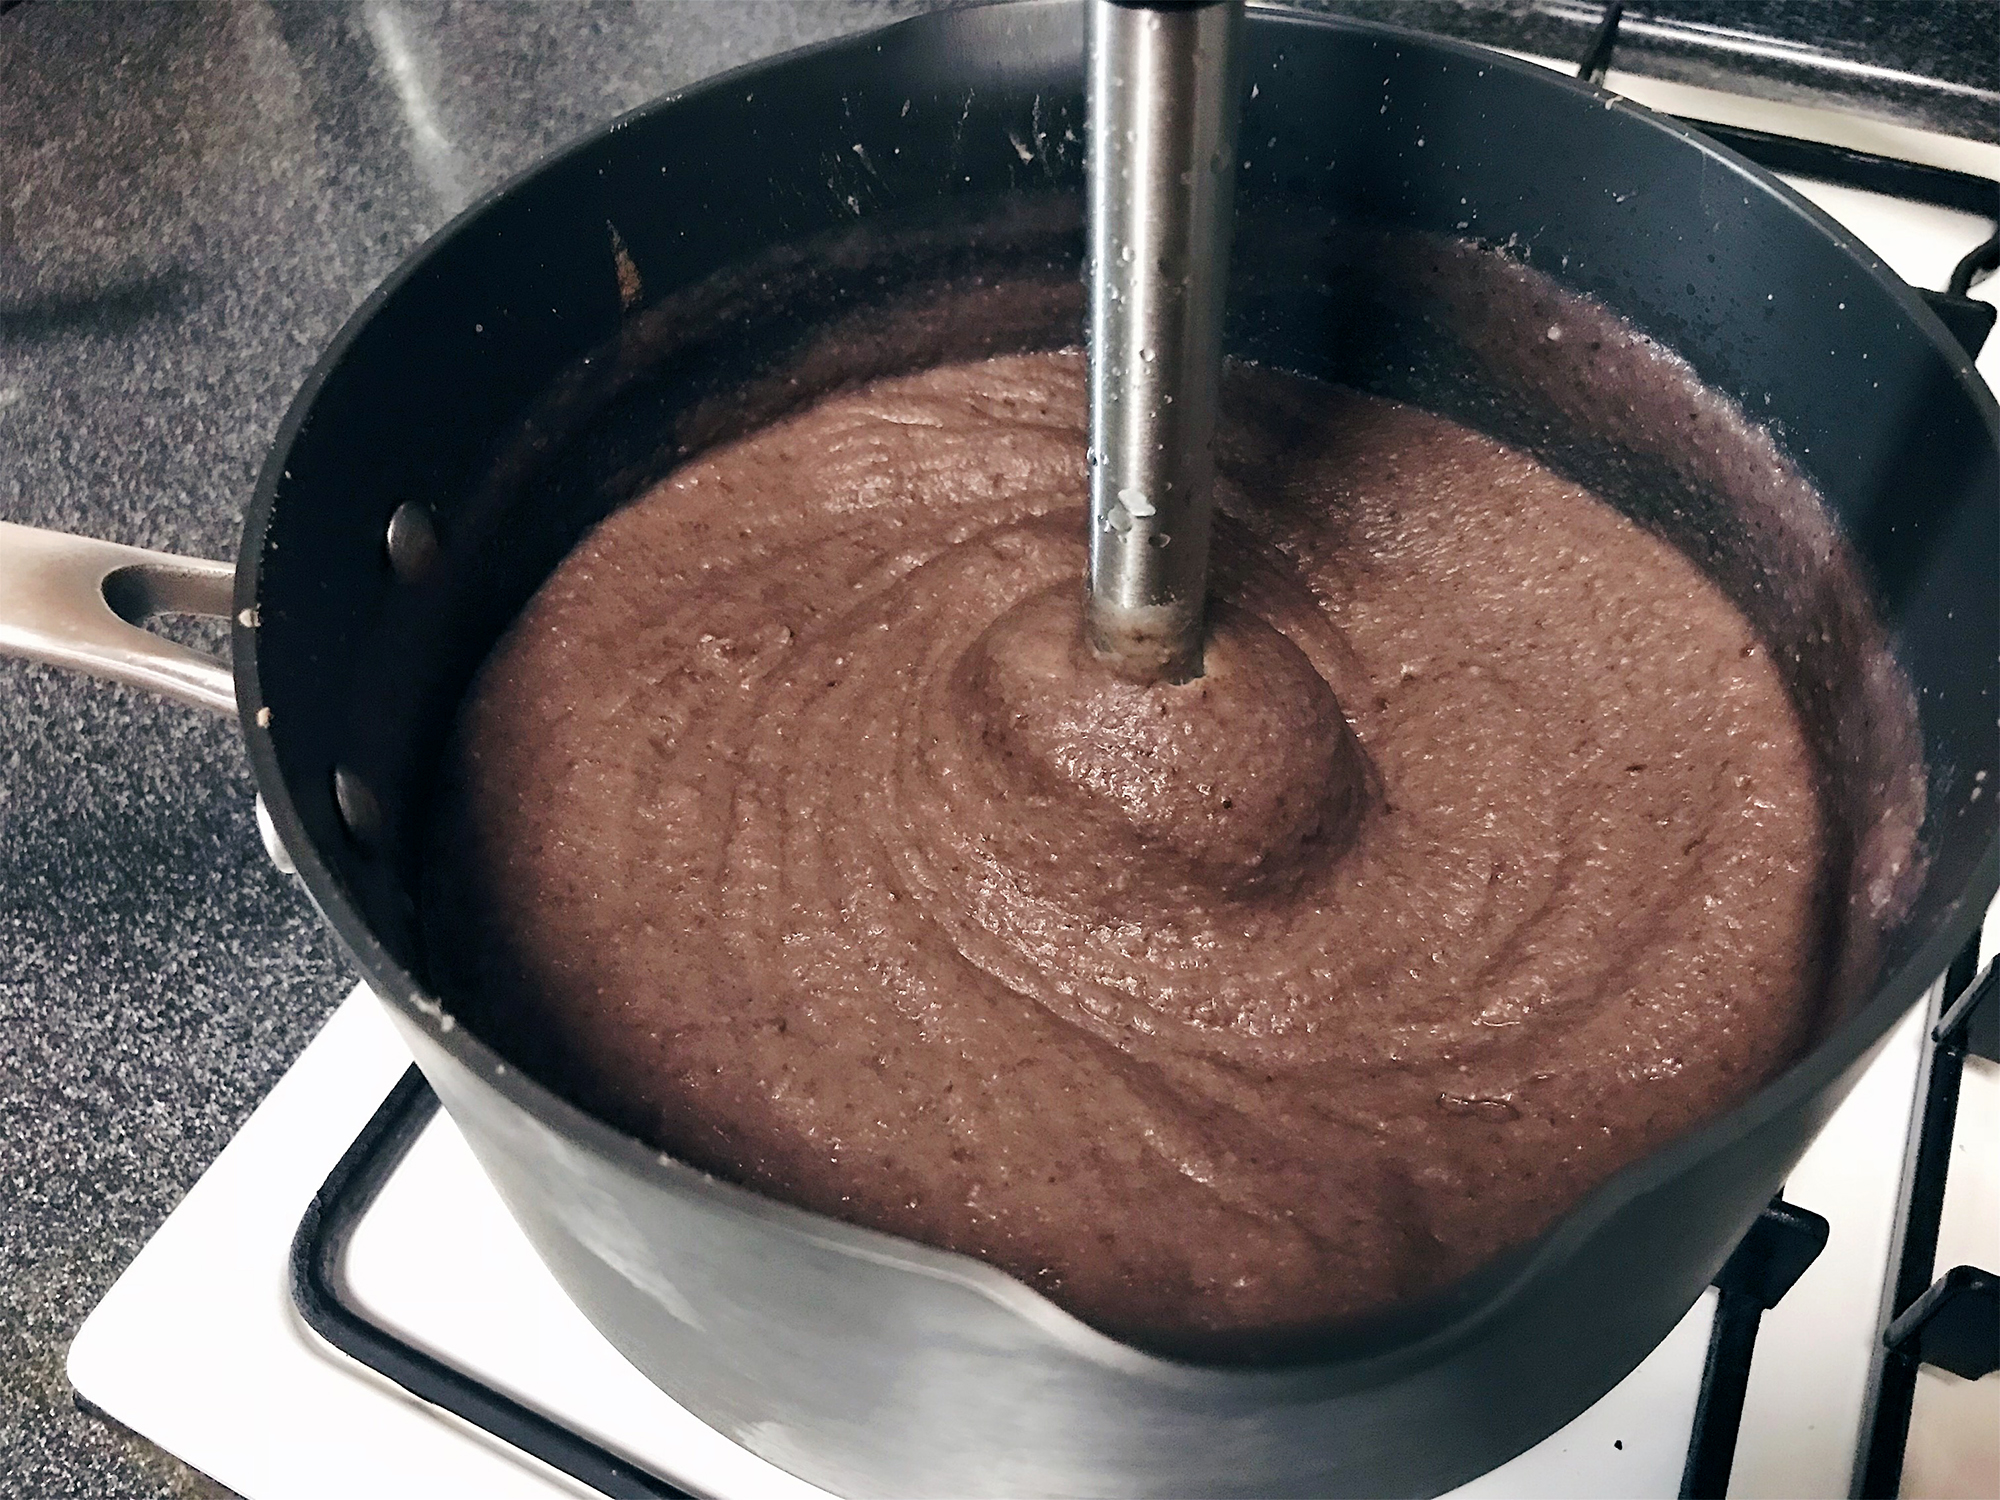
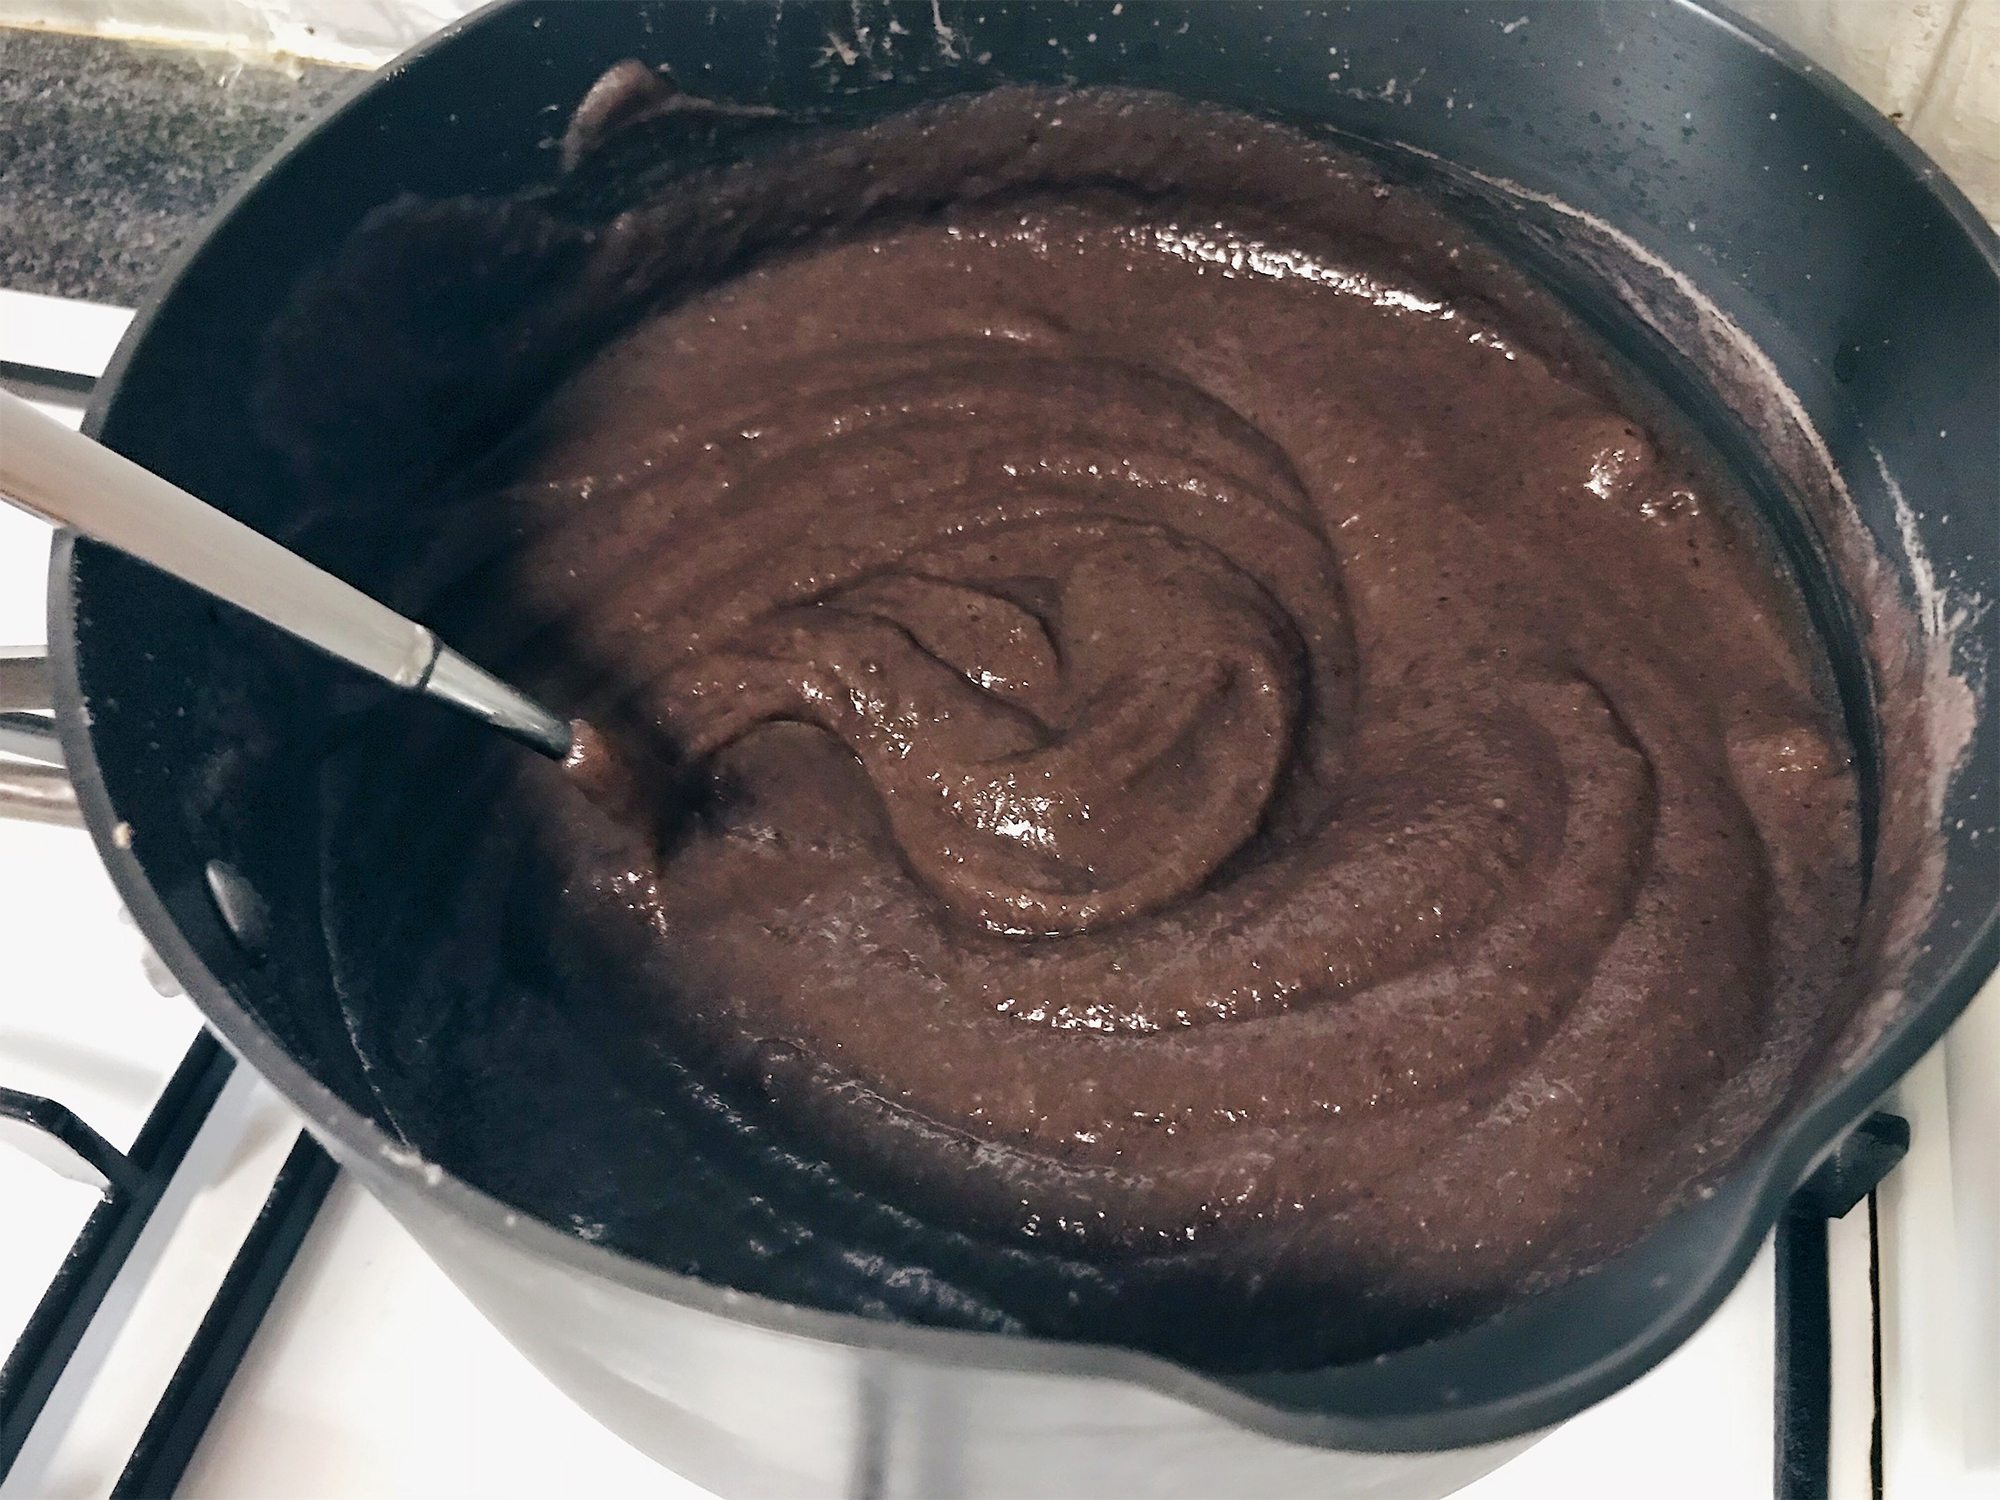
Blend until the red beans form a fine and smooth paste. As there is a lot of water in the red bean paste at this stage, cook the paste over medium heat and stir continuously to prevent the paste from burning at the bottom of the pot. Cook until the paste thickens considerably.
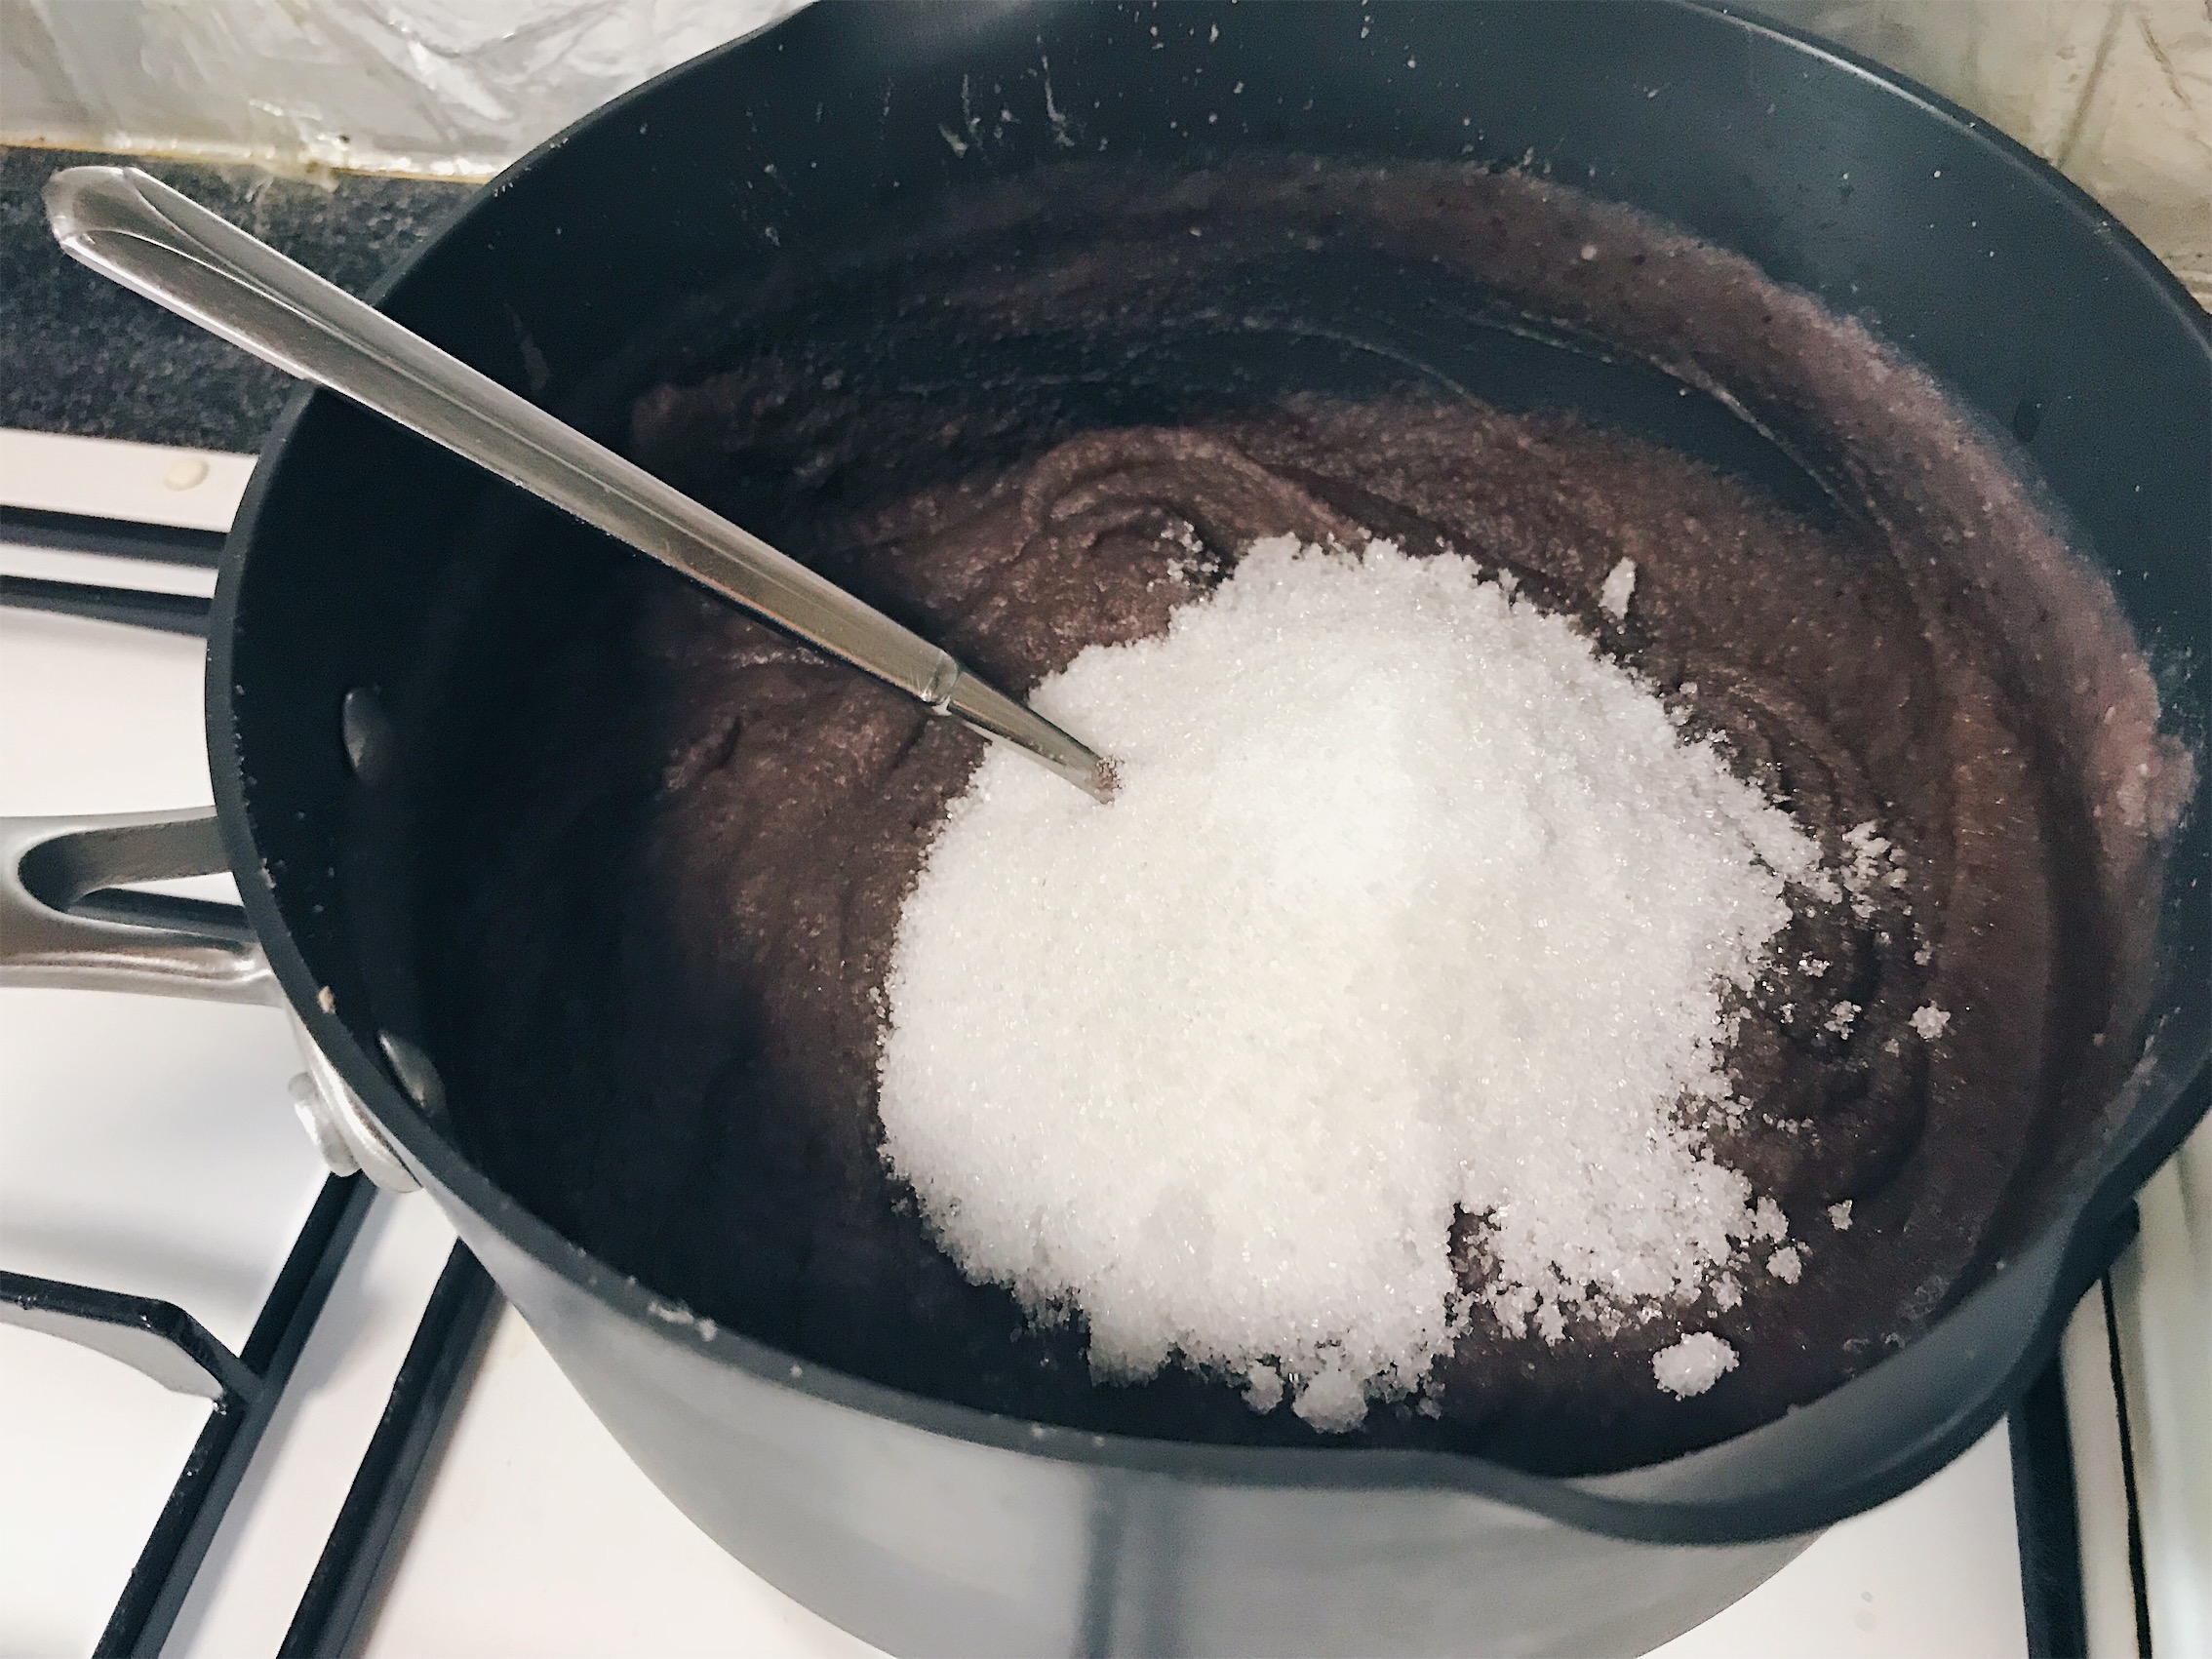
Add sugar and mix into the paste. If you’re worried the paste will be too sweet, you can add the sugar in batches and taste it intermittently to see if the sweetness is too your liking.
I felt like I added a lot of sugar, but the resultant paste was really not that sweet. You may actually want to make it slightly sweeter because once the red bean paste is used as a filling, the sweetness will not be as apparent anymore.
After that you can add some oil if you want the red bean paste to be smoother, but this is completely up to you.
You can omit the oil for a healthier option, but keep in mind that you won’t be able to achieve a consistency that’s as smooth as commercial red bean paste.
I added a fair amount of oil but still could not get the same smoothness, so I can’t imagine how much oil commercial red bean paste has.
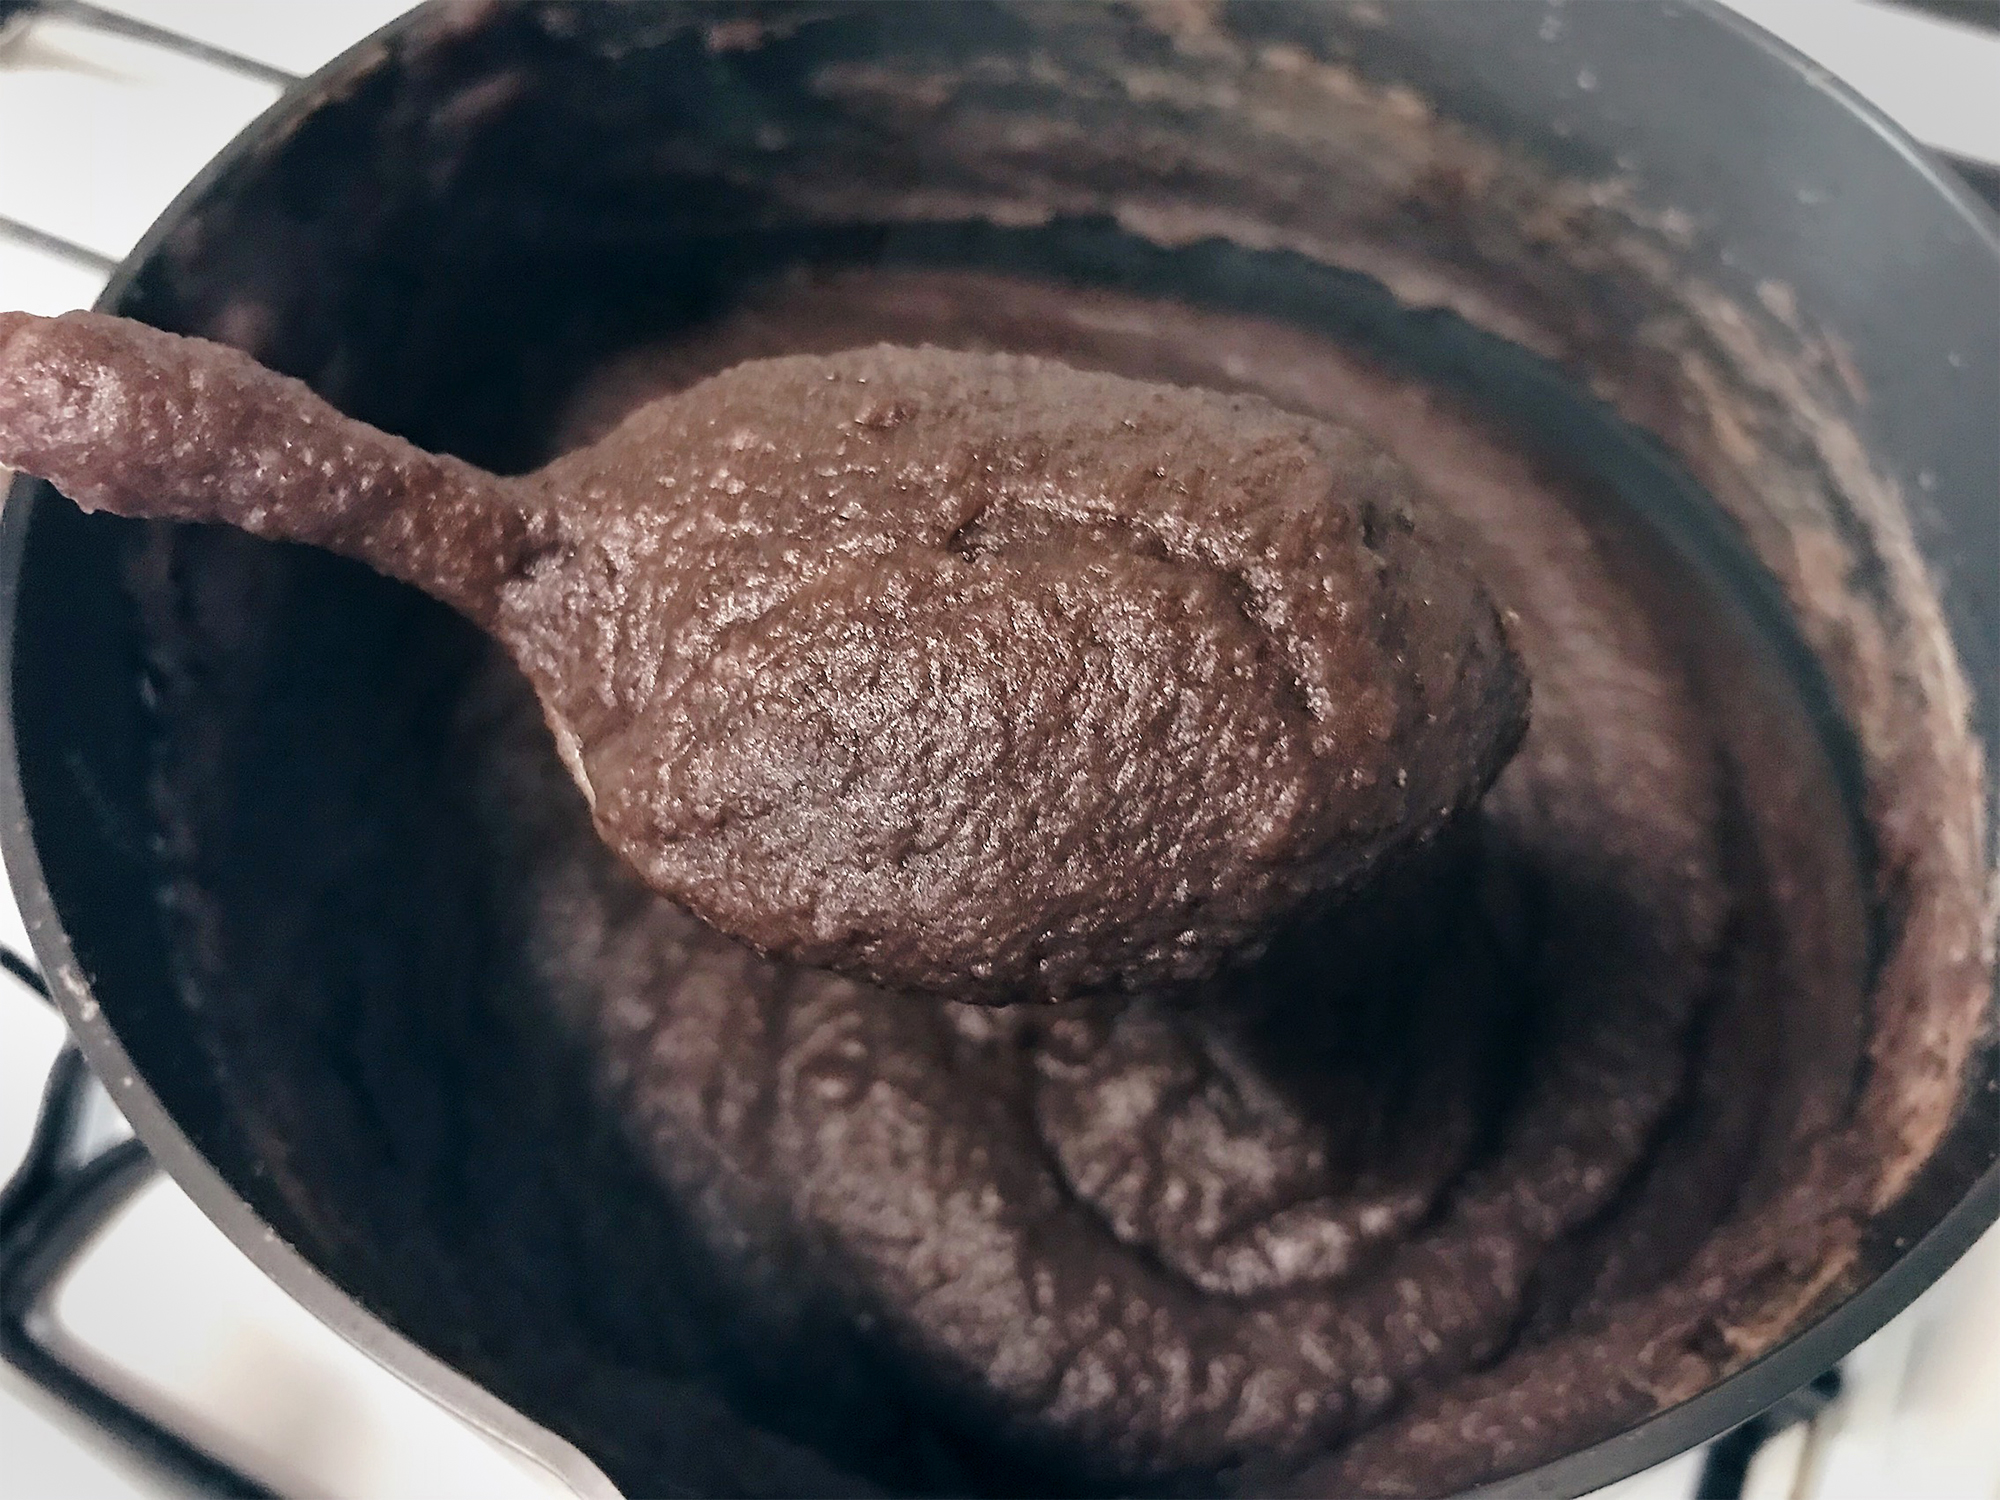
Cook the red bean paste until it thickens and becomes pasty. This will take a considerable amount of time, from 20 to 30 minutes.
The consistency is right when you use a spatula to draw a line at the bottom of the pot and the red bean paste doesn’t flow back to cover the gaps quickly.
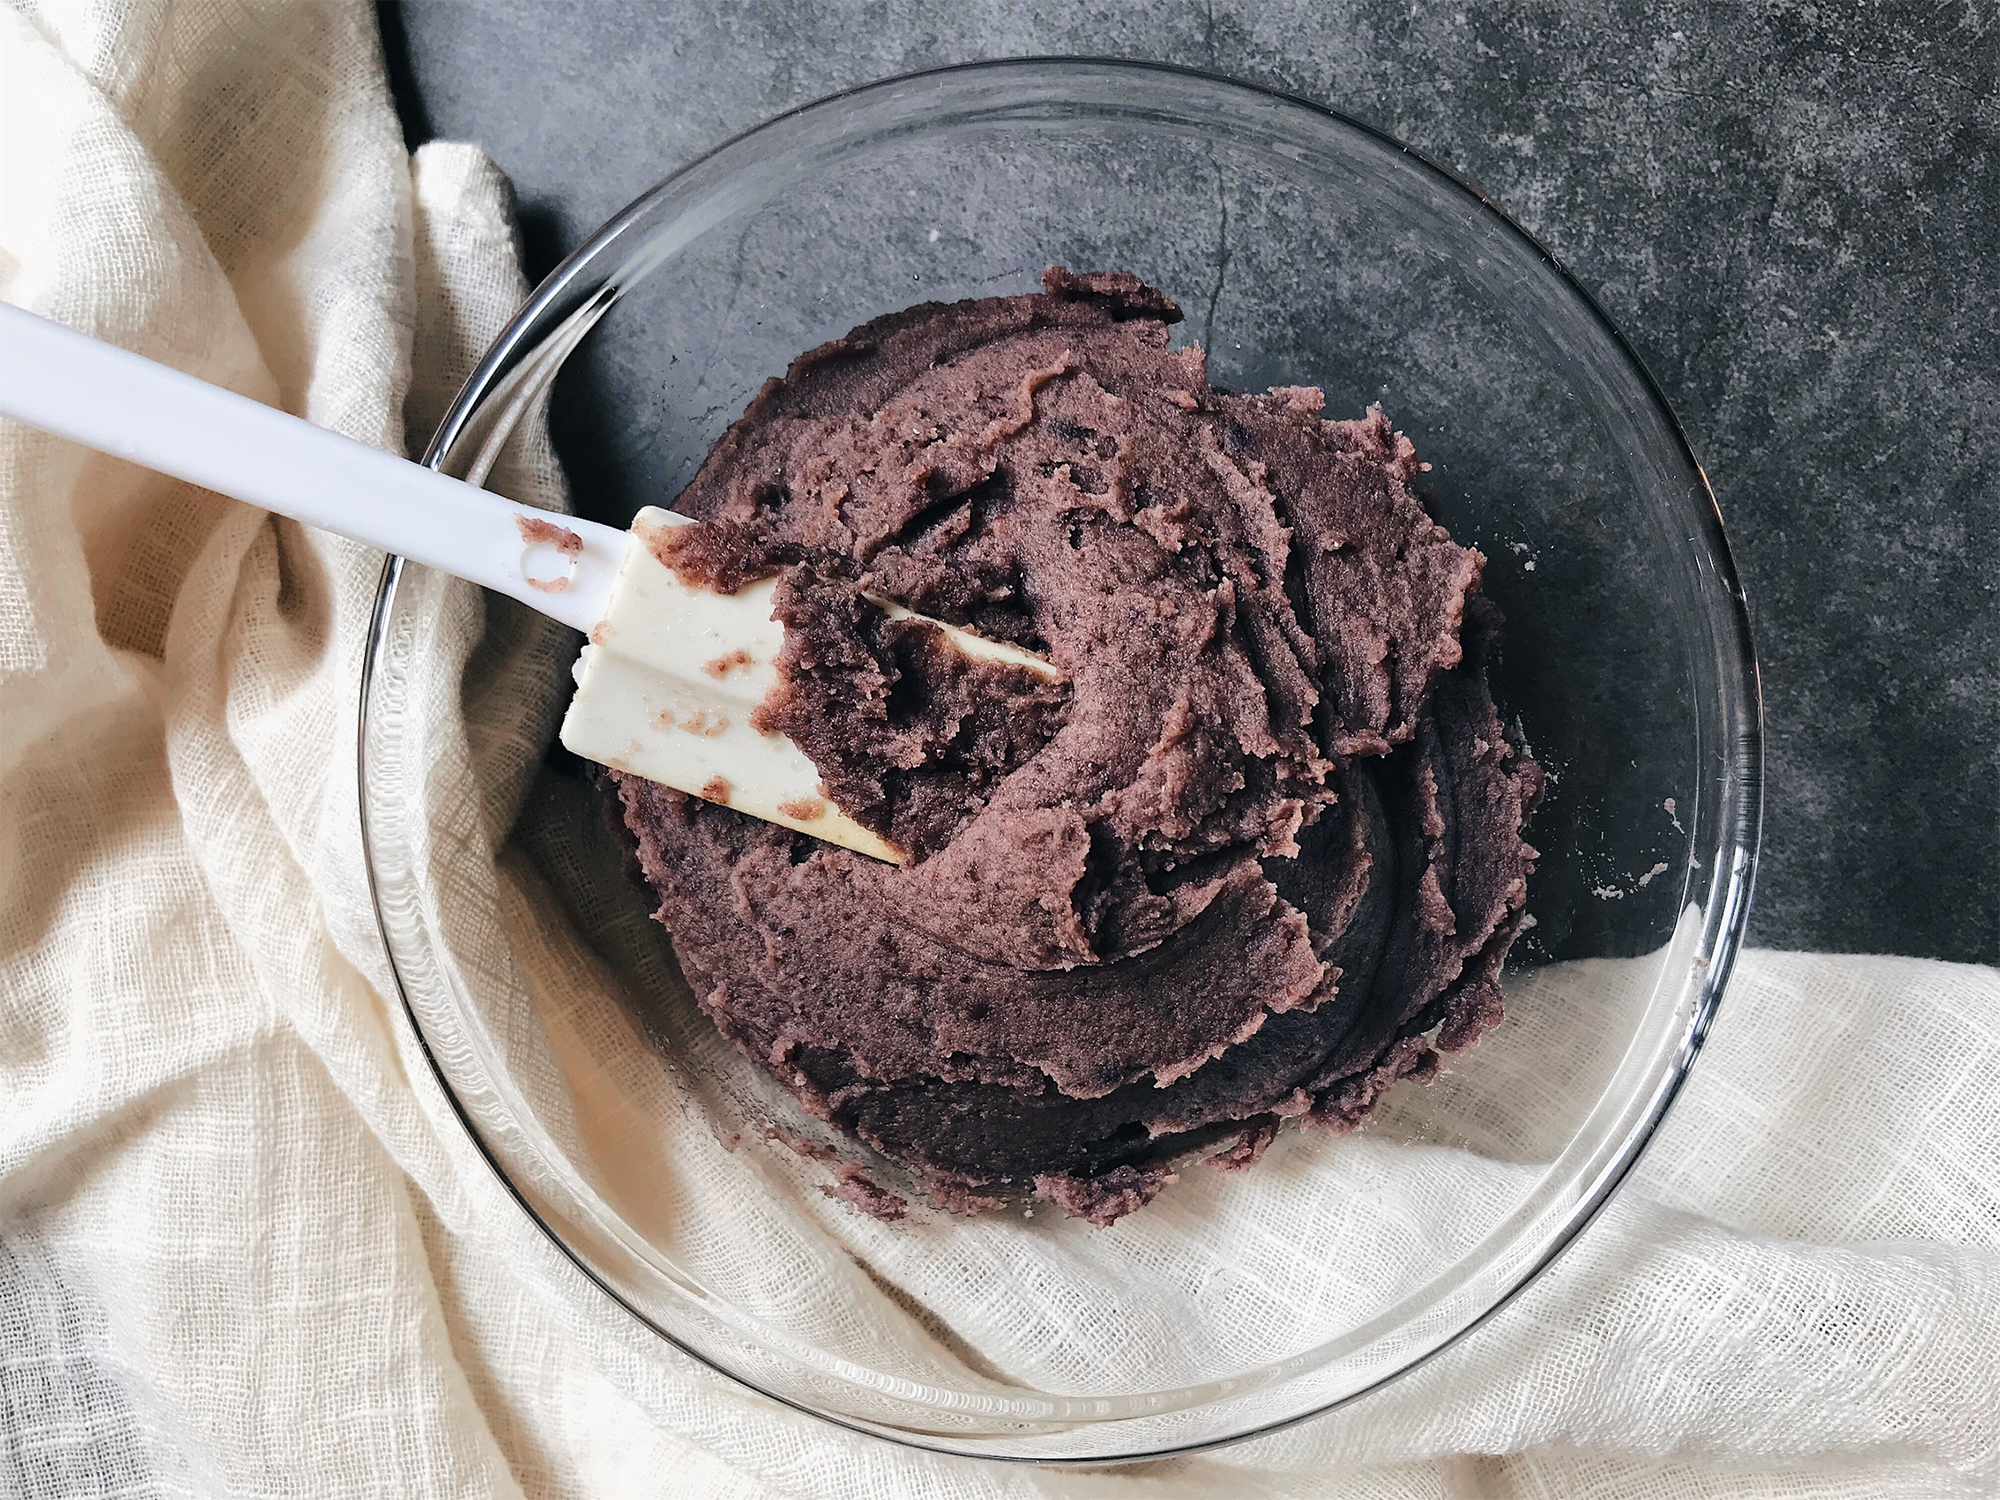
As you can see, my red bean paste is not as smooth as the red bean paste you might be used to seeing because I most probably added less oil than I should.
Feel free to adjust the amount of sugar and oil to your liking, especially if you prefer a sweeter and smoother red bean paste.
As I previously mentioned, I would recommend adding a little more sugar than my recipe calls for if you’re going to use the red bean paste as a filling, since the sweetness will be masked by the pastry dough and the like.
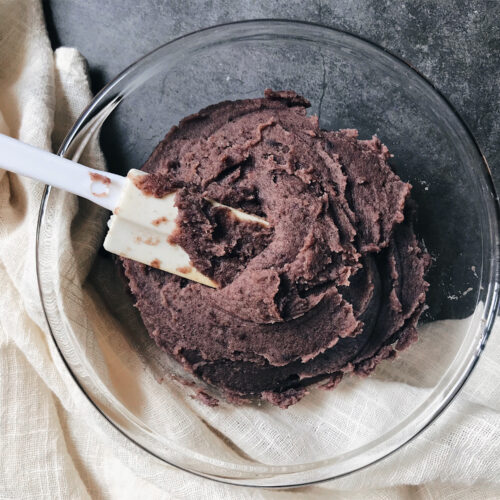
You can keep the red bean paste in the refrigerator for 1-2 weeks, and use it in a host of recipes!
300g of red beans yielded about 700g of red bean paste, which means my homemade red bean paste costs about $3.94 per kg. It’s actually not much cheaper than store-bought red bean paste, and it’s way more time-consuming.
If you’re not health-conscious and commercial red bean paste suits your taste buds, perhaps buying red bean paste will be more practical.
Red Bean Paste
Ingredients
- 300 g red beans (soaked overnight) ($1.29)
- 2 L water (more if needed)
- 200 g sugar
- 150 ml vegetable oil ($1.17)
Instructions
- Soak red beans overnight for at least 8-12 hours.
- Drain red beans. Add red beans and 2 litres of water into a deep pot and bring to a boil. Boil for around 40 minutes, until the red beans are soft enough to smash with your fingers. Add more water if required during the boiling process.
- Using an immersion blender, pulse the red beans into a smooth paste. Ensure there is at least some liquid in the pot to facilitate blending. If there's too much water, pour some away. Conversely, if there is not enough water, add some.
- Cook the red bean paste over low heat, stirring continuously, until it thickens considerably. Add sugar and mix into paste. You can add the sugar in batches if you want to adjust the sweetness to your liking.
- After adding sugar, the red bean paste will become slightly more liquid. Cook until it thickens again. Then add oil and mix if you want a smoother paste. Continue to cook until red bean paste thickens to the right consistency. The consistency is right when you use a spatula to draw a line at the bottom of the pot and the red bean paste doesn't flow back to cover the gaps quickly.