This post may contain affiliate links. Please read our disclosure policy.
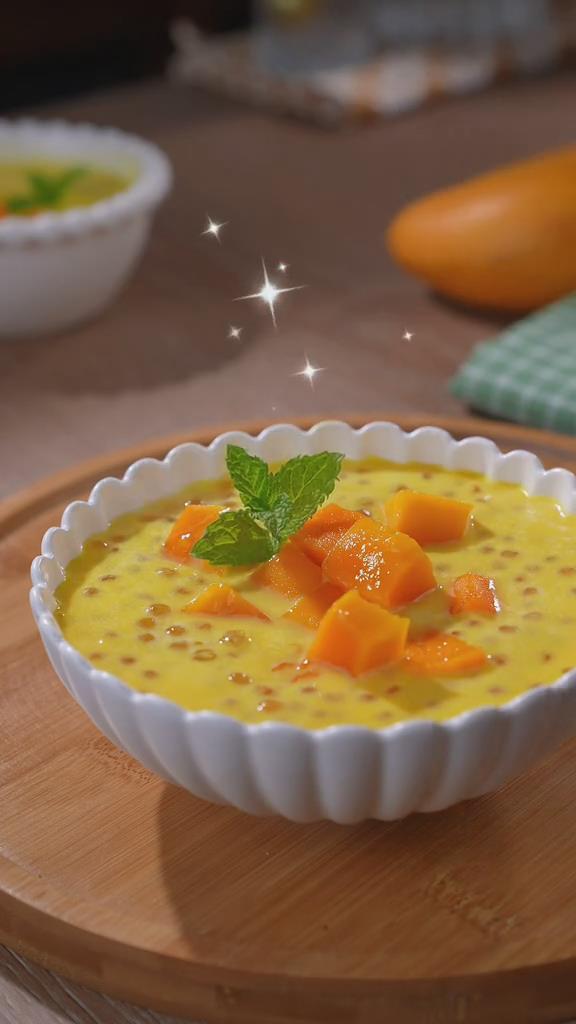
Looking for a super quick and easy dessert requiring little effort? Let me share my love for Mango Sago made with only THREE ingredients.
This recipe is so simple – just boil the sago pearls, blend the mangoes, and combine all ingredients! It is a refreshing and creamy dessert that does not require baking or frying and is ready in no more than 30 minutes.
- What Is Mango Sago?
- Making Mango Sago: Tips and Tricks
- How To Store Mango Sago
- Gather These Items To Make Mango Sago
- Easiest Recipe To Make Mango Sago
What Is Mango Sago?
Also known as Mango Tapioca Pudding, Mango Sago is the perfect dessert for the sweet tooth and mango lovers.
It is a tasty tropical treat commonly served as a Cantonese dessert. You can make it with only three simple ingredients: sago pearls, mangoes, and your choice of milk.
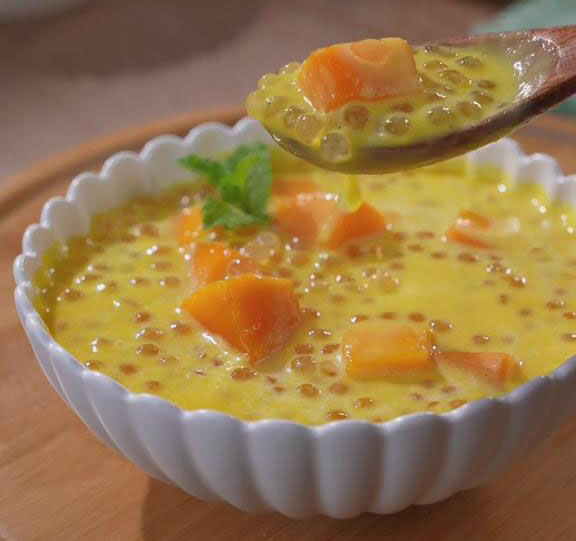
Get the taste of sweetness with ripe mangoes and the rich and creamy mouthfeel of the milk.
You can use any kind of milk, but I suggest coconut milk for a thicker and smoother texture. Each bite gives you a bit of chewiness with the sago pearls.
These pearls are commonly bought at Asian grocery stores or online. Serve this dessert after a meal or during a hot summer day to cool down.
If you want to get creative and try different styles of this dessert, there are many variations of mango sago, such as Mango Pomelo Sago Dessert and Eggless Homemade Mango Pudding.
Making Mango Sago: Tips and Tricks
There are several tricks to make mango sago even more delicious. I discovered simple techniques that work best for me after a few trials and errors which I will share with you below. Take a look at my tips and substitution suggestions according to each ingredient.
Sago Pearls
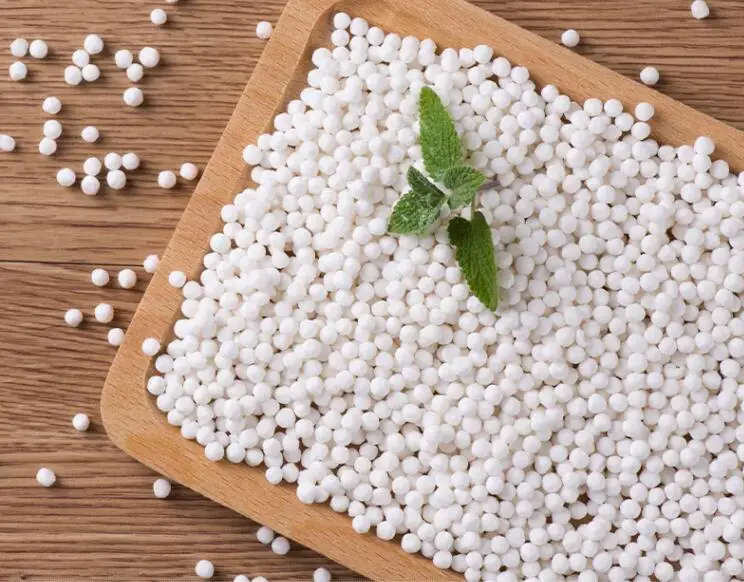
- Sago pearls add a chewy texture to the dessert. If this is not a common ingredient at your local supermarket, make sure to buy it in advance at an Asian grocery store or online. If you can’t find sago pearls, you can use other chewy alternatives, such as tapioca pearls, popping boba, sweet potato balls, lychee, grass jelly, and coffee jelly. Sago pearls tend to be more expensive to produce. The next best cheaper alternative is tapioca pearls.
- Sago pearls are prepared by boiling and rinsing in cold water. While boiling, you have to stir it continuously. Continuous stirring prevents the pearls from sticking to the pan and sticking together. After boiling, you will have to let the pearls sit on hot water for a few more minutes to allow them to absorb as much water and make them more translucent.
- The last part of making sago pearls is rinsing in cold water. Cold water is needed to remove any residual starch and prevent them from sticking to one another.
- As a result, sago pearls should be translucent without a white center. It should be chewy that stick to your teeth and with a bit of firmness in each bite. If not, then it means the sago pearls are not yet ready. So, you will have to boil it again and repeat the process.
Mangoes
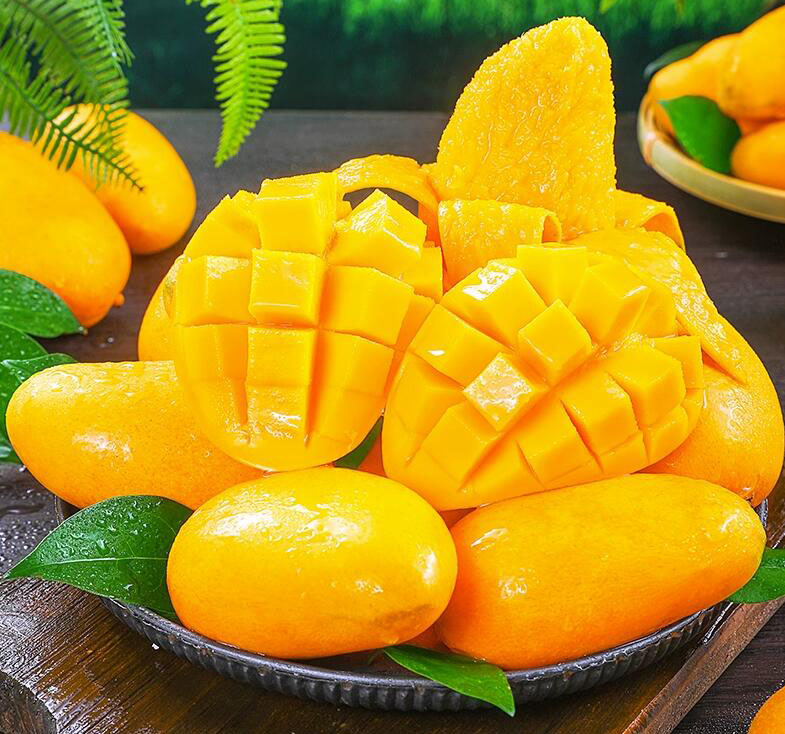
- I always go for natural sweeteners in any dessert instead of adding lots of sugar. If you can make something sweet with just fruits, why not? So, it is important to use ripe and sweet mangoes to serve as natural sweeteners for your mango puree. If you use unripe green mangoes, the dessert will likely turn sour to taste. In case you don’t have sweet mangoes, then you might have to add some sugar to achieve its sweet taste.
- I prefer fresh mangoes to have a healthier dessert with less preservatives. However, if fresh is unavailable, frozen and canned work just fine.
- Use a blender or food processor to blend the mangoes well. You want to have a smooth consistency without fibers or chunks. In this recipe, you will need at least 250g of mango. Cutting the mangoes into cubes is optional for blending, but you may have to cut them into smaller pieces to blend them easily. Don’t blend all your mangoes since you need a few pieces to mix with your dessert and serve as toppings.
- The easiest way to make diced mangoes is by slicing the flesh into square shapes. To do that, you first have to cut the mango along the sides of the pit, the long flat seed at the center. This will give you three pieces: the pit, the left half, and the right half side of the mango. Take a half mango and slice it into square shapes, which should give you a checkered pattern. After slicing, you will then invert the skin to make the cubes pop out of the skin. Alternatively, you can simply scoop out the cubes from the mango using a spoon without needing to invert it. However, if you want a cleaner cut for your toppings, it is better to invert the skin before scooping.
Milk
- You can use any type of milk you like. To make it healthier, use plant-based milk such as soy, oat, or almond milk. You can use unsweetened milk if you’d like to lessen the sugar content. Of all the milk I’ve tried and tested, I find that coconut milk makes the dessert richer and creamier. It gives you a hint of coconut, which is sweet and nutty to taste.
- The milk for this recipe has two purposes. One, it will be used as part of the mango and milk mixture. Two, you can use it as a topping by adding a drizzle of milk on top.
Gather These Items To Make Mango Sago
My favorite part about this dessert is that it only requires basic kitchen appliances. All you need is a blender for the mixture and a pan or pot for boiling the sago pearls.
If you don’t have a blender, you can use other appliances to blend the mangoes, such as a food processor, immersion blender, or smoothie maker.
Additionally, milk and mangoes are common in supermarkets, so you won’t have a problem gathering these ingredients.
The only uncommon ingredient you may need to buy at an Asian store is sago pearls. These are usually tiny white pearls that are hard.
To get started with mango sago, here’s everything you’ll need.
Kitchen Items
- Dessert bowl
- Pot for boiling the sago pearls
- Ladle strainer
- Knife for slicing mangoes
- Blender or food processor for blending
Ingredients
- 1 cup sago pearls
- 250g mangoes for puree
- 250g mangoes for toppings
- 250ml coconut milk
- A splash of coconut milk
- Mint for garnish (optional)
Easiest Recipe To Make Mango Sago
In a nutshell, the recipe includes boiling the sago pearls and blending the mangoes and milk together. After preparing these two key ingredients, simply combine them in a bowl and top them with mango cubes and a dash of milk. It is the easiest and quickest recipe for a sweet dessert.
Make mango sago with these easy steps:
Boil The Sago Pearls
Boil some water in a pot. Then, add 1 cup of sago pearls once it boils and cover the pot with a lid.
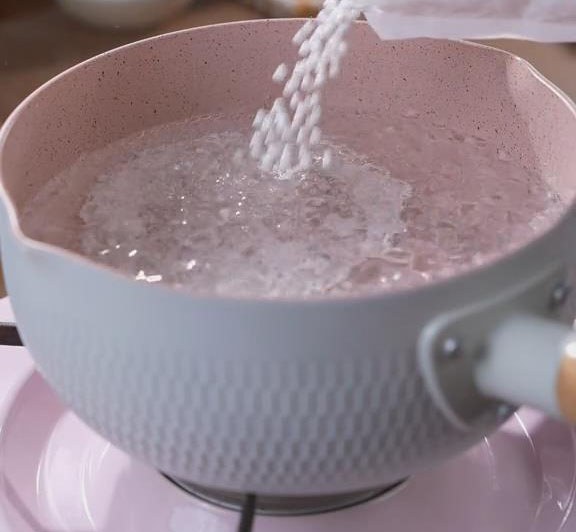
Turn the heat to low and continuously stir for 15 minutes. After 15 minutes, check if the sago is translucent. Next, turn off the heat and allow it to sit in hot water for another 15 minutes.
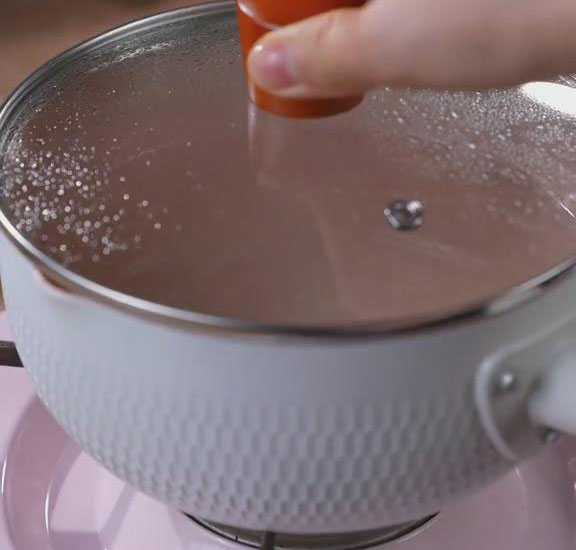
Once you achieve translucent pearls without the white color, drain and take the pearls using a ladle strainer. Lastly, rinse the sago pearls in cold water and set aside.
Blend The Mangoes And Milk
Cut the mangoes along the sides of the pit. Slice each half mango into squares like a checkered pattern.
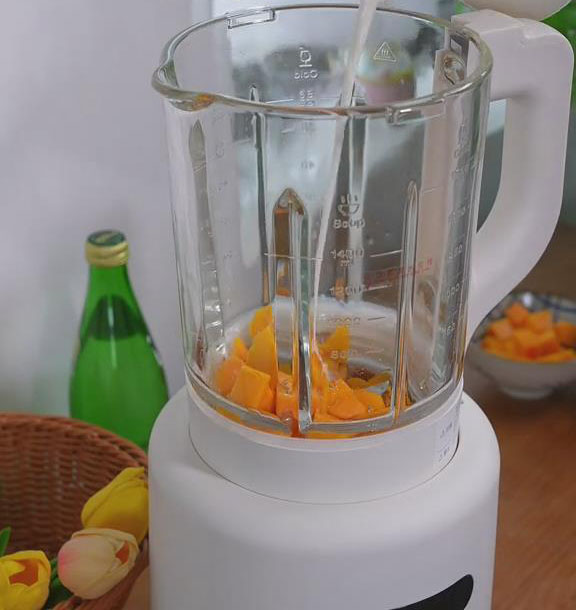
Then, invert the skin to make the cubes pop out of the skin. Next, put 250g of mangoes in a blender and add 250 ml of coconut or your choice of milk. Blend until you have a smooth consistency without fibers or chunks.
Combine The Ingredients
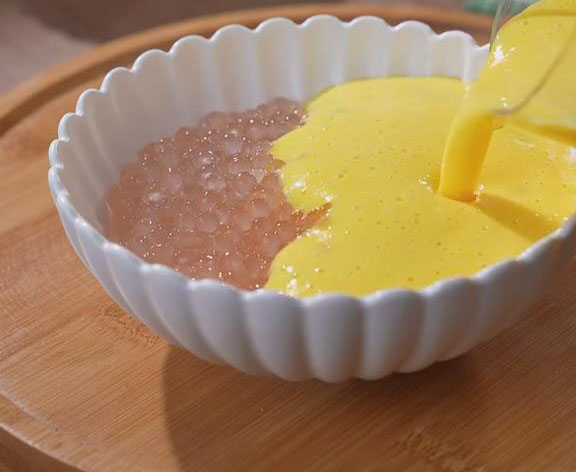
Add the drained sago pearls into a dessert bowl or serving cup and Pour in the mango mixture
Add the remaining 250g cubed mangoes.
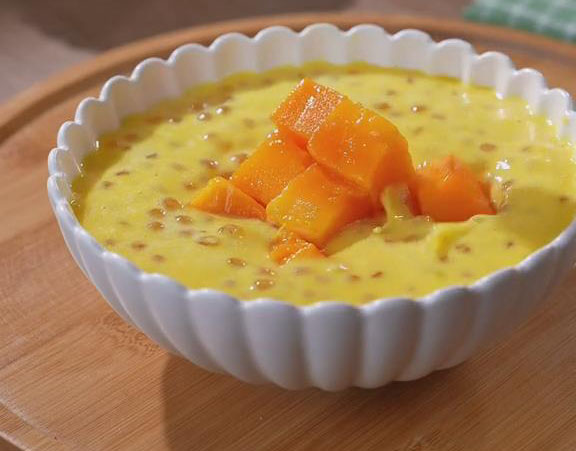
Then, add a dash of milk on top and garnish with mint. Serve cold or chill for a few more hours for an ice-cold dessert.
How To Store Mango Sago
After making the dessert, I suggest refrigerating it for a few hours for a firmer consistency and a more chilled texture. For easy serving, you can store it in small dessert bowls with a cover for a quick treat on a hot summer day. Make sure to store any leftovers in an airtight container for up to three days in the fridge.
Keeping it sealed will maintain its flavor and texture and prevent food odors from being absorbed by the dessert. You can also store it in the freezer if you like, but the texture may change the longer it stays there. Moreover, for both refrigerator and freezer storage, it is best to keep each ingredient in a separate container.
Do not combine the mango mixture and sago pearls all at once in one container. Instead, keep the pearls in a separate container and the mango mixture in another. Only combine these two ingredients when you are ready to serve.
In this way, you can prolong the shelf life of both ingredients and have a better texture and flavor. Remember that freshly boiled sago pearls should be used within one to two days. If it is stored for more than the recommended days, the pearls may lose their chewy and sticky texture.
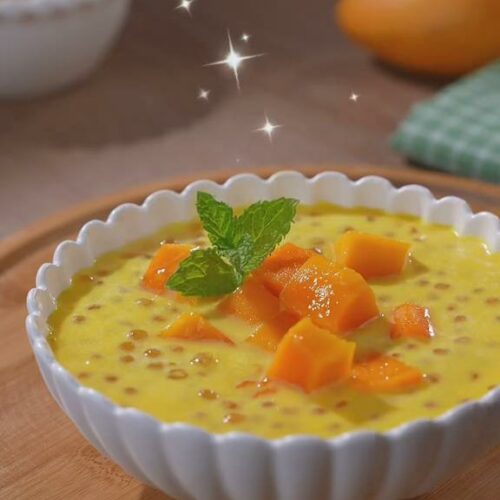
Mango Sago Dessert
Equipment
- Dessert bowl
- Pot for boiling the sago pearls
- Ladle strainer
- Knife for slicing mangoes
- Blender or food processor for blending
Ingredients
- 1 cup sago pearls
- 250 g mangoes for puree
- 250 g mangoes for toppings
- 250 ml coconut milk
- A splash of coconut milk
- Mint for garnish optional
Instructions
Boil The Sago Pearls
- Boil some water in a pot.
- Then, add 1 cup of sago pearls once it boils and cover the pot with a lid.
- Turn the heat to low and continuously stir for 15 minutes.
- After 15 minutes, check if the sago is translucent.
- Next, turn off the heat and allow it to sit in hot water for another 15 minutes.
- Once you achieve translucent pearls without the white color, drain and take the pearls using a ladle strainer.
- Lastly, rinse the sago pearls in cold water and set aside.
Blend The Mangoes And Milk
- Cut the mangoes along the sides of the pit.
- Slice each half mango into squares like a checkered pattern.
- Then, invert the skin to make the cubes pop out of the skin.
- Next, put 250g of mangoes in a blender and add 250ml of coconut or your choice of milk.
- Blend until you have a smooth consistency without fibers or chunks.
Combine The Ingredients
- Pour the mango mixture into a dessert bowl or serving cup and add the drained sago pearls.
- Add the remaining 250g cubed mangoes.
- Then, add a dash of milk on top and garnish with mint.
- Serve cold or chill for a few more hours for an ice-cold dessert.

