This post may contain affiliate links. Please read our disclosure policy.
i Kichi Japanese omurice, masterfully flipping his frypan and tossing the rice high up in the air, then catching it back in the pan. Since I haven’t had the chance to visit his restaurant in Japan, I wanted to try making the dish myself as it looks so tempting. But, I didn’t attempt to make the omelette the same way he did because it’s very challenging so I made it the easy way. Also, the sauce that he uses is a demi-glace sauce, which is a very complex sauce made using beef stock. Making demi-glace is far too time-consuming and probably not worth the effort for a meal for 2, so I made a simple brown sauce using chicken stock instead. I can’t say mine will taste the same since I don’t even know how demi-glace tastes, but I thought it was decent enough! So here’s my cheat version of Kichi Kichi’s omurice:
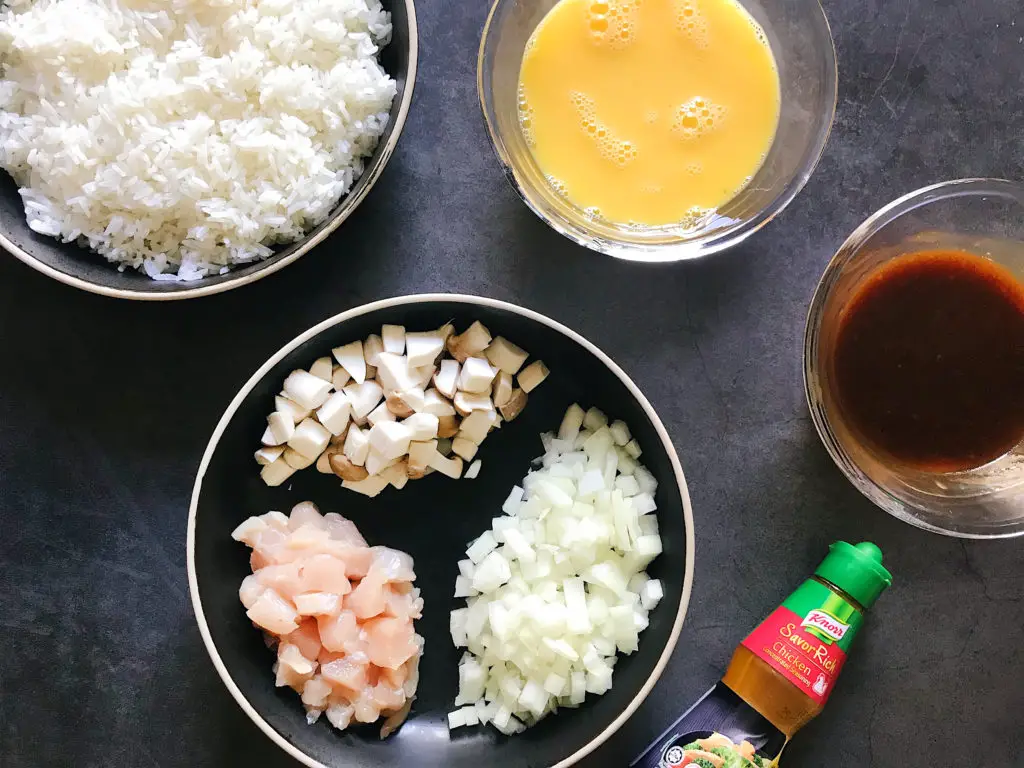
These are the main ingredients: cooked rice, diced yellow onions, diced chicken, diced mushrooms, beaten eggs and the brown sauce (made using chicken stock).
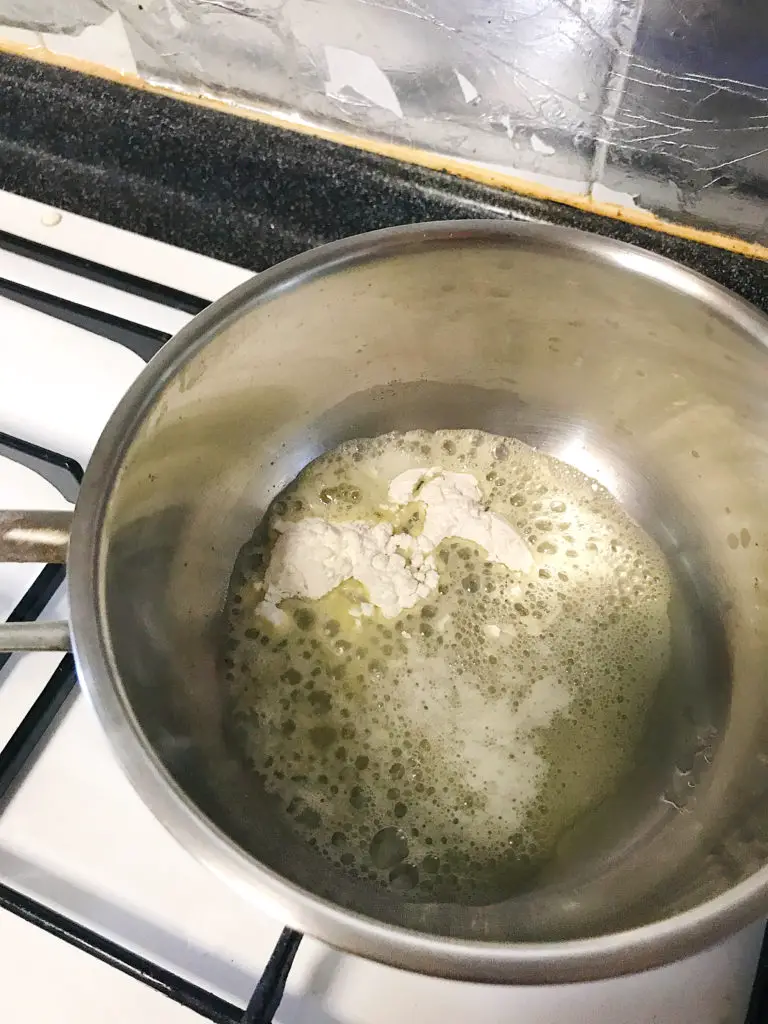
To make the brown sauce, you’ll need a roux (butter + flour = roux). Melt some butter then add flour and mix well.
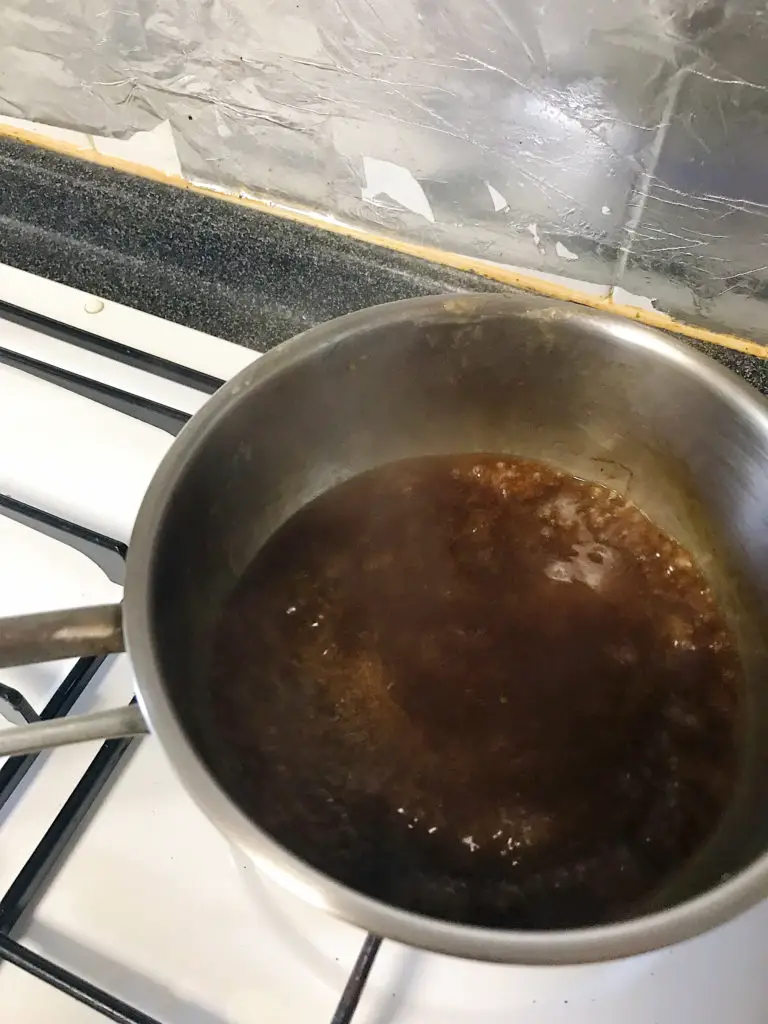
Then add chicken stock (I used 1 tbsp of Knorr’s concentrated chicken stock and diluted it with 300ml of water), and just a teaspoon of tomato paste. You can leave out the tomato paste if you prefer, but the sauce may lack a little bit of depth. Cook the sauce until it reduces and thickens. The sauce thick enough when it’s able to coat the back of a spoon.
At this point, the sauce may not taste that good on its own, but once it’s paired with the omurice, it’s great!
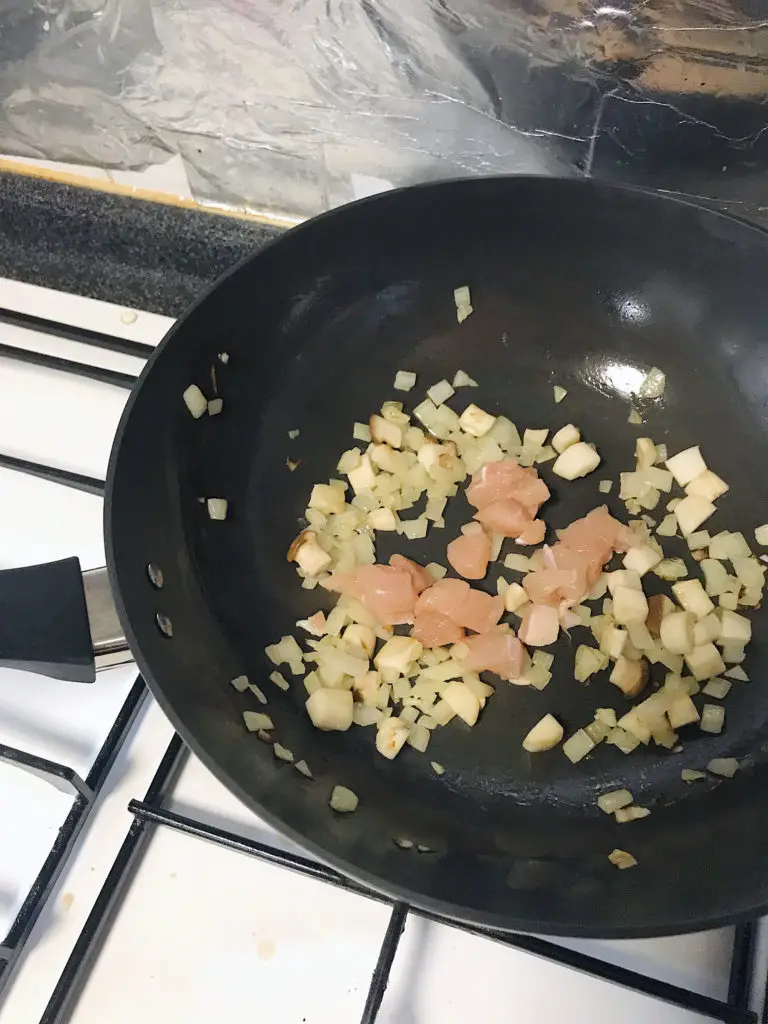
Next, in a frypan, add some oil. Fry the diced onions first till translucent, then add the mushrooms, and finally the chicken. The reason I add chicken last (Kichi Kichi adds the chicken, then onions, then mushrooms) is because I don’t want the chicken to become overcooked and tough. Fry until the chicken is more or less cooked through.
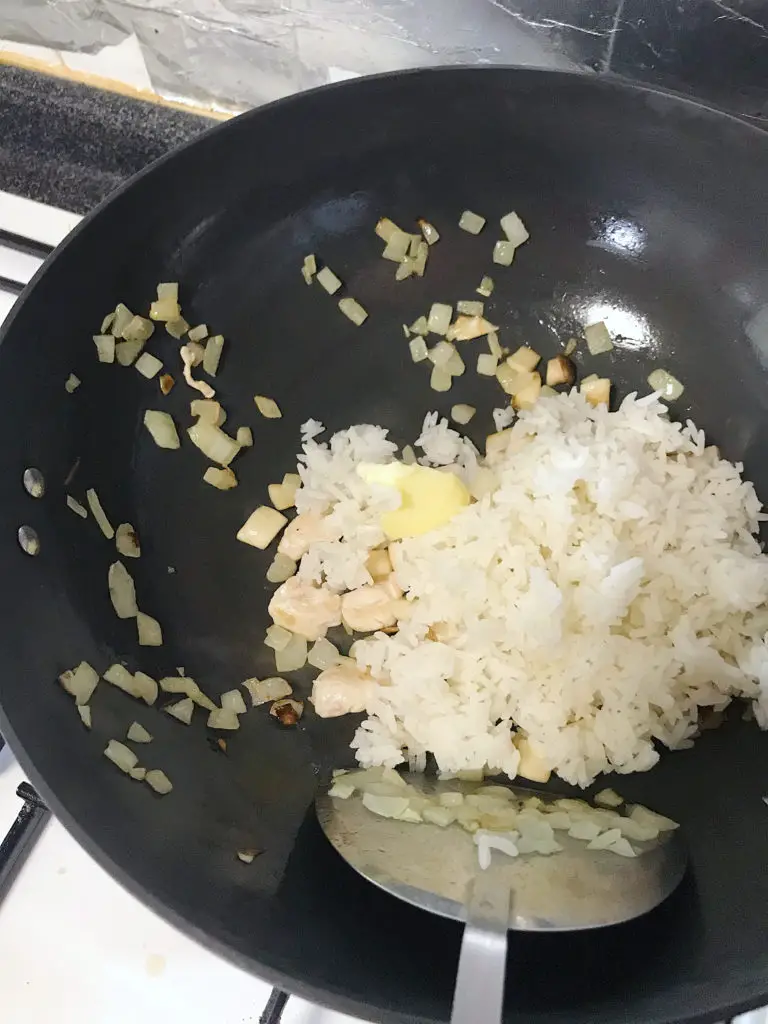
Add the cooked rice (overnight rice, or at least cooked rice that’s been cooled down for an hour) and some butter, and mix well.
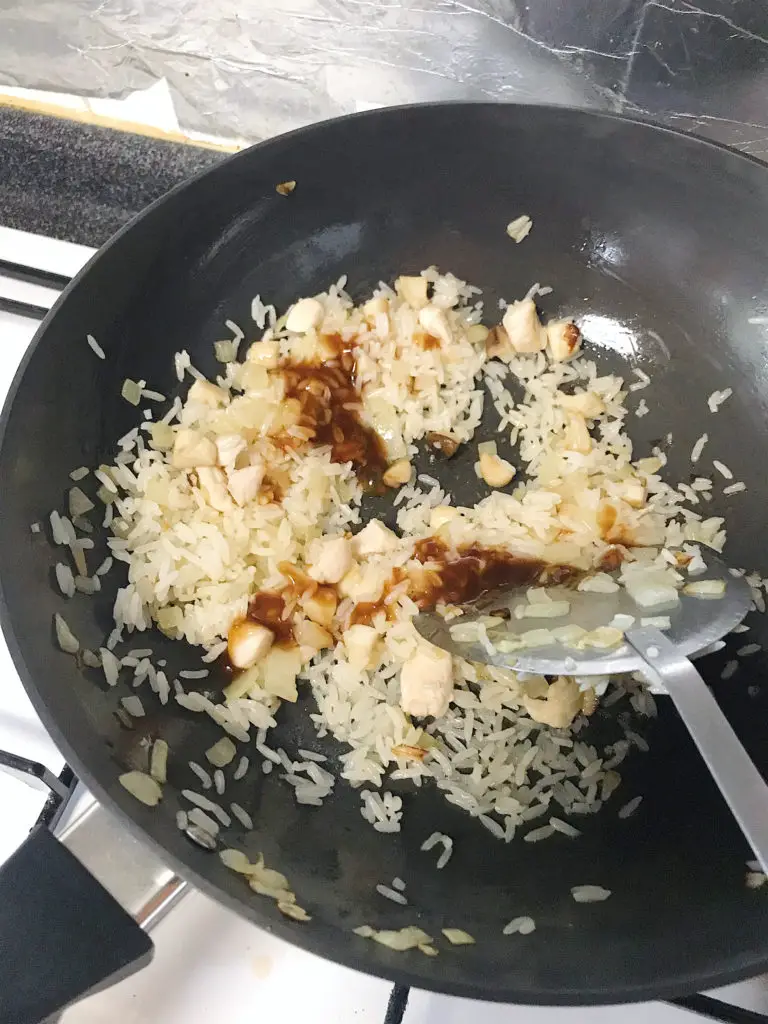
Finally, add some of the brown sauce you made earlier, as well as some light soy sauce (for taste), dark soy sauce (for colour), and pepper. Do adjust the seasoning according to your taste buds. Although the brown sauce on its own is salt enough, once it was added to the rice, I personally didn’t think it was salty enough. As for Kichi Kichi, he only adds the demi glace sauce and no other seasonings. But I have read reviews saying that the rice itself isn’t salty enough.
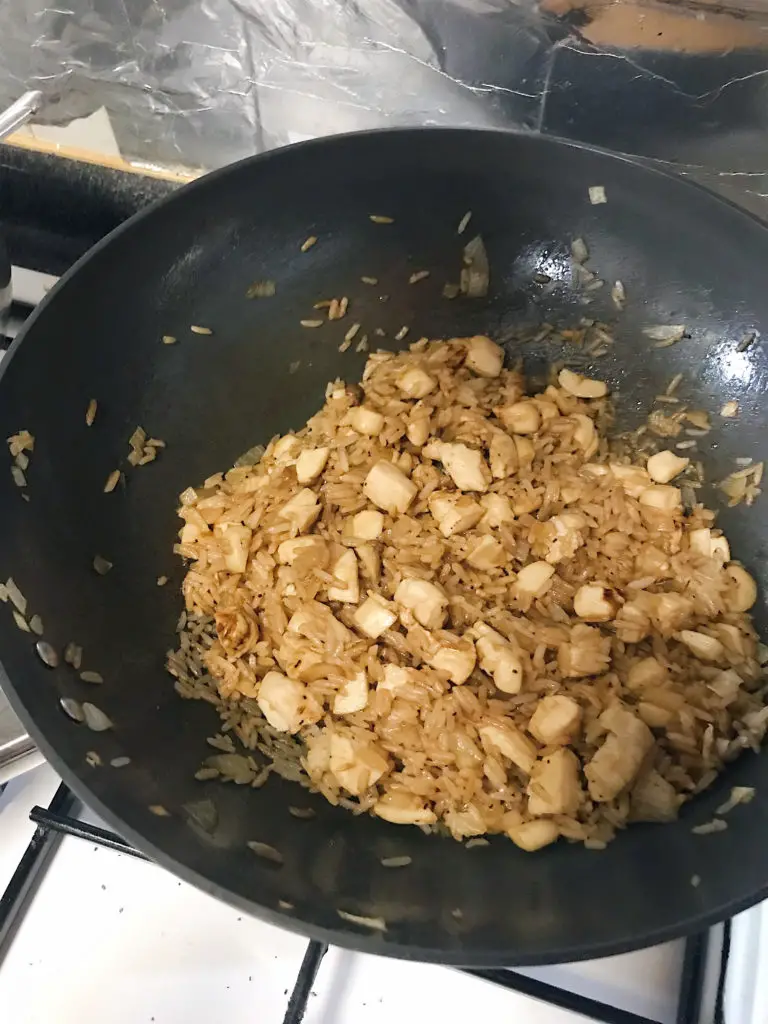
At this stage, scoop some rice into a small bowl and flip it over onto a plate.
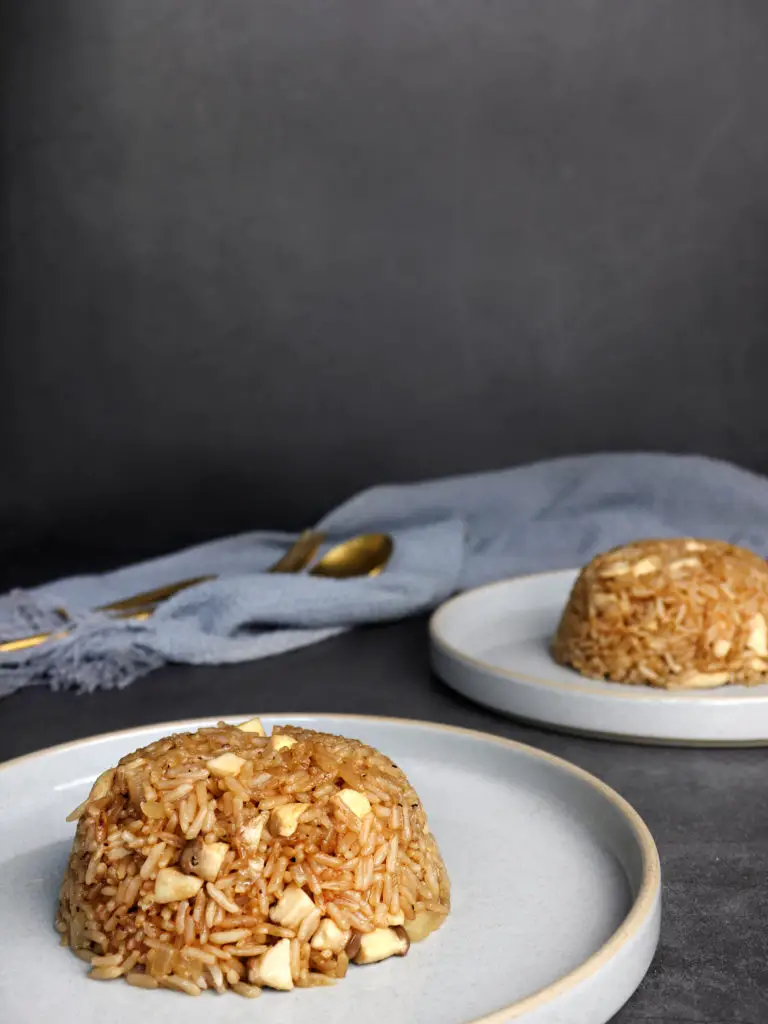
This is how it should look like!
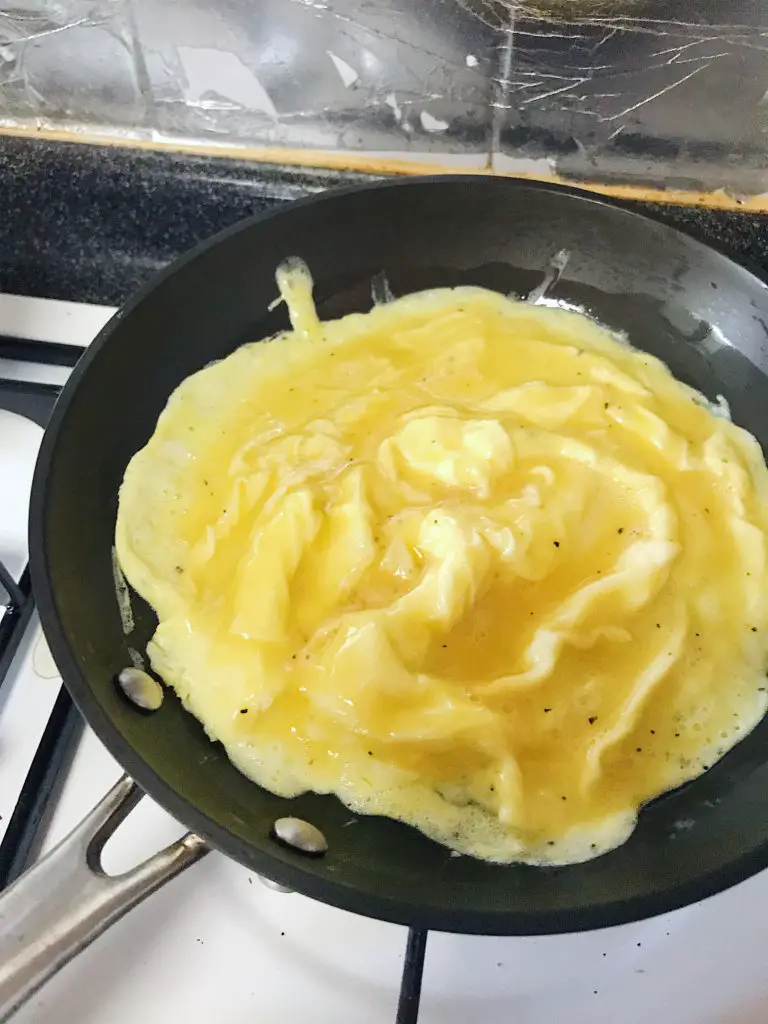
Then fry the eggs, one portion at a time, which also means 2 large eggs at a time. Use medium-low fire, and scramble the eggs in a circular motion to form large curds, and cook until the egg just sets but still looks slightly runny.
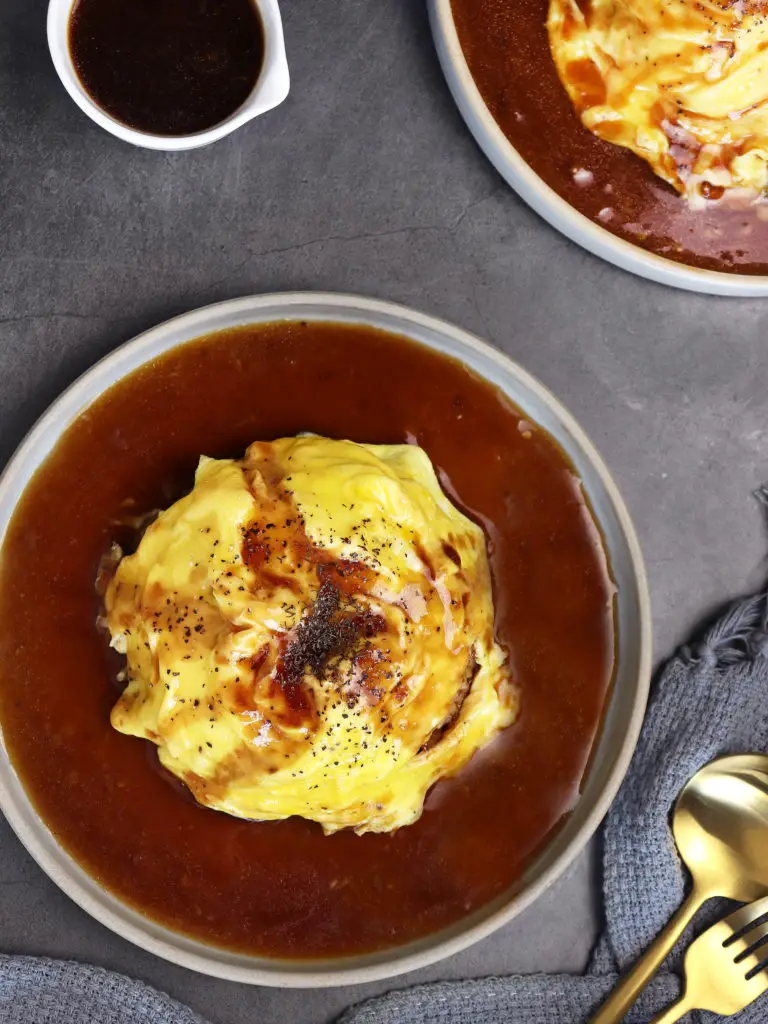
Then gently place the egg over the rice, and drizzle a generous amount of brown sauce over the egg.
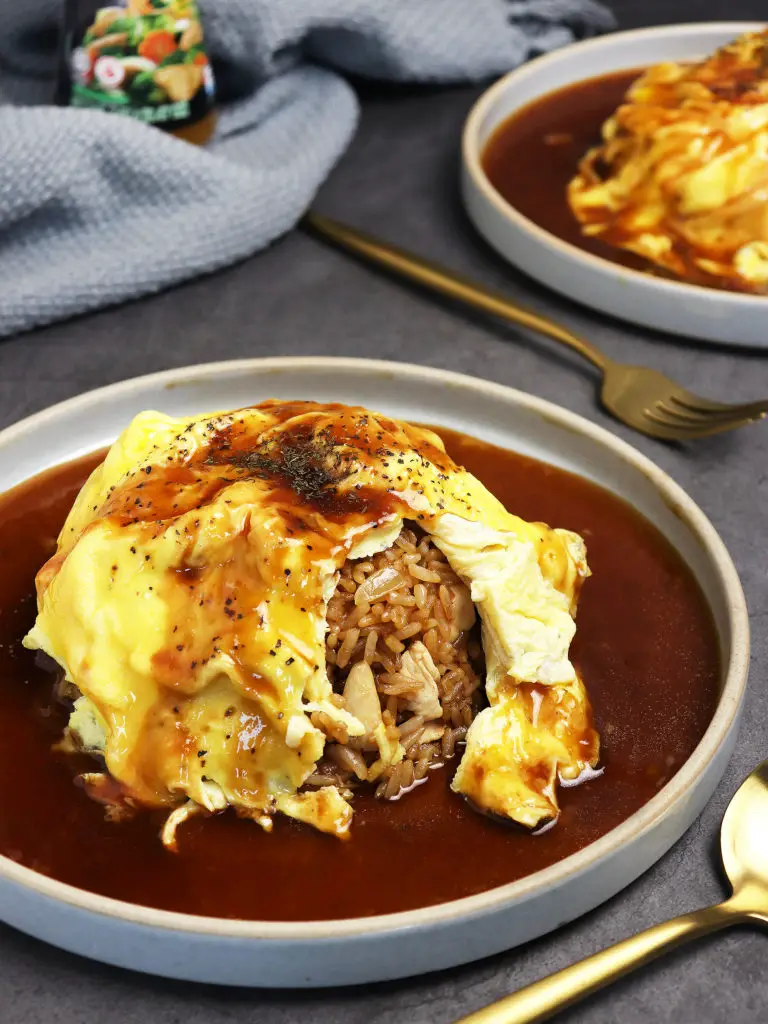
The sauce I used for this recipe probably cant compare to the actual demi-glace sauce Kichi Kichi uses, but I think it’s a very good substitute for those who don’t eat beef and also those who want to save time cooking. The brown sauce paired very well with the egg and rice, with its saltiness balanced out by the milder flavours of the egg and rice. I’m probably not doing justice to Japanese omurice with my photos, but it was delicious! It seems like fried rice, whether it’s Chinese or Thai or Japanese, always tastes good!
“Kichi Kichi style” Japanese omurice
Ingredients
RICE
- 300 g cooked rice
- 100 g chicken diced
- 100 g yellow onion diced
- 50 g mini oyster mushrooms diced
- 20 g butter
- some brown sauce
- light soy sauce to taste
- pepper to taste
- dark soy sauce for colour
EGGS
- 4 large eggs beaten
- salt to taste
- pepper to taste
BROWN SAUCE
- 1.50 tbsp butter
- 1.50 tbsp flour
- 1 tbsp Knorr concentrated chicken stock
- 300 ml water
- 1 tsp tomato paste
- dark soy sauce for colour
Instructions
- BROWN SAUCE: In a saucepot, melt butter over medium heat. Once melted, add flour and combine well to form a roux. Cook for a while to remove any raw flour taste. Then add concentrated chicken stock, water, tomato paste and a few drops of dark soy sauce for colour. Combine well and cook sauce until it thickens and reduce to a sauce consistency. It should be able to coat the back of a spoon.
- FRIED RICE: In a wok, add around 1-2 tbsp of oil. Once the oil is hot, add and fry onions till translucent, then add mushrooms & chicken and fry. Once chicken is cooked through, add rice & butter and combine well. Finally, add some brown sauce (depending on how moist or flavourful you want the rice to be), light soy sauce (to taste), dark soy sauce (for colour) and pepper. Combine until colour is even, then scoop the rice into 2 separate small bowls and flip them onto 2 separate plates.
- EGG: In a small frypan (around 20cm), cook the eggs one portion at a time. Add some oil to the pan, then add half the egg mixture into the frypan and cook over medium-low heat. Scramble the egg using a silicone spatula gently to form large curds. Once the egg has set but still looks slightly runny, remove the pan from the heat and gently place egg onto the rice.
- Pour a generous amount of brown sauce onto the egg, and enjoy!
Pretty good cheat recipe. Using an 8-inch pan is a must or you’ll overcook the beaten eggs and ruin the runny effect KK style omurice is famous for when splitting the omelette in half using a knife a d giving that effect of molten lava. I liked the demi-glace sauce and honesty good enough since the traditional French demi-glace involves a 24h+ spent simmering, reducing, skimming and flavour-building using a combo of homemade beef stock and sauce espagnole. Obviously a huge difference and I guess the Japanese running a pro kitchen wouldn’t have a problem doing it but for the home cook, unless it is very special occasion, not worth the hassle.
Thumbs up!
Hi Giraud,
Thanks for sharing your experience!
Pretty good, but the sauce was very salty!