It’s been a while since I’ve made ice cream! Decided to try the no-churn method to compare the differences between ice cream made with an ice cream maker and without. And wow, I was blown away by how easy and fuss-free the no-churn method is! And the resultant ice cream tasted very decent, although I do think that ice cream made with an ice cream machine still has slightly better texture and flavour. But if you don’t have an ice cream maker at home and don’t want to invest in one, the no-churn method is definitely worth a try! You really only need 3 ingredients:
1. Ingredient for the flavour that you want your ice cream to be:
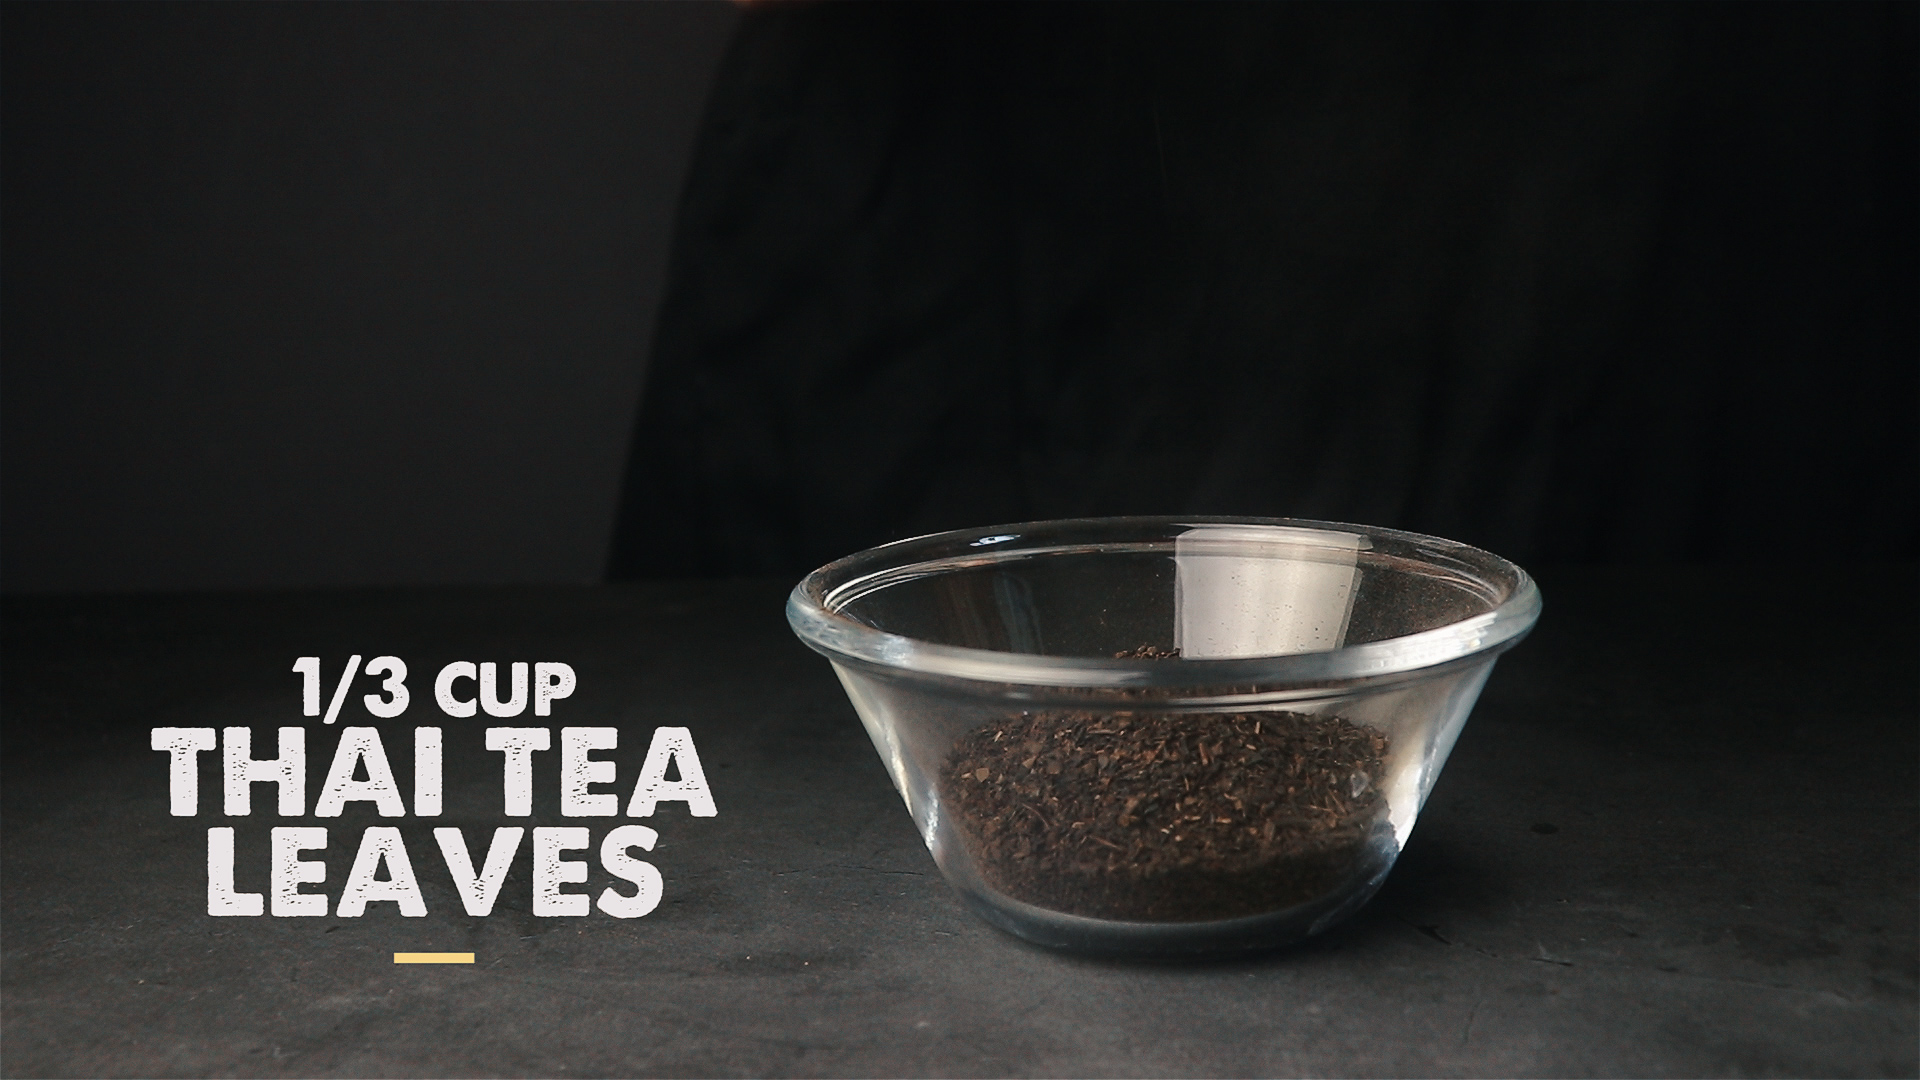
I wanted to make Thai milk tea flavoured ice cream so I used Thai tea leaves. If you want mango flavoured ice cream, puree some fresh mango. If you want cookies ‘n’ cream flavoured ice cream, add some Oreo cookies. And the list goes on.
2. Whipping Cream
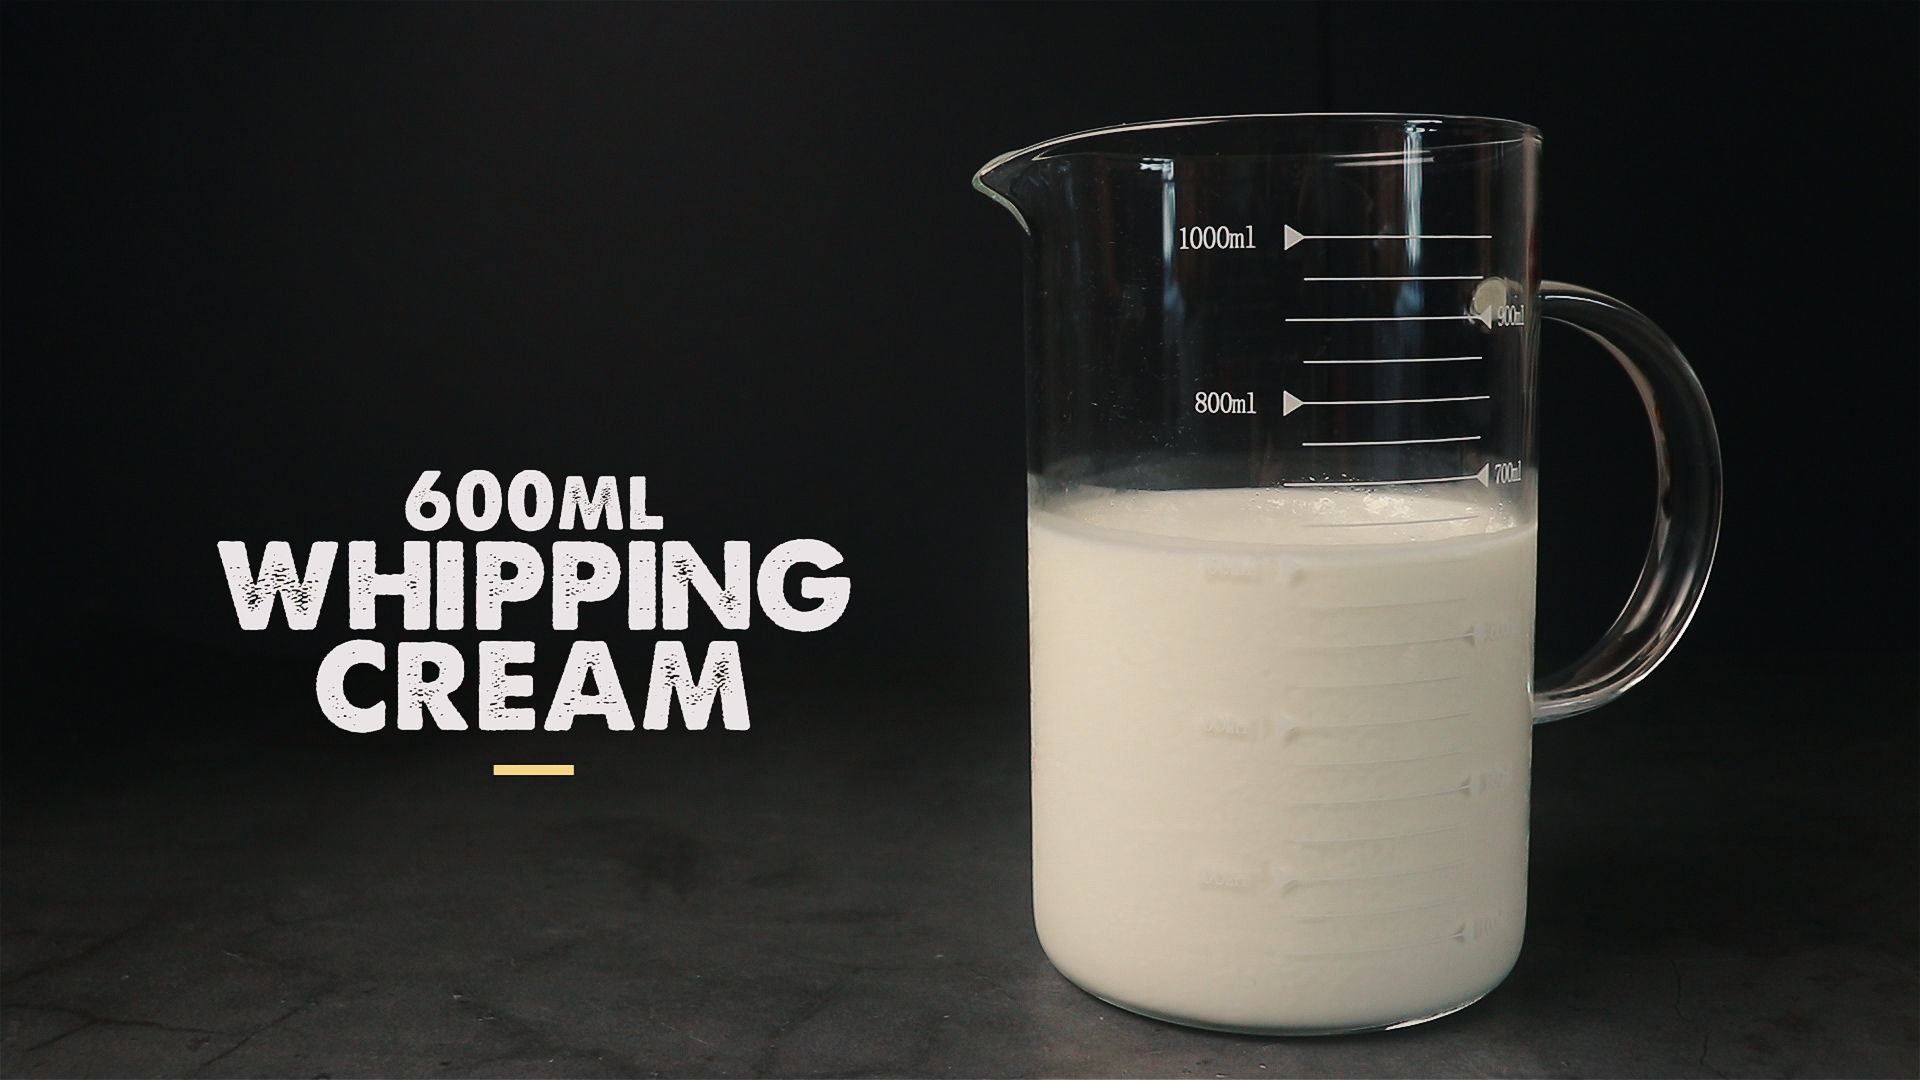
Just to highlight, after infusing the Thai leaves in the cream, I was left with about 500ml of cream. If the flavour you are making doesn’t require you to infuse the ingredient in the cream, you can use less cream (about 500ml).
3. Condensed Milk

Adjust the amount of condensed milk according to your sweetness preference. If you’re making chocolate flavoured ice cream, you may want to reduce the amount of condensed milk (unless you’re using dark chocolate) since chocolate in itself is pretty sweet.
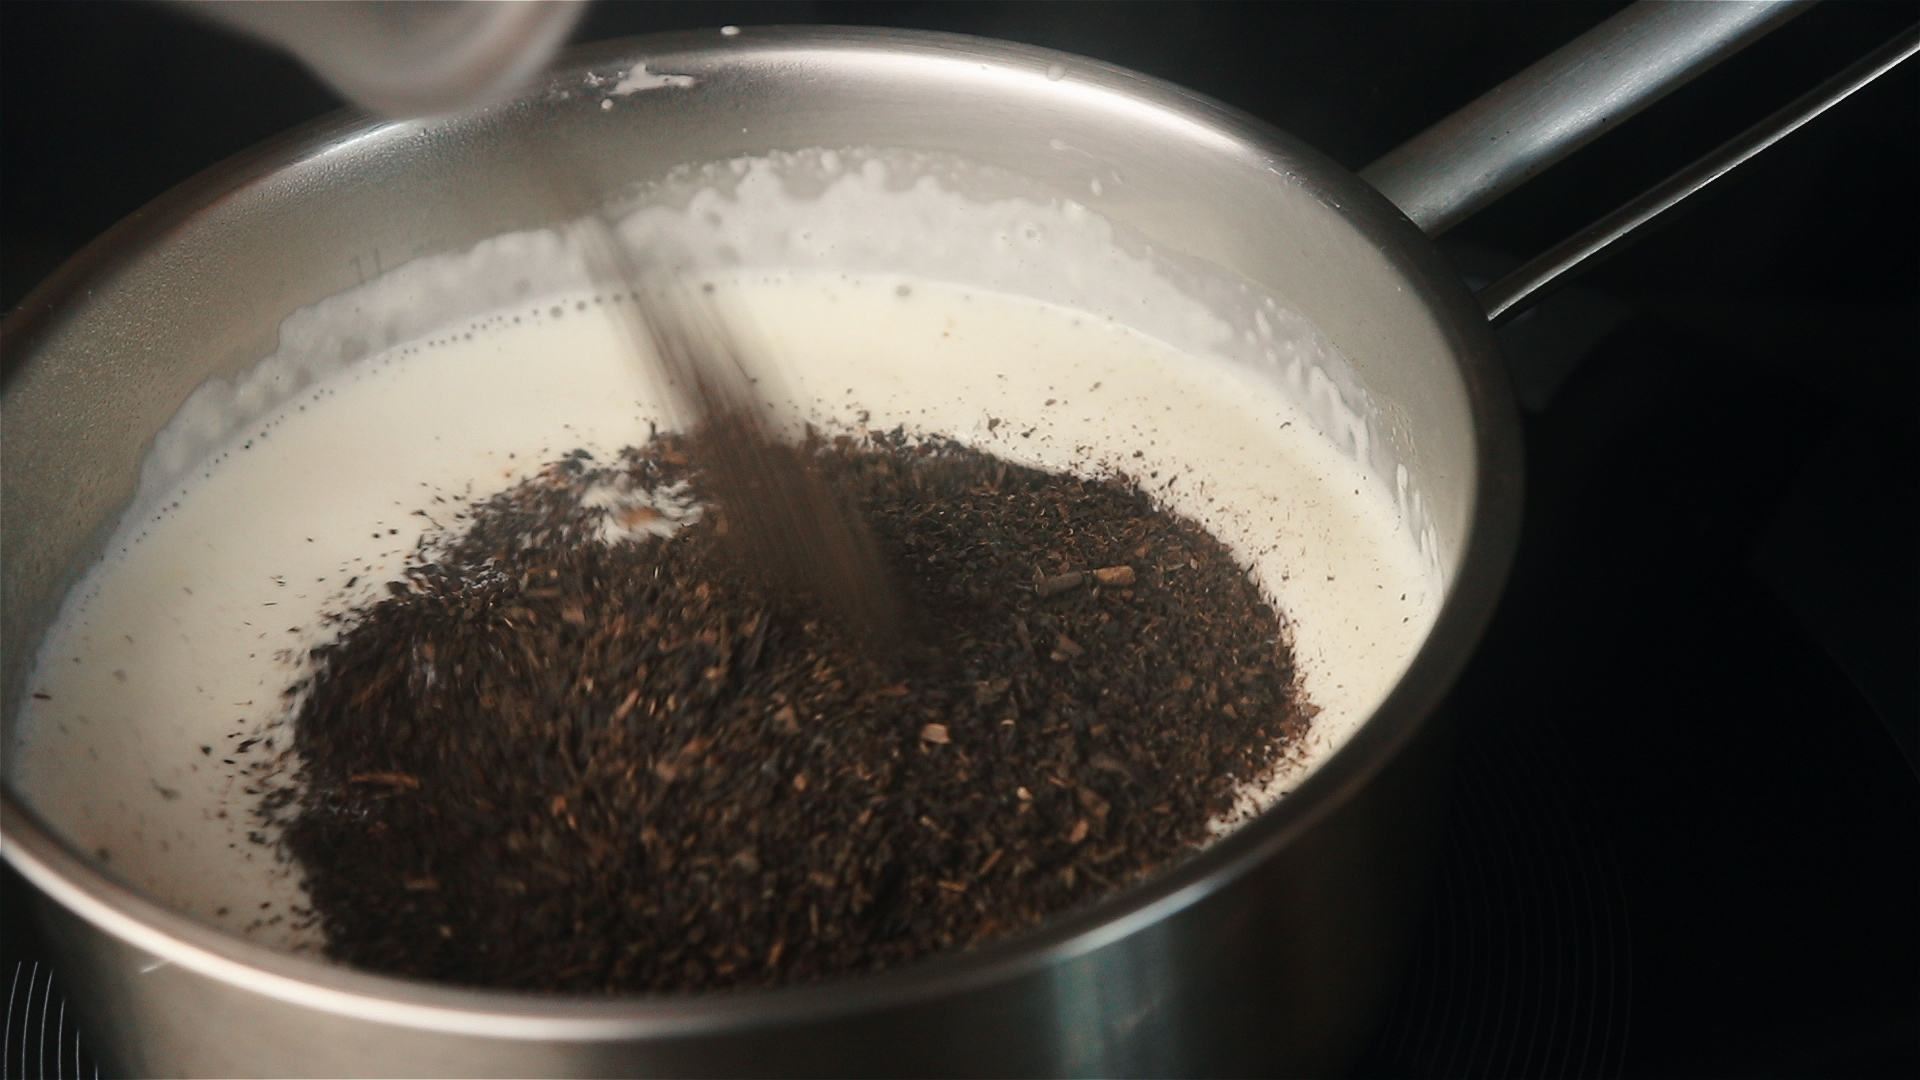
First, bring the cream to a simmer, stirring to prevent milk solids from burning. Once simmering, turn off the heat. Add the Thai tea leaves into the cream and mix well.
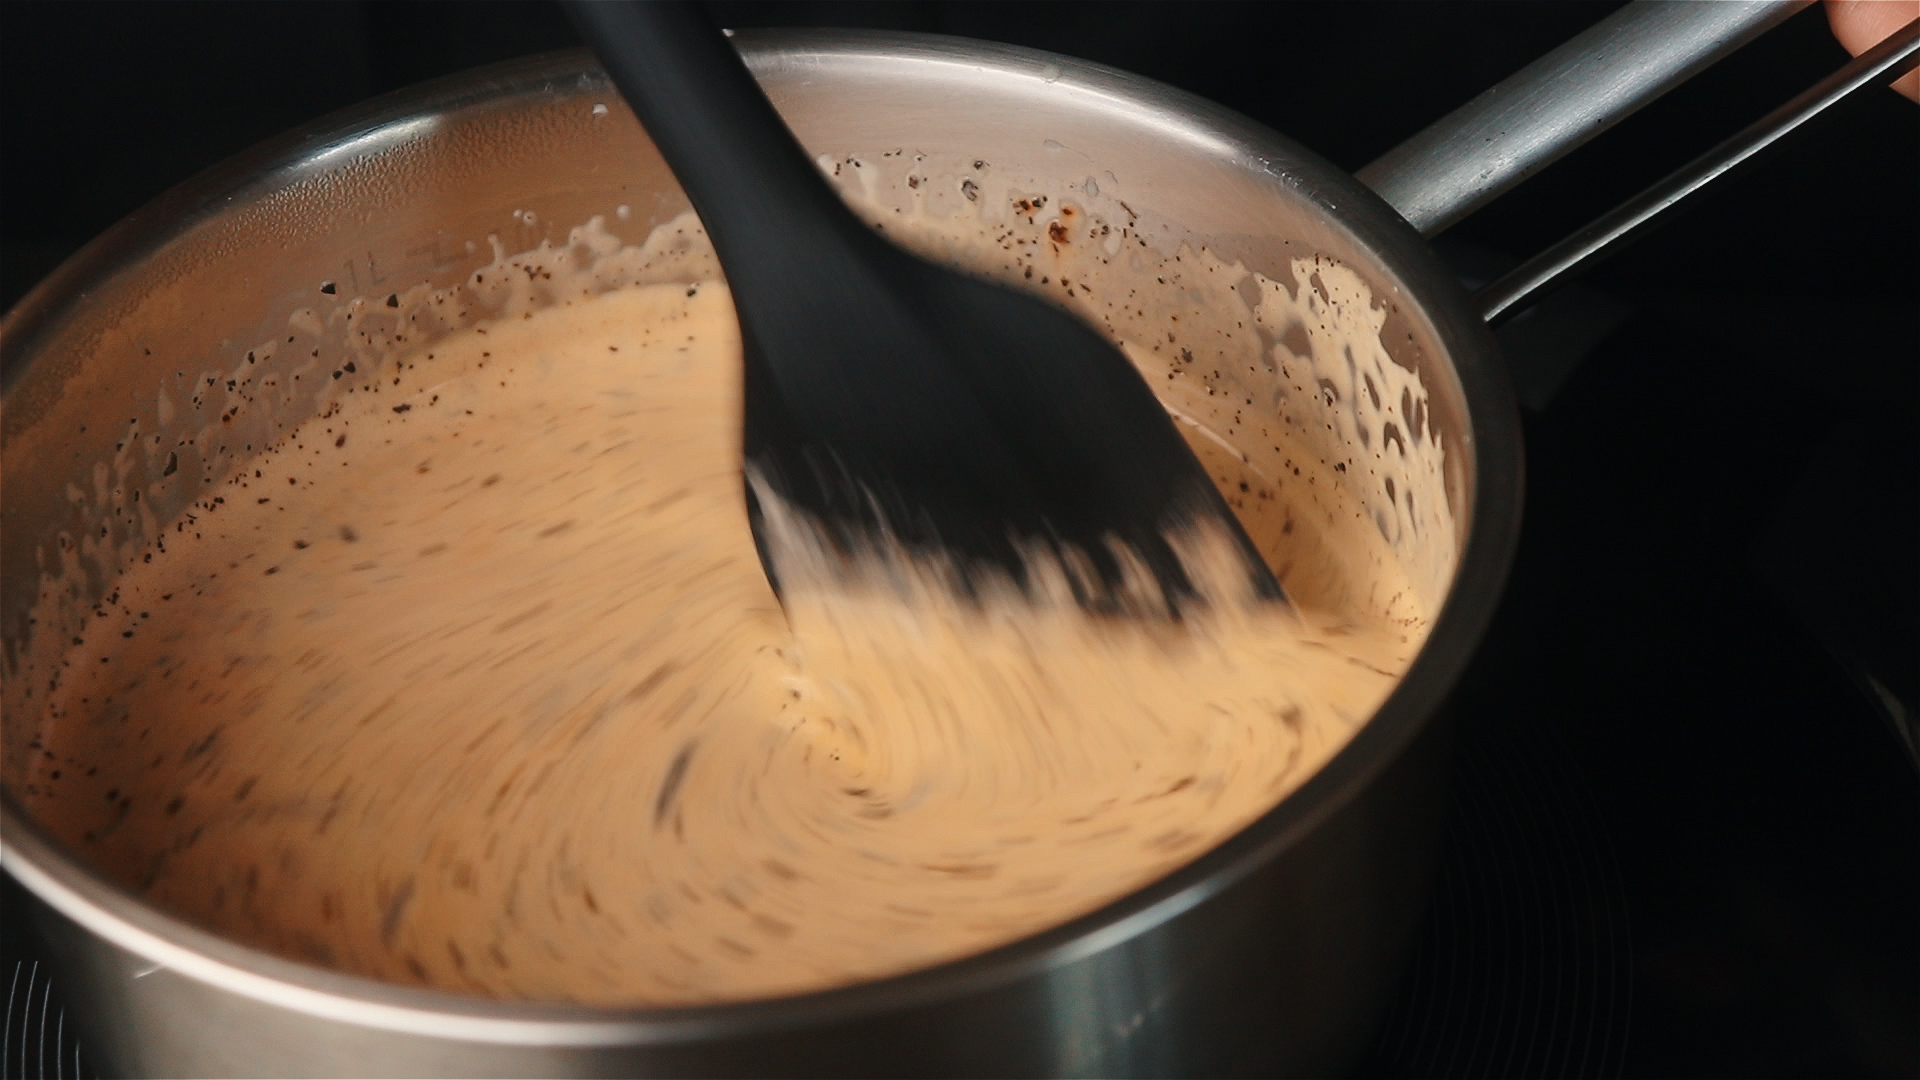
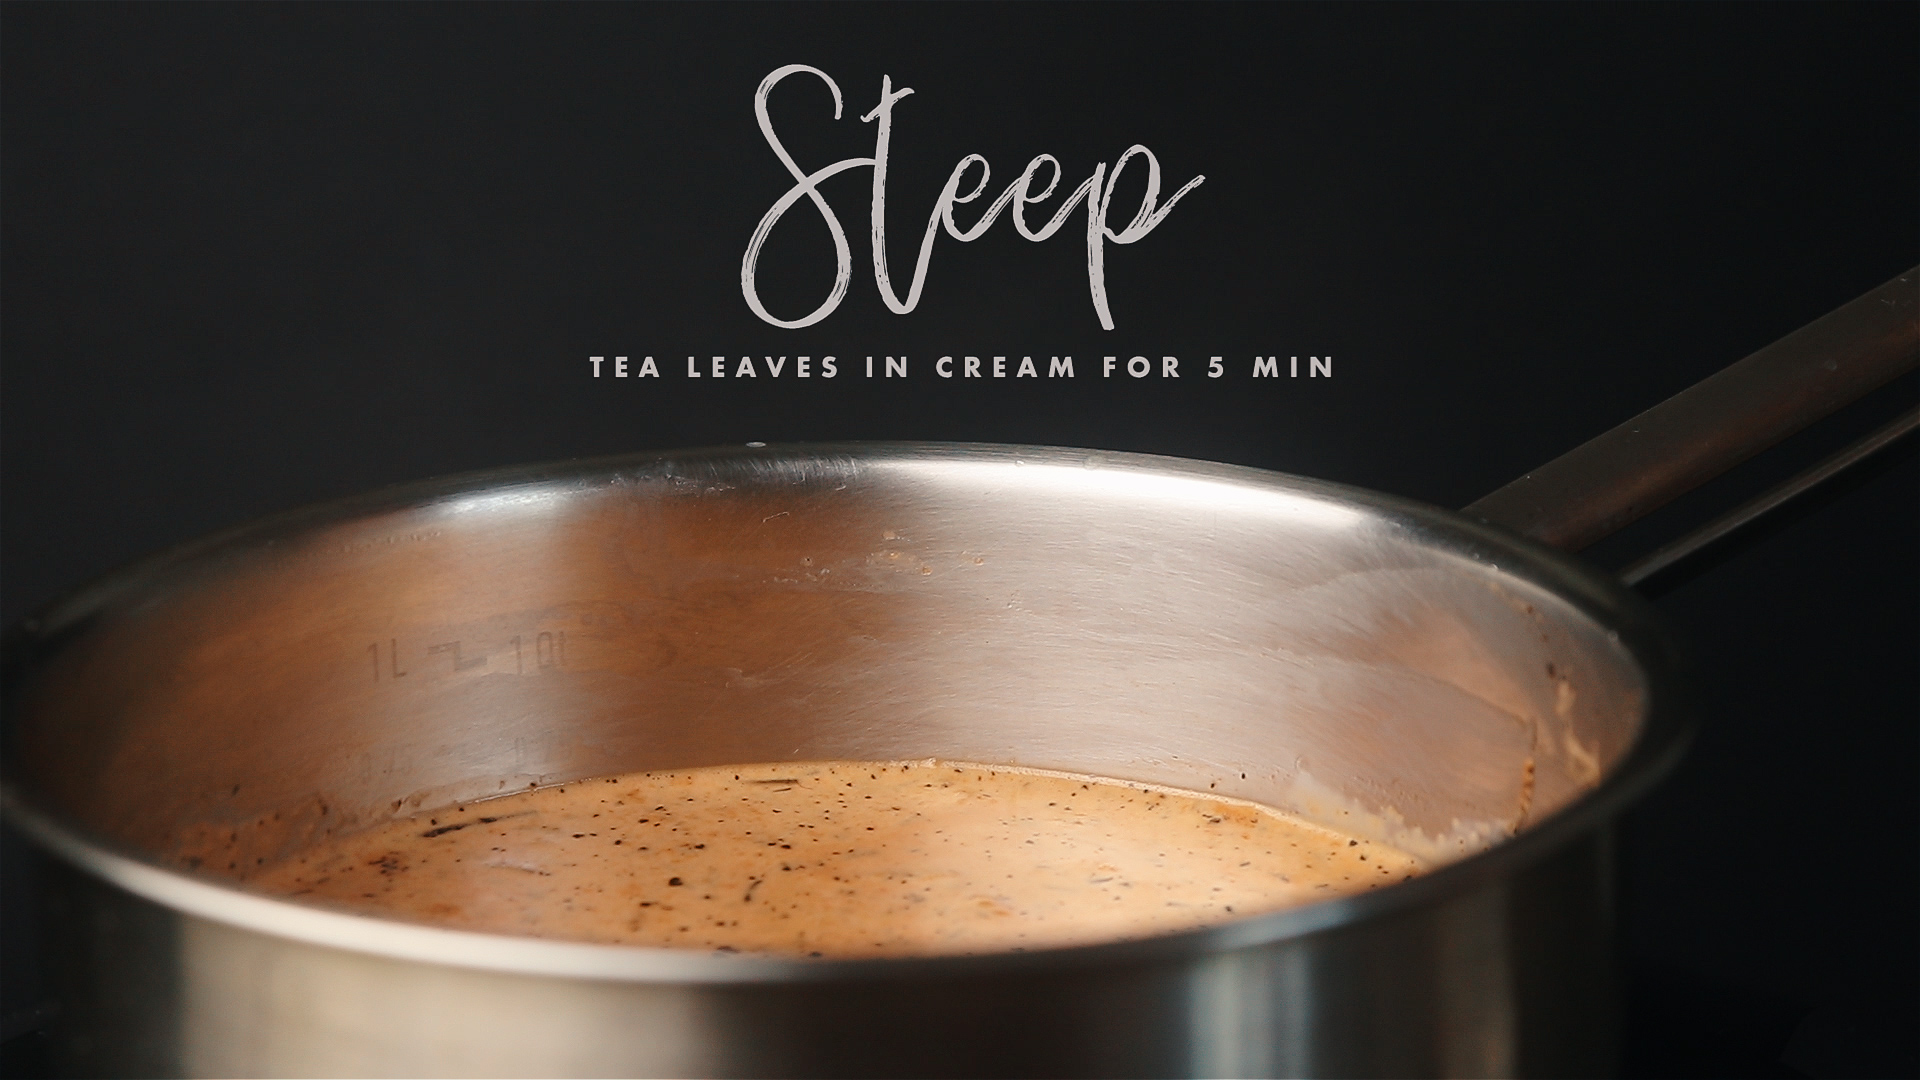
Let the tea leaves steep in the cream for about 5 minutes for the flavour to be well-infused.
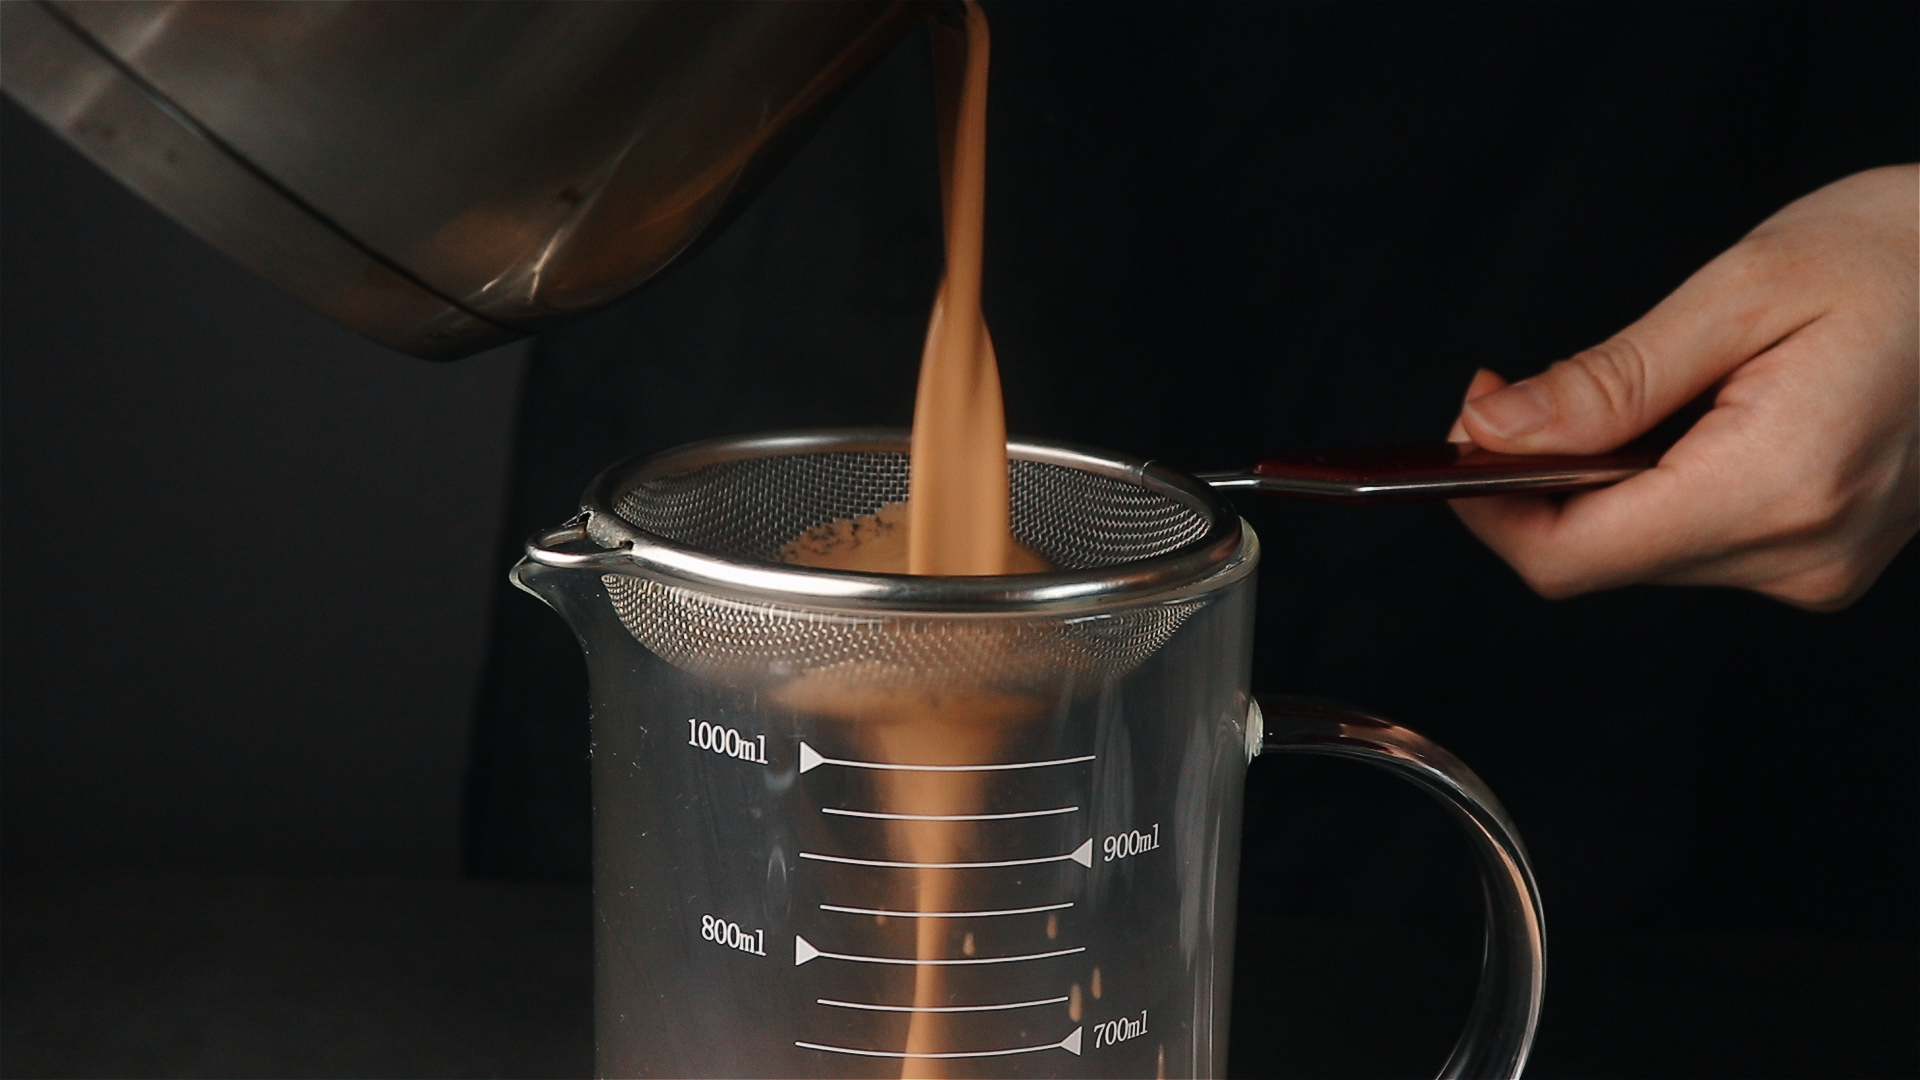
Strain the cream to remove tea leaves. You may have little specks of tea leaves remaining in your cream (like mine), which I felt gave the ice cream better aesthetics.

As I previously mentioned, you’ll have less cream after steeping the tea leaves due to evaporation. Chill the cream in the freezer for about 1.5 hours or until very cold (below 10°C). It is crucial that the cream is cold so that it can be whipped to its fullest volume!
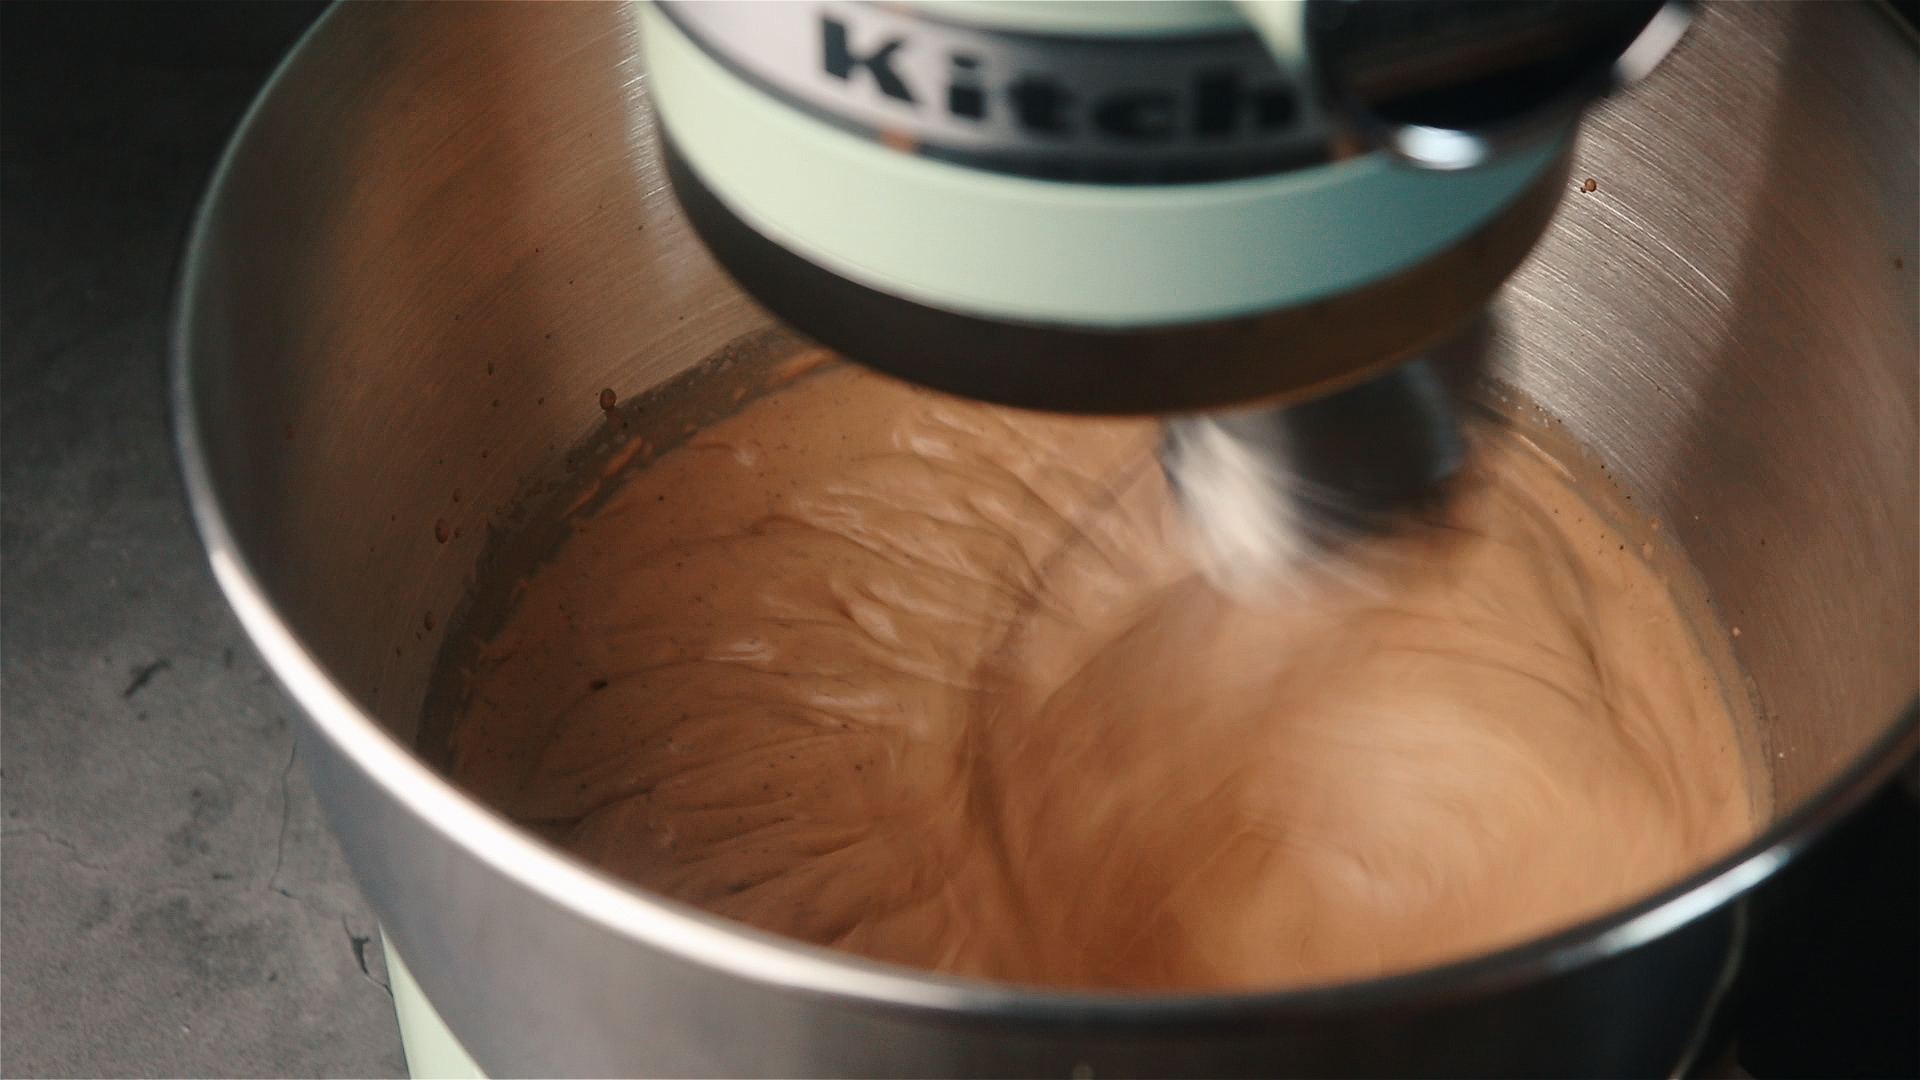
Using an electric mixer, whip the cream until stiff peaks.
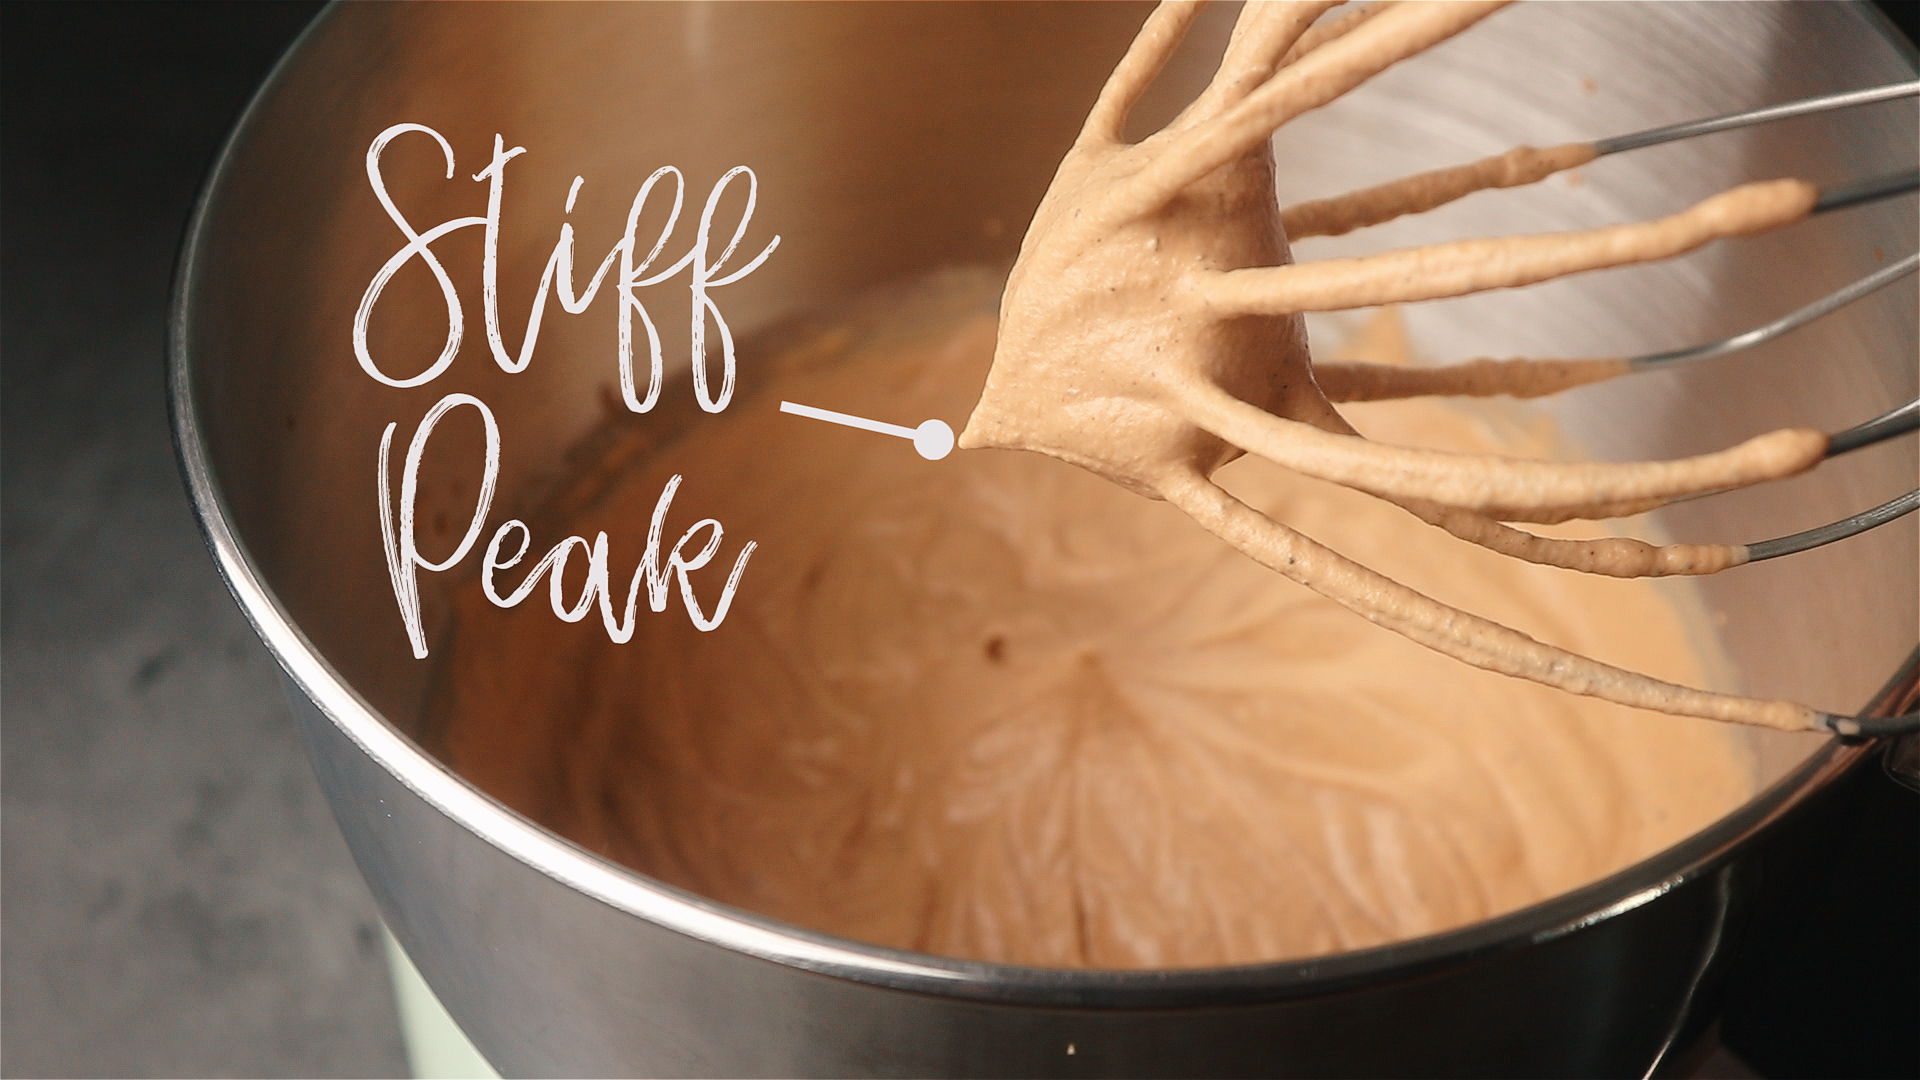
Once you see that the cream forms stiff peaks like the one above, you’re good to go.
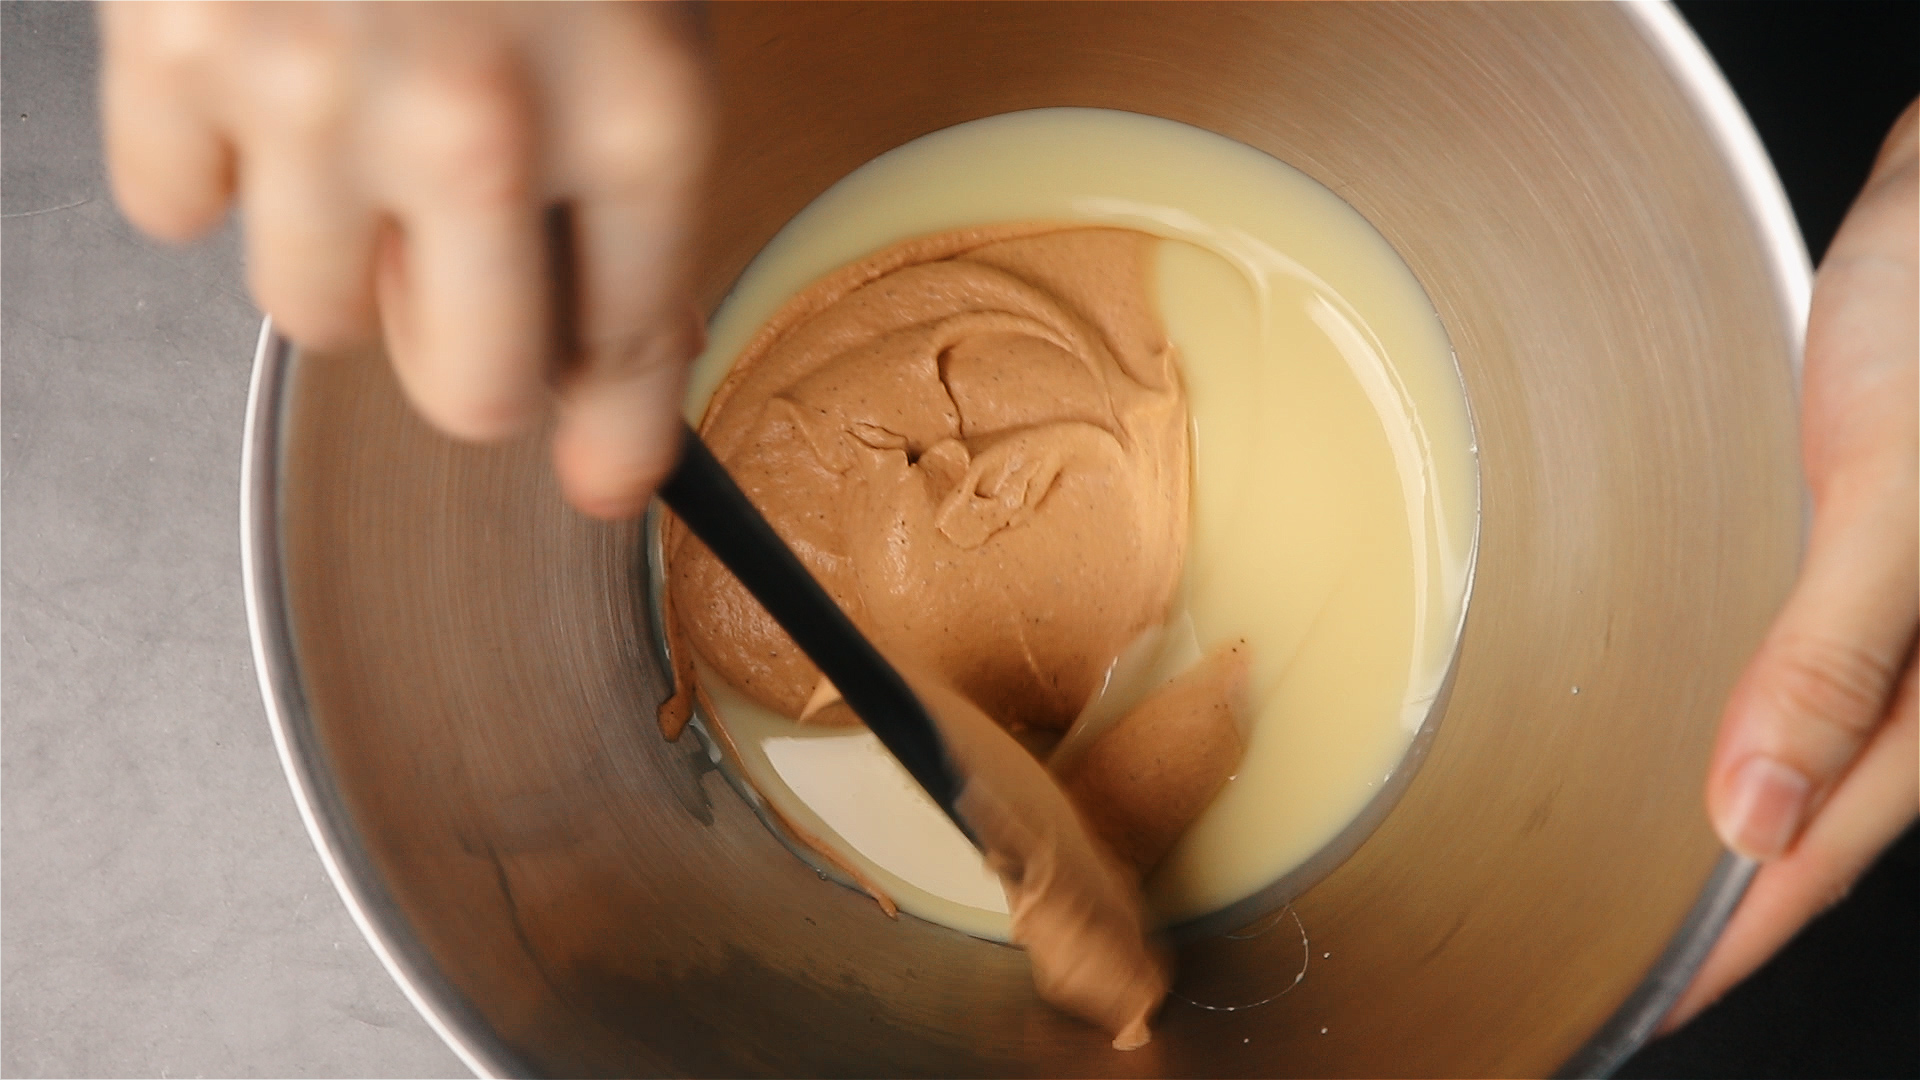
Add a portion of the whipped cream into the condensed milk and fold gently.
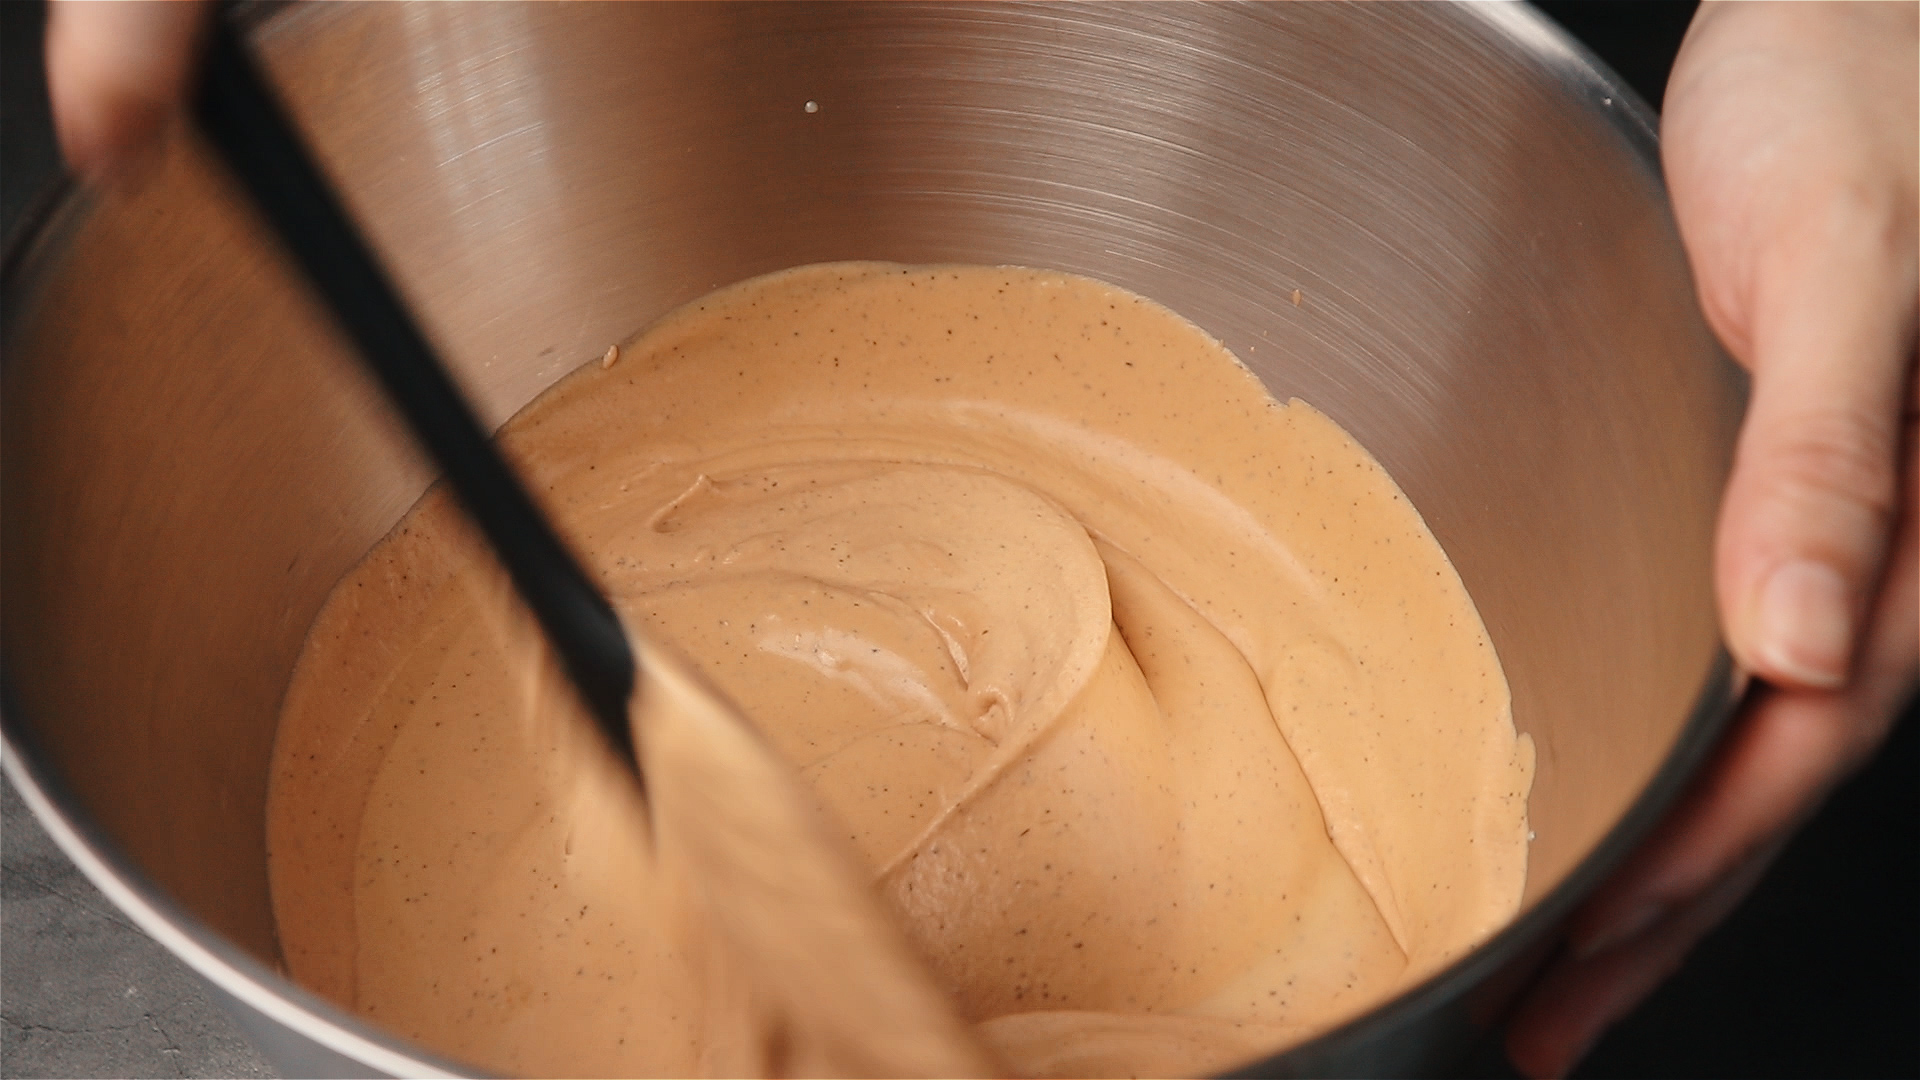
Add the remaining cream and fold until well combined.
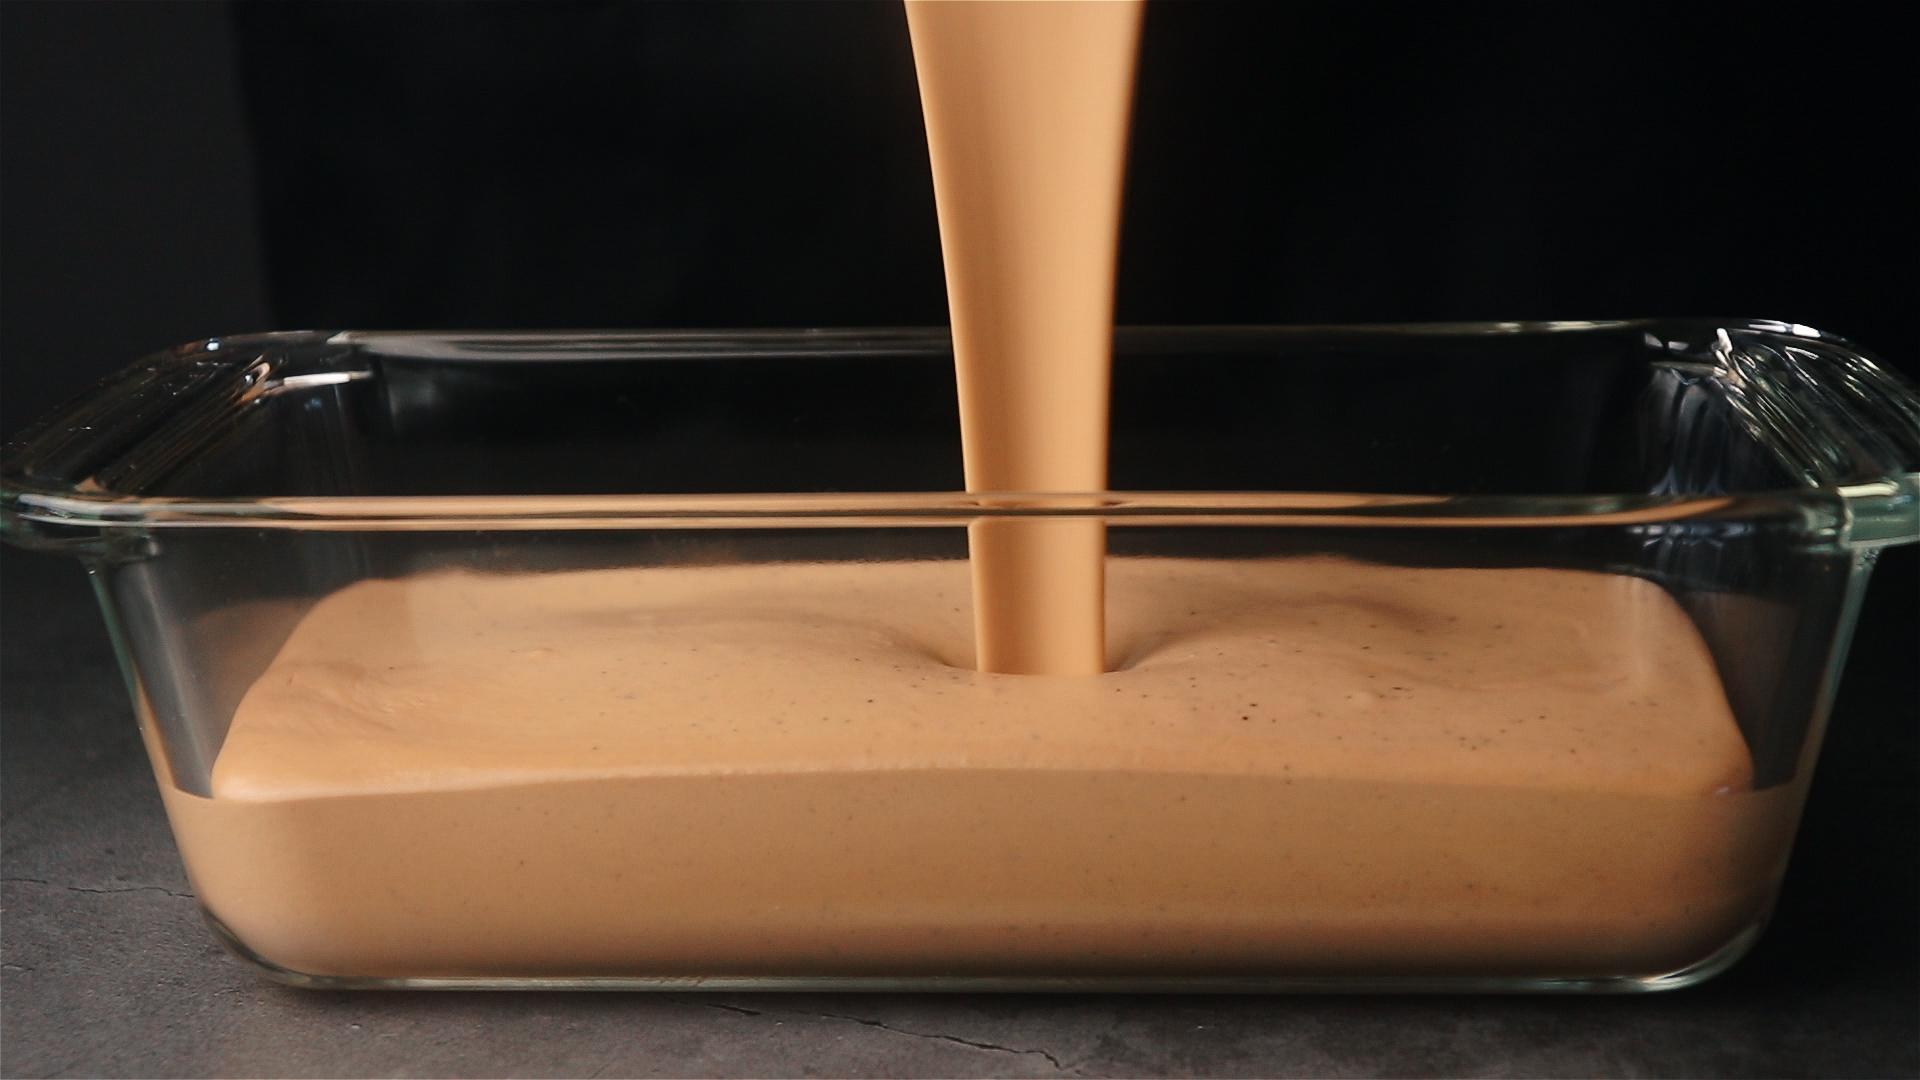
Pour the mixture into a container.
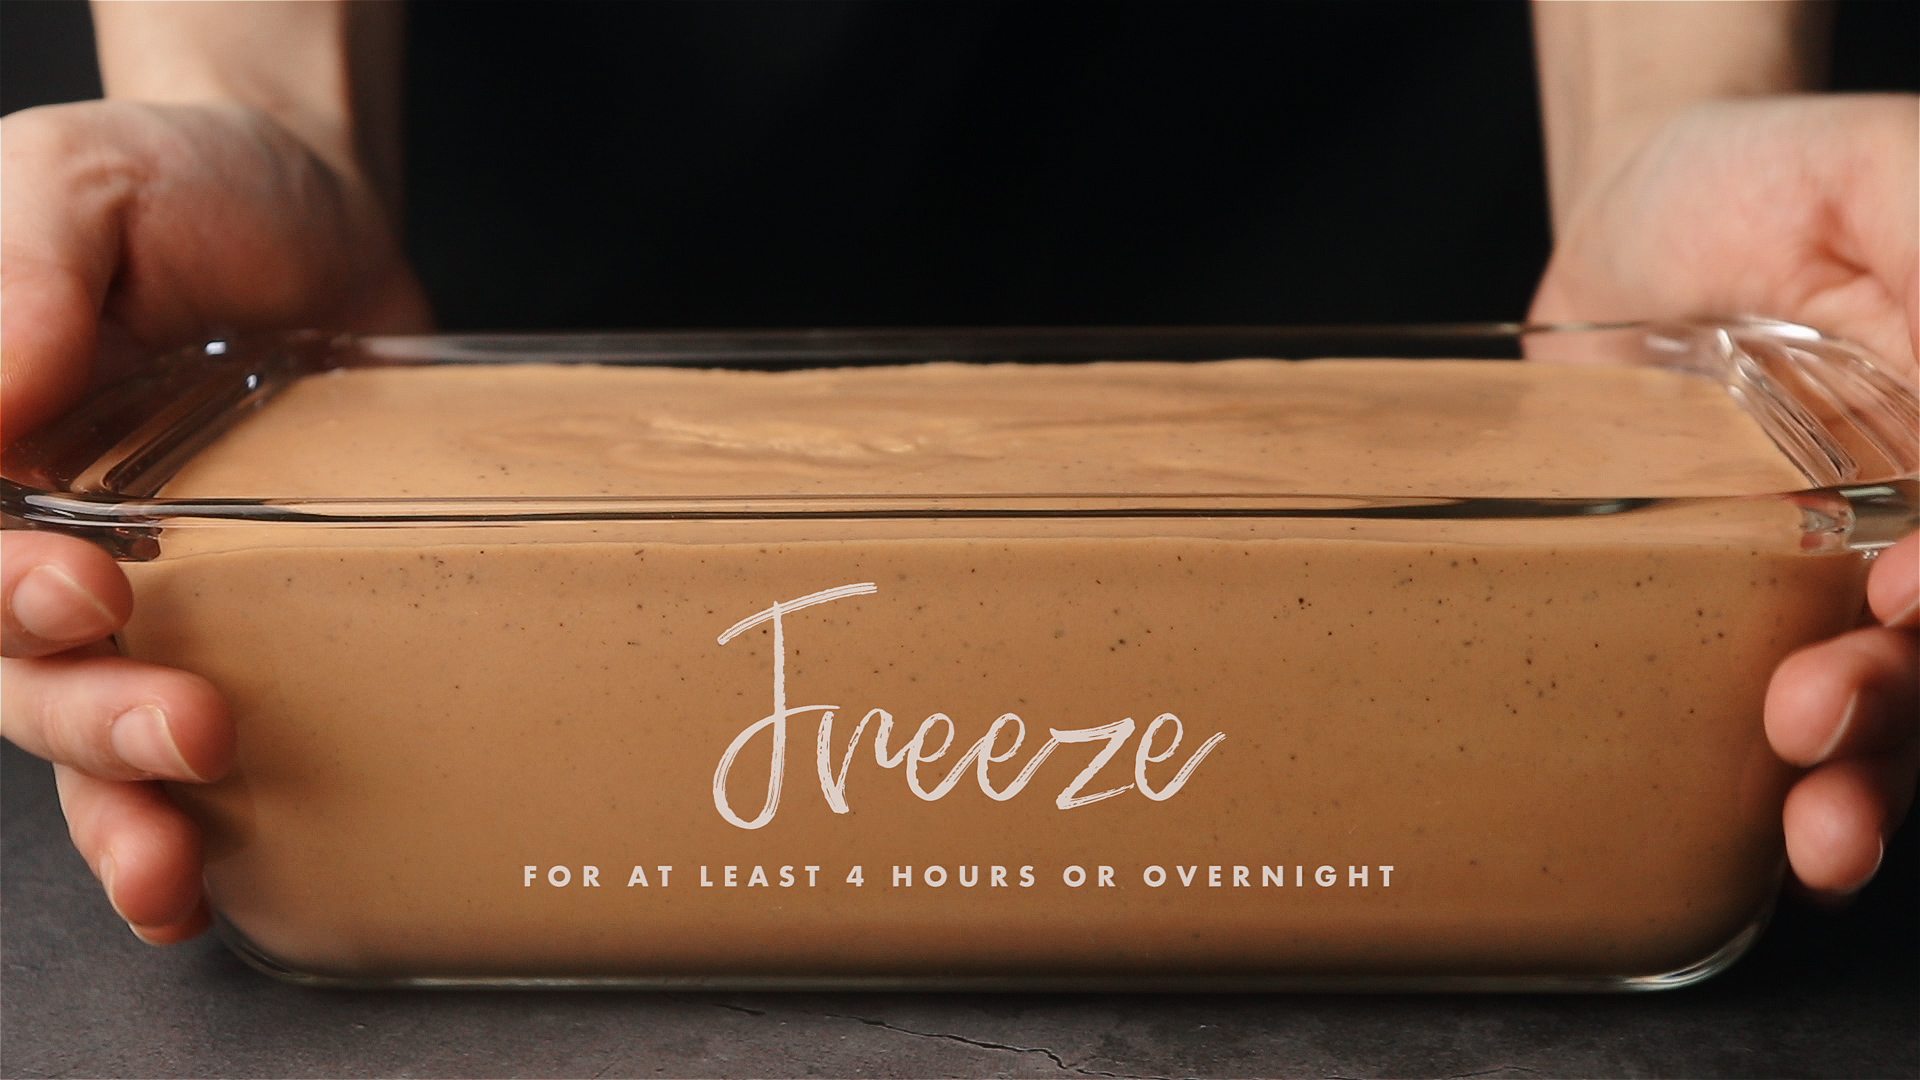
Then freeze for at least 4 hours or overnight. And since homemade ice cream doesn’t engage the use of stabilizers, they tend to melt more easily. So do eat your ice cream as quickly as possible!
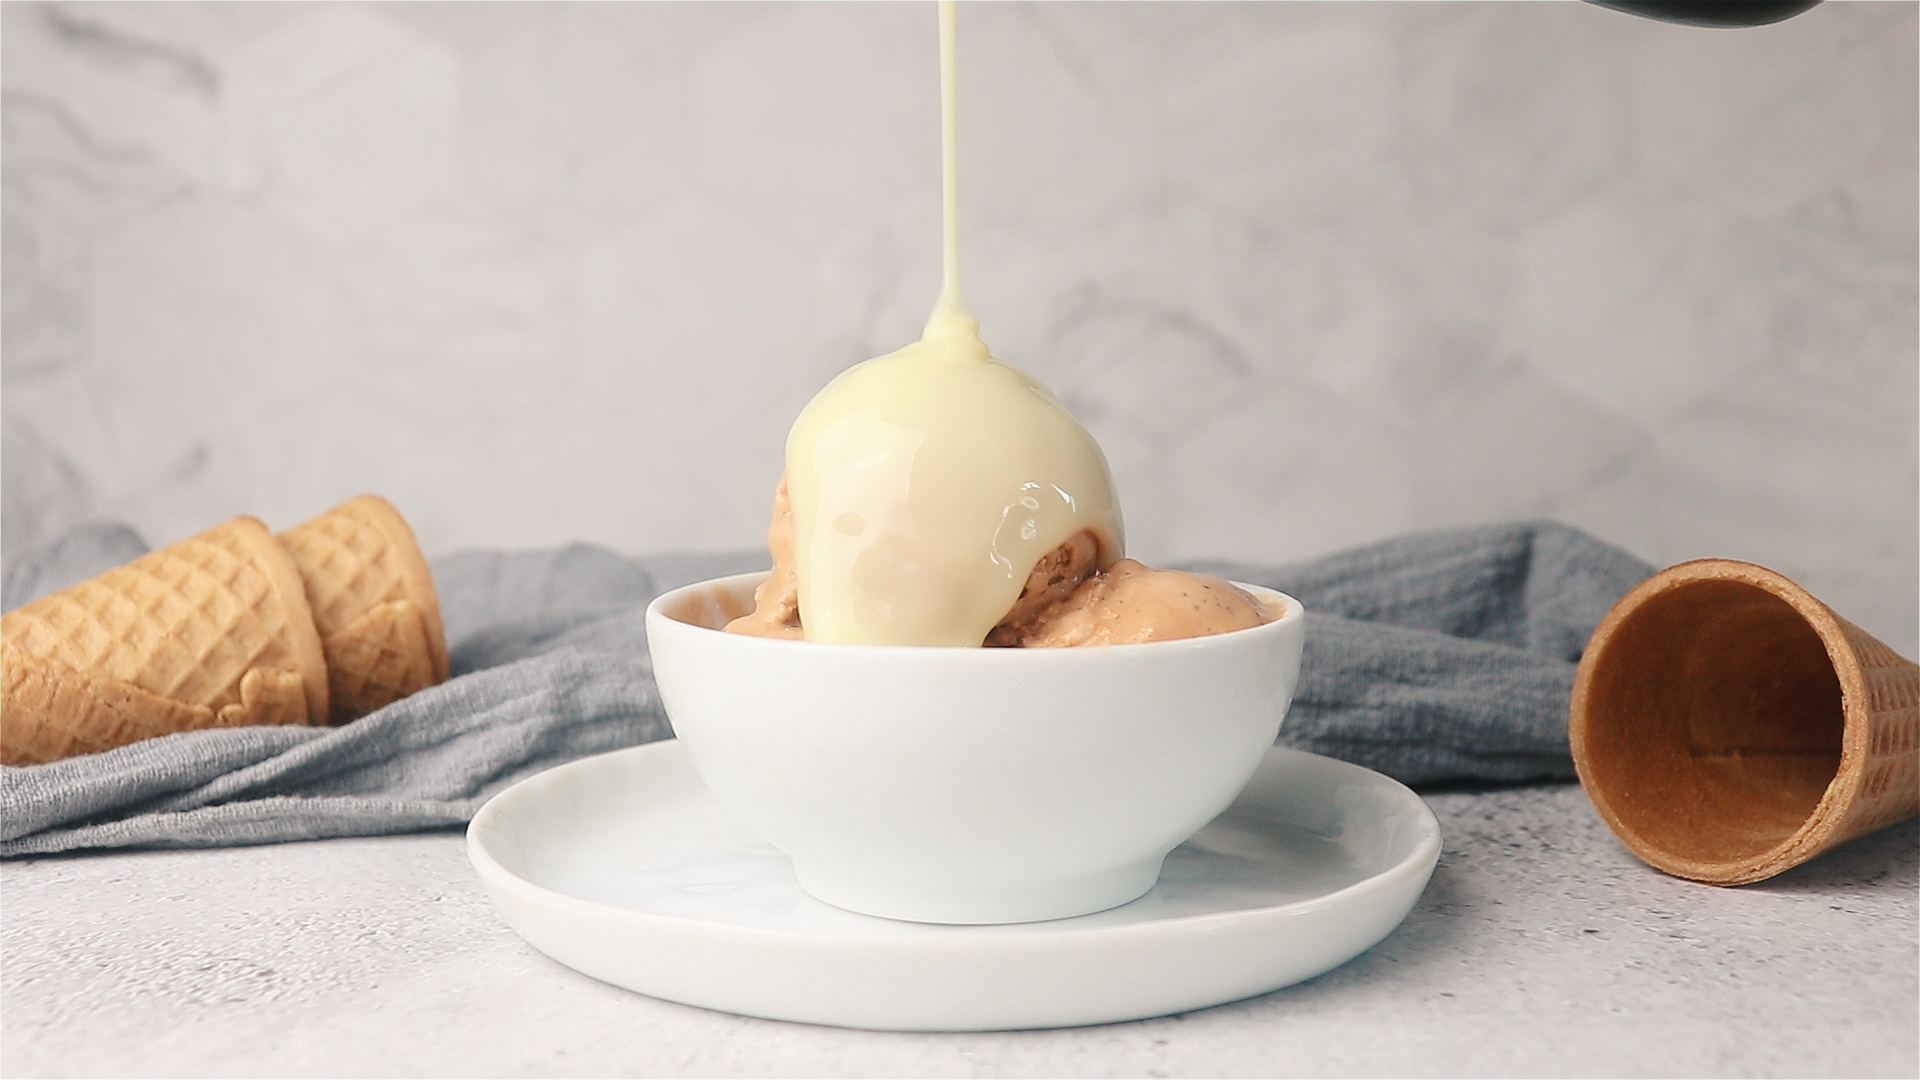
If your ice cream is sweet enough, you can skip the additional topping of condensed milk. Otherwise, you can drizzle some over your ice cream and enjoy! The recipe yielded about of 1 litre of ice cream, which is enough for perhaps 10 servings.
DIY: $0.75 per scoop (100ml)
Dine out: $3-4 per scoop (Daily Scoop, Salted Caramel etc.)
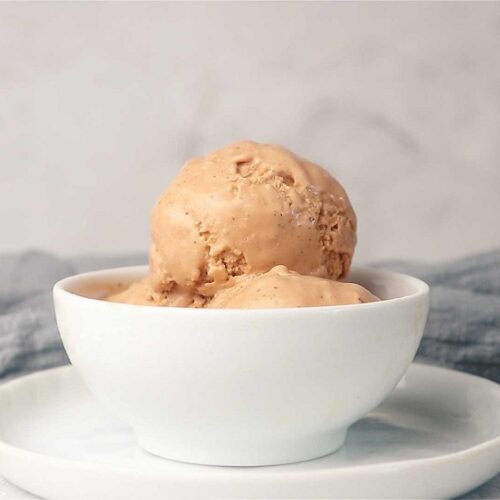
Thai Milk Tea Ice Cream (No Churn Method)
Ingredients
- ⅓ cup Thai tea leaves $0.308
- 600 ml whipping cream $6
- 300 g condensed milk $1.20
Instructions
- In a pot, bring whipping cream to a simmer, stirring to prevent milk solids from burning. Once simmering, turn off heat and add Thai tea leaves. Mix well, then steep for 5 minutes.
- Strain cream to remove tea leaves. Keep cream in the freezer for at least 1.5 hours or until very cold (below 10°C) before whipping.
- Pour condensed milk into a mixing bowl. In another mixing bowl, pour chilled cream in. Using an electric mixer, whip cream until stiff peaks form.
- Add a portion of the whipped cream into the condensed milk and fold gently. Add the remaining cream into the condensed milk and fold until well combined.
- Pour the mixture into a container and keep in the freezer for at least 4 hours or overnight. Serve ice cream in a cone or bowl.