This post may contain affiliate links. Please read our disclosure policy.
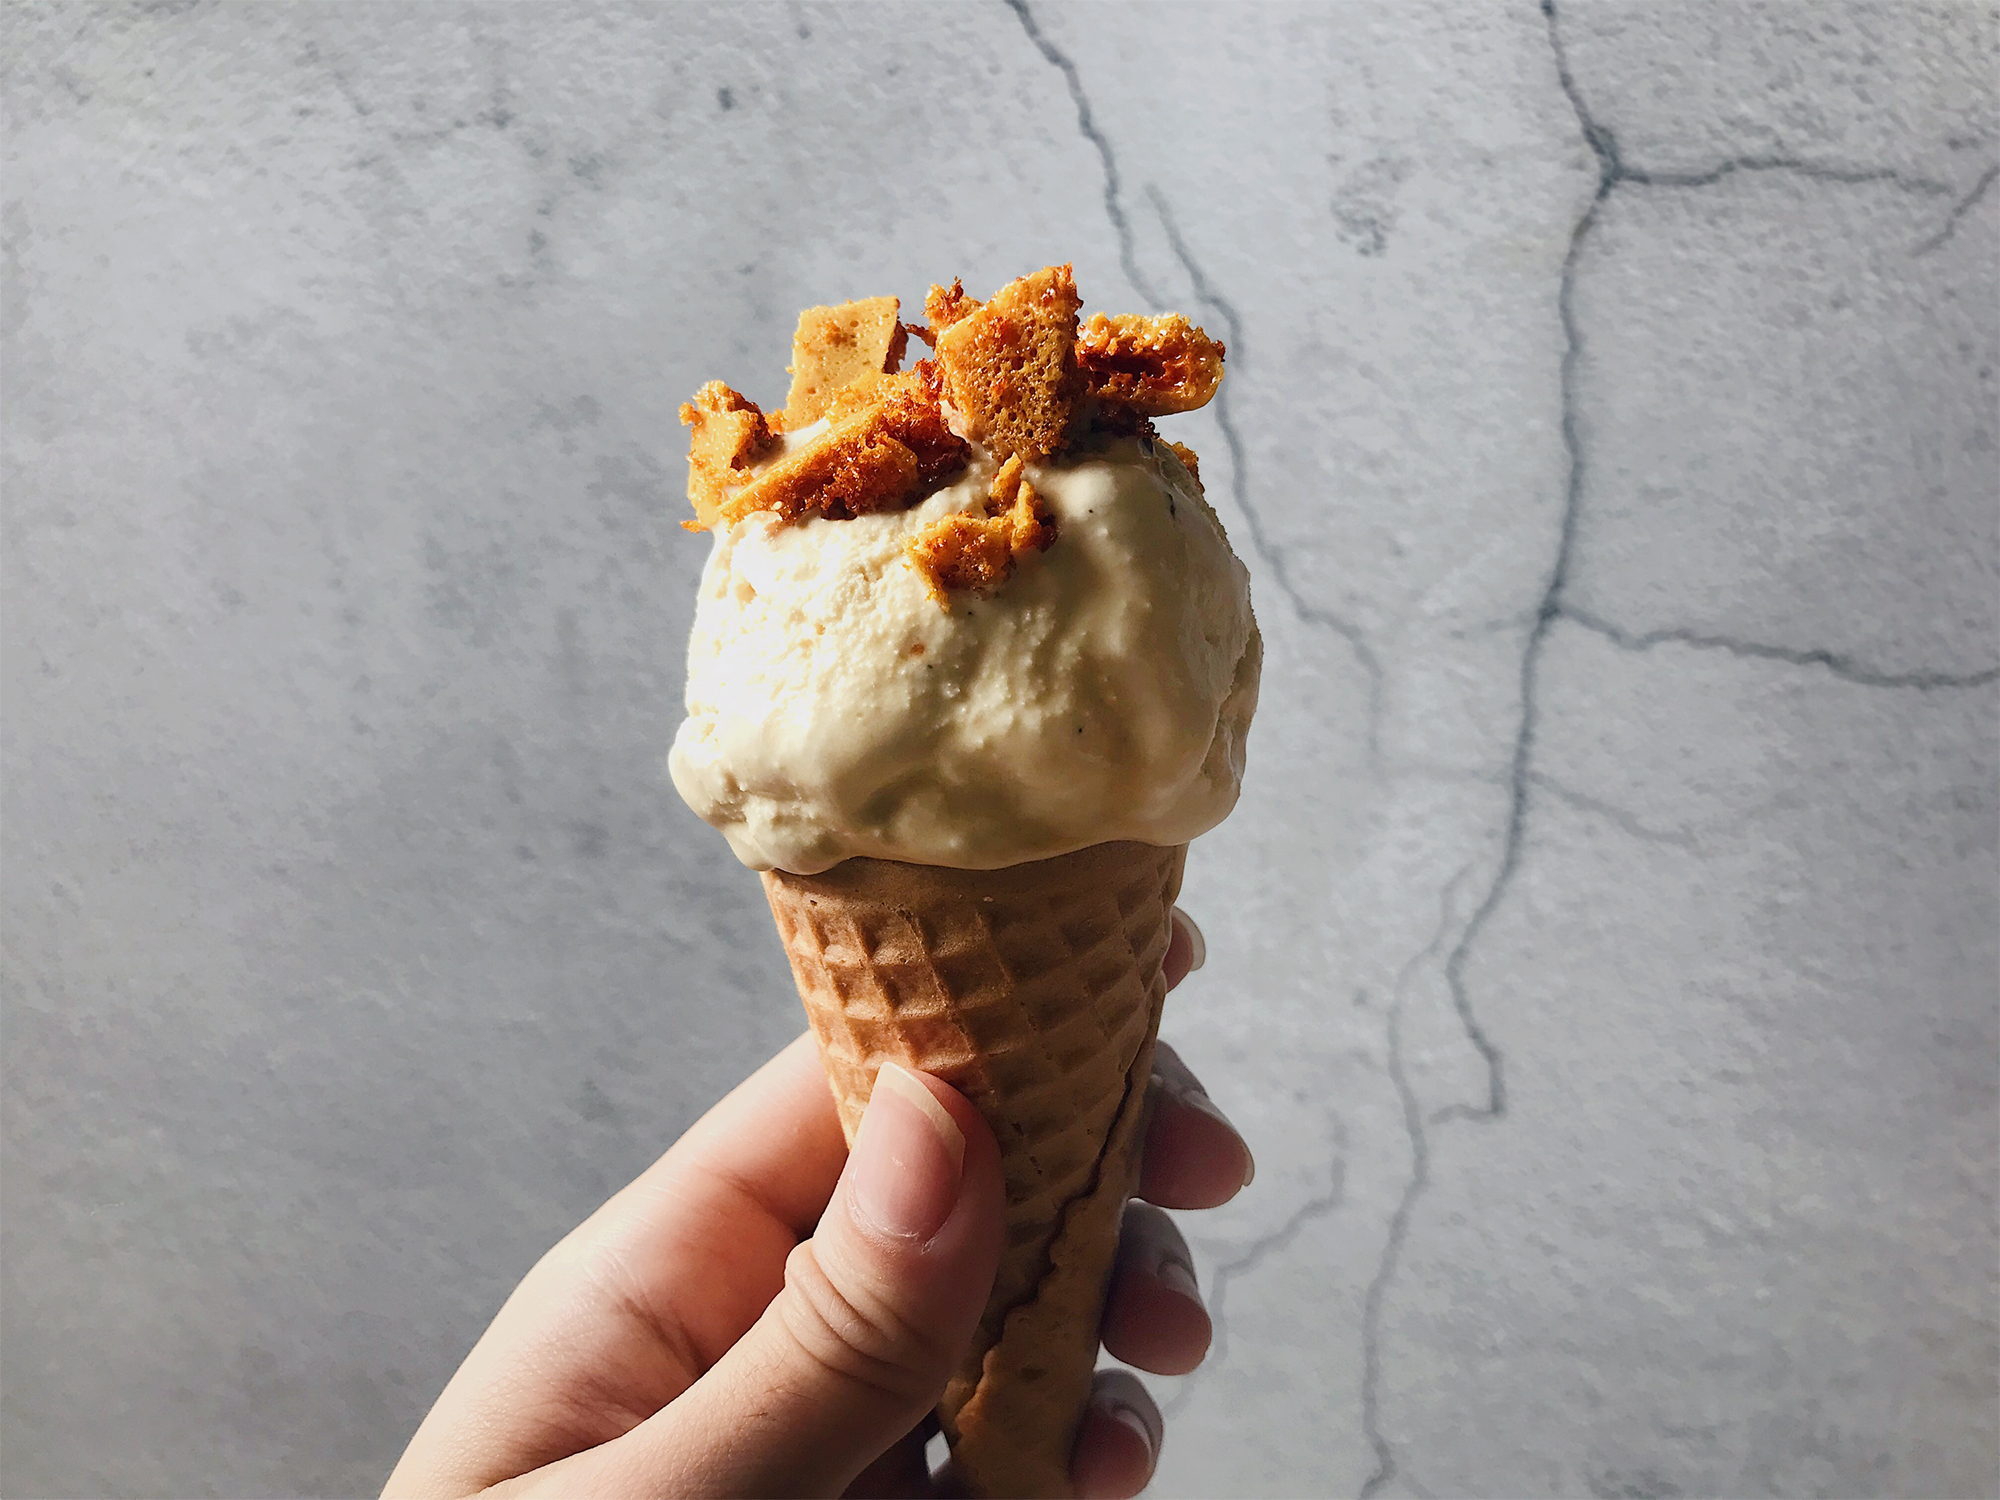
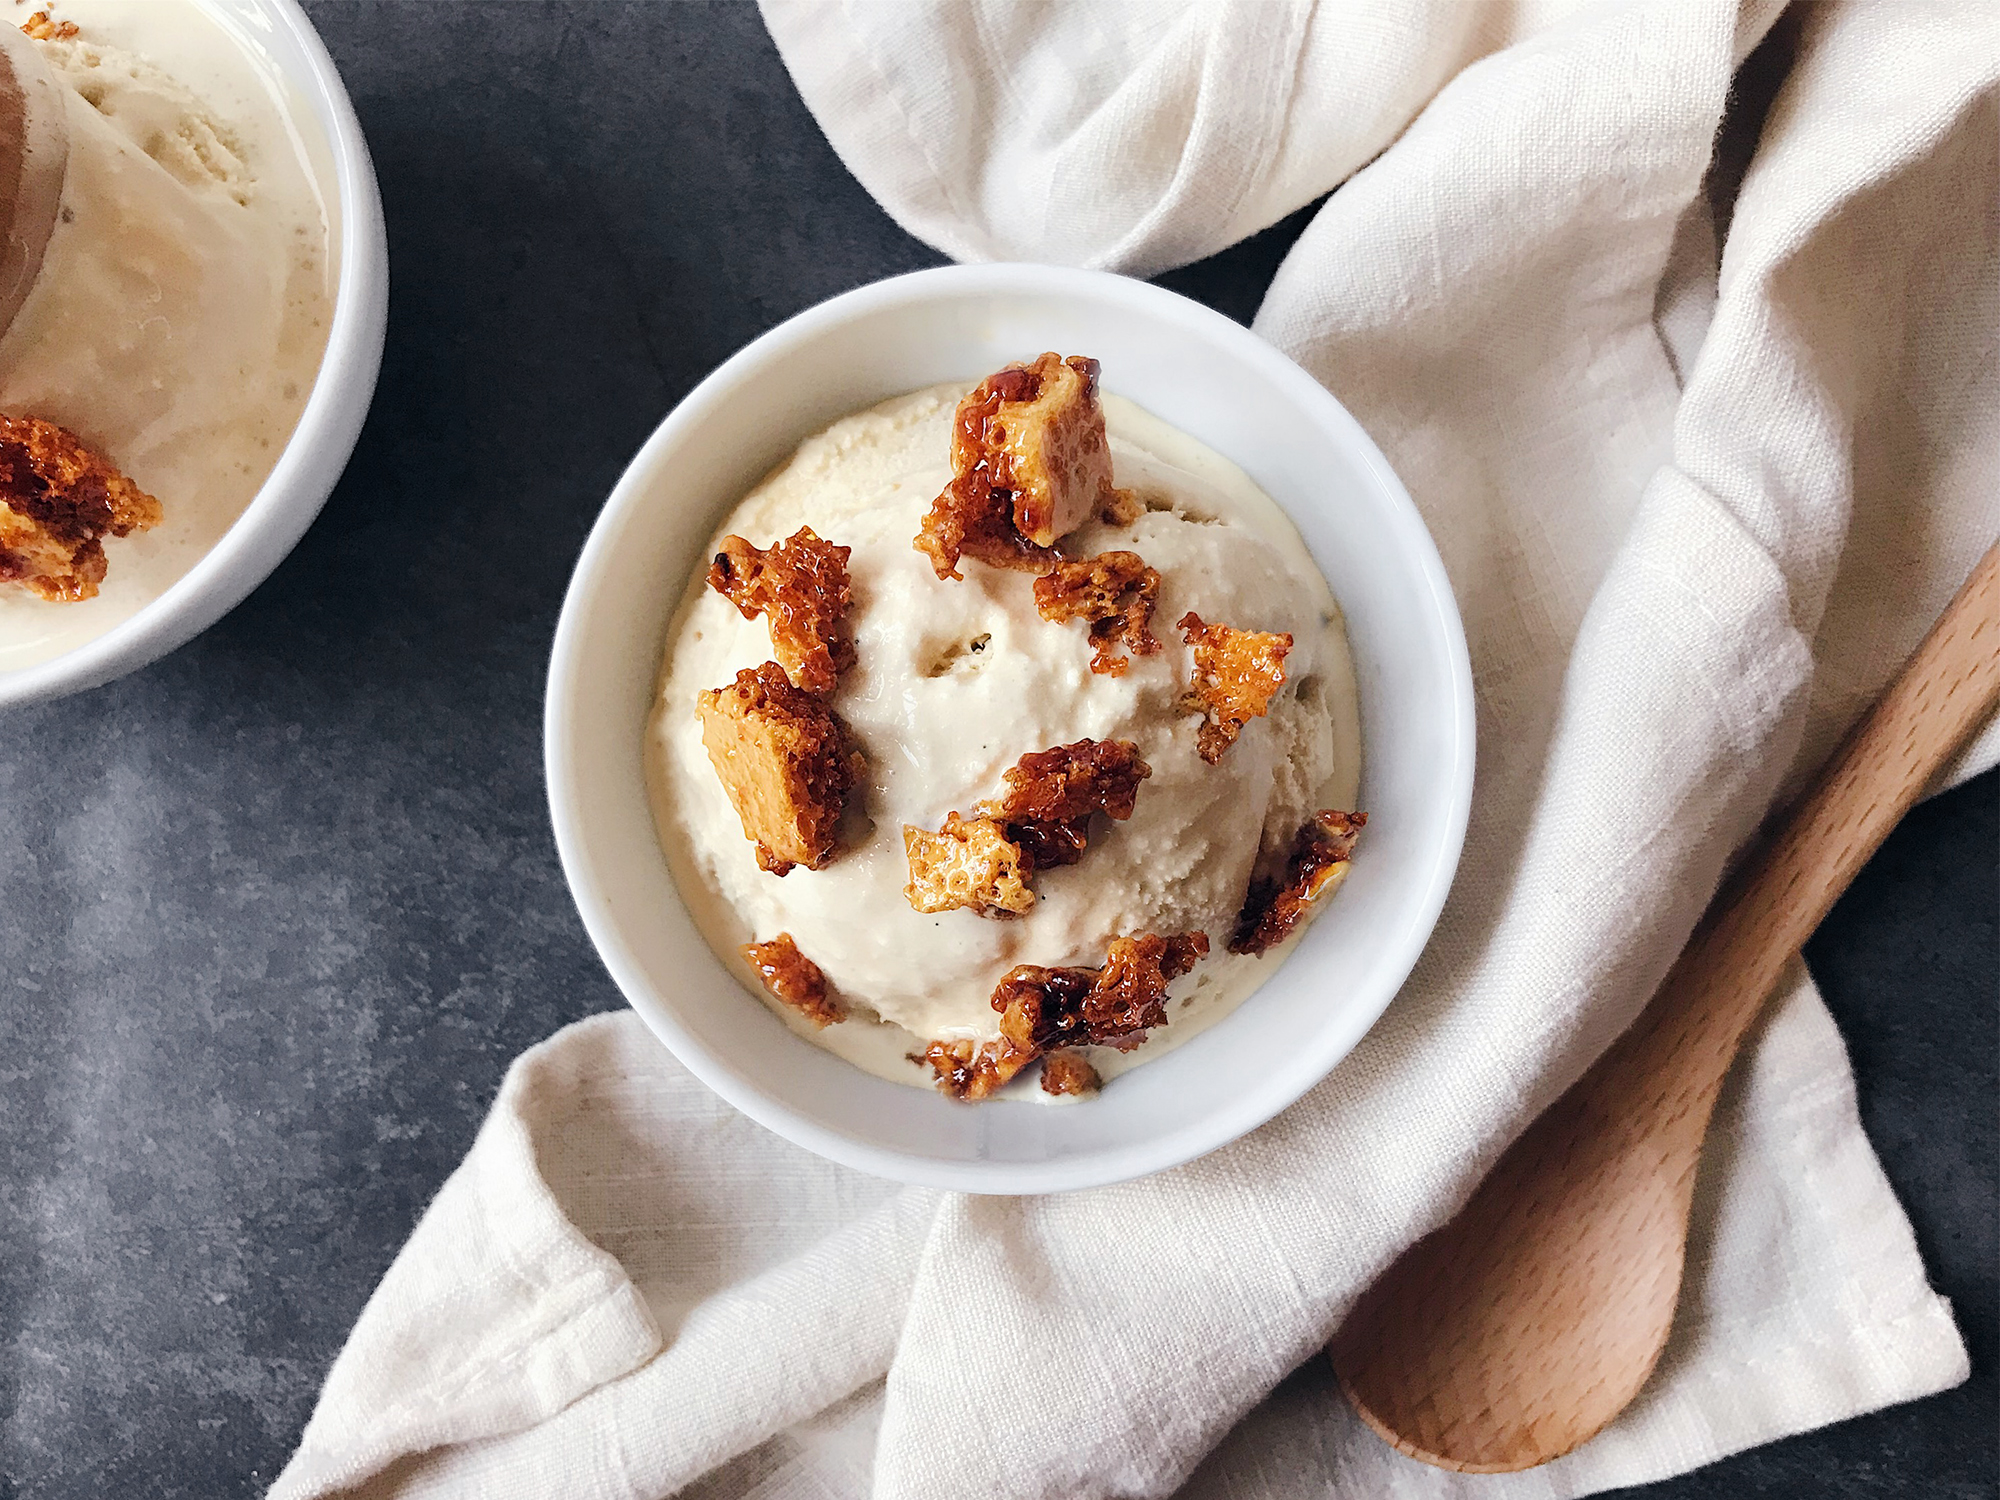
The other day I had some honeycomb vanilla ice cream at Fat Cow (Japanese restaurant) and I was blown away. It was one of the best ice cream I had in my life!!
I told myself I need to try and make this honeycomb vanilla ice cream so that I can indulge in some whenever I wanted.
So I headed off to get some honeycomb. And (please do not laugh at me haha) silly me actually thought that the ice cream incorporated real honeycomb, so I went to buy the actual honeycomb.
After procuring the honeycomb, it dawned upon me that the honeycomb in the ice cream was actually the lovely, crunchy honeycomb you eat in the chocolate bar Crunchie! Seriously, how silly can I be?
When I was young, Crunchie was my absolute favourite chocolate and I had always wondered how they made that amazing thing inside!
So anyway, I tried making my first ever honeycomb and first ever ice cream, and the results were better than I expected! You will need an ice cream machine though, for better results.
For the honeycomb (makes about 100g of honeycomb):
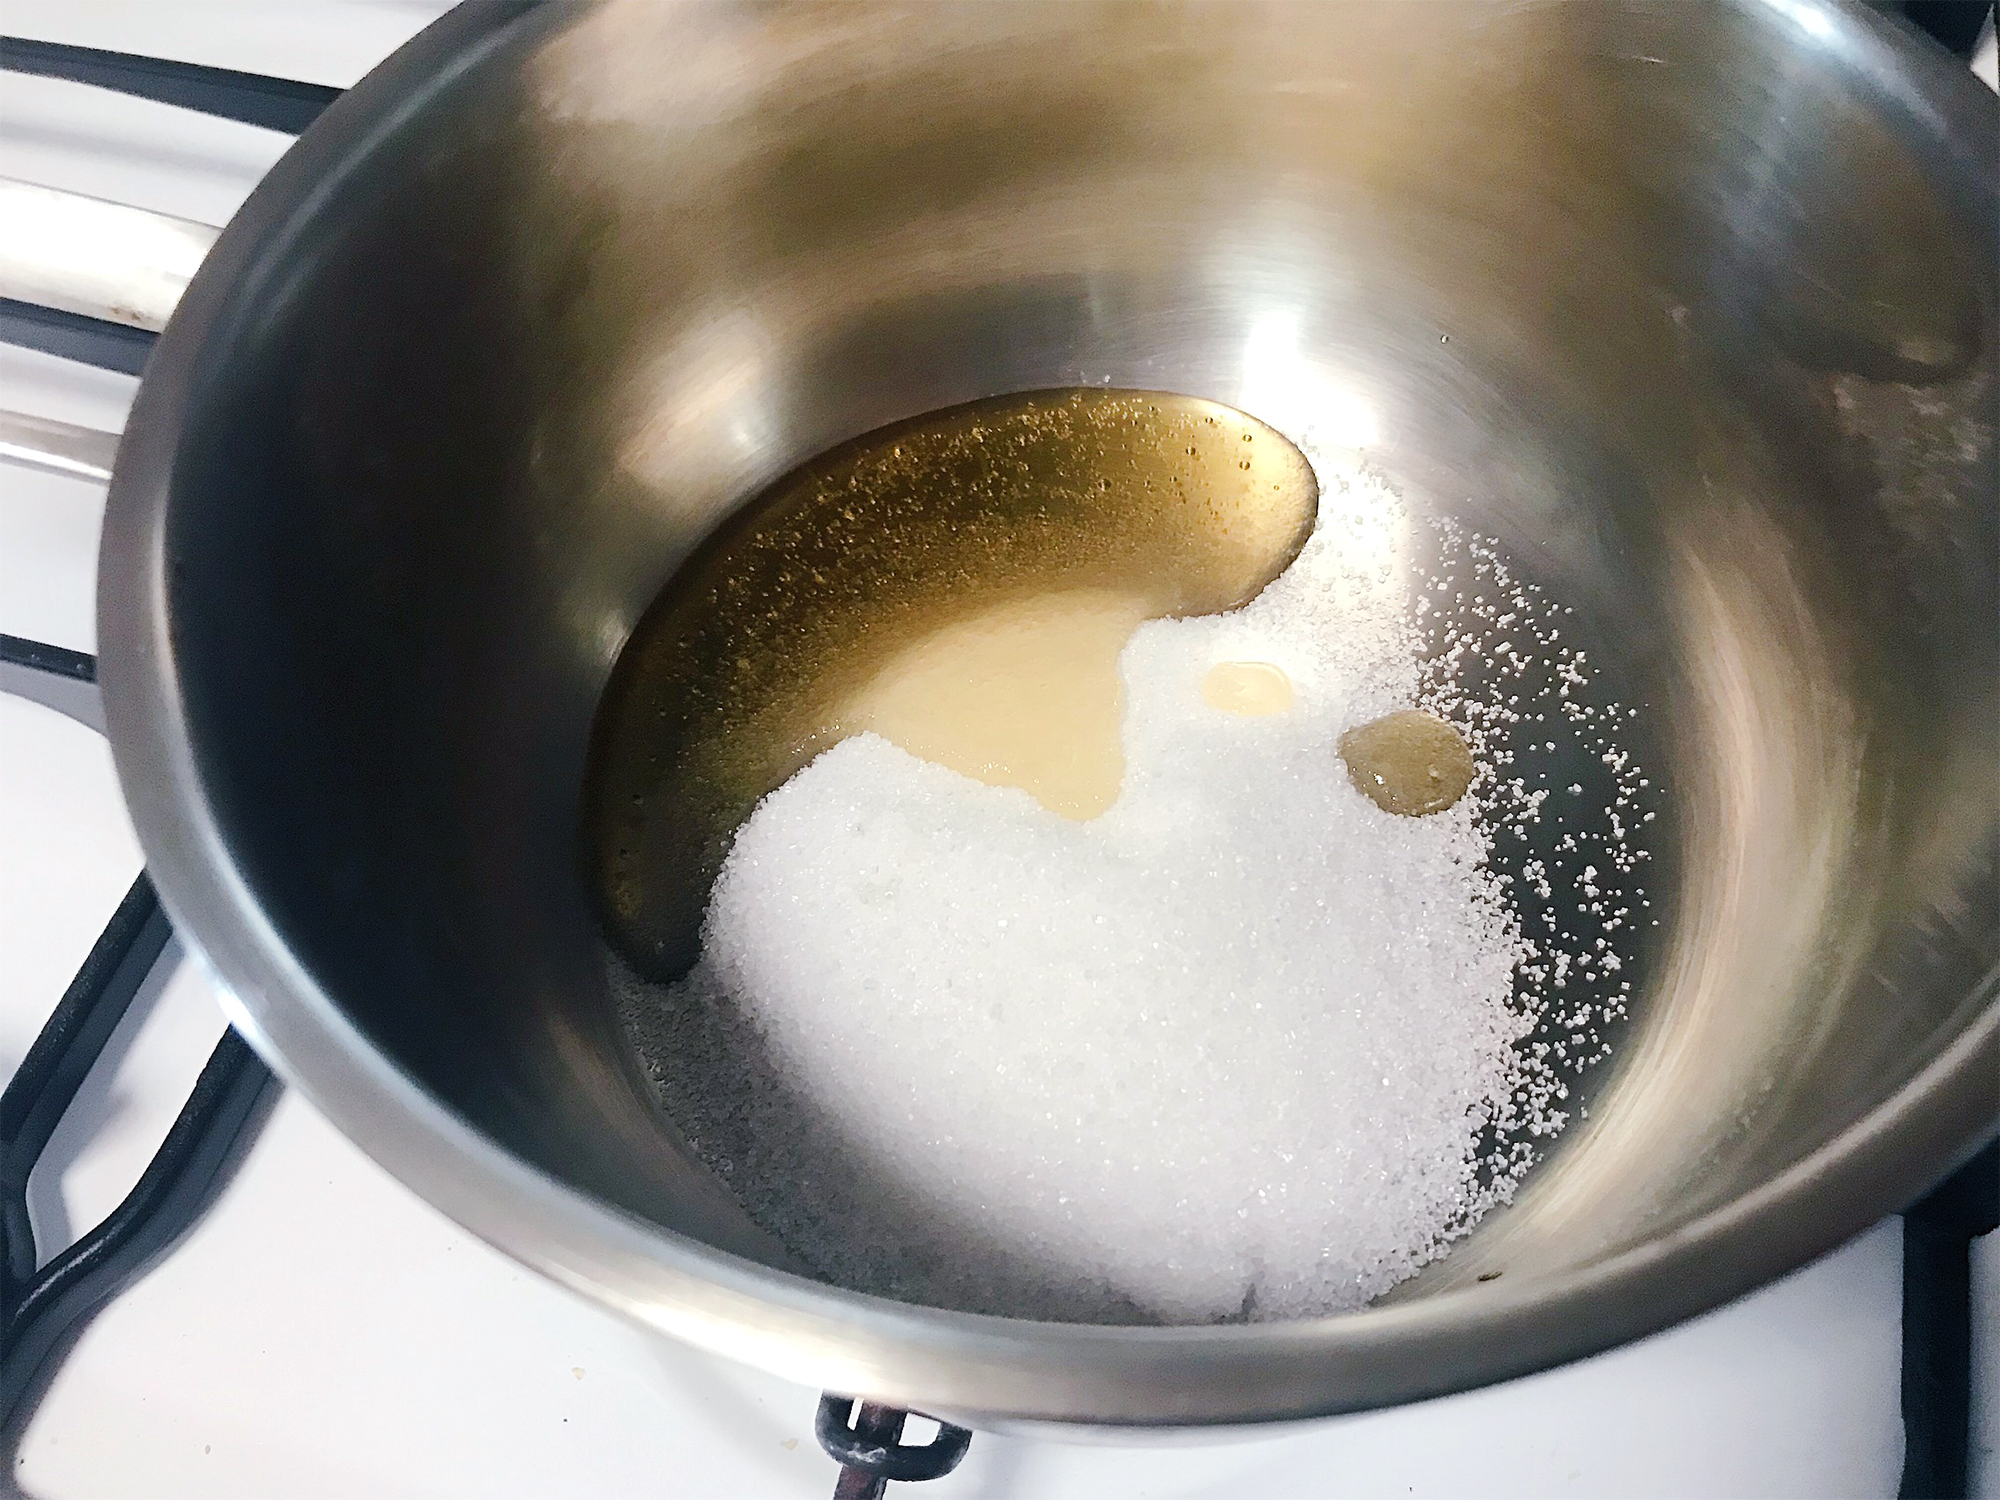
First, melt sugar and honey in a saucepot, preferrably a light-coloured pot so you can monitor the caramelization process.
Note: Traditionally honeycomb is made using golden syrup instead of honey, but I didnt have golden syrup at home and wasn’t going to buy a big bottle just to use 2 tablespoons of it.
But I believe golden syrup may be the best choice if you want your honeycomb to taste exactly like the original.
The honeycomb I made using honey did taste great as well, but you could still taste the hint of honey in it. You can also use corn syrup as a substitute if you don’t have golden syrup or honey.
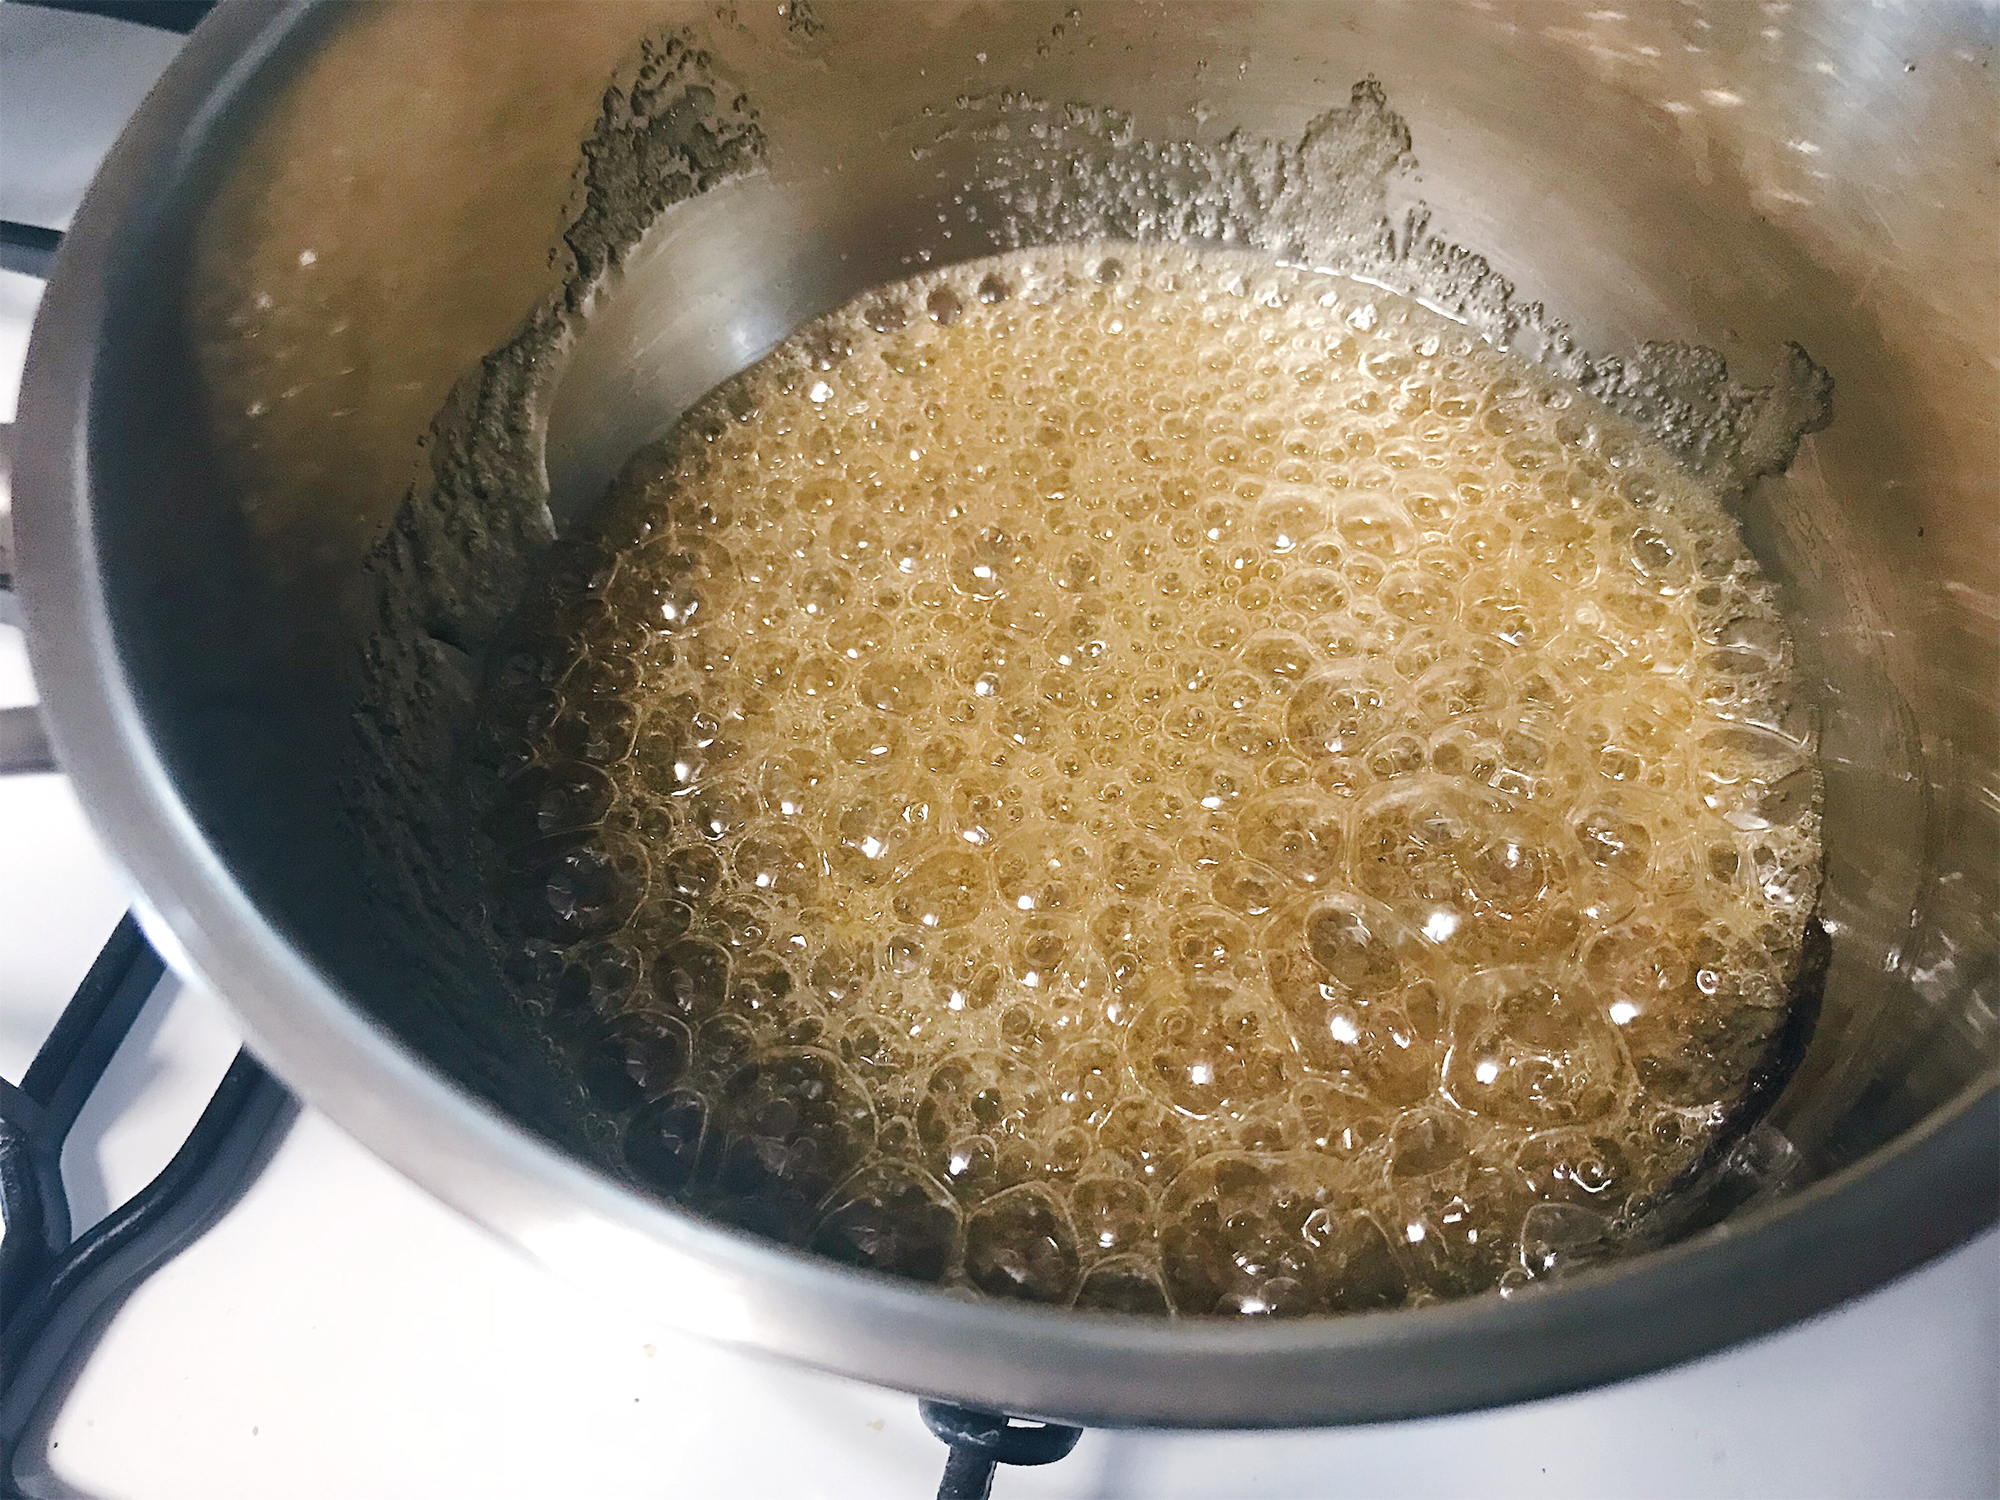
It will start to bubble and brown. Do stir the sugar syrup constantly using a wooden or silicone spatula.
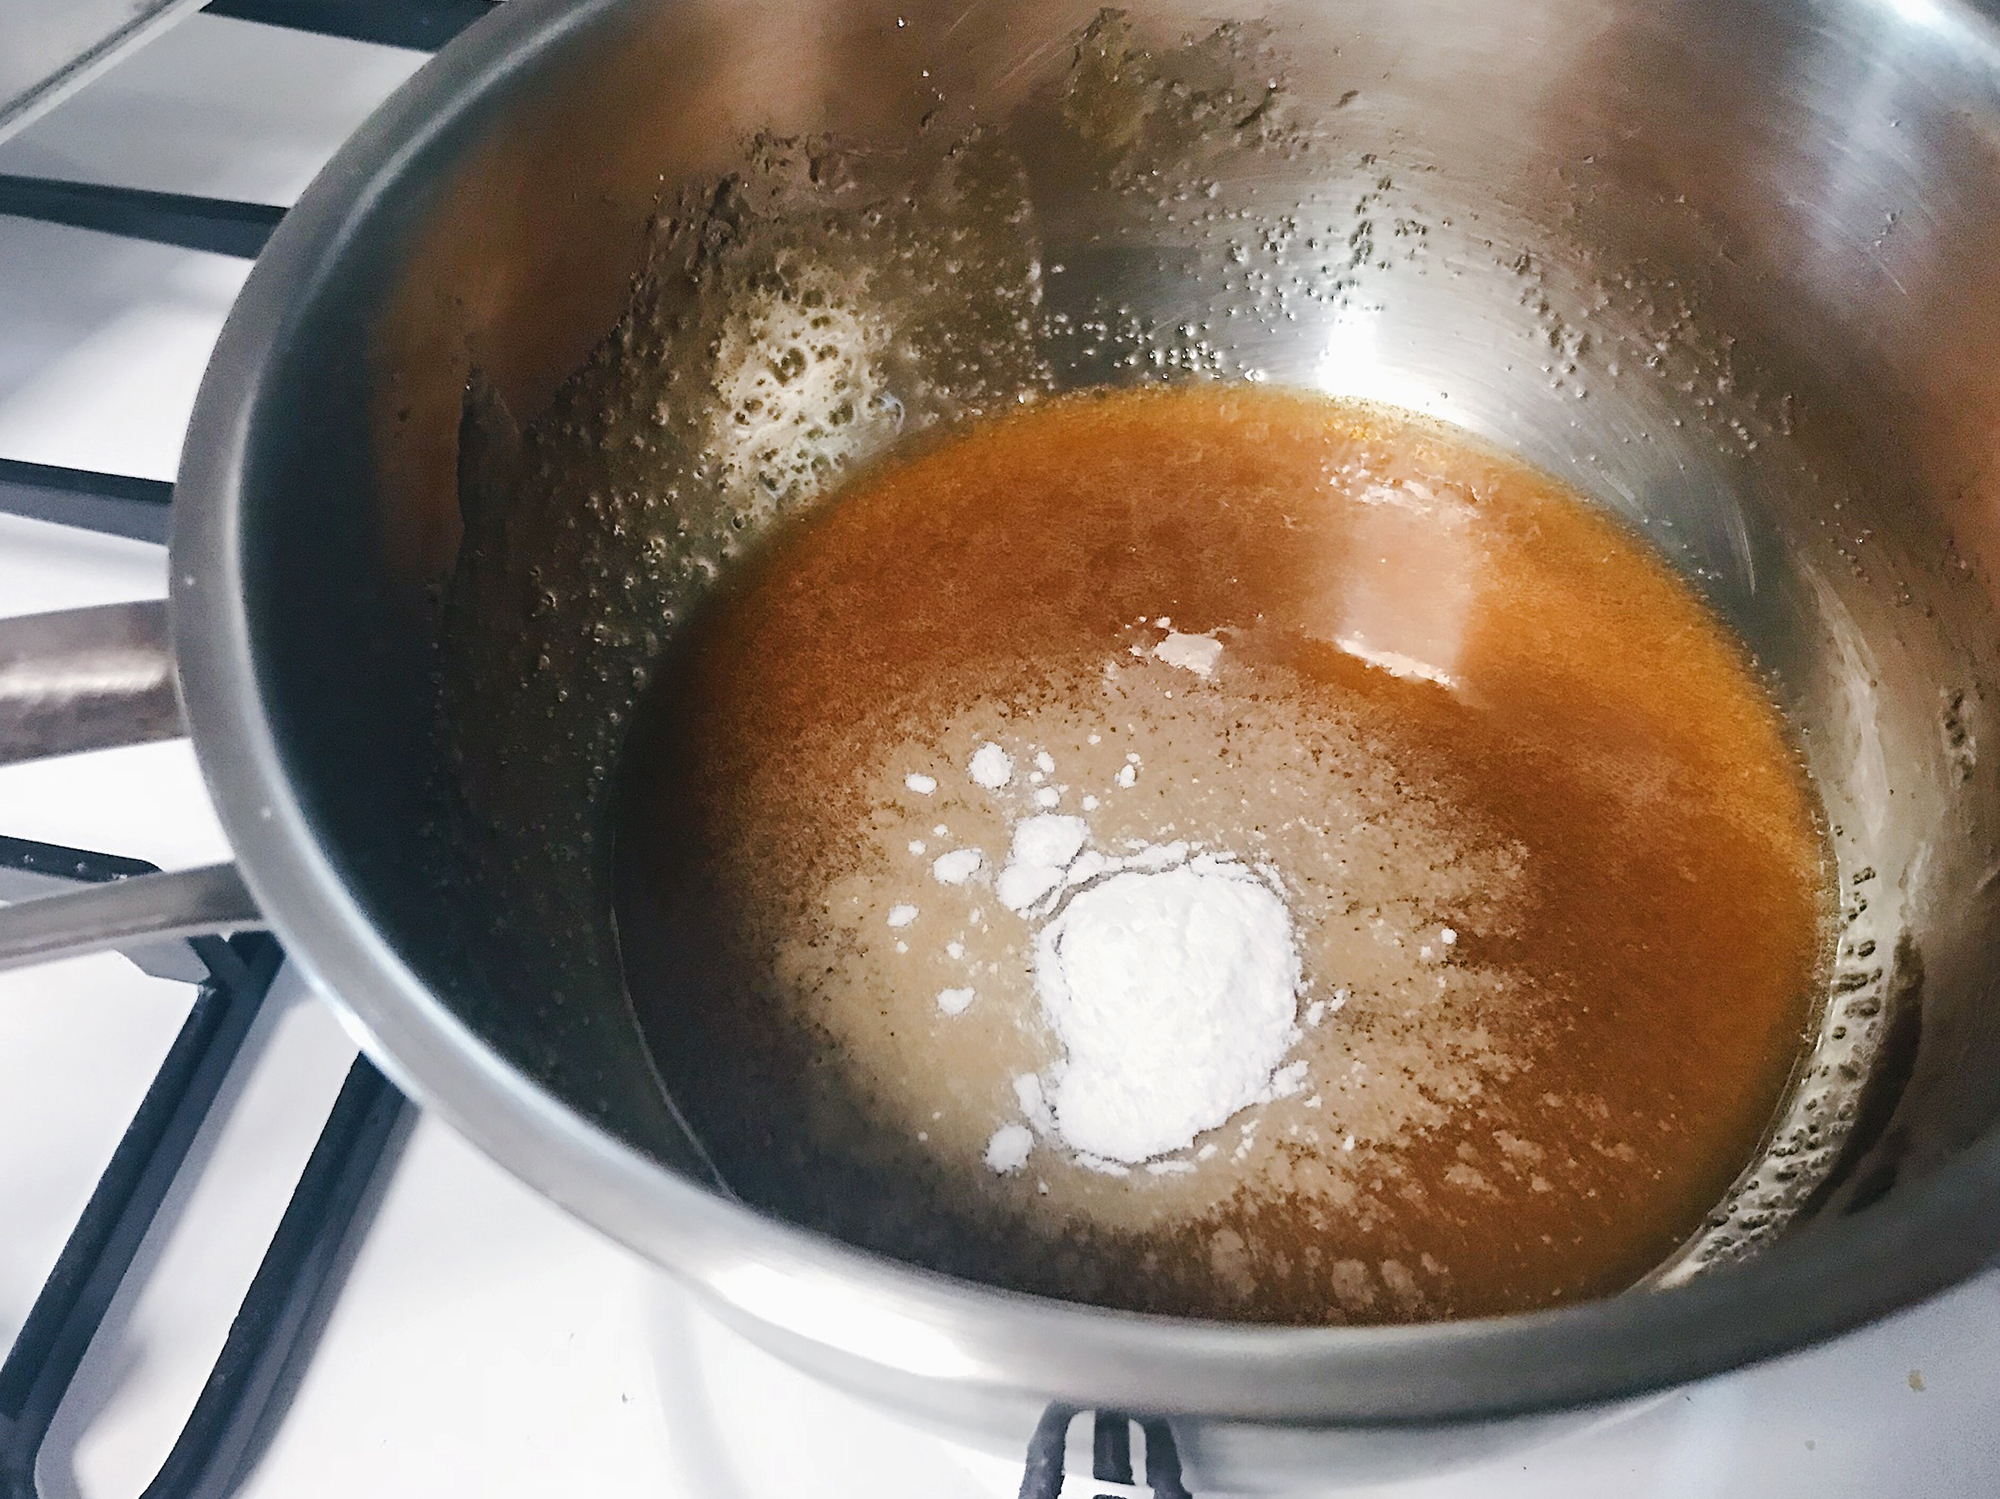
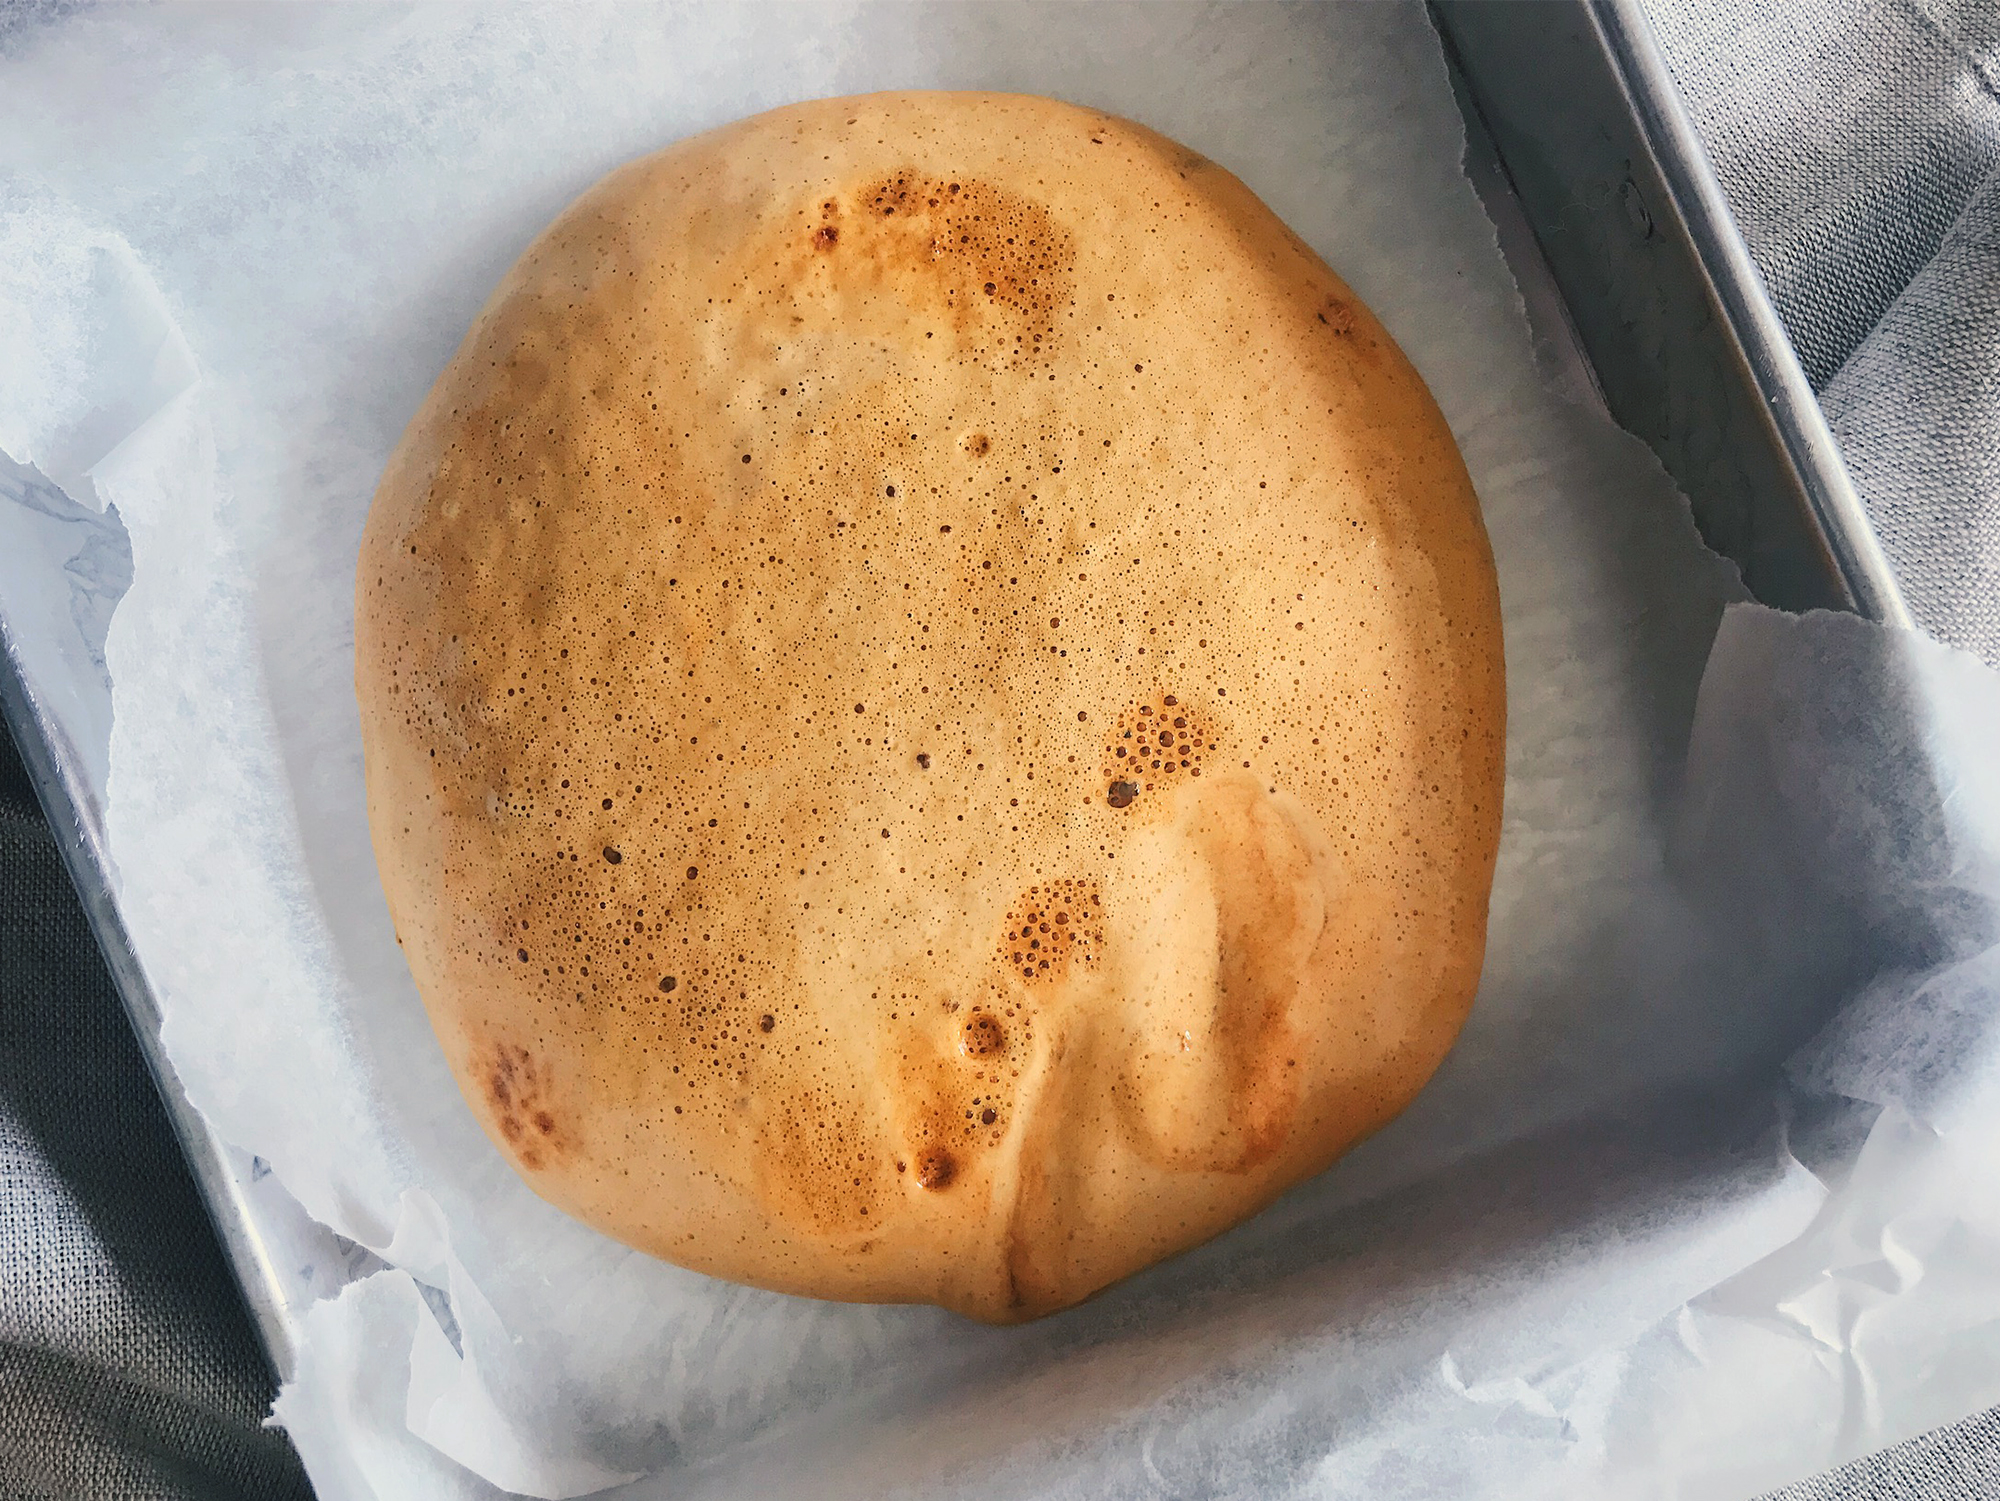
Once the sugar syrup has turned a deep amber hue, turn off the fire and add baking soda and stir the mixture until even. It will foam up and double in size, so do use a big pot!
IMPORTANT: This is the most crucial step to getting a great honeycomb. You have to add the baking soda at the correct stage to get crunchy and brittle honeycomb. If the sugar is “undercooked”, you will get a soft and sticky honeycomb.
If the sugar is “overcooked”, it will taste slightly burnt and bitter. You need to add the baking soda when the sugar is at the hard crack stage, which is around 150°C. If you have a candy thermometer for measuring, that’s the most ideal.
I tried using my meat thermometer since I didn’t have a candy thermometer, but it was not accurate at all. If you don’t have a candy thermometer, you can also:
a) Use the colour of the sugar as a rough guide: The sugar should be a caramel colour when you add the baking soda. Don’t let it turn dark brown because it is going to taste really bitter!
b) Drop a small spoonful of sugar syrup into a glass of iced water and check if it forms hard, brittle threads that crack easily upon moulding.
I personally didn’t use this method because doing this requires some time and in that short window, your sugar syrup might have become burnt. So if you want to try this method, you have to be speedy!
Quickly pour the mixture into a tin lined with greaseproof paper. This will prevent the honeycomb from sticking to the tin, and also make your life a lot easier. Leave the honeycomb to cool and harden for at least 20 minutes.
Note: When you pour the mixture into the tin, do not try to spread or flatten the mixture using the spatula because what you want is a fluffy, airy honeycomb!
Also, try to use a smaller tin so you can get a thicker honeycomb rather than a flat one.
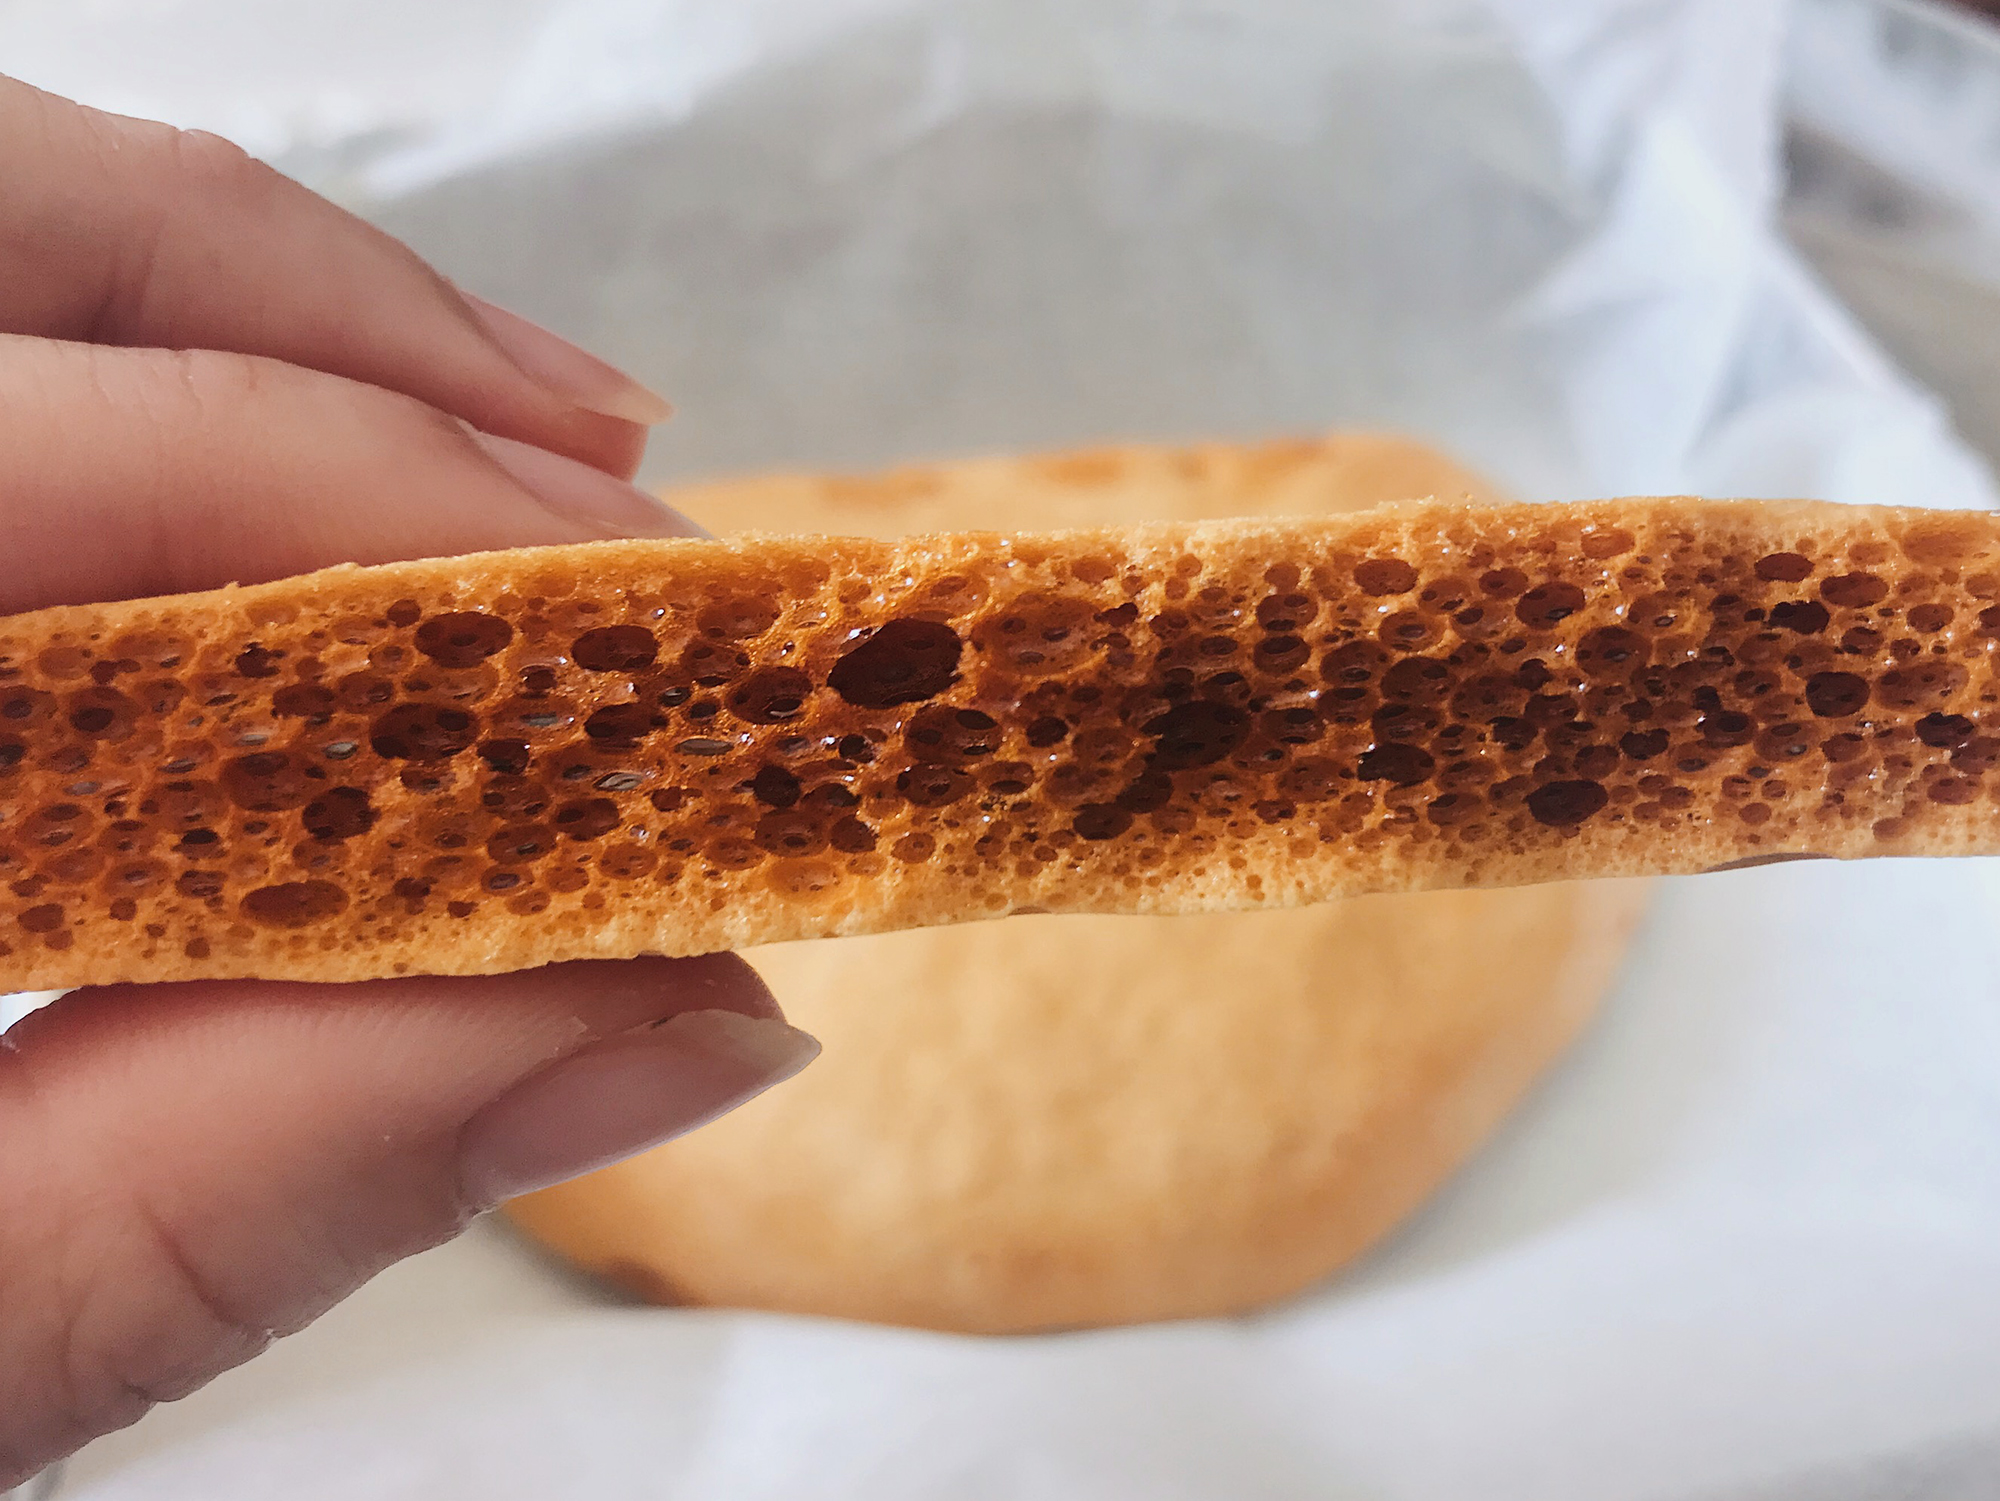
You should see this honeycomb pattern inside.
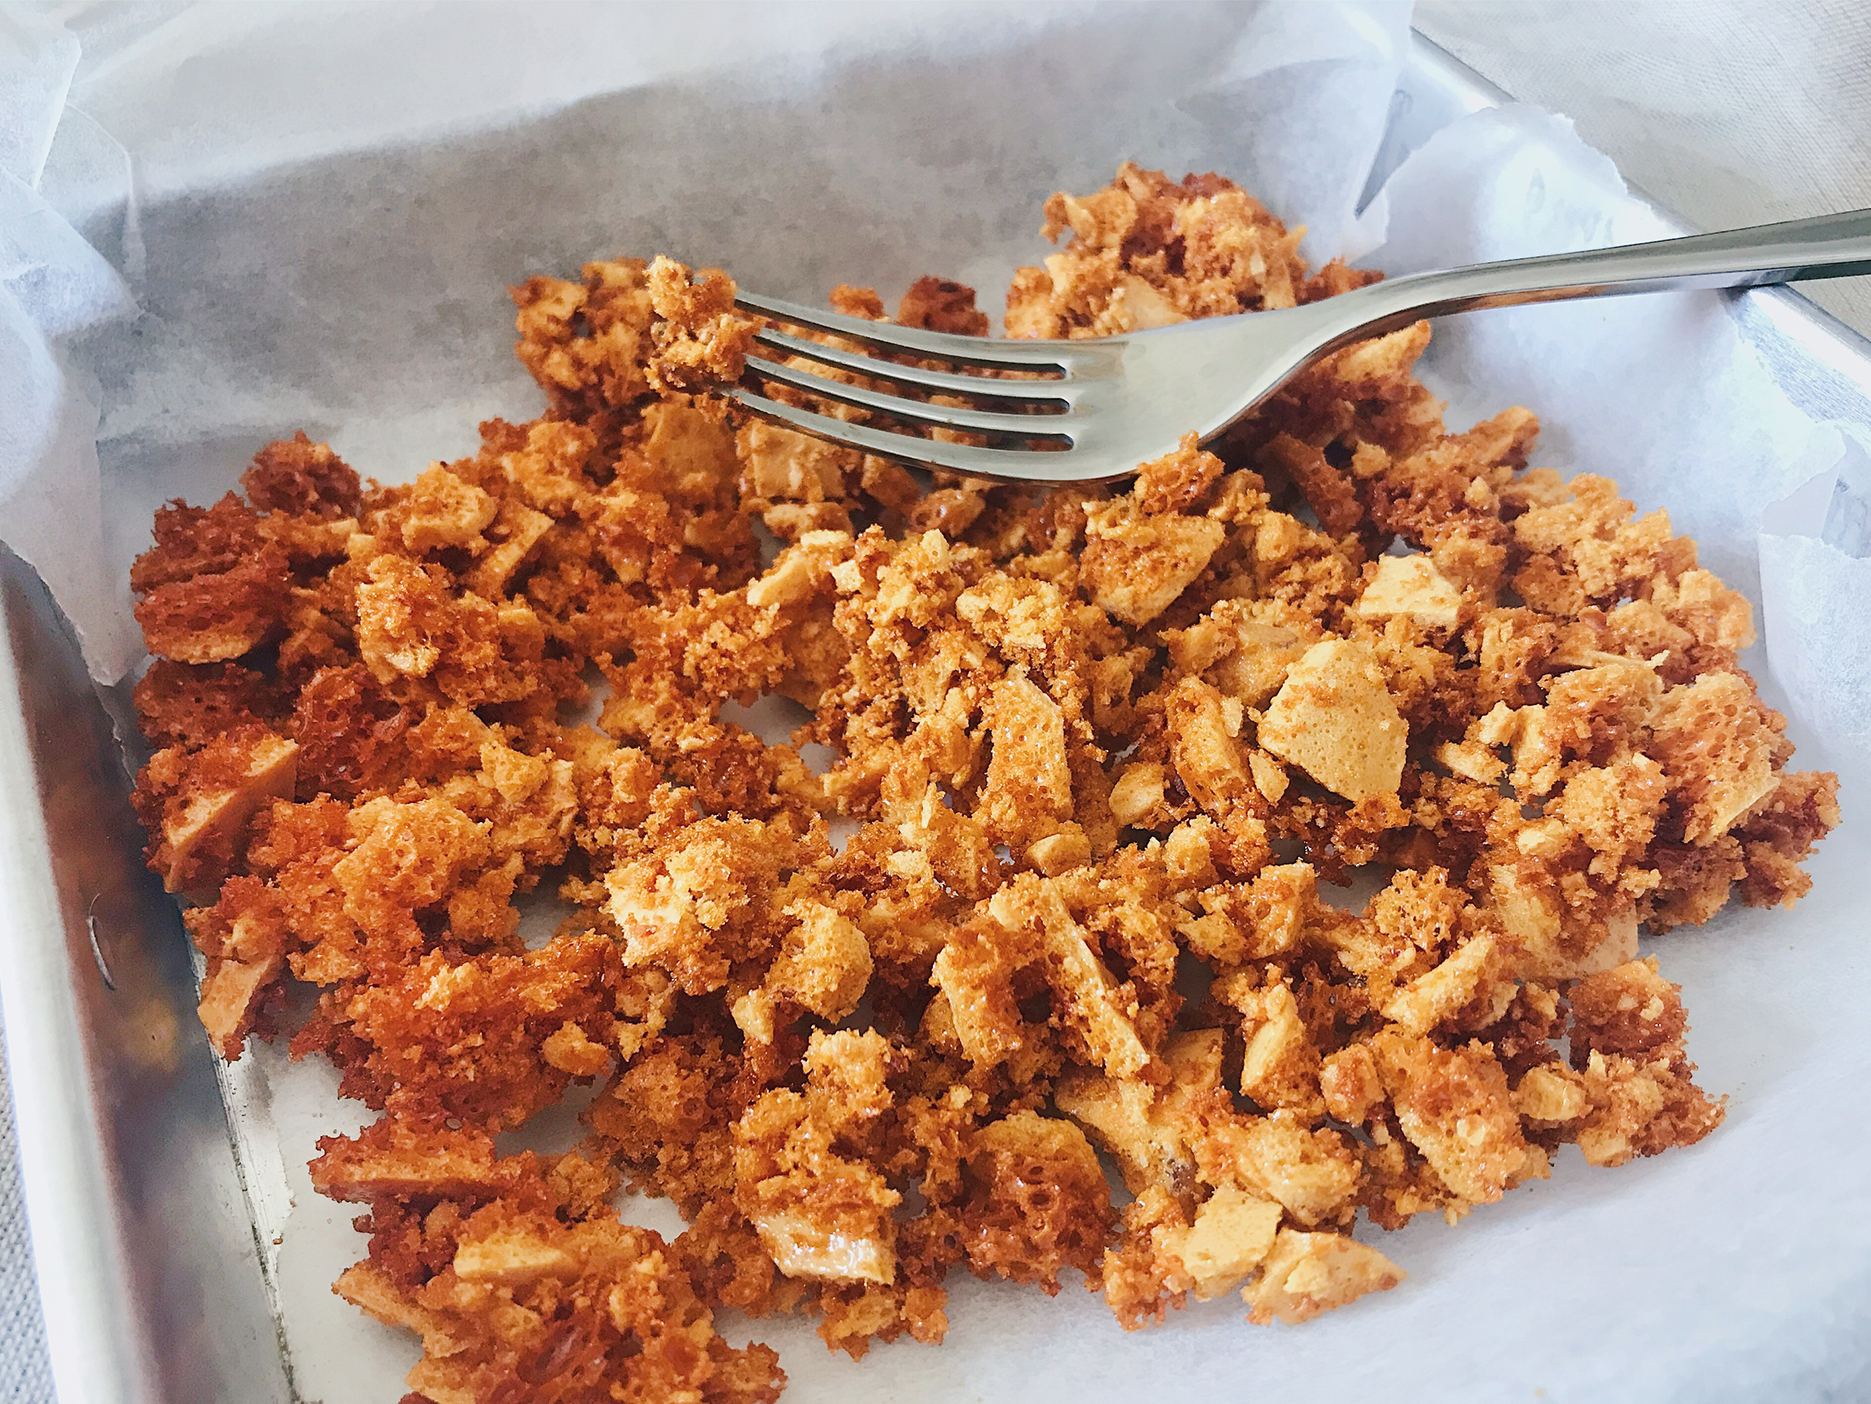
Crack into small bite size pieces and store in an air-tight container if not using immediately. If you leave it out in the open for too long, especially in humid Singapore, the honeycomb will absorb moisture in the air and become slightly sticky.
I have to admit I was lazy and just left my honeycomb in the open for quite a long time before using them ^^;
Note: You may want to make more honeycomb because chances are you’ll be munching on one-third of them before they even enter the ice cream.
For the ice cream (makes about 800ml of ice cream):
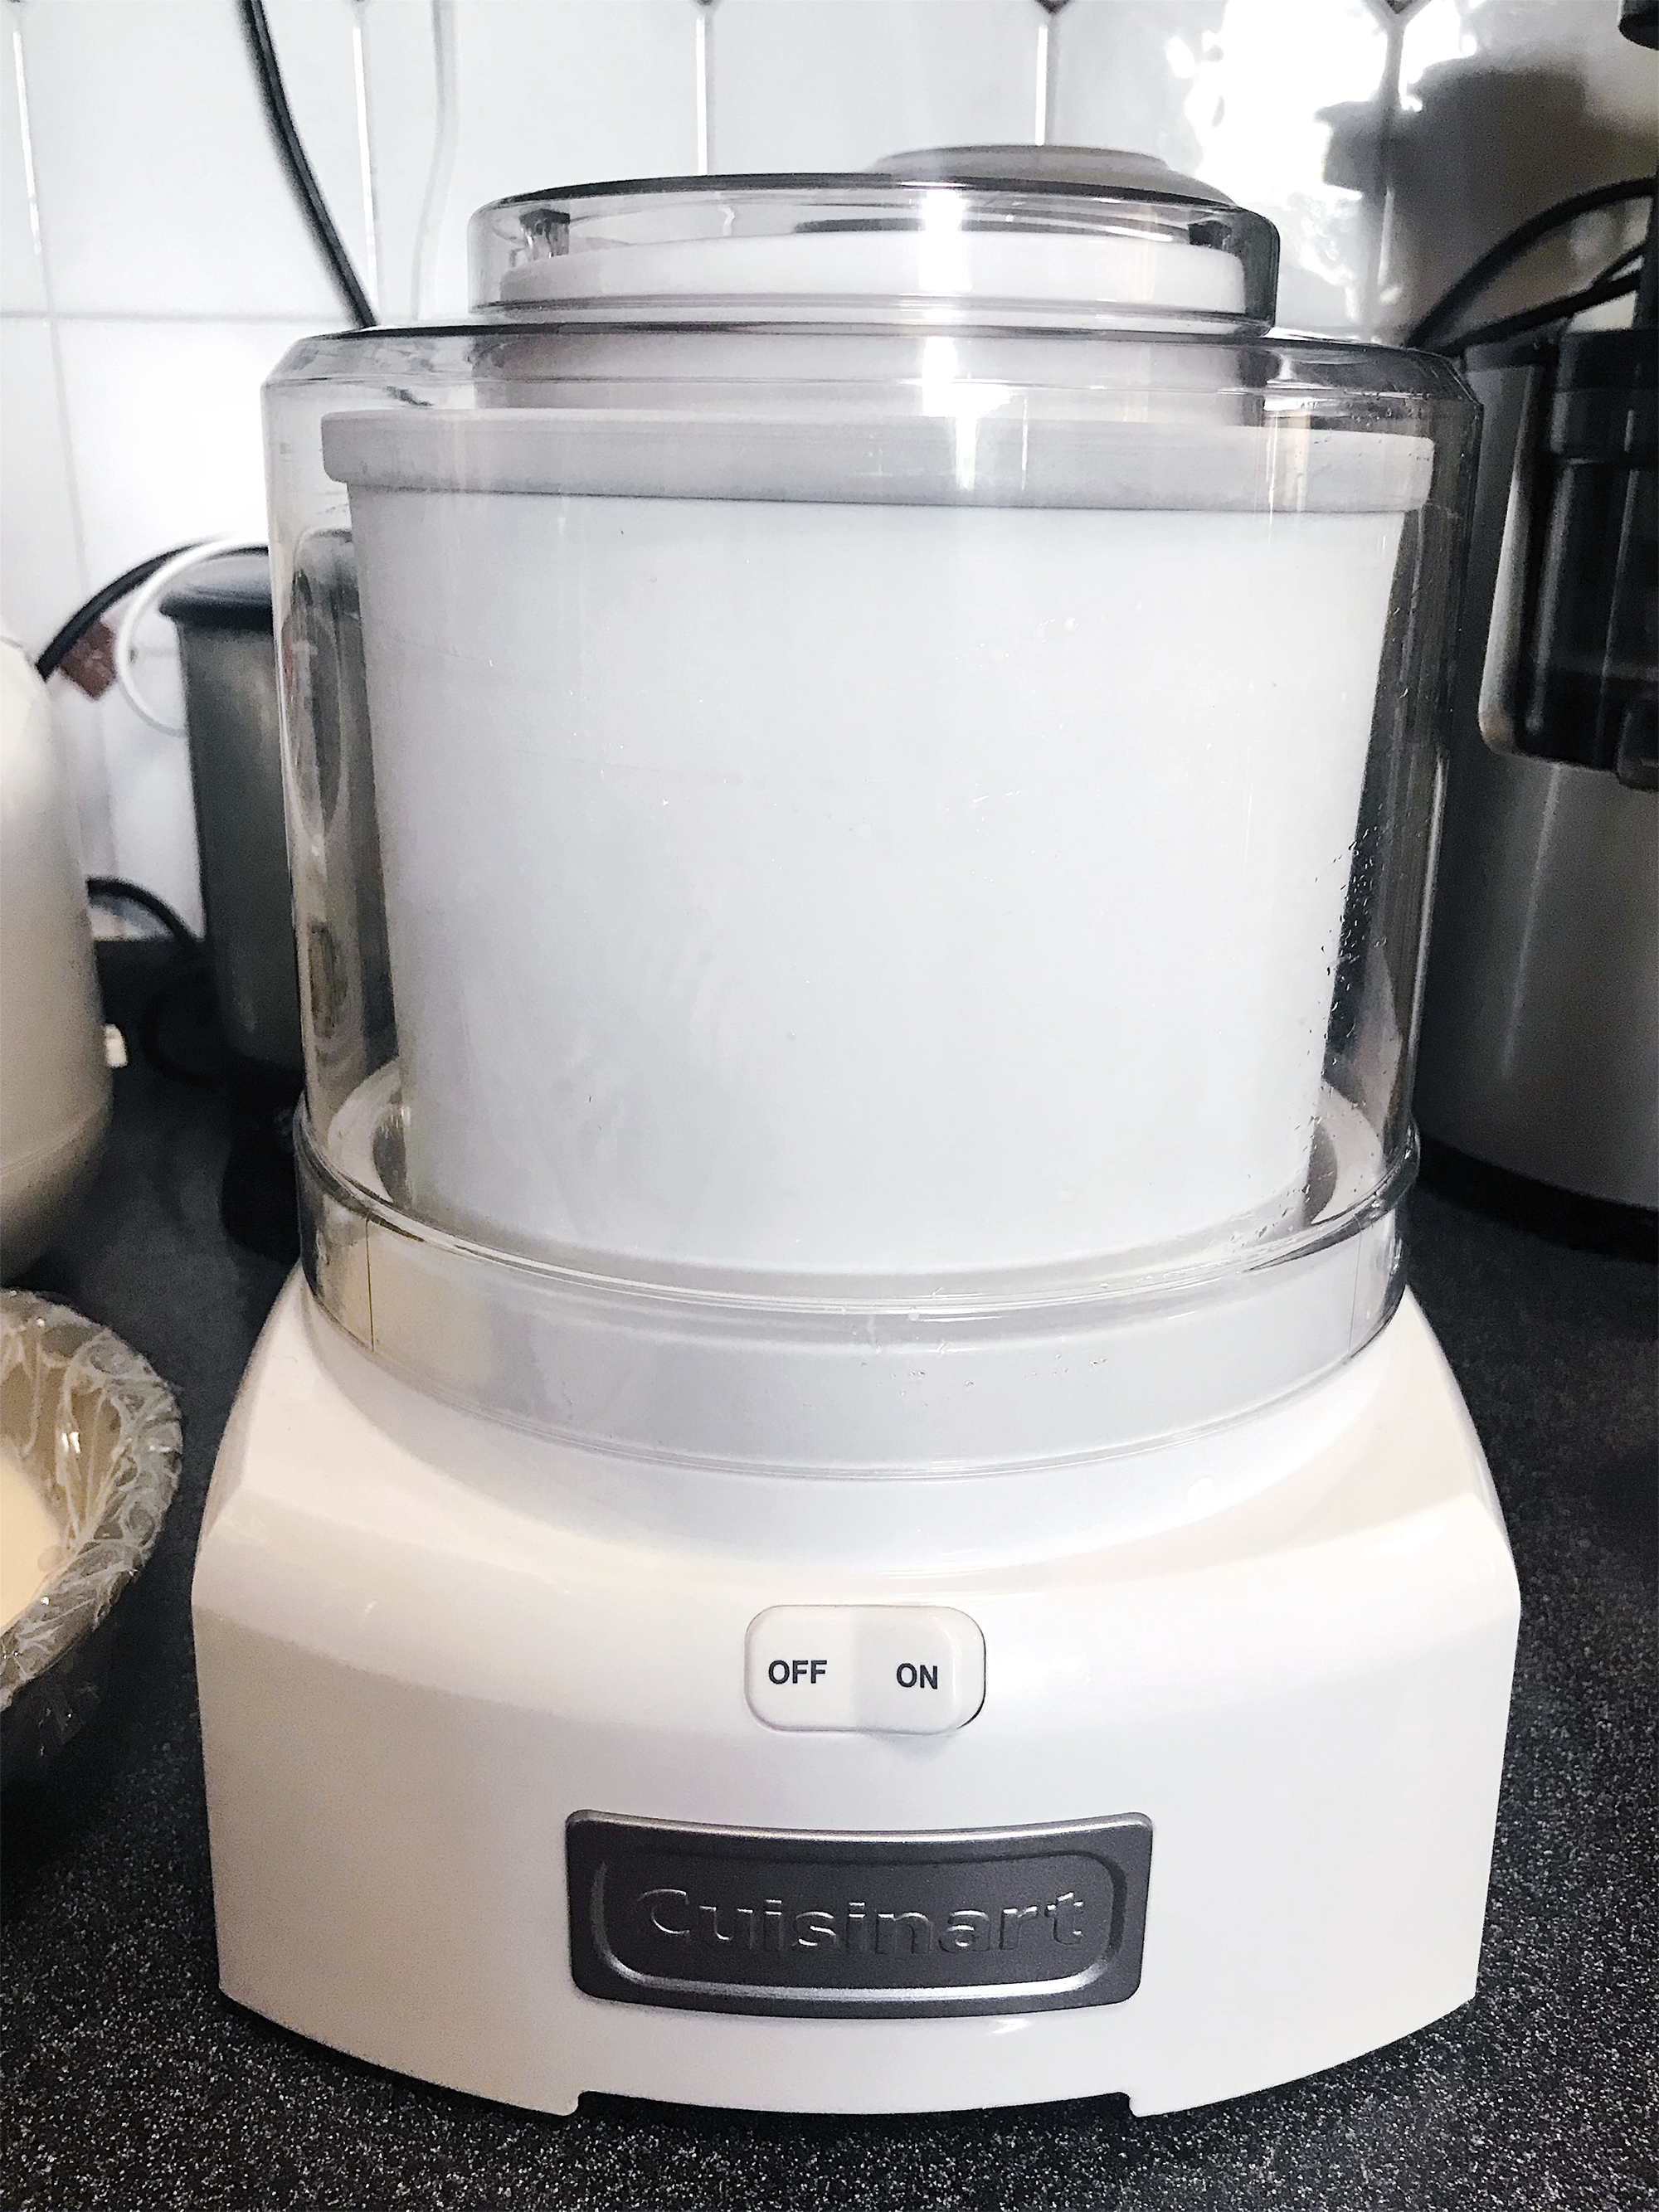
You will need to place the bowl of the ice cream machine in the freezer overnight, but preferrably for 24 hours if possible.
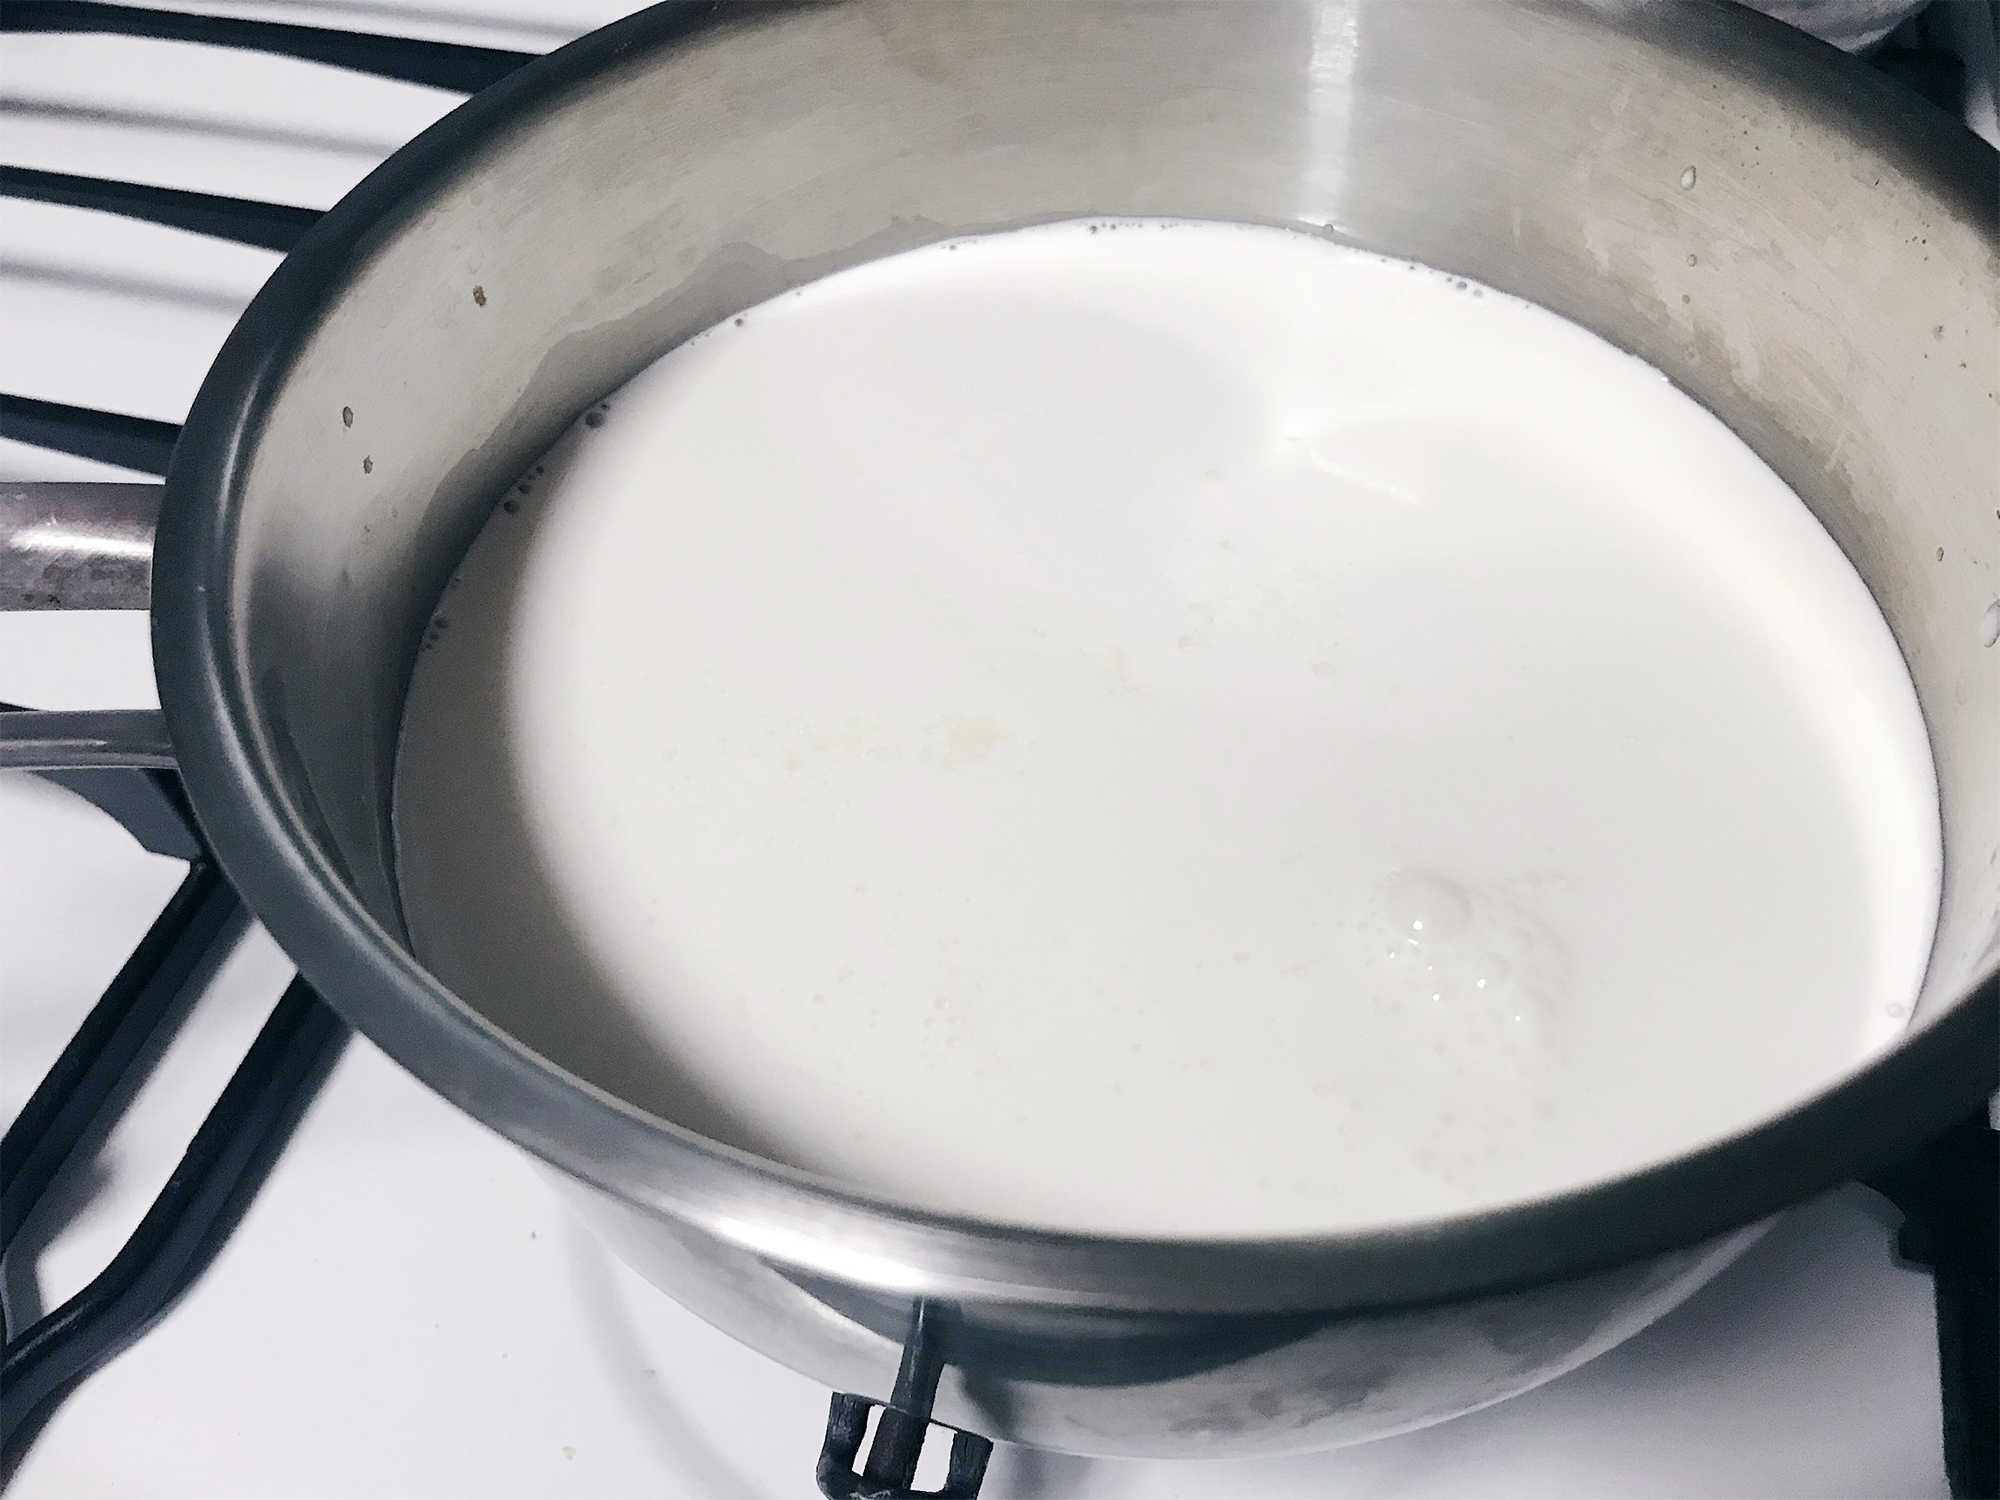
Boil cream, milk, half the sugar and vanilla paste in a pot till some bubbles break the surface, then turn off the heat. The temperature at this stage should be around 80°C.
Note: You don’t want the mixture to be boiling hot otherwise it will cook the egg yolks later.
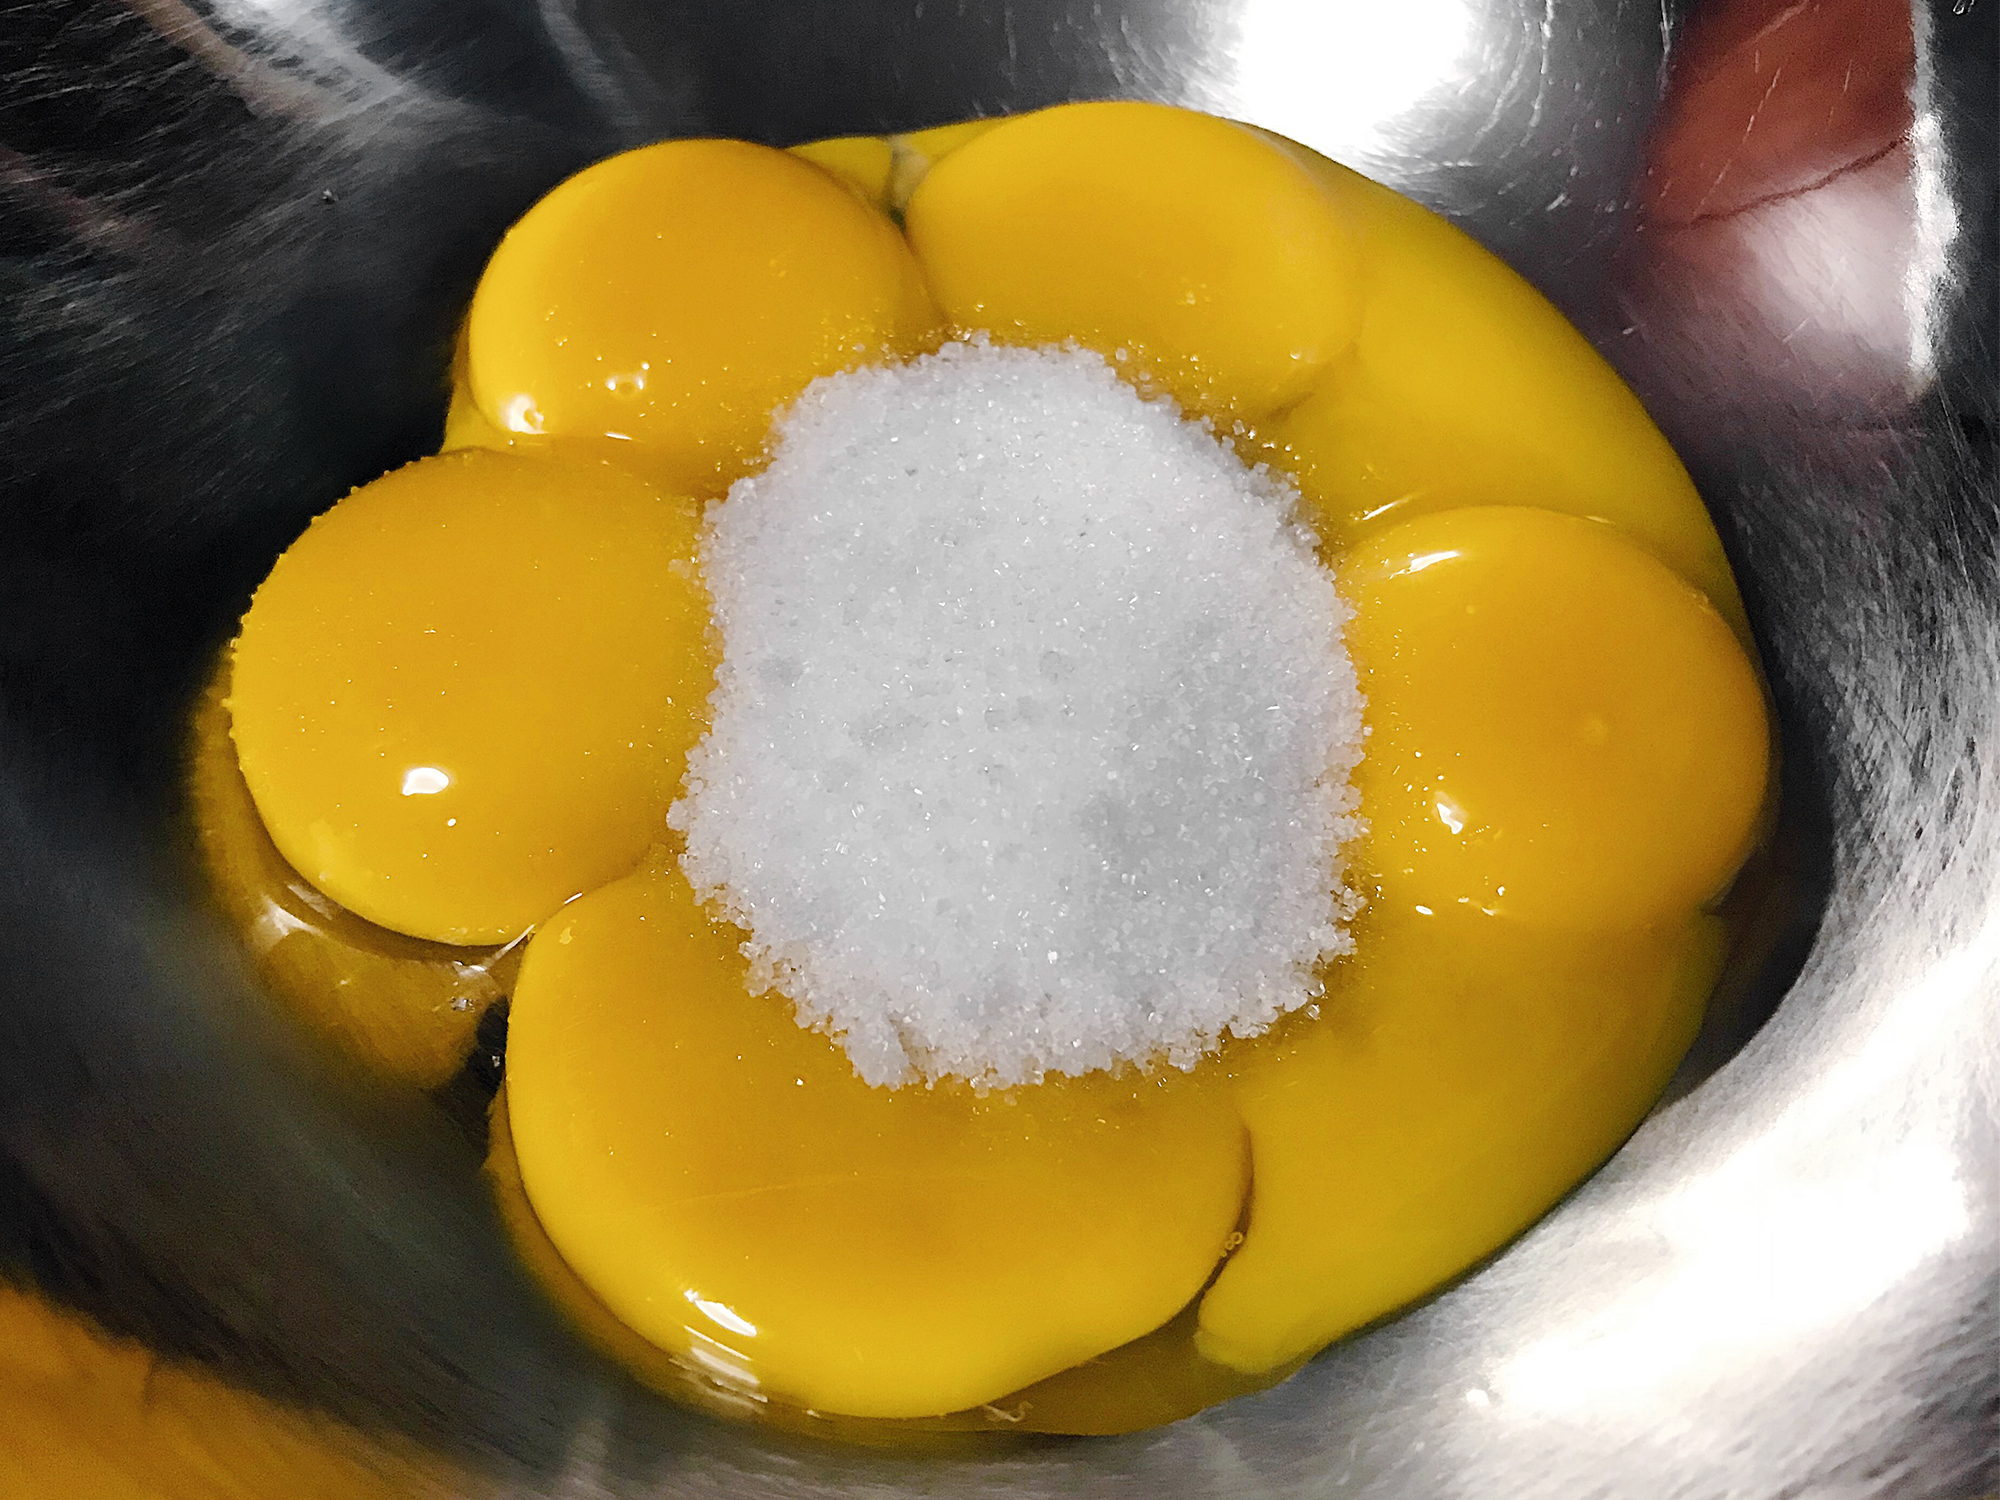
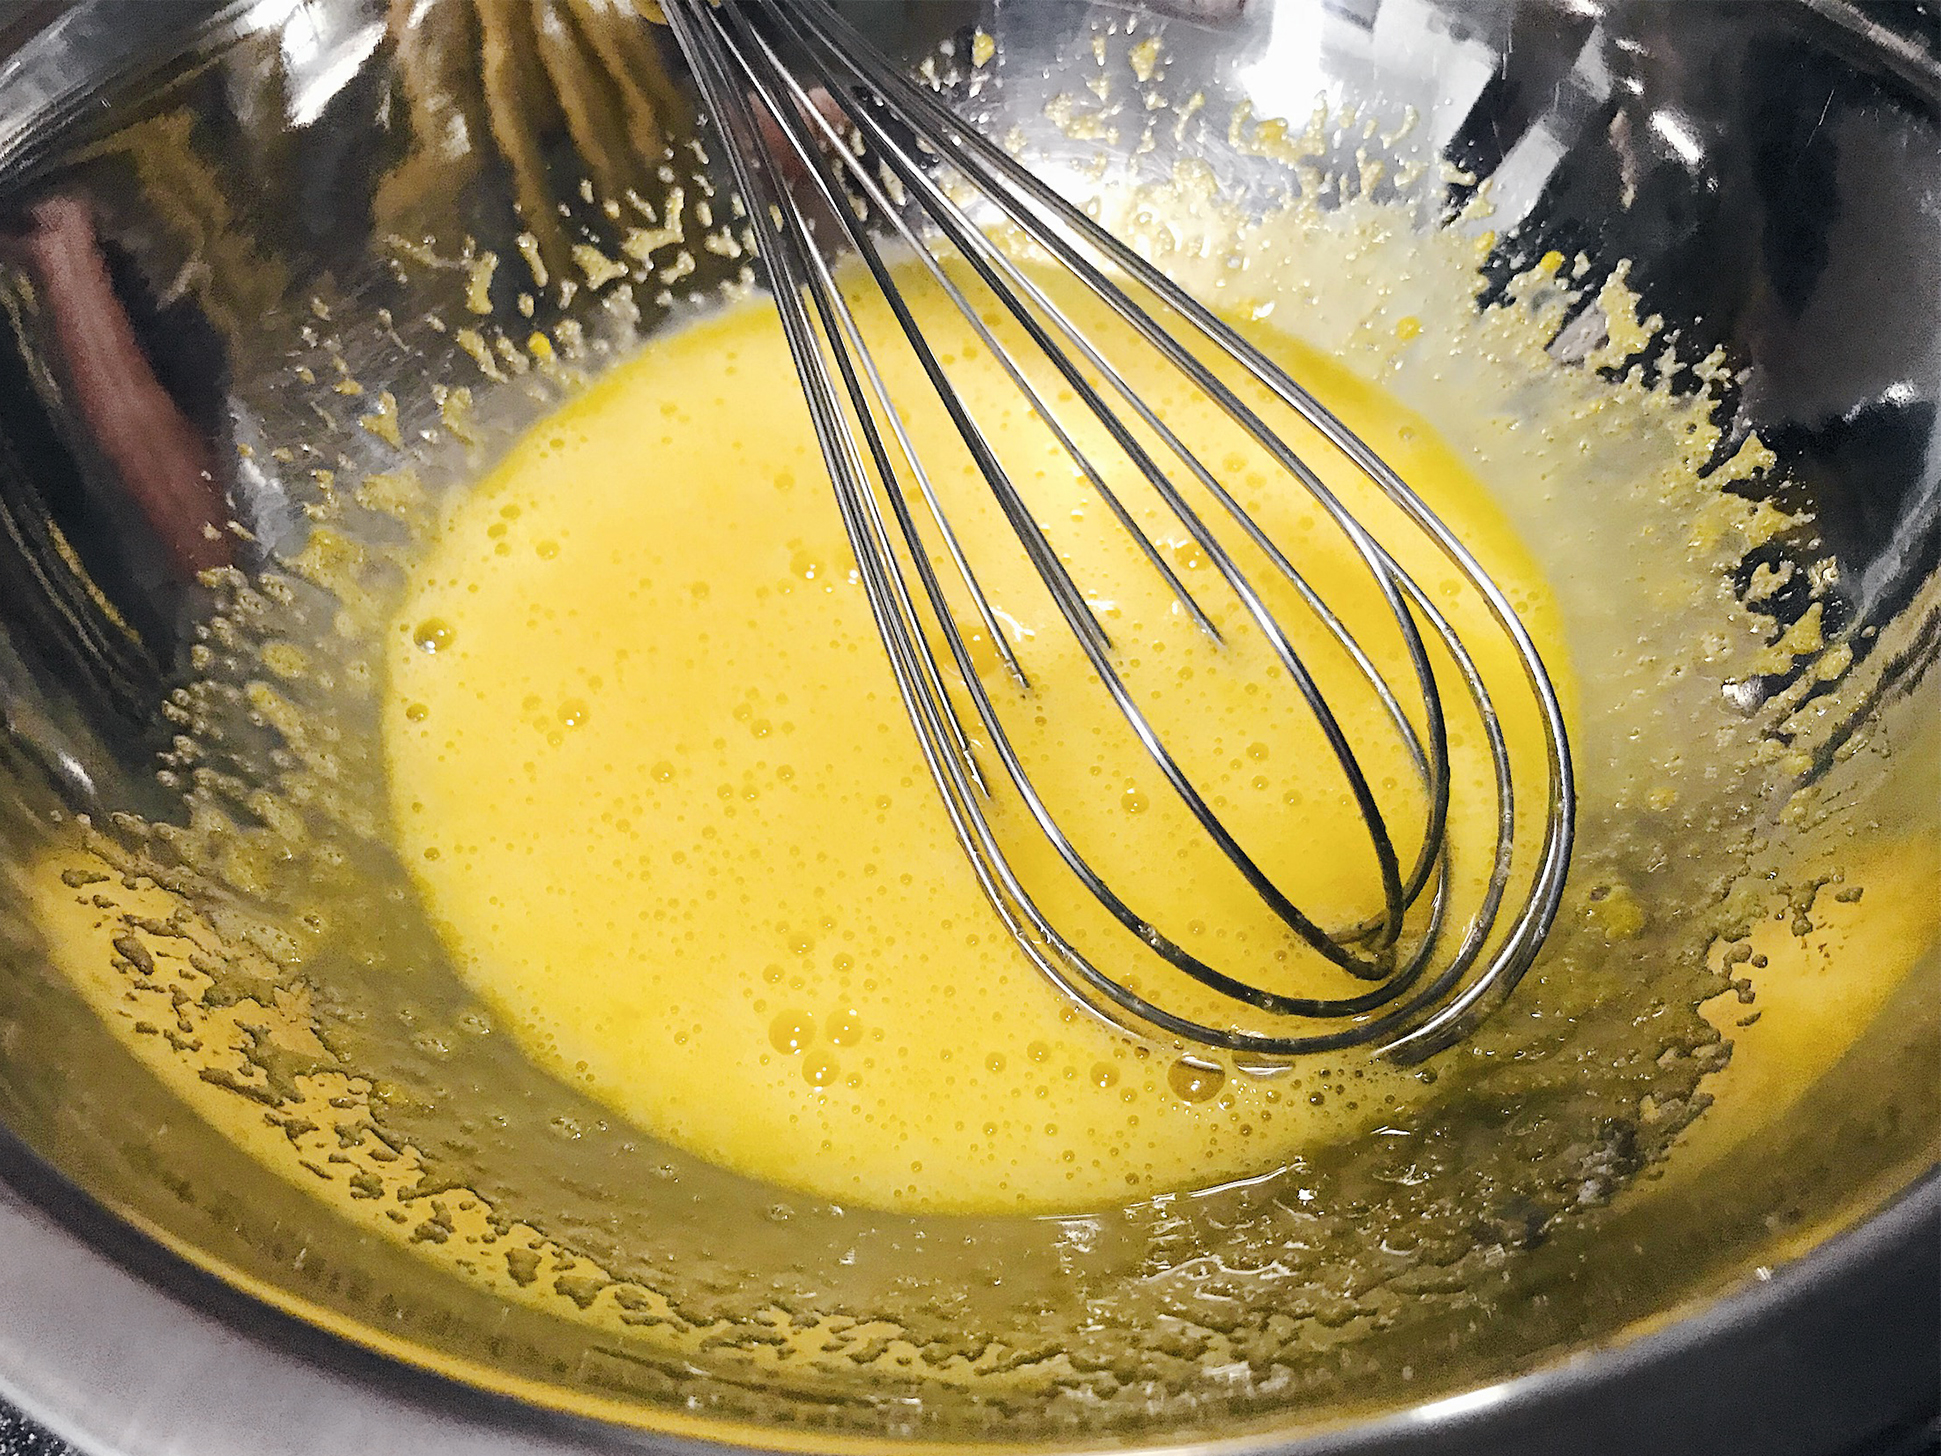
Meanwhile, beat the egg yolks and sugar until evenly mixed.
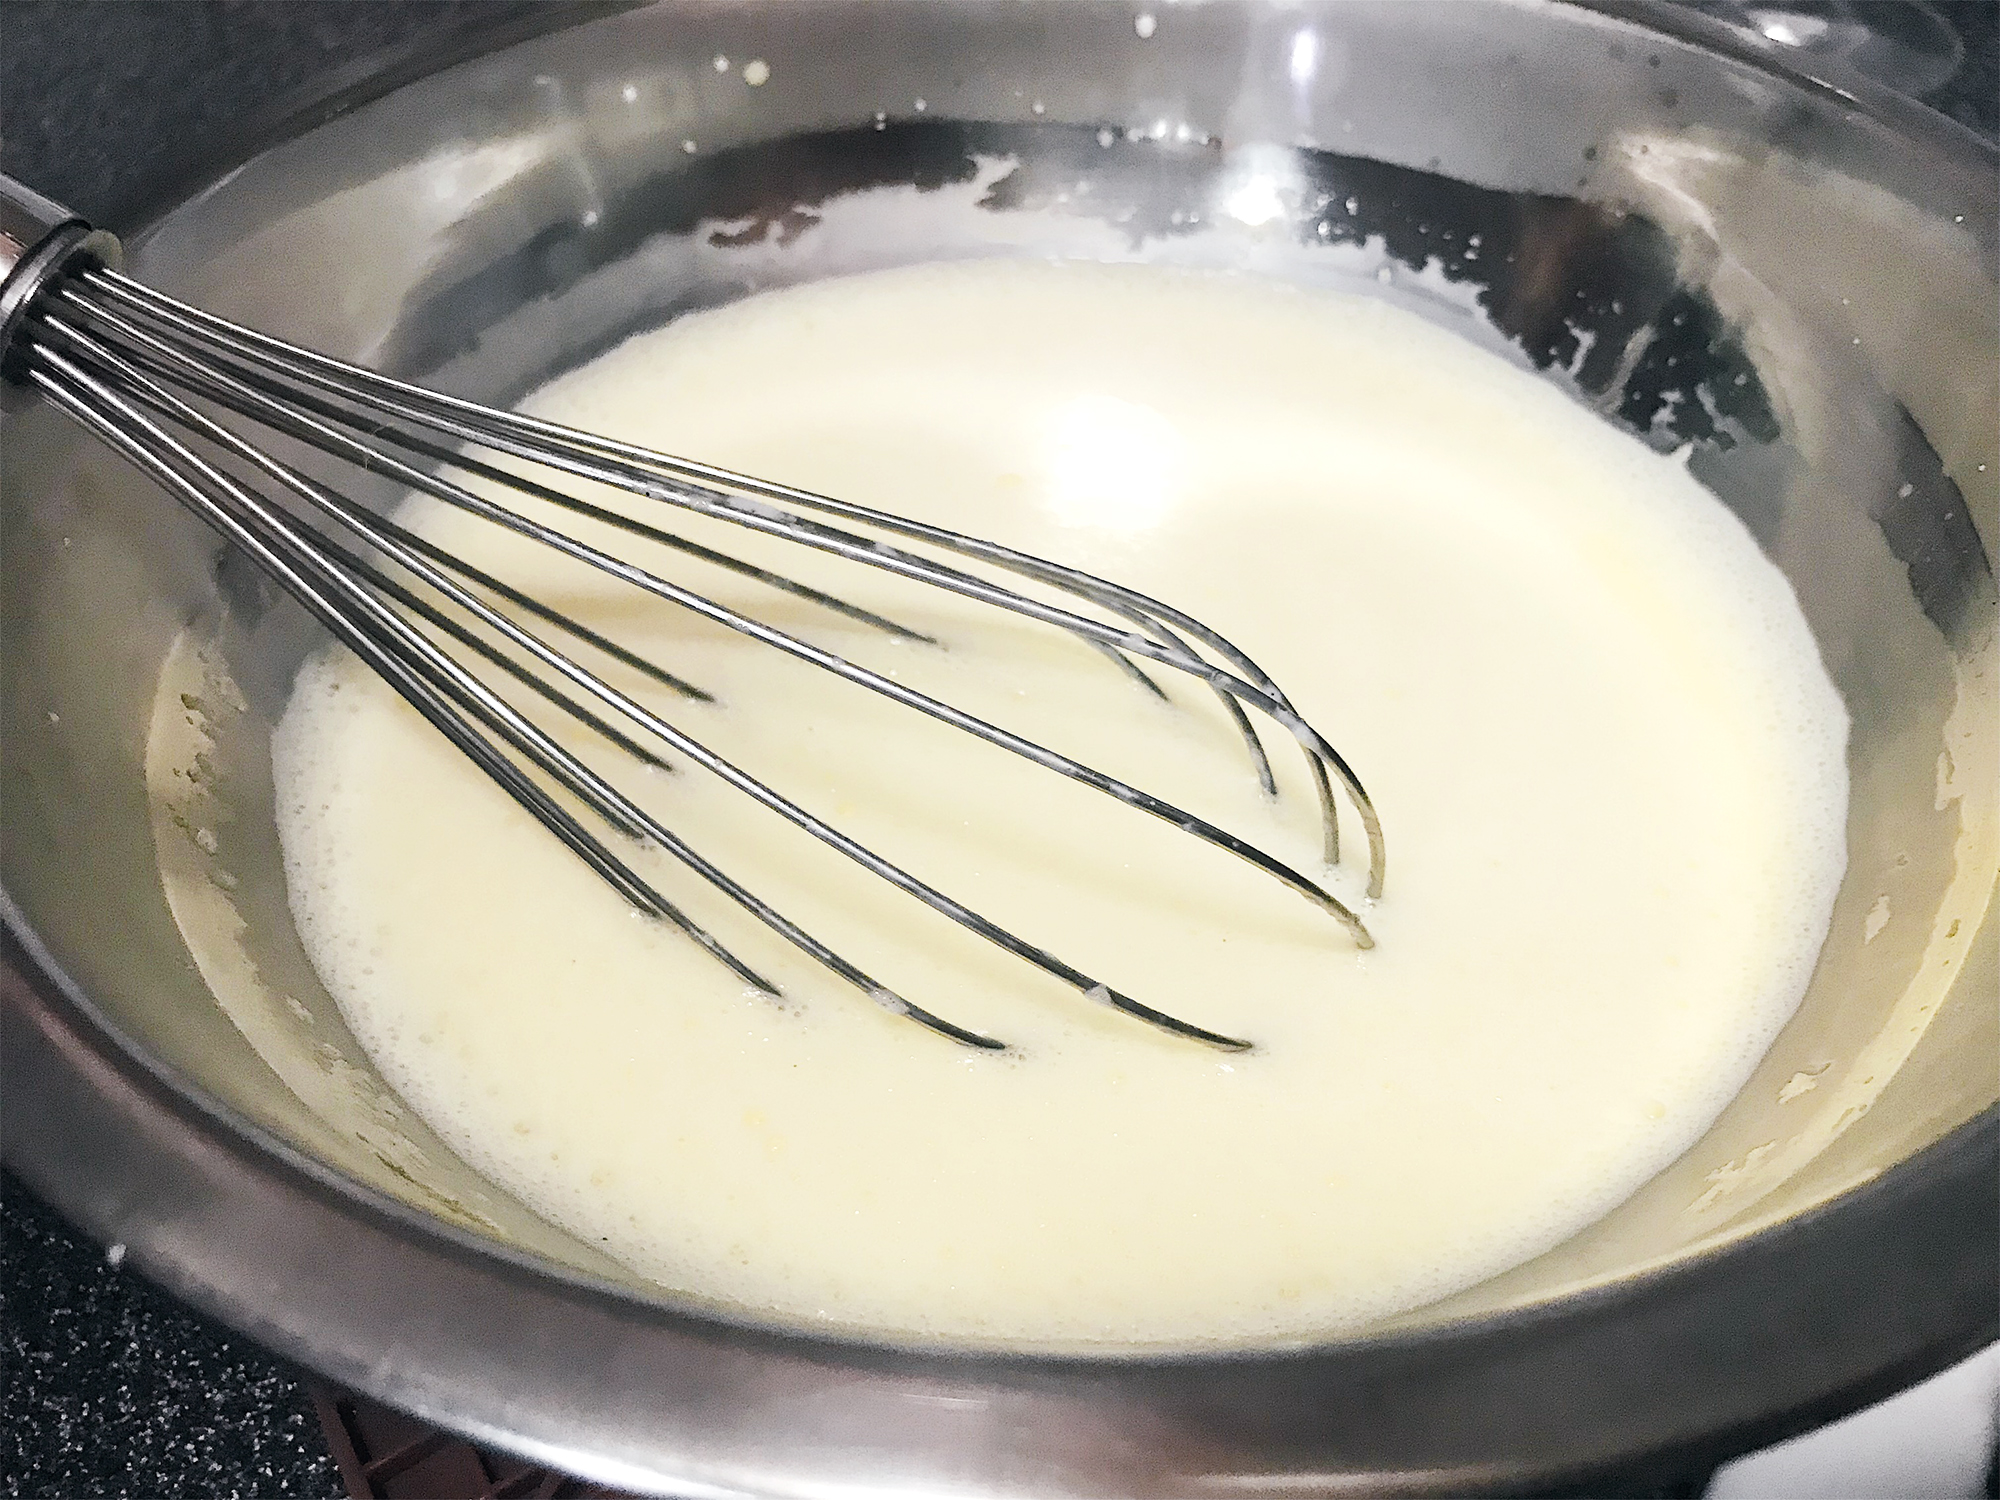
Add a small portion of the cream & milk mixture (from the pot) to the egg yolk mixture gradually and mix evenly.
After that, pour the mixture back into the pot and cook over low heat until the mixture thickens enough to coat the back of a spoon. This should take just a few minutes and the temperature should be around 70-75°C.
Note: This is to temper the egg yolks, preventing them from coagulating/cooking by slowly warming them up to a certain temperature.
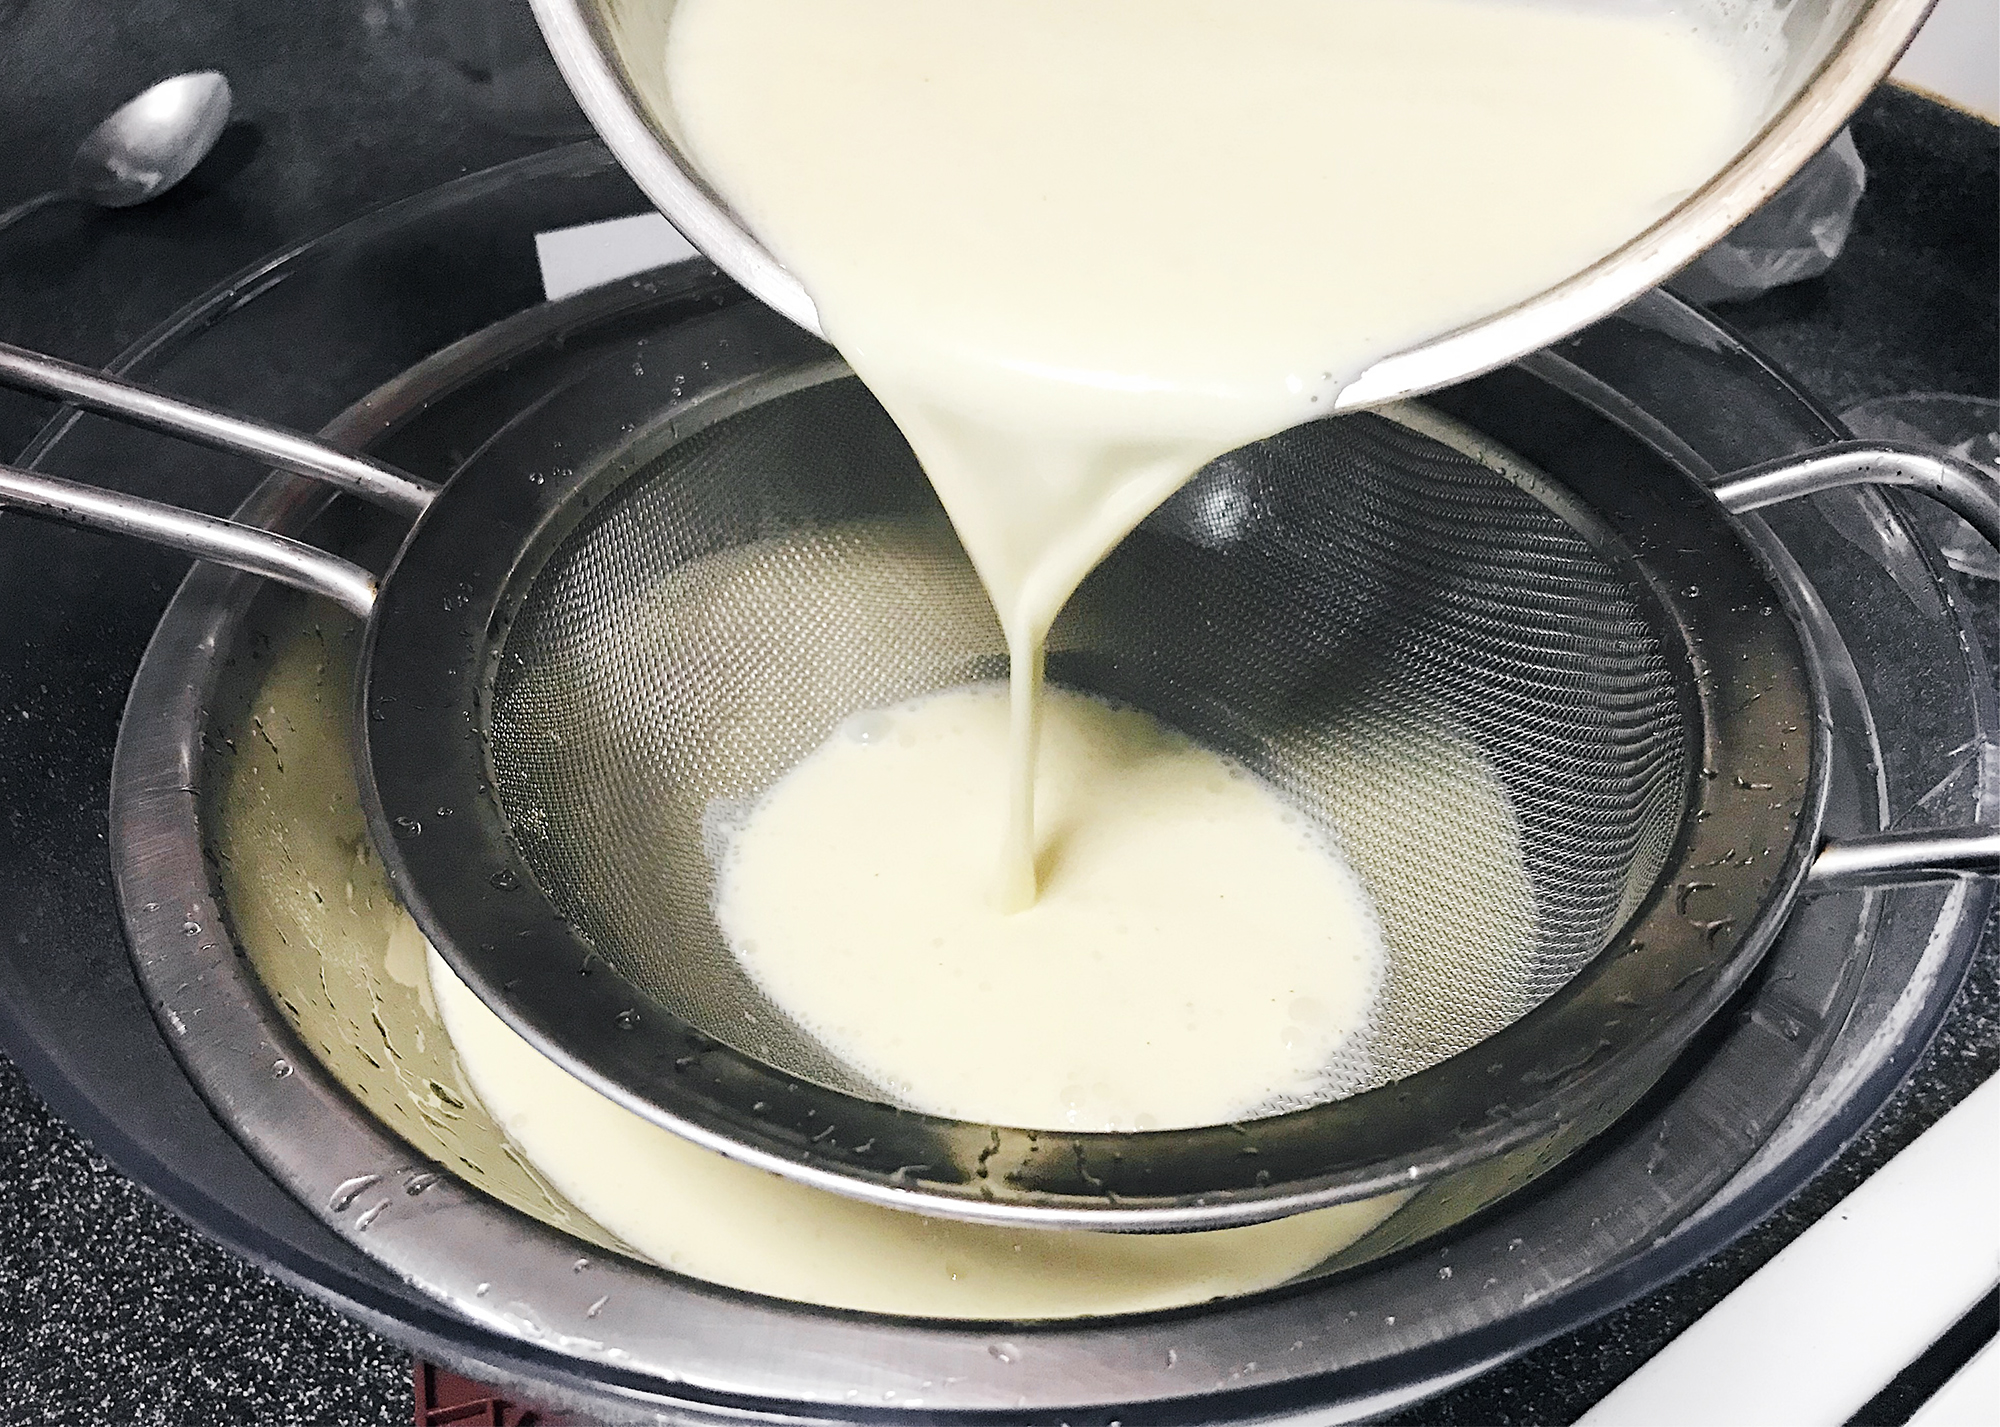
Strain the mixture into a bowl that is put in an ice bath. Once the liquid has cooled, put the bowl into the refrigerator for at least 2-3 hours before making the ice cream.
Take out the ice cream machine bowl from the freezer and put it into the machine.
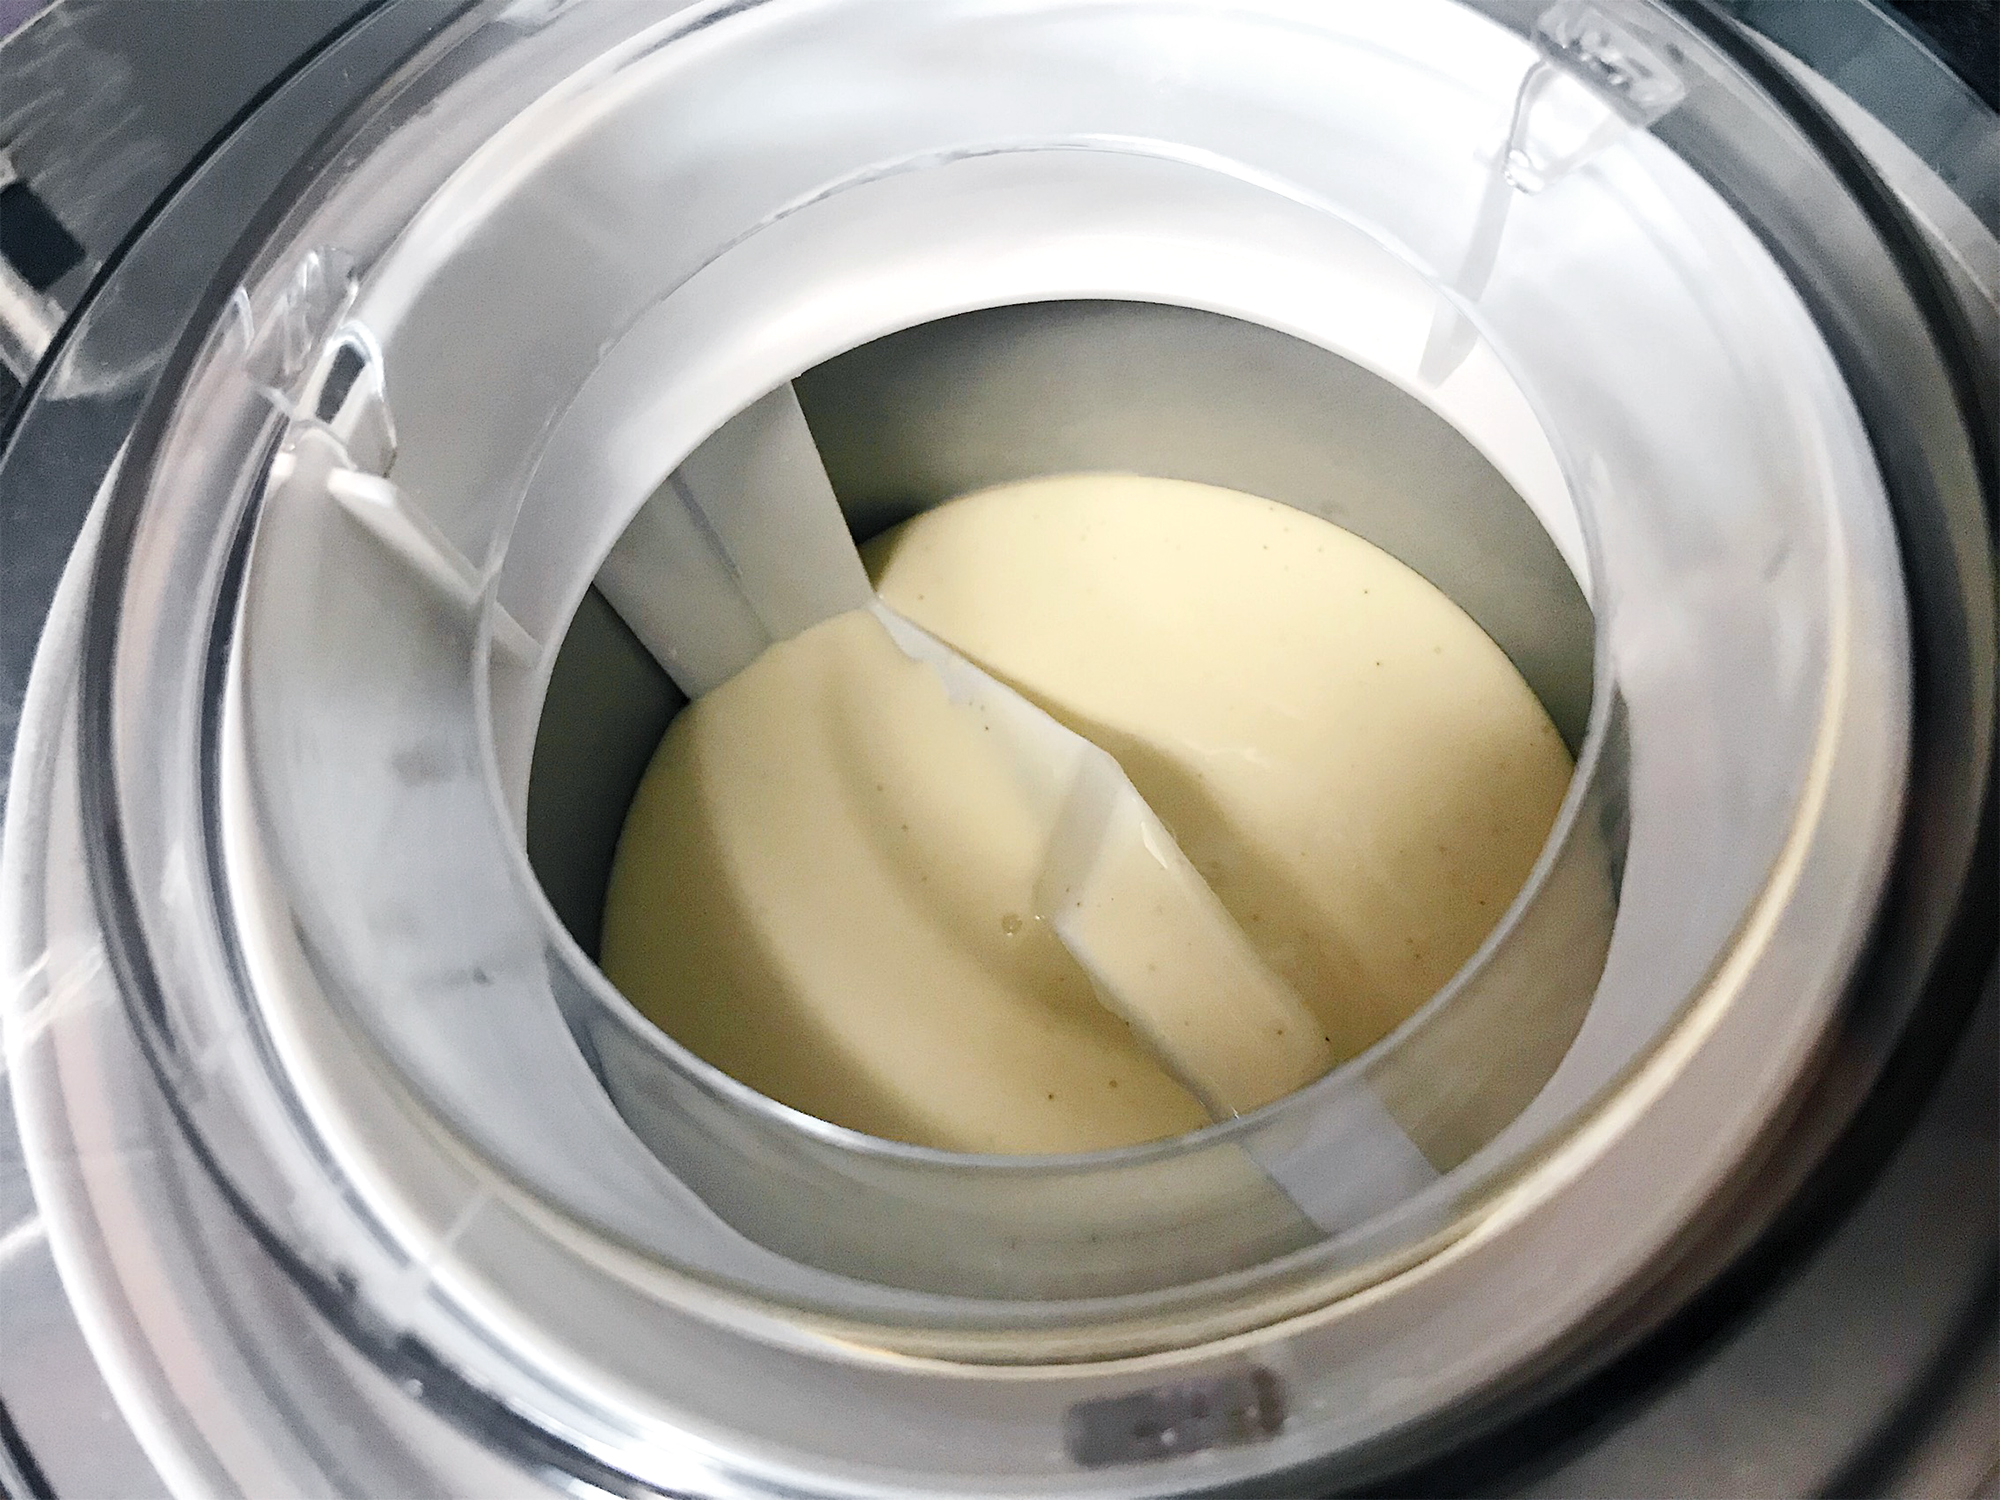
Pour the mixture in and let the ice cream machine churn the liquid for about 20 minutes.
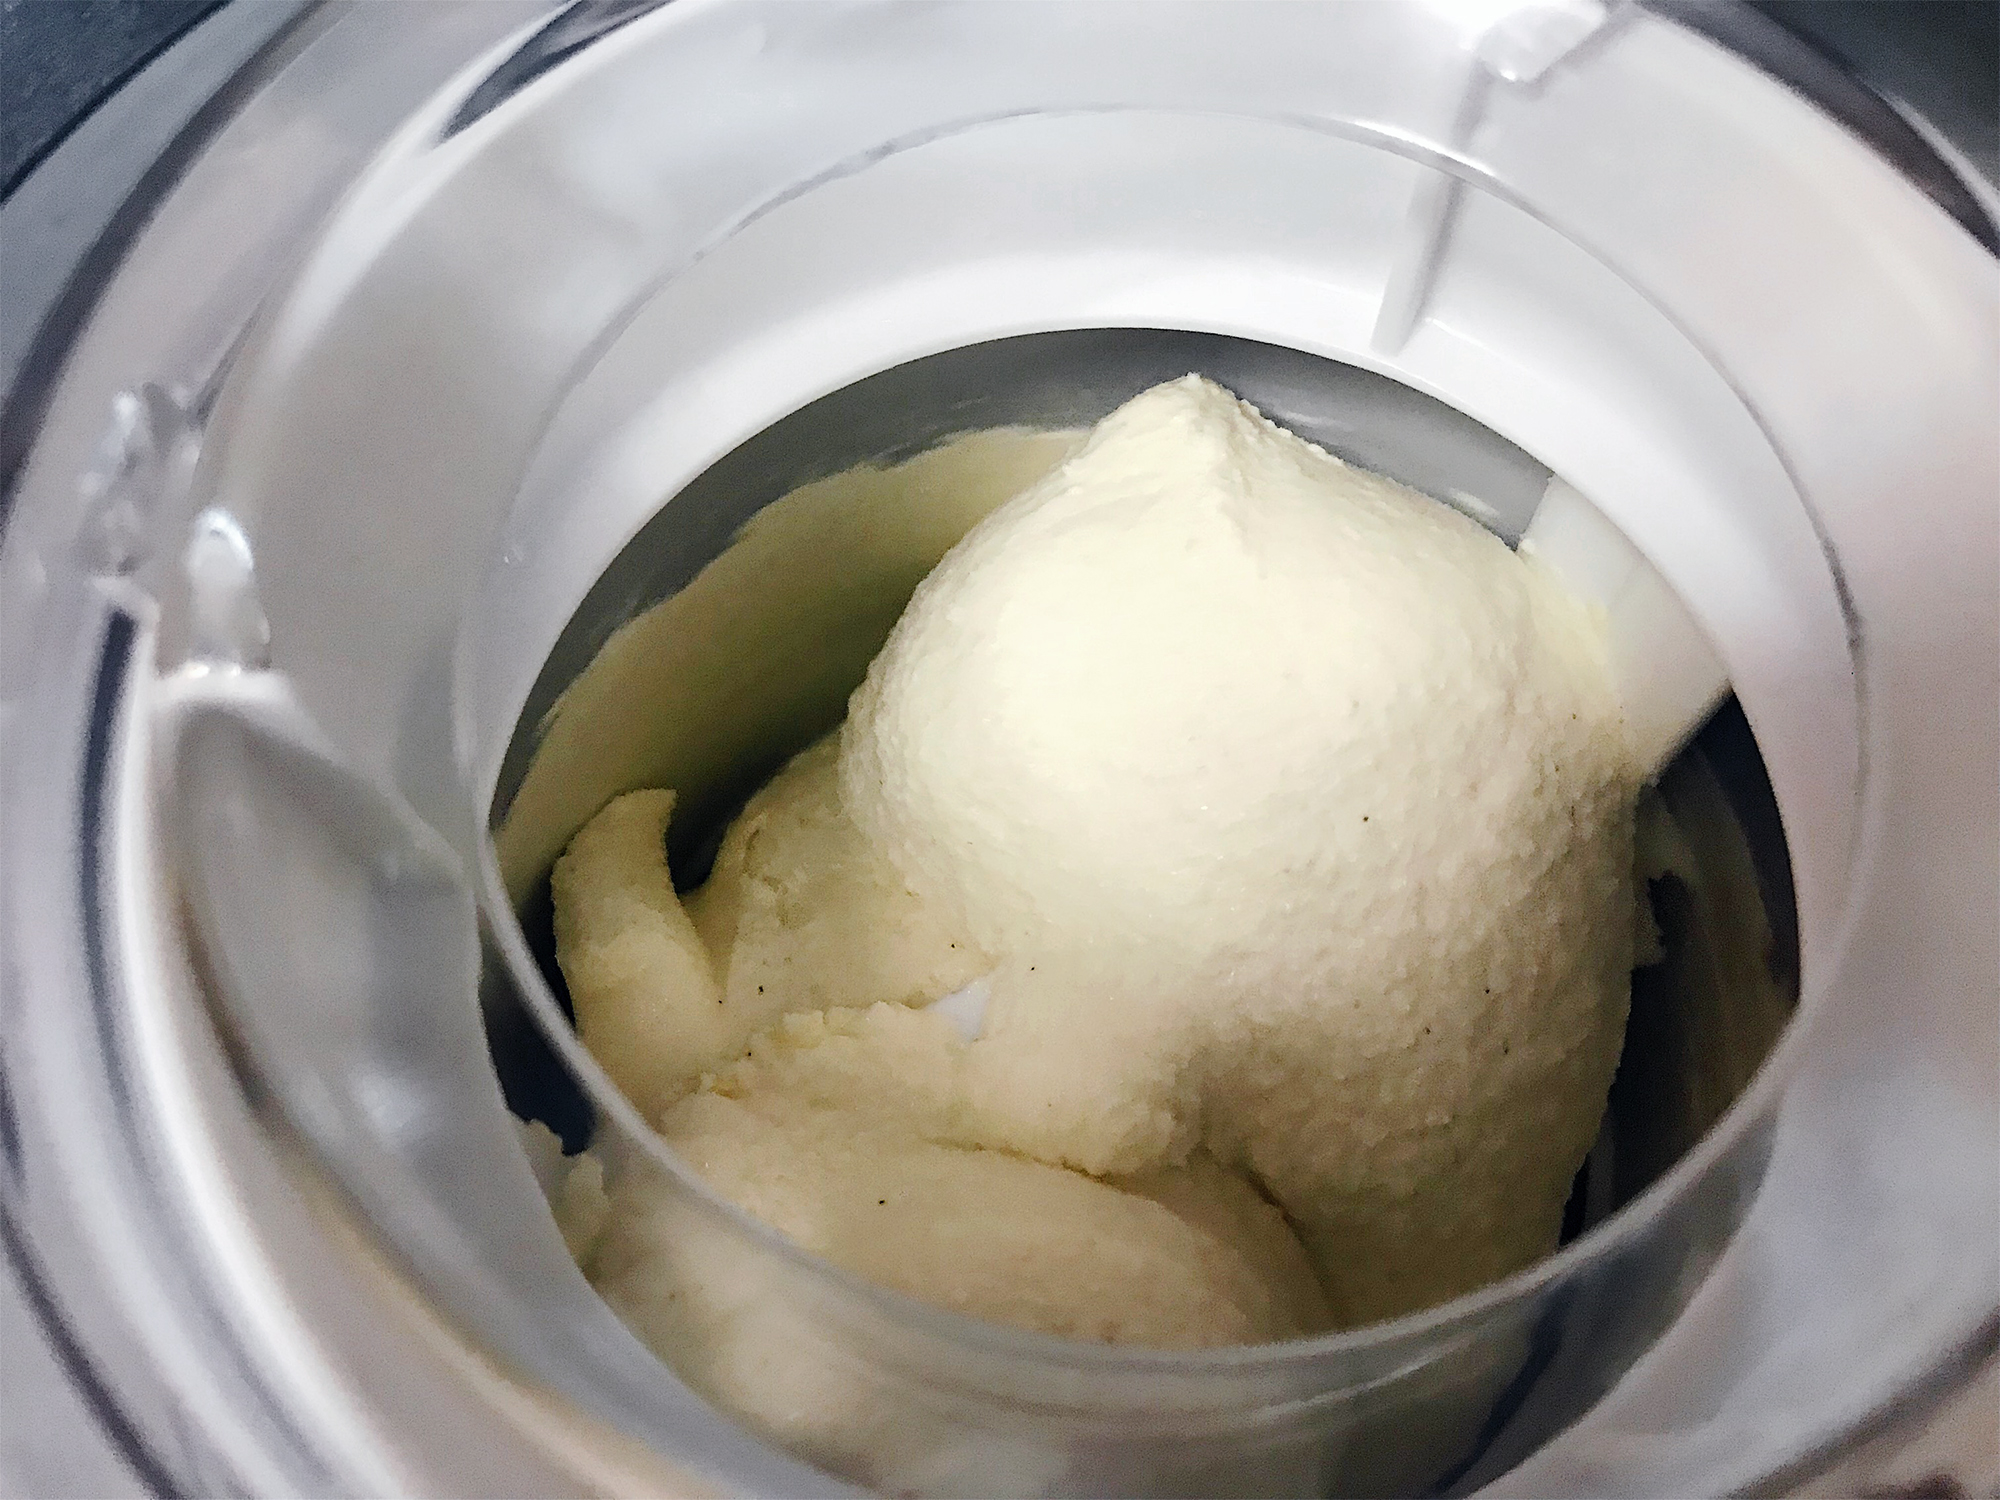
It will thicken and become delicious ice cream in no time!
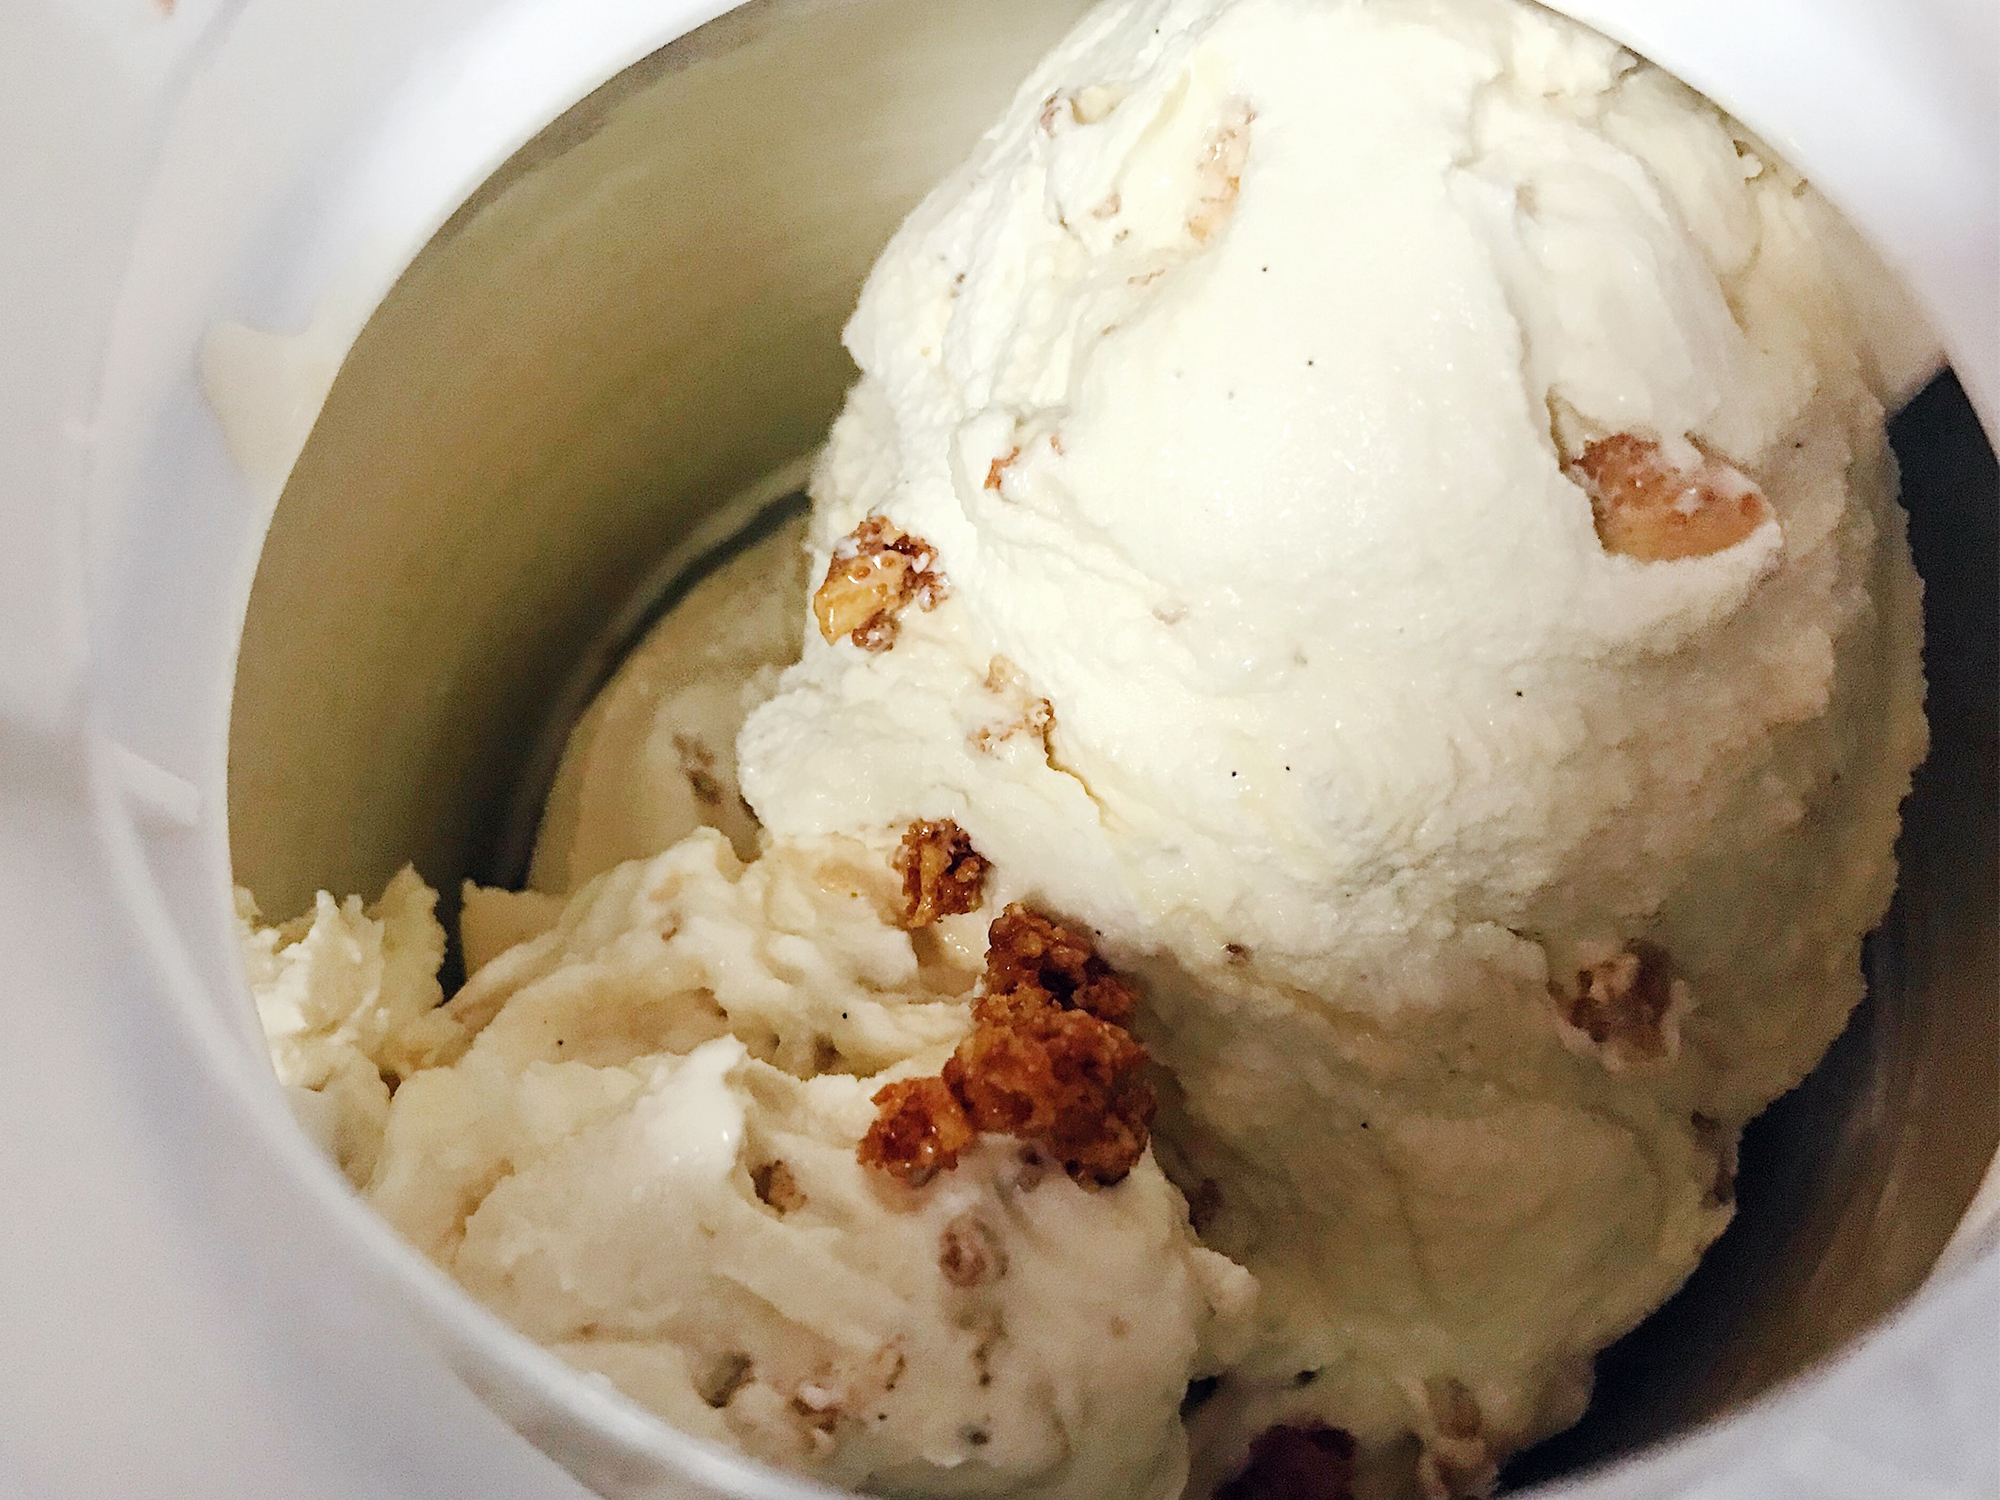
Add half the honeycomb pieces into the machine at the 15-minute mark to infuse the honeycomb flavour into the ice cream, and the remaining honeycomb pieces at the 19-minute mark so that there will be some crunchy bits to chew on.
Transfer the ice cream into a container and freeze for a few hours, or even overnight, before eating.
Because Singapore’s weather is rather humid, and my ice cream machine is the lower end kind, the resulting ice cream is not frozen enough to eat immediately. It’s best enjoyed after freezing for one night.
As I could not wait to try out my ice cream, I only let it freeze for 1-2 hours before taking it out to eat, so it melted quite quickly.
And homemade ice cream will definitely melt more quickly than commercial ice cream, unless you put some ice cream stabilizers like guar gum.
These stabilizers can also help to improve the texture of the ice cream, ensuring the ice cream doesn’t form big ice crystals when kept a long time in the freezer.
I didn’t put any stabilizers in my ice cream, but I felt that the texture was good enough, except that it melted more quickly than usual.
To my surprise, my ice cream was creamy and smooth, without any noticeable large ice crystals. And it wasn’t at all difficult to make! The only drawback is that you’ll need an ice cream machine.
Unfortunately, my photo doesn’t do much justice to the taste of the ice cream, because my ice cream was melting as I slowly took my time to style the shot.
It was, however, a great success for my first attempt, and I will definitely try making more homemade ice cream again!
I will still drop by my favourite ice cream parlour (Daily Scoop) to get some unique flavours, but otherwise, I think homemade ice cream is a great great idea!
The only thing that deters me from making ice cream is the large amount of egg whites that go to waste though, since you only need the egg yolks and not the white.
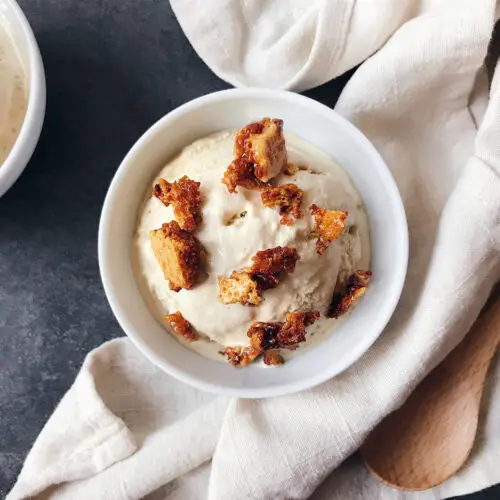
Honeycomb Vanilla Ice Cream
Ingredients
Honeycomb
- 100 g white sugar
- 2 tbsp honey
- 1 tsp baking soda
Vanilla Ice Cream
- 300 ml whipping cream ($3)
- 300 ml milk ($0.877)
- 60 g white sugar
- 1 tsp vanilla bean paste ($0.796)
- 5 large egg yolks ($0.50)
Instructions
Honeycomb
- Melt sugar and honey in a saucepot, preferrably a light-coloured one so you can monitor the colour. The mixture will start to bubble and brown. Stir constantly using a wooden or silicone spatula.
- Once the sugar syrup has turned a deep amber (caramel) hue, turn off the fire, add baking soda and stir the mixture until even. It will foam up and double in size, so do use a big pot. It is important to add the baking soda at the correct stage (hard crack stage - around 150°C). so that the resulting honeycomb will be brittle and crunchy instead of soft and sticky.
- Pour the mixture into a tin lined with greaseproof paper, and allow mixture to cool and harden for at least 20 minutes. Crack the honeycomb into bite size pieces once cool, then store in an air-tight container to prevent honeycomb from becoming sticky.
Vanilla Ice Cream
- Put the bowl of the ice cream machine into the freezer overnight prior to making the ice cream, or preferrably for 24 hours.
- The next day, boil cream, milk, half of the sugar (30g), and vanilla paste in a saucepot until bubbles start to break the surface. Turn off the heat. The temperature should be around 80°C here.
- Meanwhile, beat the egg yolks and remaining half of the sugar until pale.
- Gradually add a small amount of the cream and milk mixture into the egg yolk mixture to temper the egg yolks (to slowly warm up the egg yolks, preventing them from coagulating). Pour this mixture back into the pot, and cook over low heat for a few minutes until mixture becomes thick enough to coat the back of a spoon. The temperature should be around 70-75°C here.
- Strain the mixture into a bowl that is put into an ice water bath. Once the mixture has cooled, put in the refrigerator for at least 1-2 hours before putting into the ice cream machine. If your ice cream machine is a very powerful one, you don't have to refrigerate your mixture.
- Take the bowl out of the freezer and place it into the ice cream machine. Pour the mixture into the bowl and turn on the ice cream machine to churn the mixture for about 20 minutes, until the liquid mixture becomes ice cream. Add some honeycomb pieces into the mixture at around the 15-minute mark (for the flavour to infuse into the ice cream), and some more at the 19-minute mark (so that you still have bite-size pieces of honeycomb).
- Scoop the ice cream out of the ice cream machine and into a container, and keep in the freezer for at least a few hours before eating. The ice cream will be harder if frozen overnight.

