Chicken stock is arguably the most versatile of all stocks, and is used in a wide range of cuisines, from Chinese to Western to Korean. Its mellow yet aromatic flavour allows it to be used in soups and sauces without overpowering the main ingredients. Chicken stock is something that most home cooks should have in their kitchen as it can be employed in a plethora of dishes. I have to admit, though, that I don’t always have chicken stock on hand, and sometimes succumb to using store-bought chicken seasoning to enhance the taste of my dishes. As much as I’m aware that many of these chicken seasoning powders are not the healthiest option as they are laden with MSG, I often find that these chicken seasonings taste better than store-bought chicken stock, not to mention cheaper. However, nothing can compare to homemade chicken stock health-wise and flavour-wise, and I highly recommend making a big batch of chicken stock and storing it in your refrigerator or freezer for easy access whenever needed. And making your own chicken stock is far easier than you might think!
What are the required ingredients?
Chicken stock will, needless to say, require chicken. But do we use chicken meat or chicken bones? You can throw in some chicken meat into your stock, but chicken bones are a must-have as they contains the collagen required to give body and richness to the stock. More accurately, a soup made from chicken meat is called chicken broth while that made from chicken bones is called chicken stock. Apart from chicken bones, chicken stock requires aromatics including the classic mirepoix – onions, carrots & celery – as well as some herbs & spices.
There are two types of chicken stock – white chicken stock & brown (roasted) chicken stock. The former does not involve roasting the chicken bones prior to making the stock whereas the latter does. I personally would choose brown chicken stock over its white counterpart any day for its additional depth of flavour and tantalizing aroma. However, if you prefer a cleaner, lighter palate, or if you require light-coloured stock for making white sauces (e.g. veloute sauce), then white chicken stock may be your preferred choice. Roasting your chicken bones and aromatics may require slightly more time, but I guarantee it’s well worth the effort!

You’ll need a good amount of chicken bones, depending on how much stock you’re intending to make. You can use literally any part of the chicken, as long as there are bones. You can even use leftover roasted chicken (which you do not need to roast again)! While it’s optional, I recommend brushing about 1-2 tbsp of tomato paste over the chicken to encourage browning and to add umami to the stock. Place all your bones onto a baking tray.
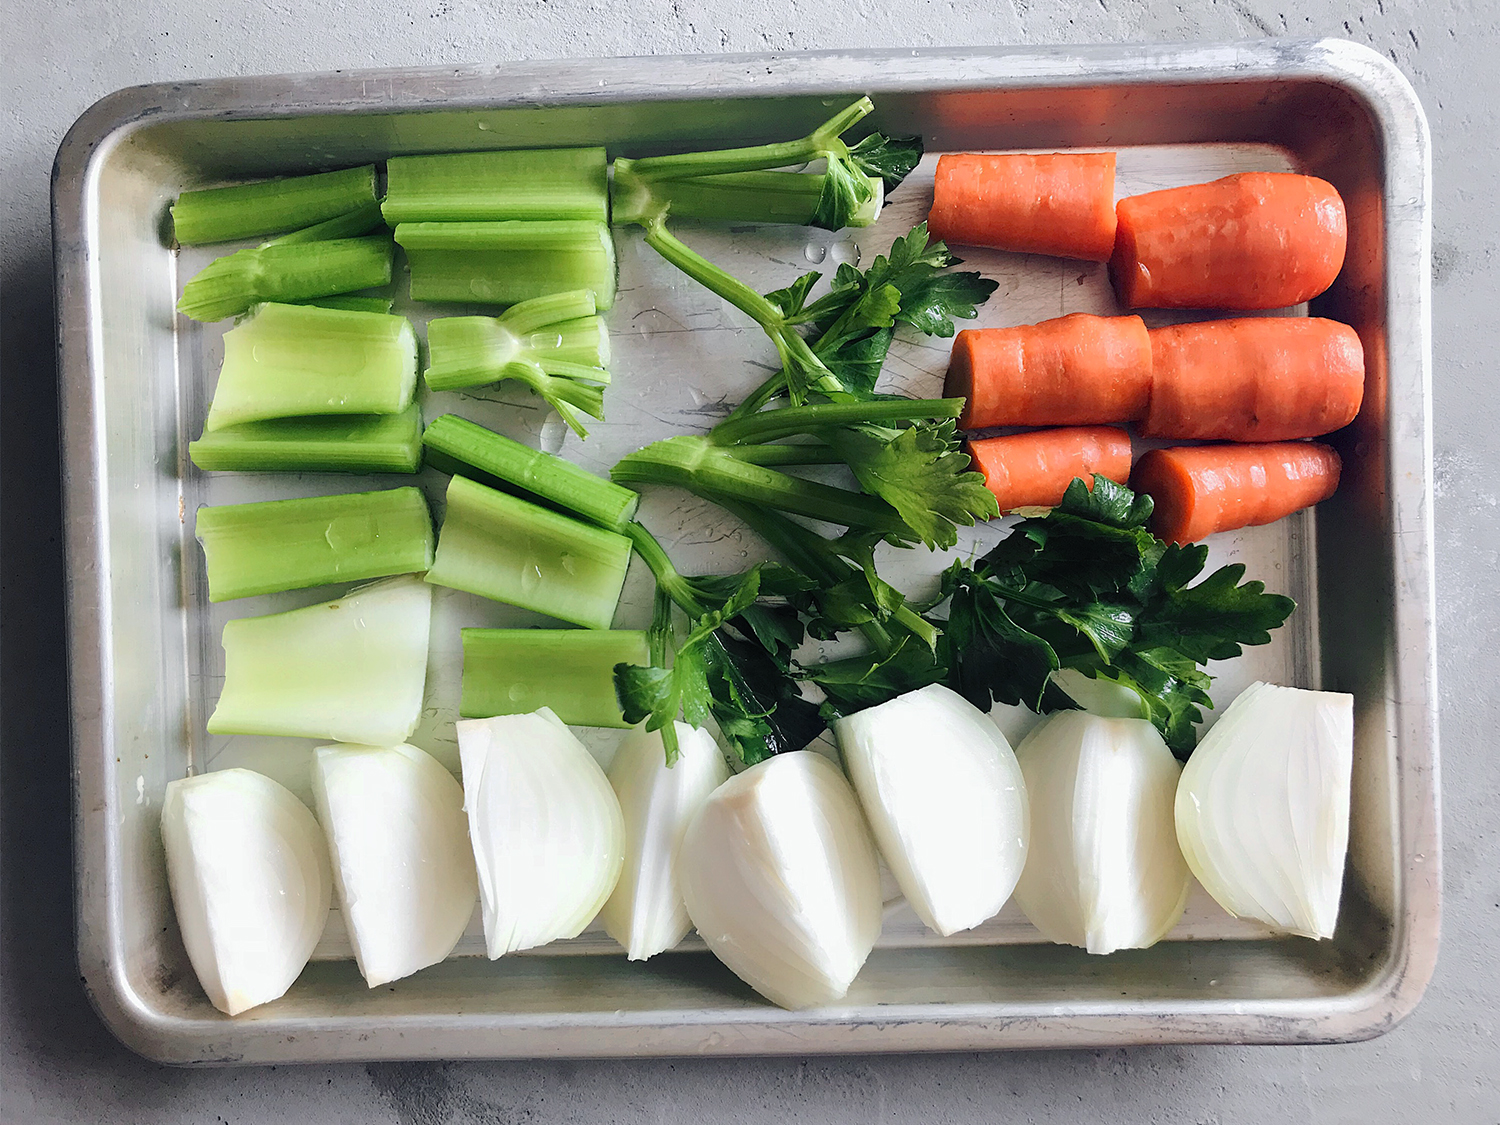
The classic mirepoix – a trinity of onions, carrots & celery – is equally crucial in developing the flavour of the chicken stock. If your baking tray is big enough, try to put the vegetables on the same tray as the chicken bones, so that the chicken juices and oil will protect the vegetables from burning easily. Otherwise, you can elevate the vegetables by inserting a wire rack between the vegetables and the baking tray (which lazy me did not do).

Another important trio – black pepper, thyme & bay leaves. Thyme and bay leaves are the kind of herbs that you only require in very small amounts, making it seem wasteful to buy an entire packet only to use a little. Nevertheless, these two herbs are essential and the chicken stock will not be as aromatic without them. Use these in your chicken stock and you will be completely satisfied once the fragrance wafts into the air.
How to Cook Chicken Stock
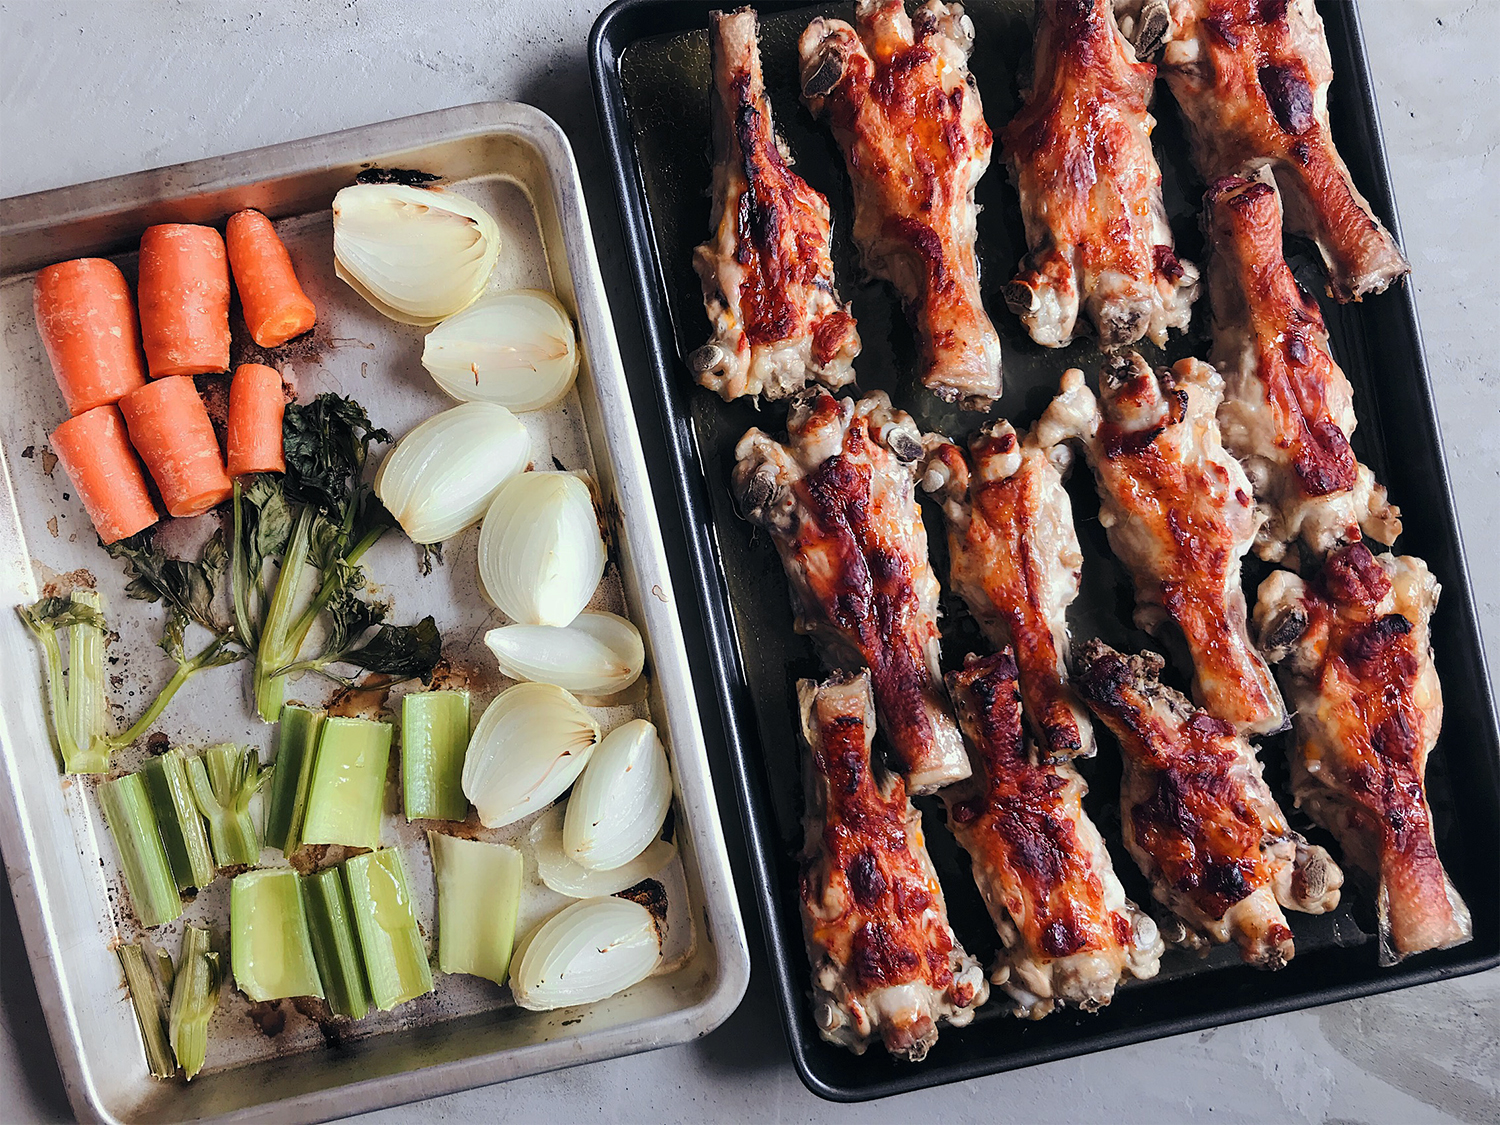
Preheat the oven to 200°C and place the tray of chicken bones into the oven. After 20 minutes, place the tray of vegetables into the oven and let both the chicken and vegetables roast for another 20 minutes. If you combine the chicken and vegetables onto one tray, simply roast them for 40 minutes. After 40 minutes of roasting, the chicken should boast a deep, brown hue.

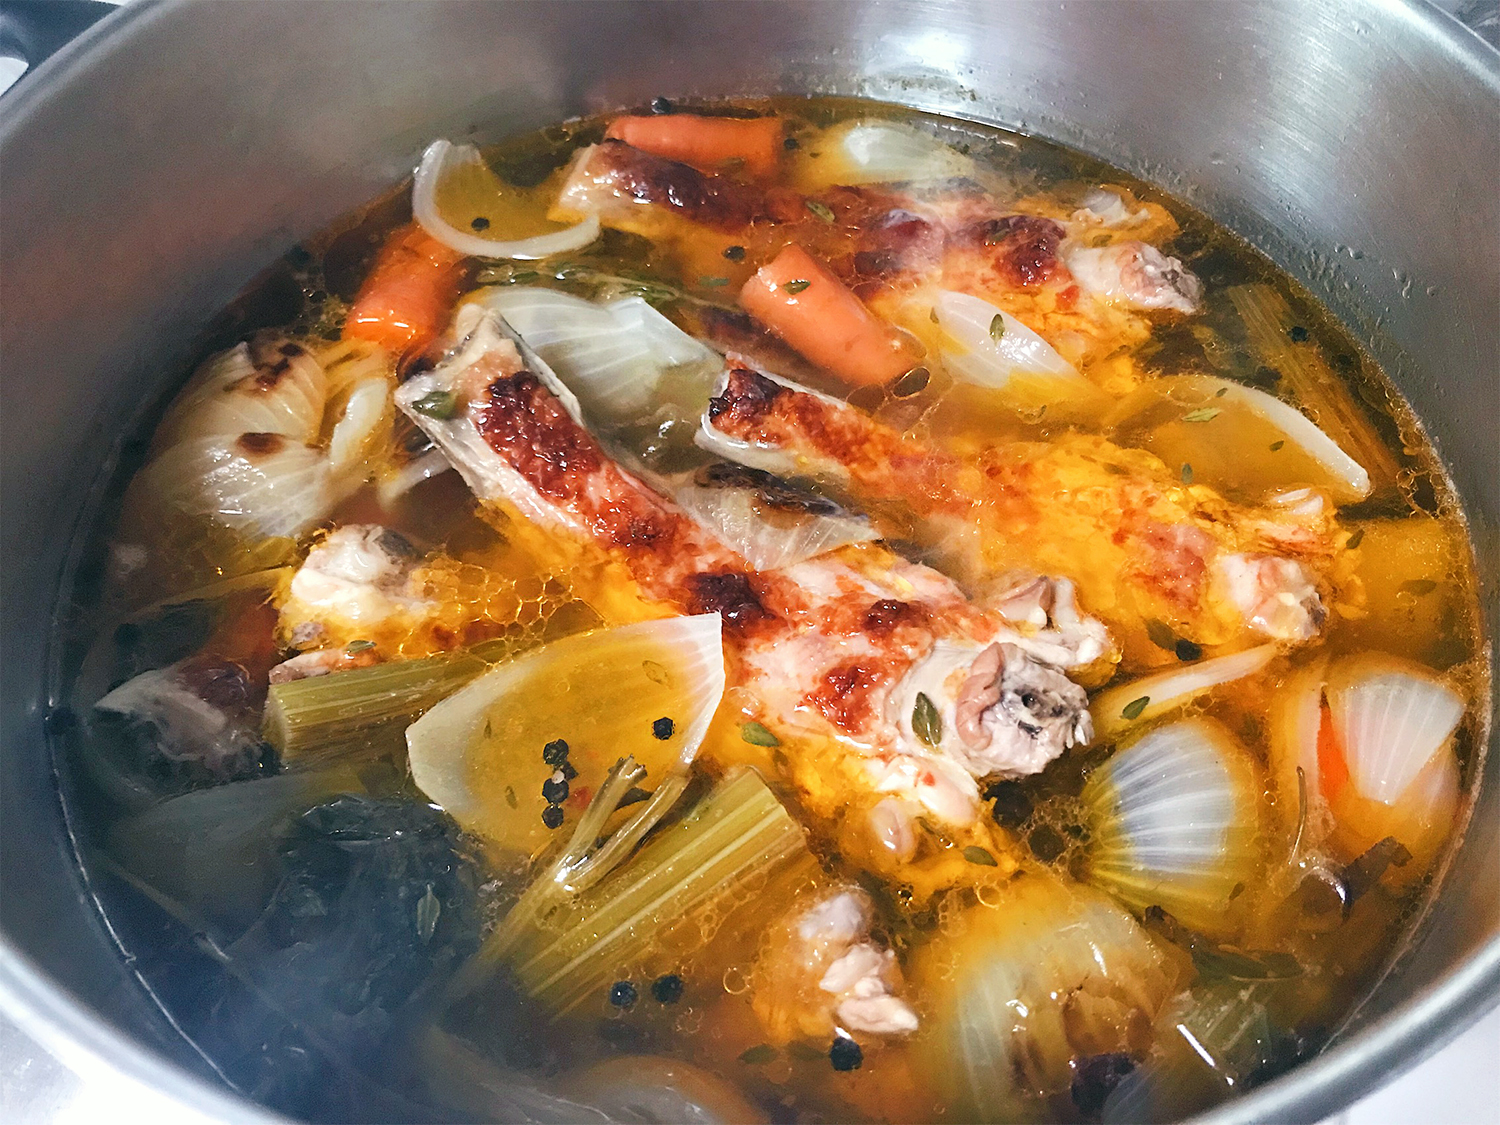
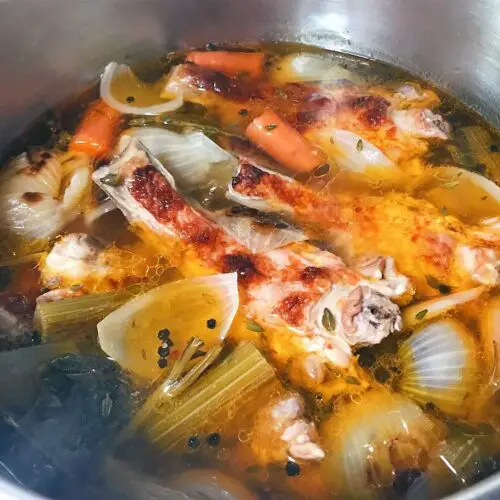
Place the roasted chicken bones, vegetables, as well as the trio of herbs & spices (black pepper, thyme & bay leaves) into a big stock pot. You will need a deep one to contain all the ingredients and water you will be using. Don’t forget to add the chicken drippings (brown bits) left behind on the baking tray into the pot as they are full of flavour! If they don’t come off easily, add some hot water to the pan and let it sit for a while, before scraping the drippings into the pot.
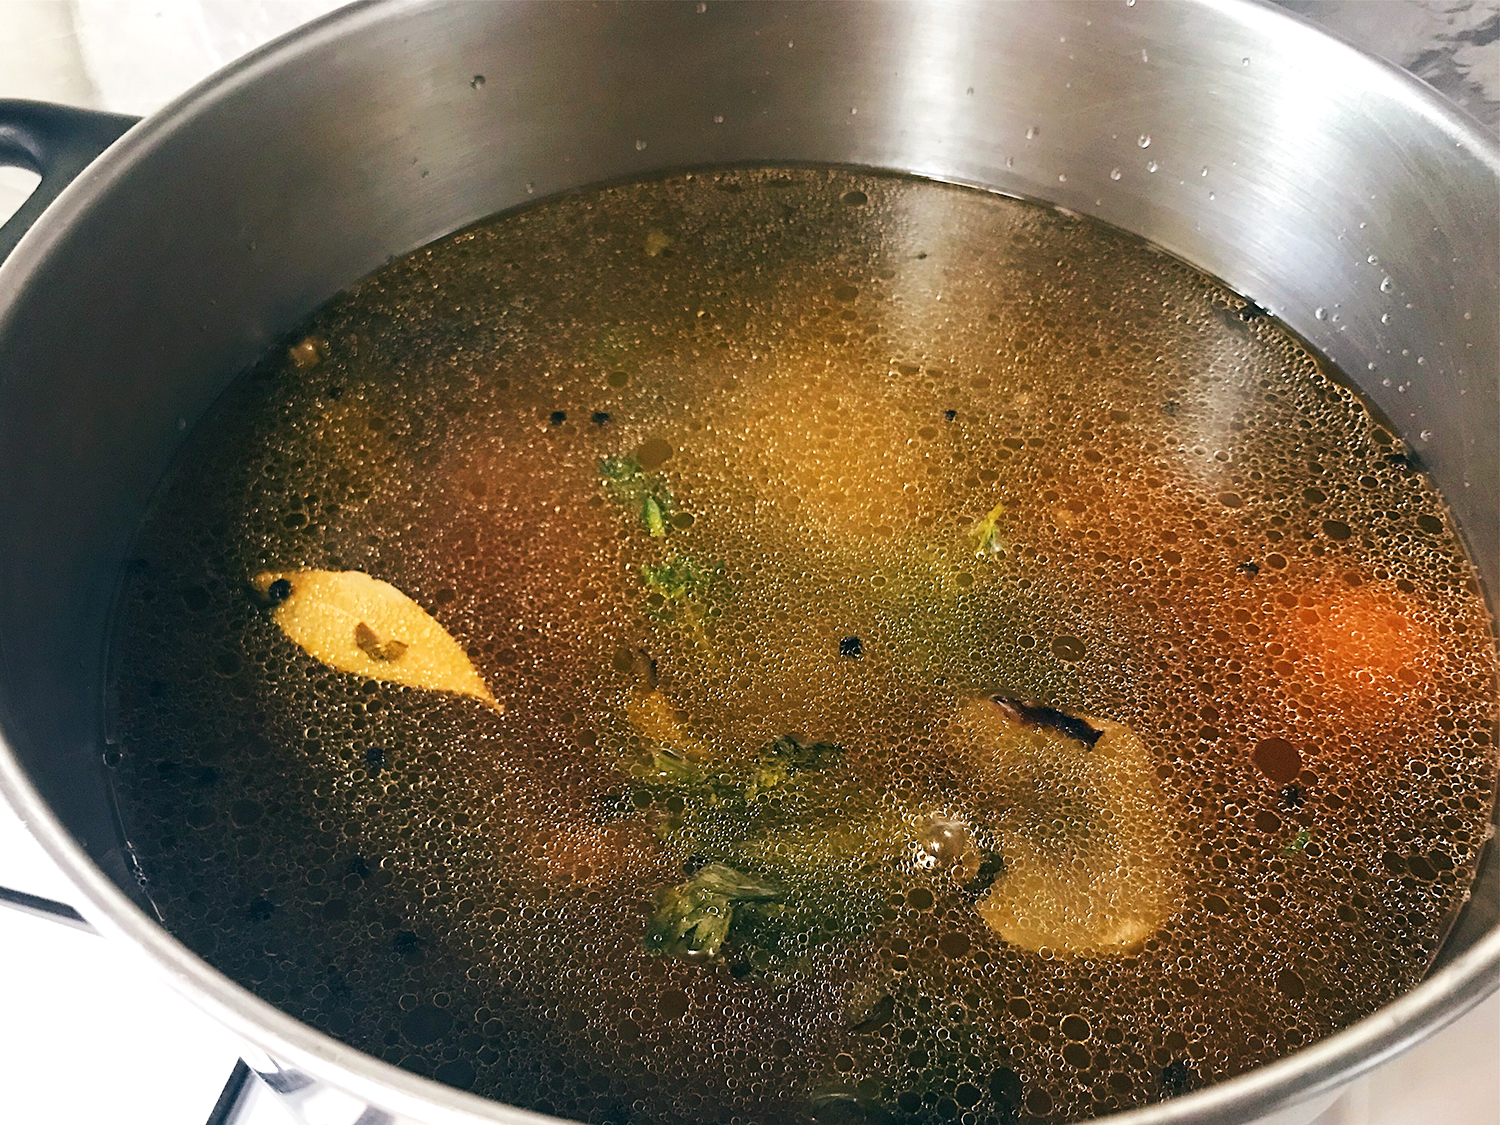
Add about 5 litres of room temperature water into the pot. Use room temperature water and not hot water so that the collagen in the bones will be able to melt properly. Bring the pot of water to a boil, then reduce the fire so that the water is just simmering (small bubbles appearing at the surface). Skim off any scum that forms on the surface.
Simmer uncovered for about 2-3 hours, or more if you have the patience. The longer you cook, the more concentrated the flavour. But I personally feel 2-3 hours is enough to give you great flavour. Towards the end of the simmering process, add some salt and adjust according to your preference. It’s fine if the stock is somewhat bland, as you can always season the dish you add stock to afterwards. At this point, you should really be salivating from the fragrance of the chicken stock! I sure was.
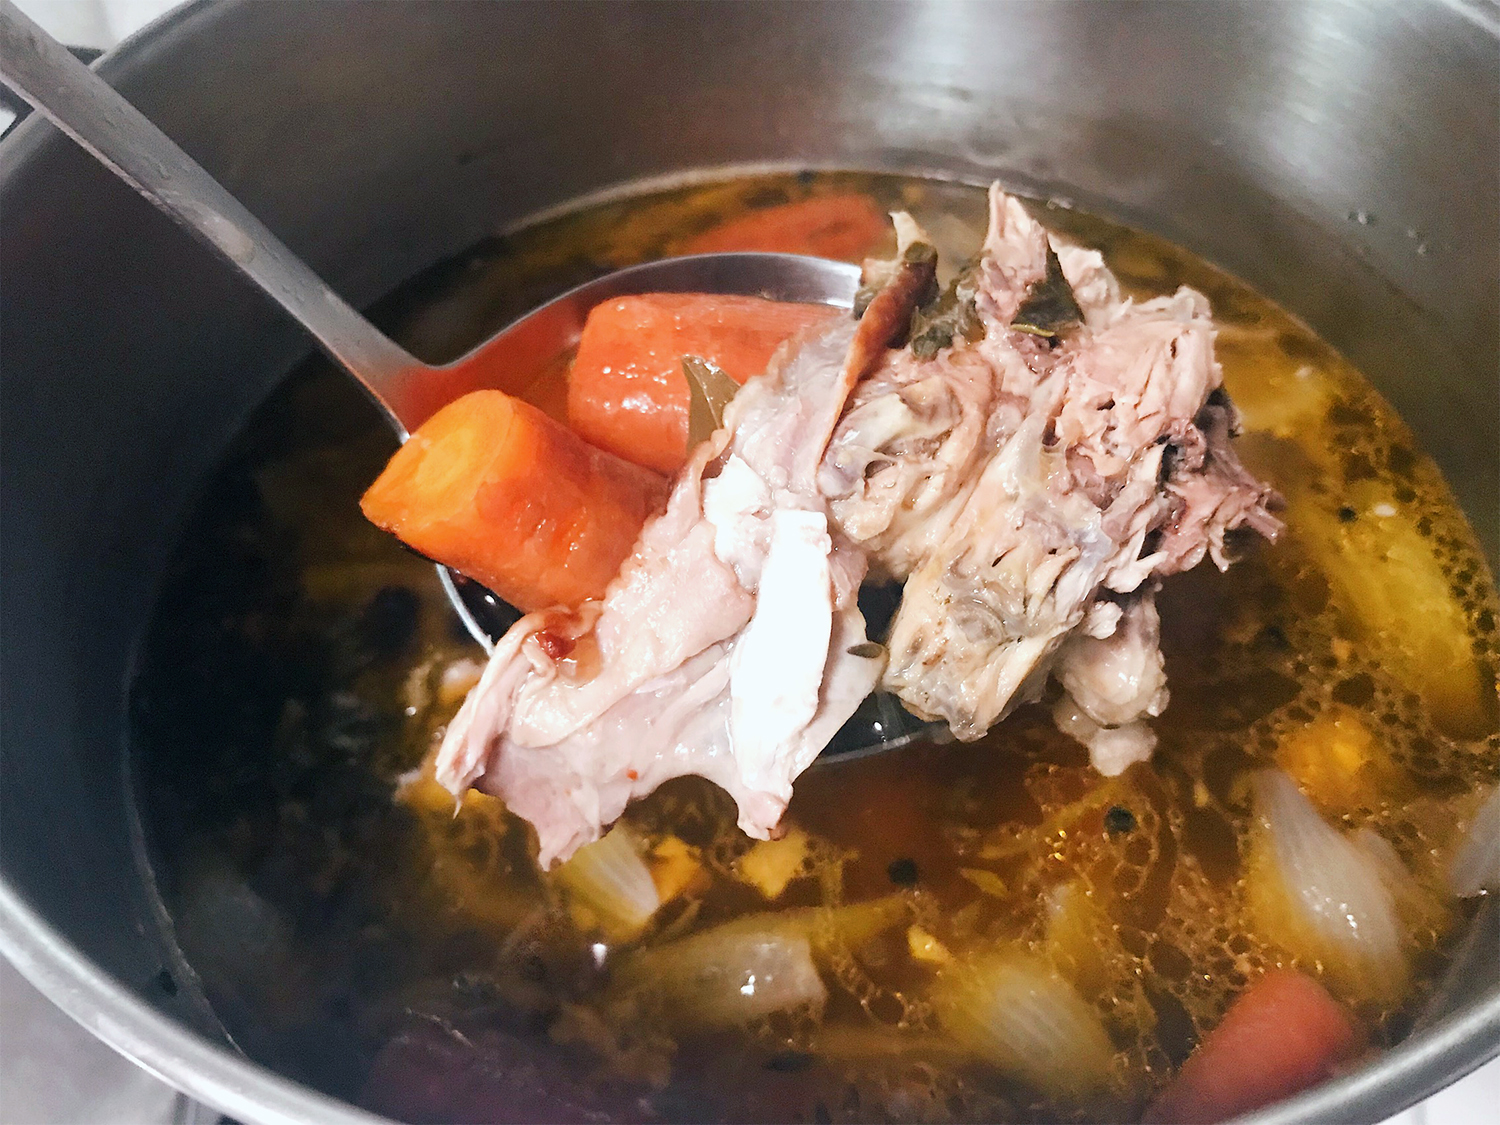
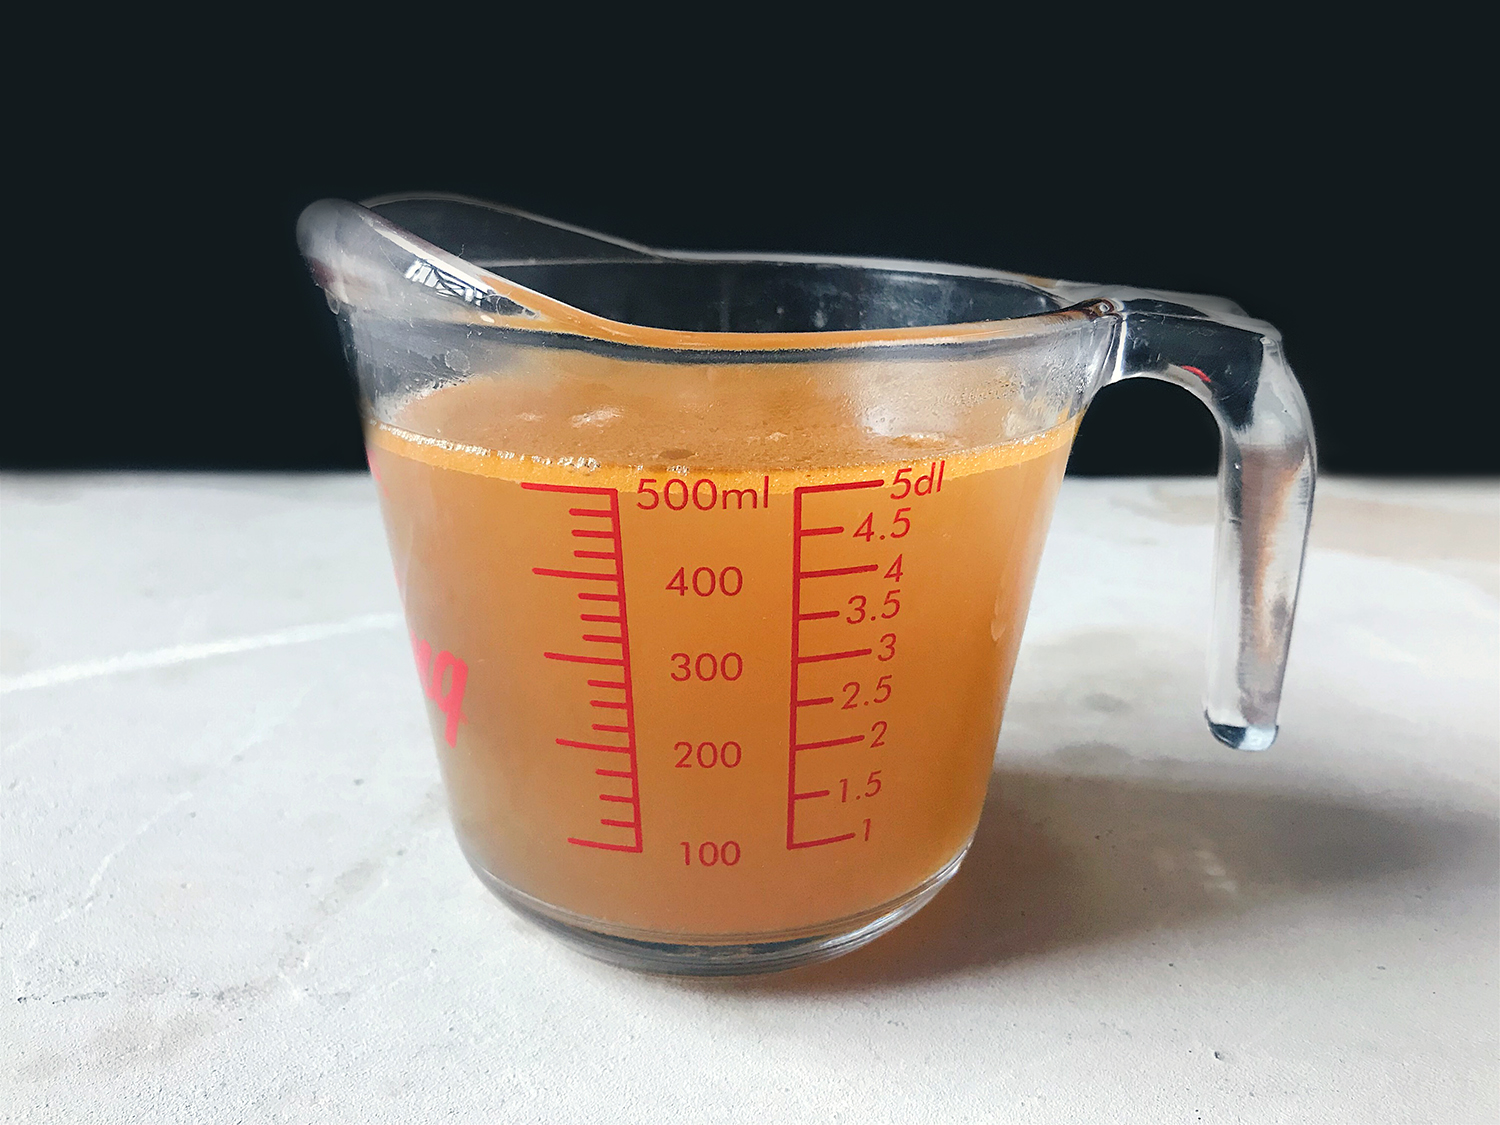
Ladle out the ingredients, and strain the liquid into a large bowl to remove all unwanted bits. You will probably require many large bowls as this recipe yields minimally 3.5 litres of stock, depending on how long you simmer cook your stock.
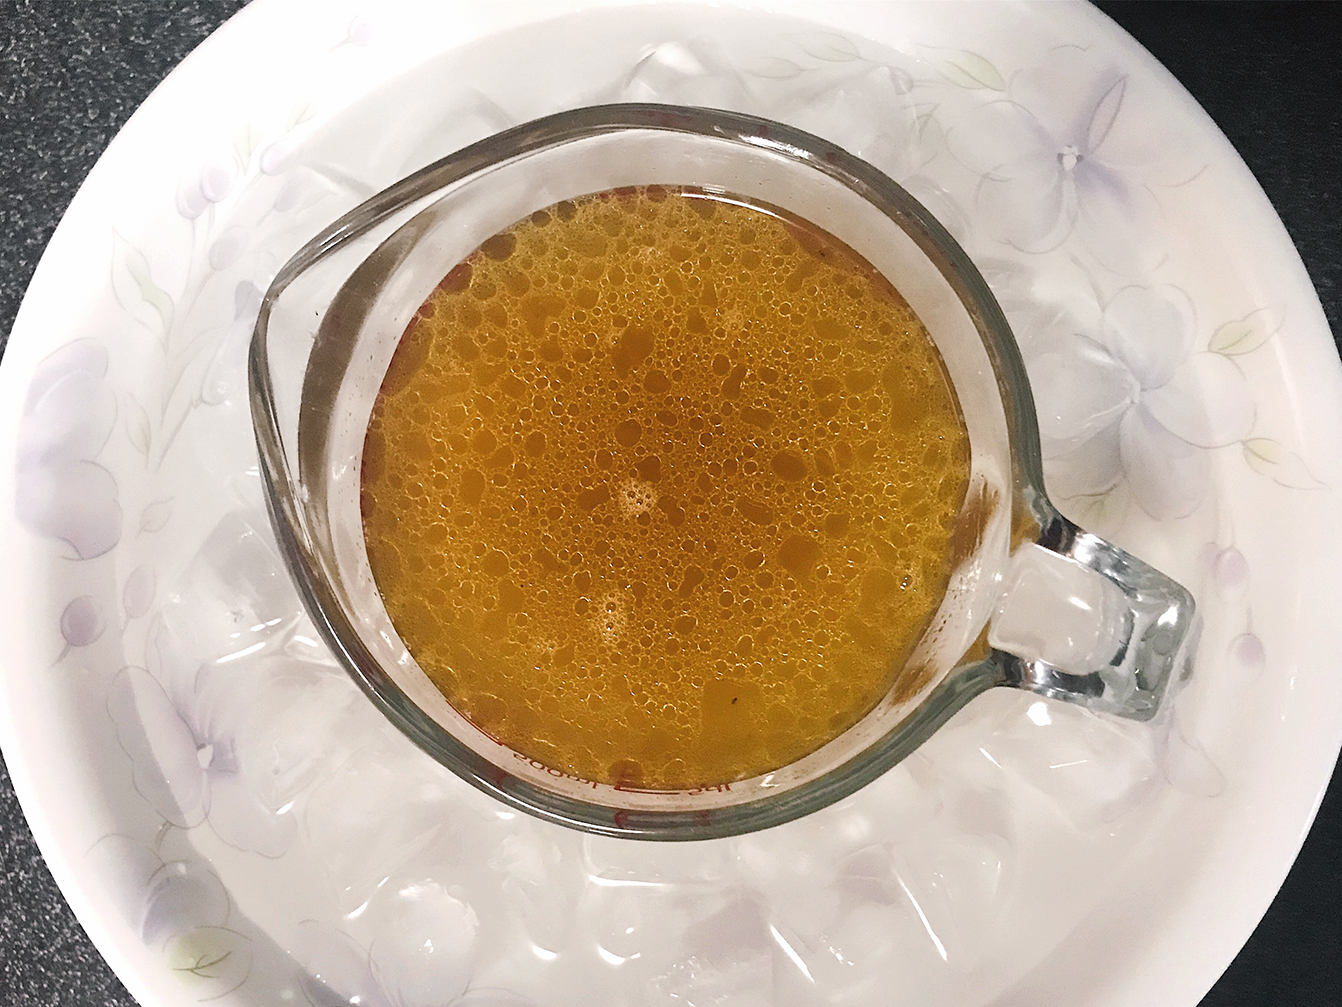
Try to cool the stock down as quickly as possible, by placing the bowls/jugs in a larger bowl of ice-cold water. This is to prevent bacteria growth by leaving the stock in the open for too long.
How to Store Chicken Stock
As the stock is cooling down, you will see a layer of fats forming on top of the stock. Once the stock is considerably cool, you can remove the layer more easily, although not completely. If you’re very particular about removing these fats, keep the chicken stock in the refrigerator for a few hours to allow the fats to solidify, and then you’ll be able to skim the fats off easily. I personally am not too bothered about these fats so I will simply try to skim off whatever I can as the stock cools down.
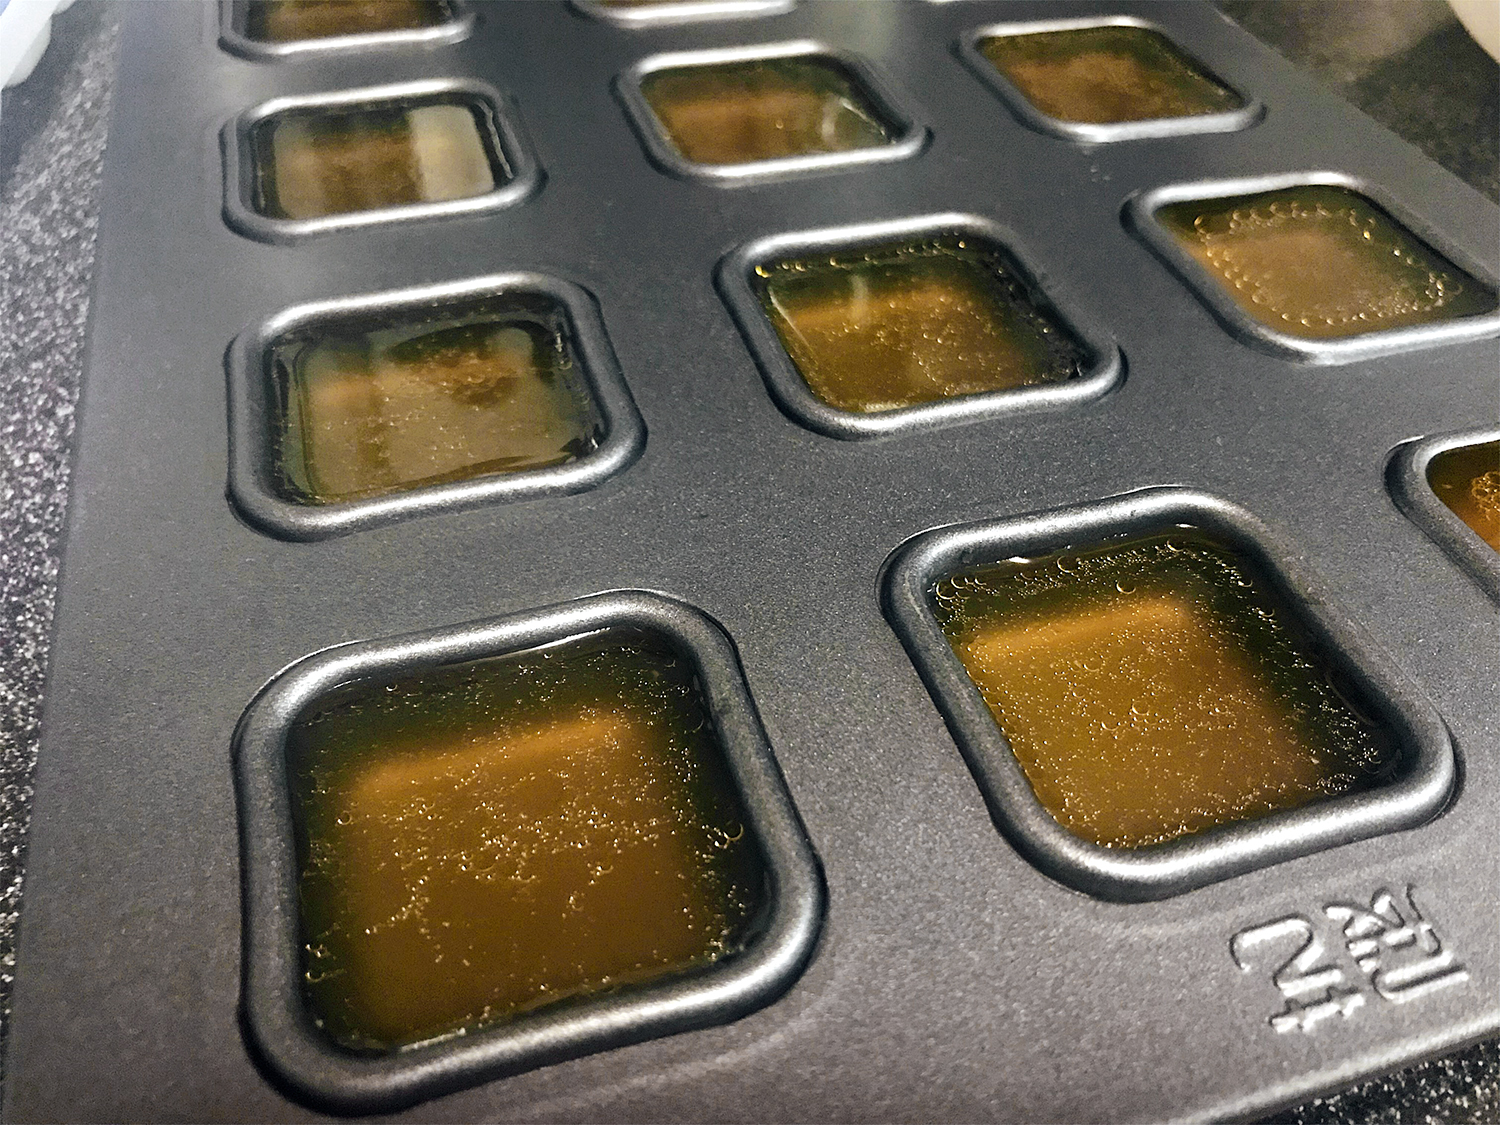
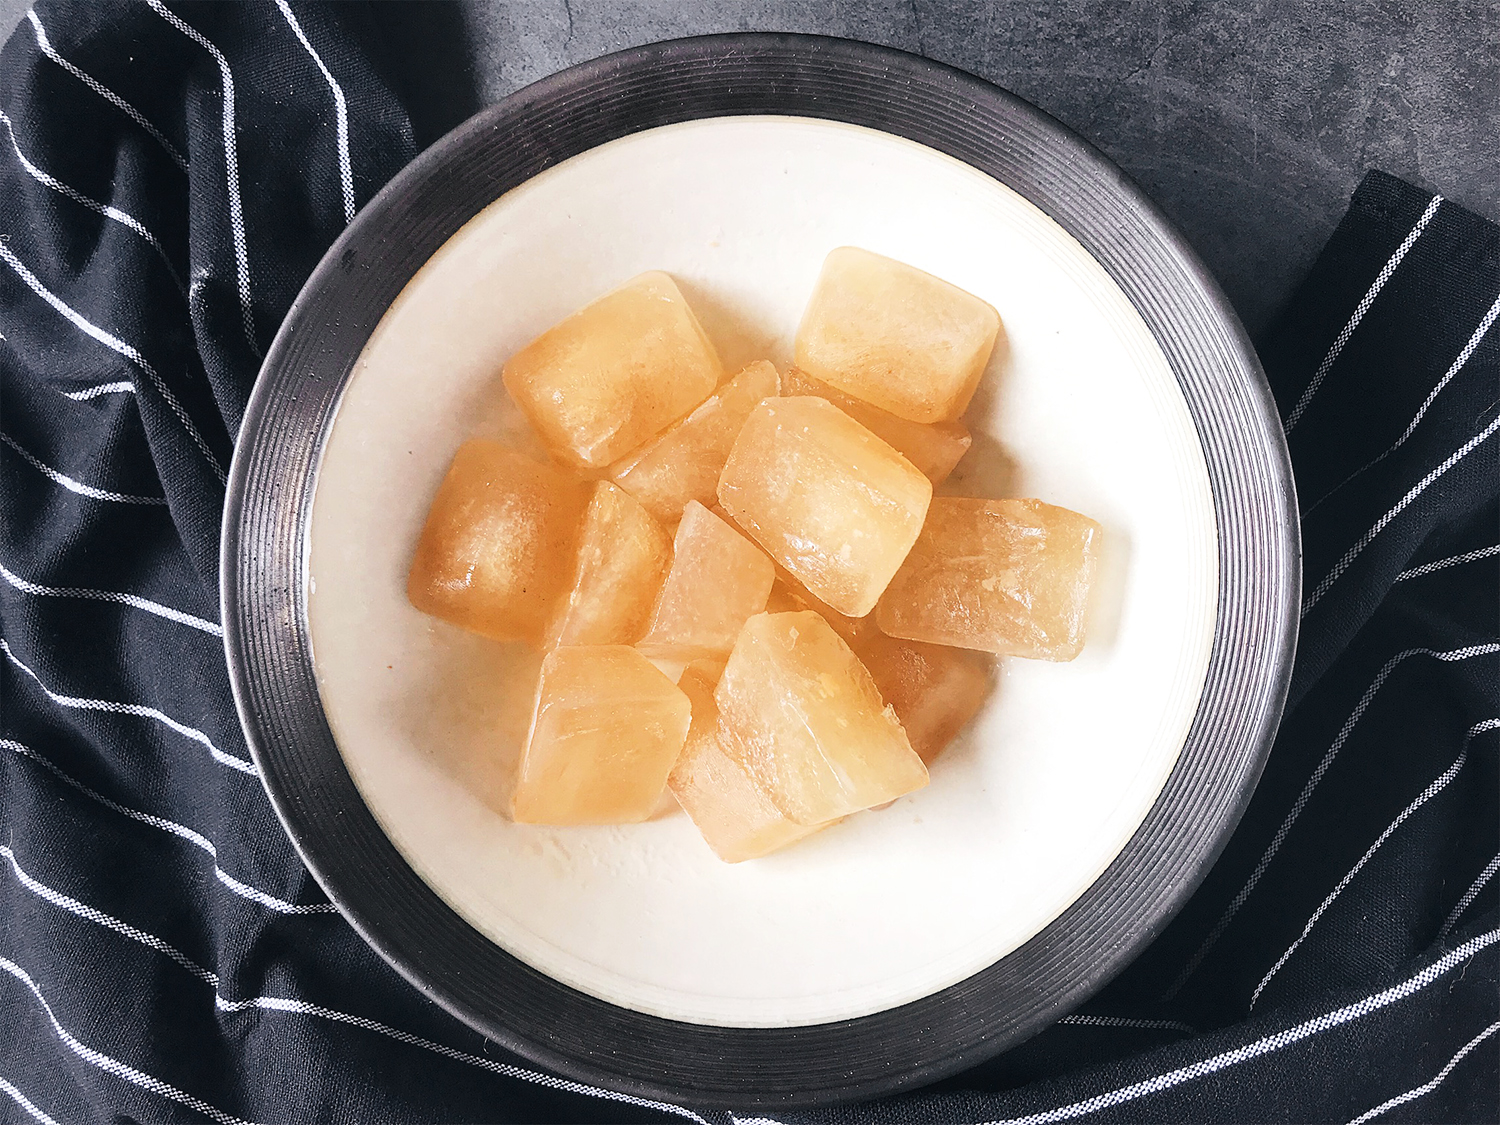
If you made a small amount of stock and will be using it within a few days, you can keep the stock in the refrigerator. That will last for only 5-7 days. I will highly recommend pouring the stock into ice cube trays and even financier baking trays and placing them into the freezer.
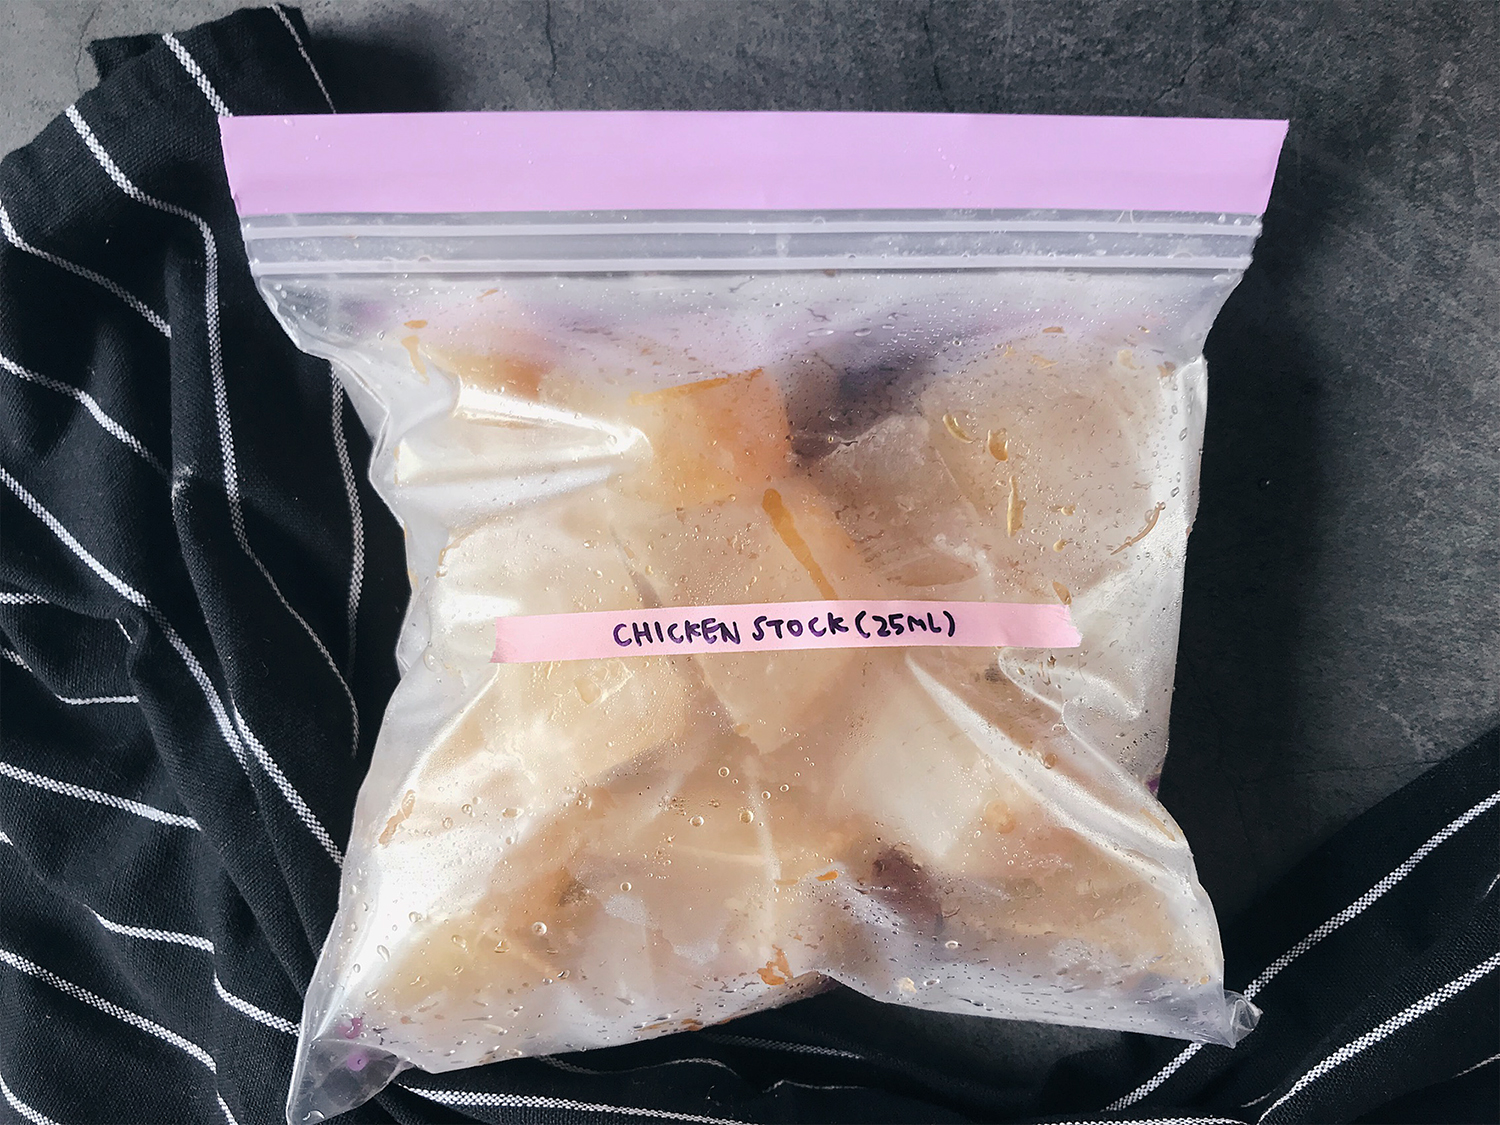
Once the stock has frozen, remove the chicken stock cubes and place them into a ziploc bag. This way, they will keep for a few months. Chances are, if you cook often, the chicken stock won’t last beyond 2-3 months anyway. I wrote a label to remind myself that each stock cube is around 25ml, so that I will know how many cubes I need to use in my dishes.
I can assure you that your homemade chicken stock is going to taste better than any store-bought chicken stock you’ve ever tried! And it’s really convenient to have them in small cubes – you can either just throw them into your dish and let the cubes melt, or you can melt them in the microwave oven before adding the liquid into your dish. If you always use plain water in recipes that call for chicken stock, you will be amazed at how much more flavourful your dish can be when you use chicken stock. Making your own chicken stock might be a long process, but it definitely is something that anybody can make, and will turn out well no matter how you make it!
Uses of Chicken Stock
You can forgo the chicken stock in some dishes, but for certain ones, the stock will help to elevate your dish to the next level. In short, chicken stock is indispensable in these dishes!
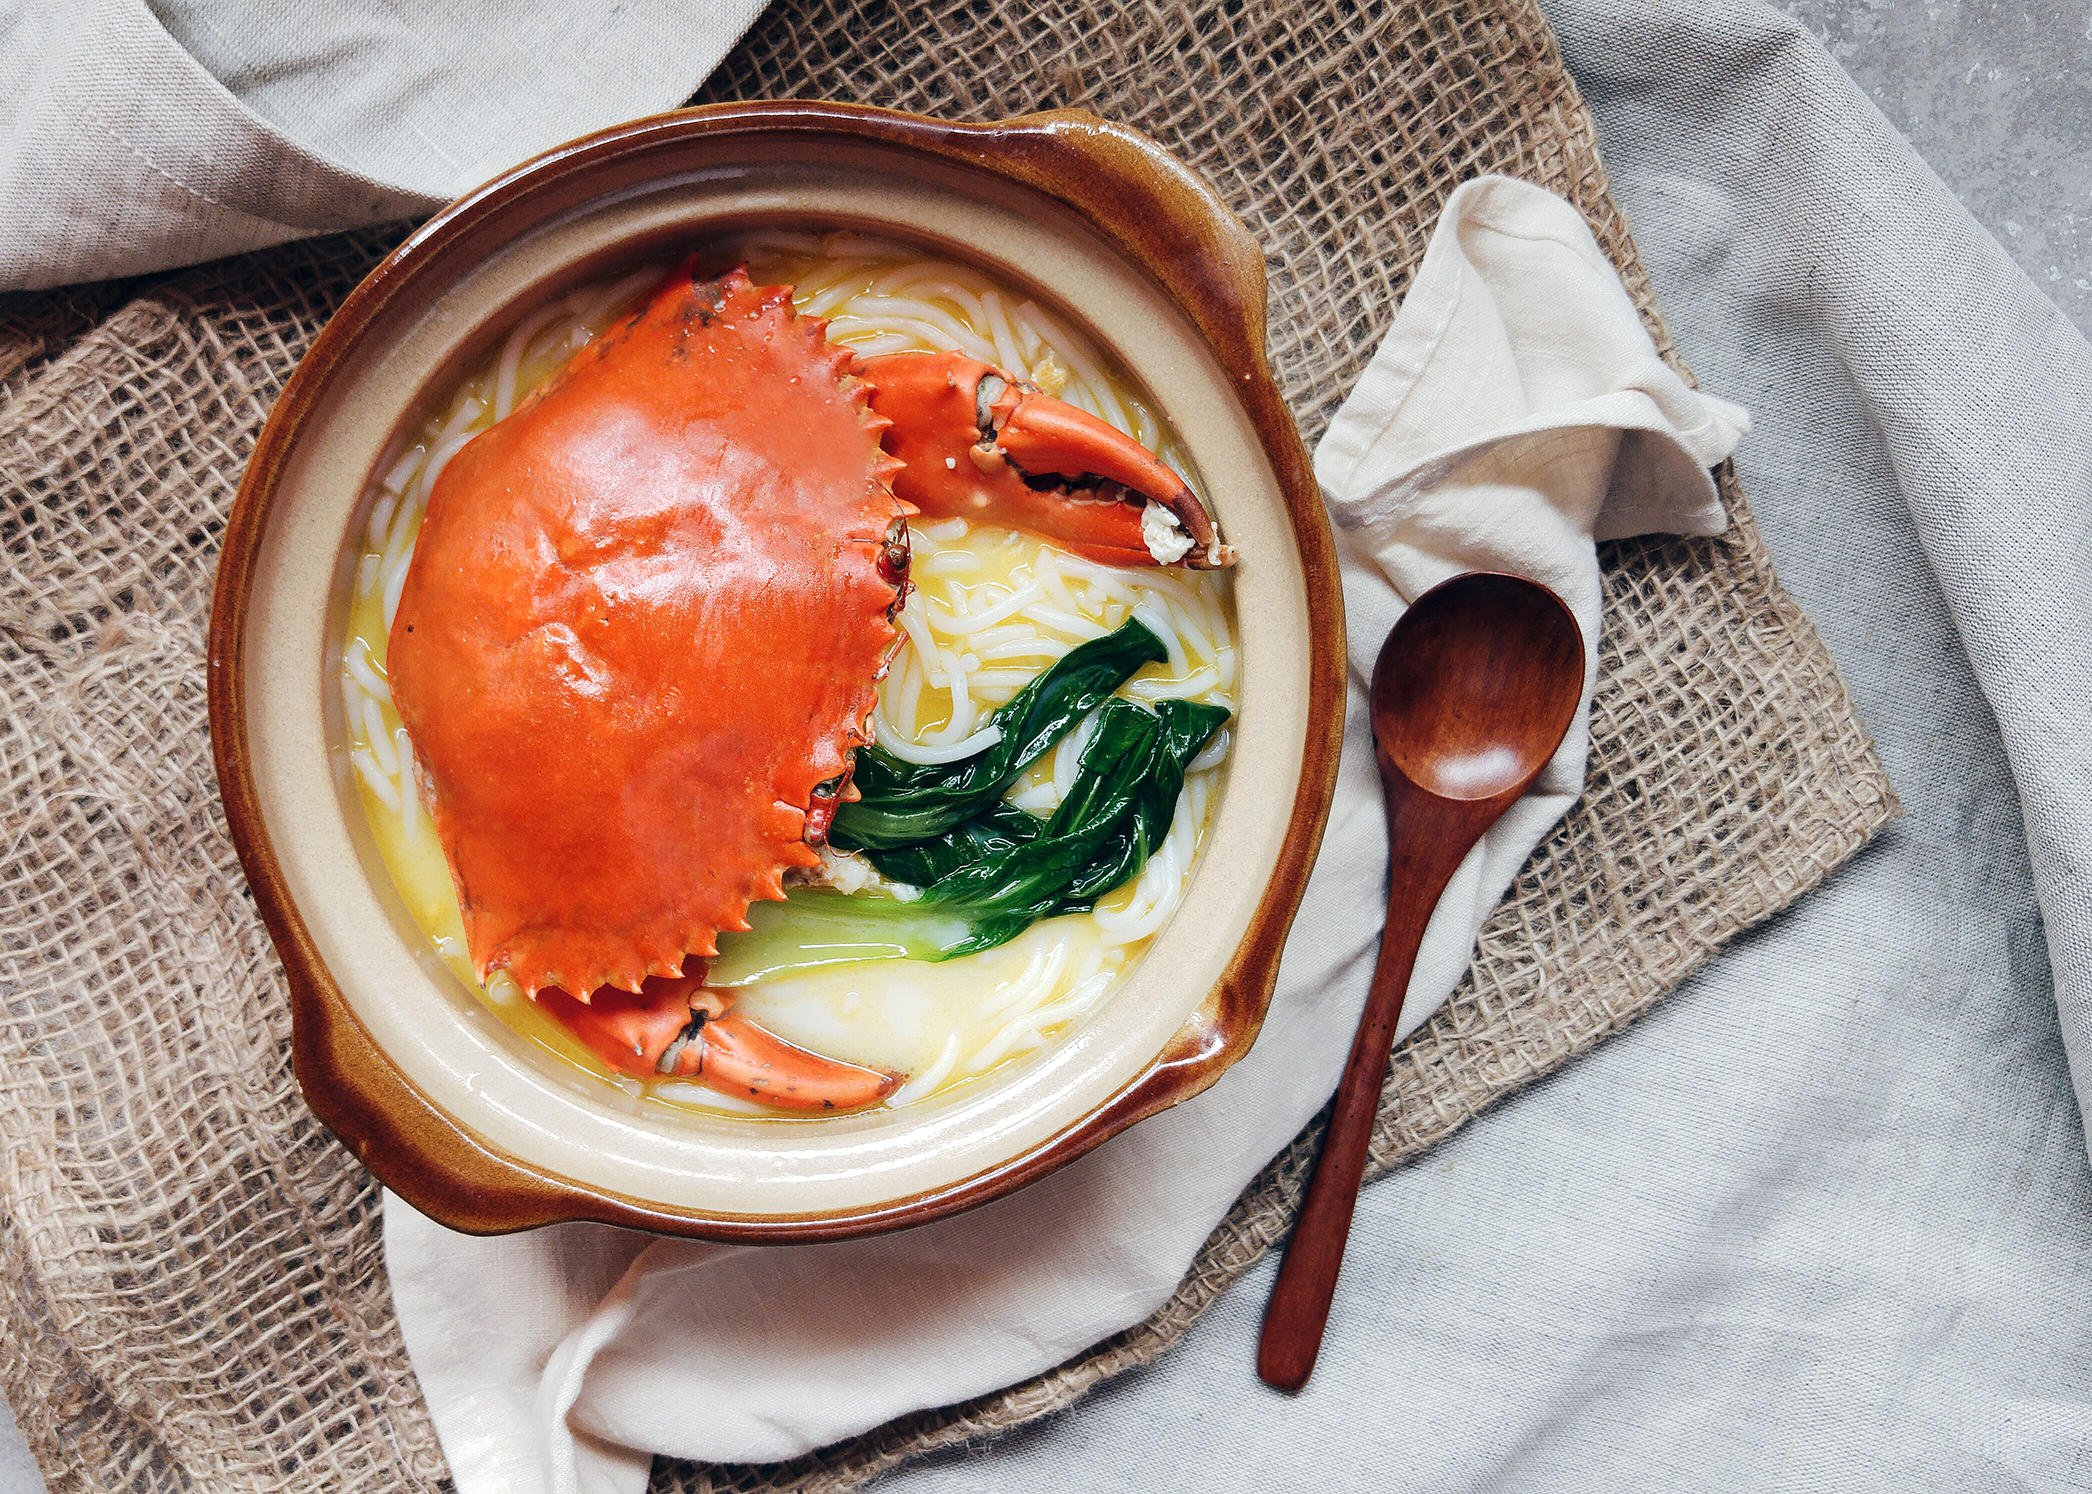
Crab Beehoon Soup – one of my favourite dishes ever, crab beehoon soup boasts a buttery, milky broth that is so delectable you are bound to gulp down every last drop of that soup. Here, the crab really plays second fiddle to the broth. The crab juices are needed to provide sweetness and complexity to the broth, but I assure you that you’ll be enjoying the soup even more than the crab. Since the soup is the star of this dish, chicken stock is absolutely essential in bringing out that aromatic flavour.
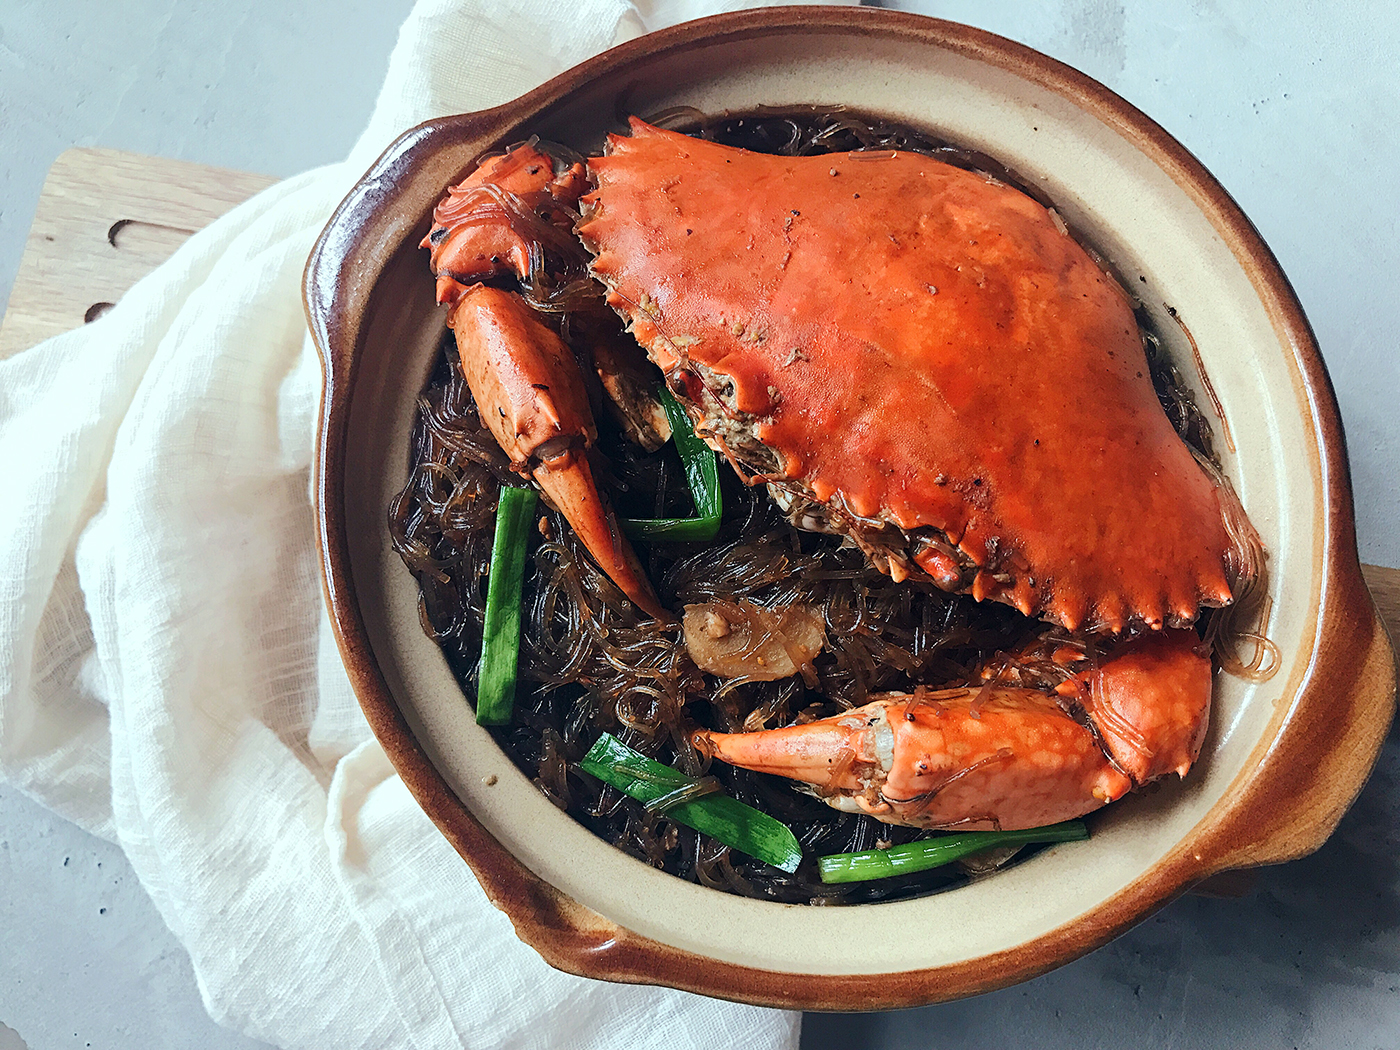
Claypot Crab Vermicelli – crab vermicelli is another dish where the crab plays an important role, but the vermicelli is really the main draw of the dish. Vermicelli is relatively flavourless before cooking, and tends to absorb all the flavours of the liquid it’s cooked in, so it is of utmost importance that the cooking liquid is packed full of flavour. Use simply water and you’ll end up with a regrettable dish. But use chicken stock and many will think the dish was actually cooked by a chef!

Creamy Mushroom Soup – chicken stock is a must-have here, since this dish is all about the soup. How good your mushroom soup will taste depends on what kind of chicken stock you use. Homemade chicken stock will outshine store-bought chicken stock anytime.
Roasted Chicken Stock: A Complete Guide
Ingredients
- 1.50 kg chicken bones $6
- 1 tbsp tomato paste $0.114
- 2 yellow onions quartered ($0.456)
- 2 carrots cut into 2-inch pieces ($0.10)
- 2 stalks celery cut into 2-inch pieces ($0.375)
- 2 bay leaves $0.40
- 6 thyme sprigs $0.20
- 1 tbsp black peppercorns $0.266
- 5 l water
- salt as required
Instructions
- Preheat oven to 200°C. Apply tomato paste over chicken bones. Place chicken bones and vegetables (onion, carrot & celery) onto a baking tray and roast in the oven for 40 minutes. If your tray is not big enough to accommodate all the ingredients, separate the chicken and vegetables into 2 different trays, and roast the chicken bones for 40 minutes, but the tray of vegetables for 20 minutes. Remove from oven.
- Add roasted ingredients and the remaining herbs & spices (black peppercorns, thyme & bay leaves) into a big stock pot. Add 5 litres of room temperature water and bring the pot of water to a boil. Thereafter, lower the fire so that the water is only simmering (small bubbles breaking the surface). Simmer cook for about 2-3 hours. Skim off any scum you see appearing at the surface. Towards the end, season the stock with salt according to your preference.
- Remove the ingredients, and strain the liquid into large bowls. Cool the stock down as quickly as possible by placing the bowls into even larger bowls of ice-cold water. Once cool, you can skim any layer of fat that accumulates on the surface. Pour the chicken stock into ice cube trays and freeze for a few hours. Once frozen, remove the stock cubes and keep in a ziploc bag. The stock cubes can last for a few months in the freezer.