$8-10 for that one slice of crepe cake – because it is very labour-intensive to make! Apart from xiao long bao, I believe this crepe cake is one of the most challenging recipe I’ve attempted thus far. It’s not that difficult to make but requires a lot of patience and perseverance. After attempting it twice, I’ve discovered some tips that will help to ensure a successful crepe cake so do look out for those tips!
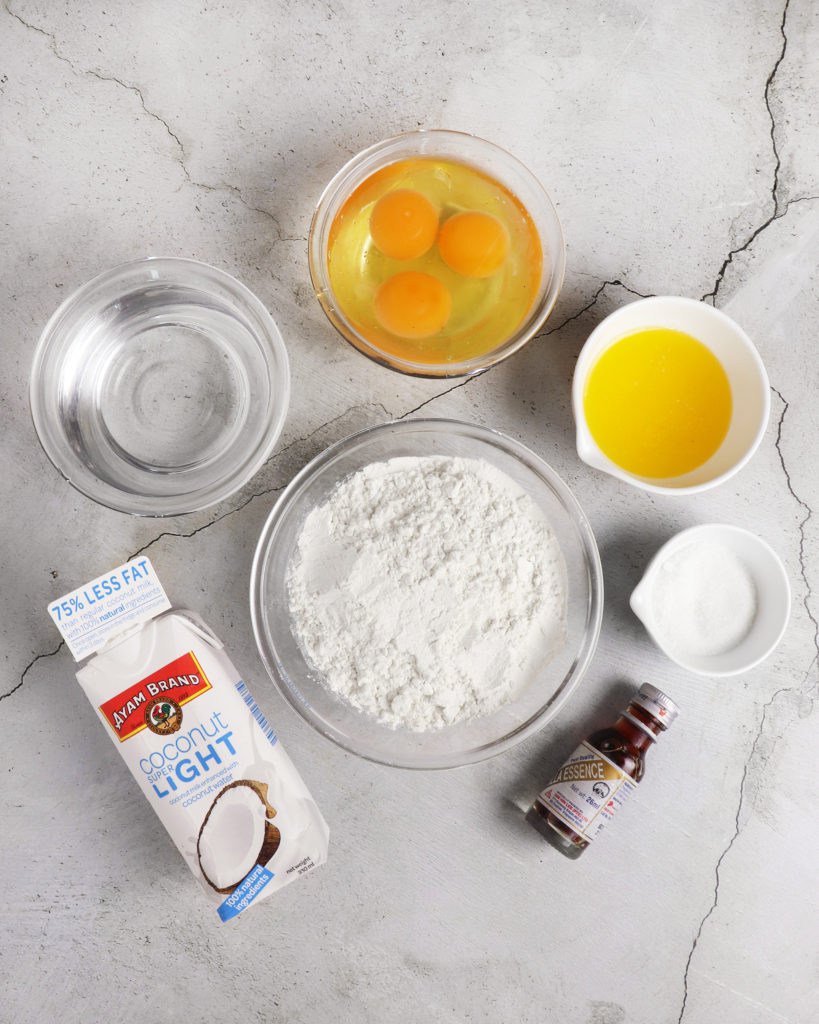
For the crepe batter, you’ll need eggs, melted butter, coconut milk (warm), water, vanilla extract, sugar and flour. You can always replace coconut milk with normal milk but using coconut milk makes the crepes very fragrant!
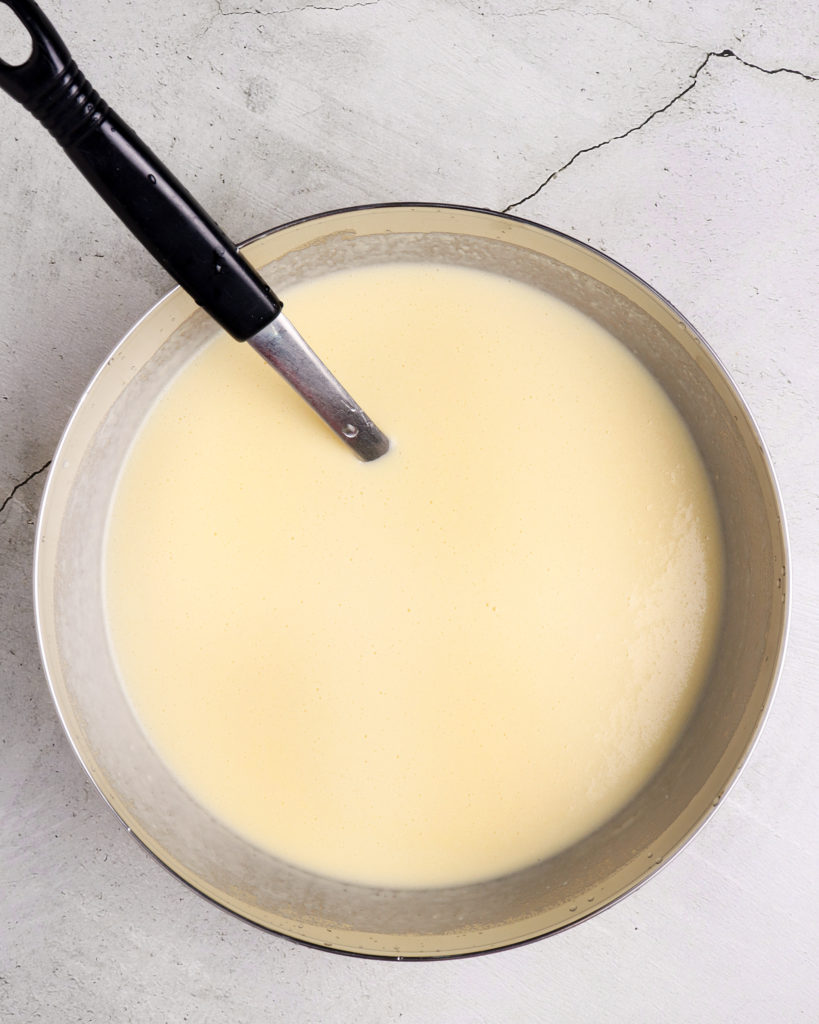
In a mixing bowl, combine all the ingredients (except flour) using a whisk. Sieve flour into the bowl and mix well. Strain the batter to ensure it is smooth and without lumps. You can also make the batter in a blender if you wish!
For this recipe, I used a skillet with a base size of around 18-20cm as I want to make a 7-inch (17.8cm) cake. If you want a bigger cake, then use a skillet with a bigger base. But you’ll need to adjust the recipe since this recipe will make around 20 pieces of 18cm crepes.
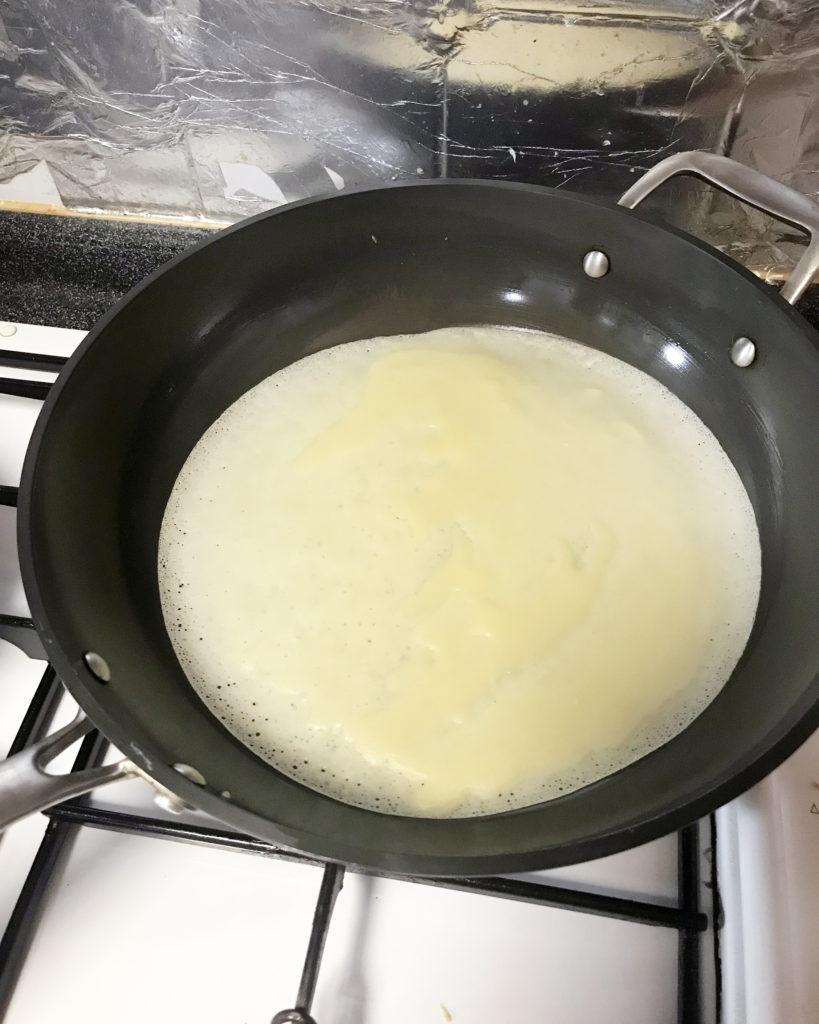
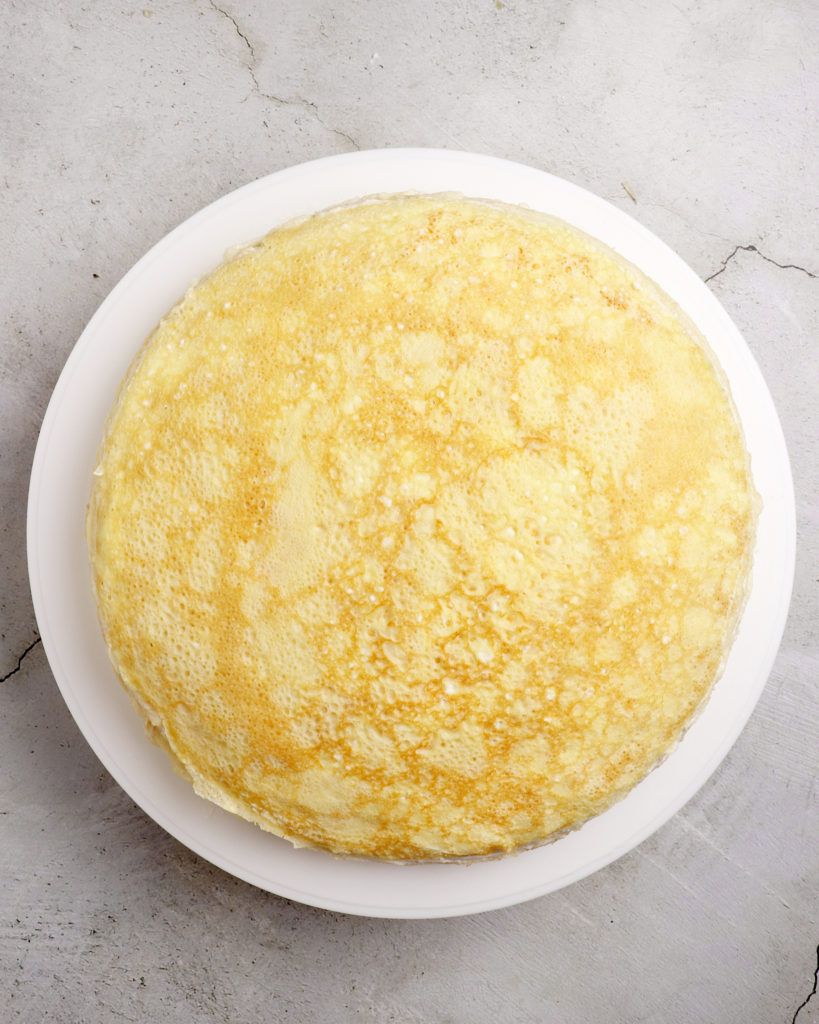
Heat the skillet over medium-low heat and grease the pan with a thin layer of butter using a paper towel. If you’re using a non-stick skillet, you can skip the butter. I’m not using a non-stick skillet so I added butter. Once the pan is hot enough, add a scoop of batter into the middle of the pan and swirl quickly to spread the batter into a thin layer.
Tip: The batter should be thin enough such that it coats the pan easily when swirled. If not, add more water or milk to thin down the batter.
Tip: Adding the batter into the middle of the pan rather than the sides will make it easier to swirl the batter around the pan to form a thin, round crepe.
Tip: If your batter forms many big bubbles while cooking, your fire may be too big. Reduce the heat a little.
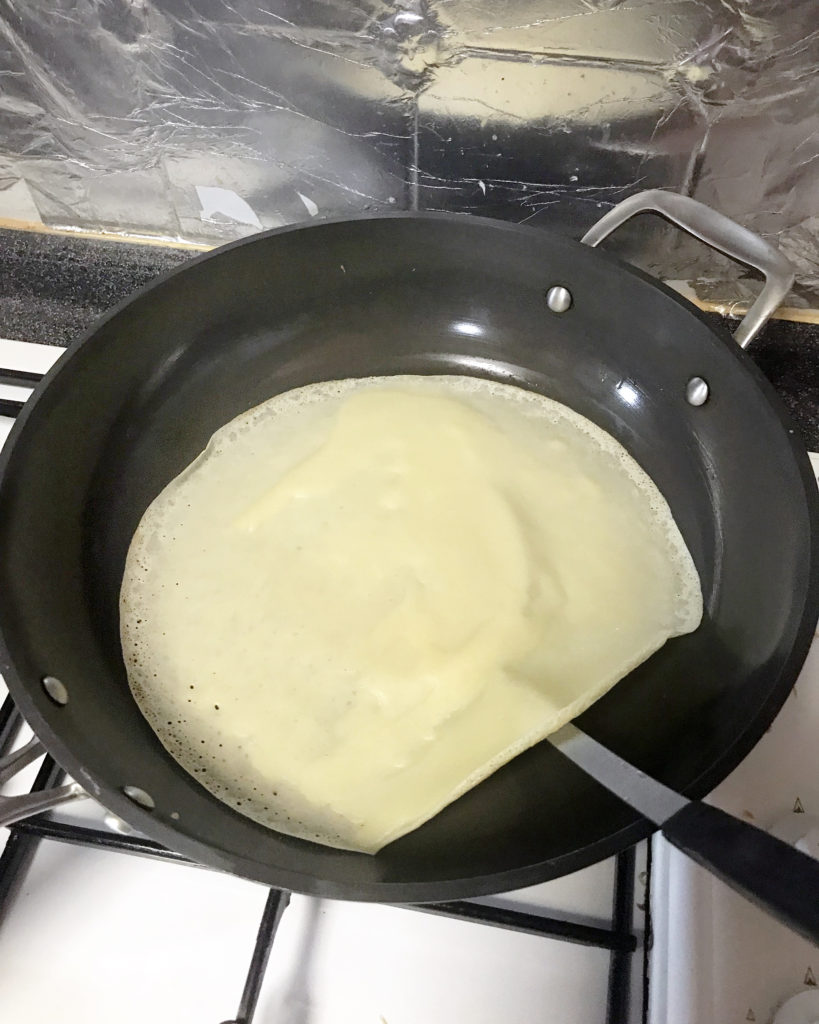
Once the sides turn slightly brown, flip the crepe over. The crepe is very delicate and may tear easily so handle with care when flipping!
Tip: If you think you may destroy some crepes during the cooking process, you can make extra batter to be put on standby. Even on my second attempt, I accidentally tore 2 crepes.
Tip: The best way to flip the crepe is to put a thin spatula in middle of the crepe, and quickly twist your wrist to the right and flip the crepe.
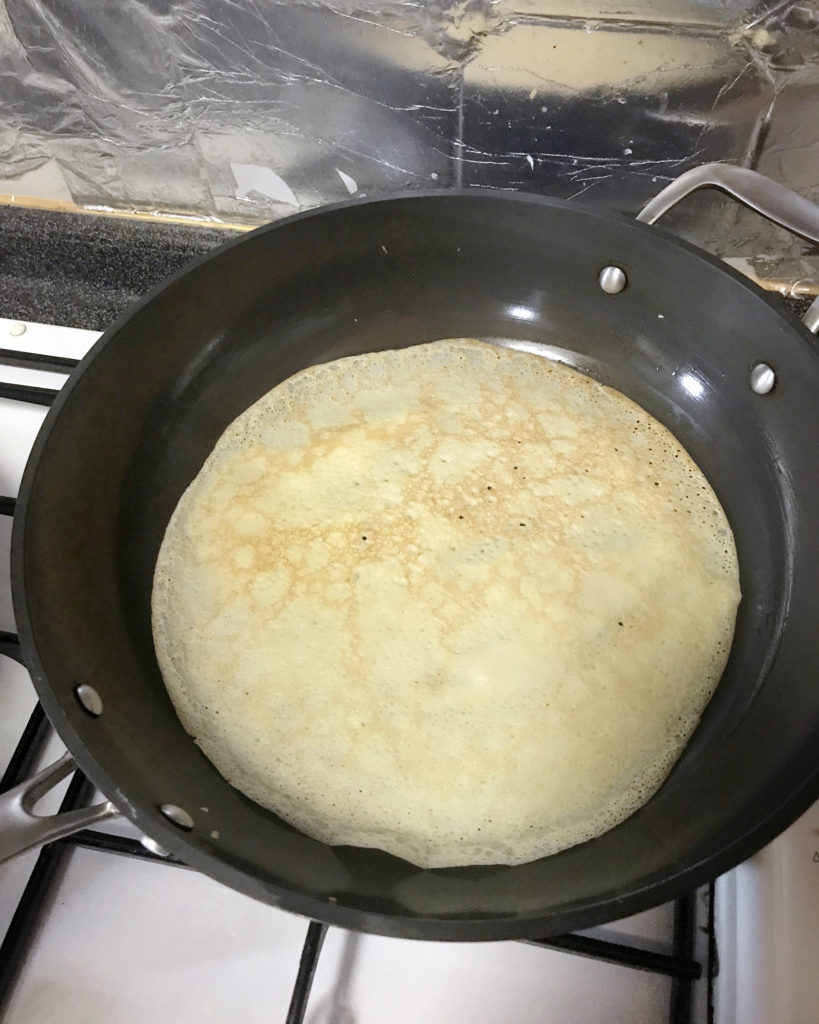
Cook the underside of the crepe for another 30 seconds, then remove from the wok and set aside. Repeat until the batter is finished.
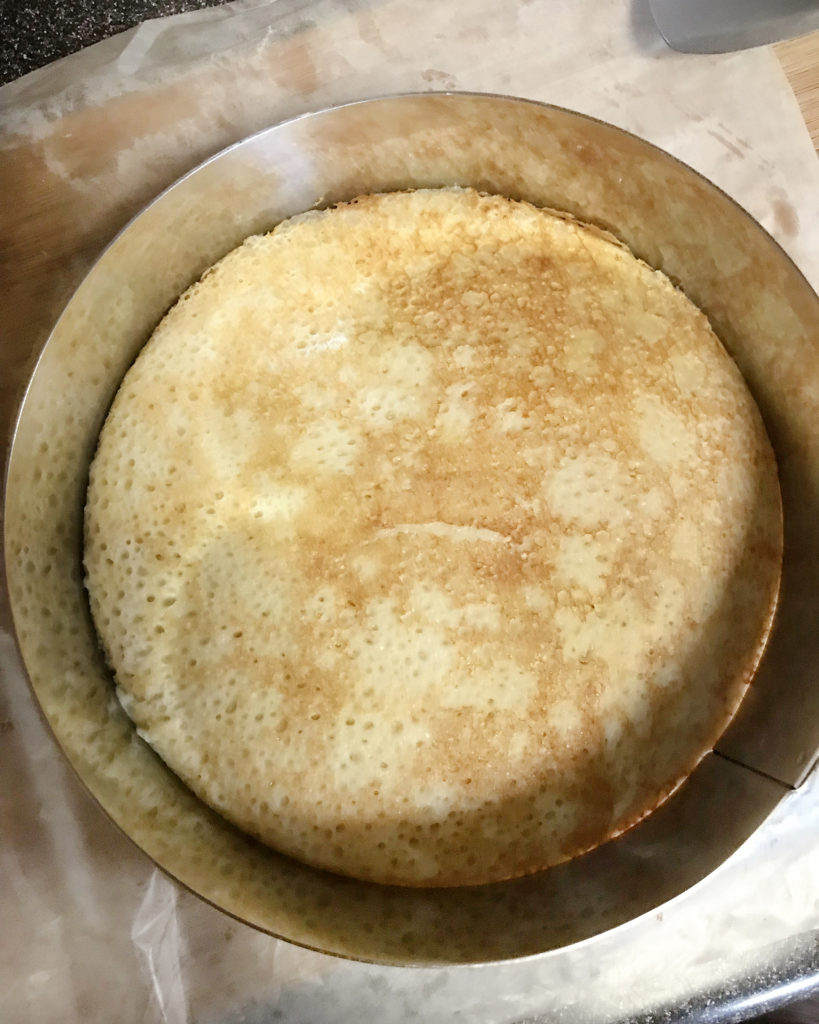
Use a 7″ (17.8cm) cake ring to cut the crepes so that every crepe will be identical and perfectly round. Allow the crepes to cool down.
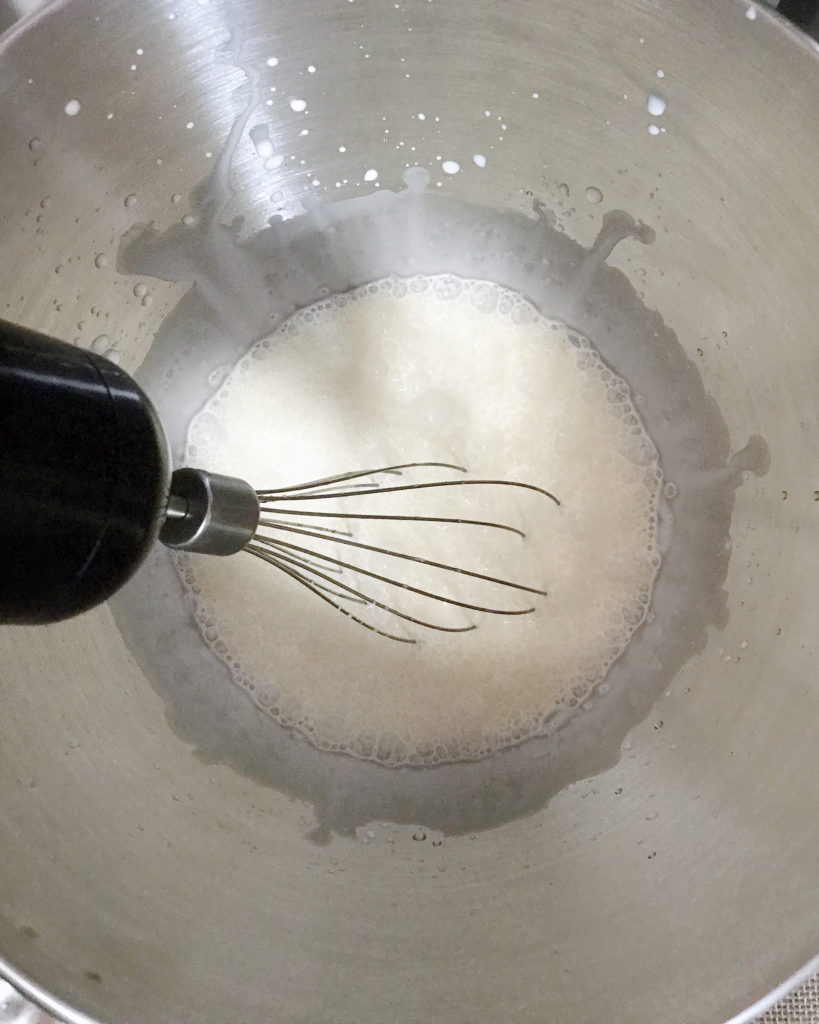
Using an electric mixer, beat whipping cream and sugar until medium peaks form.
Tip: Ensure your whipping cream is very cold before whipping it to get maximum volume and best texture. You can also chill your mixing bowl before whipping the cream.
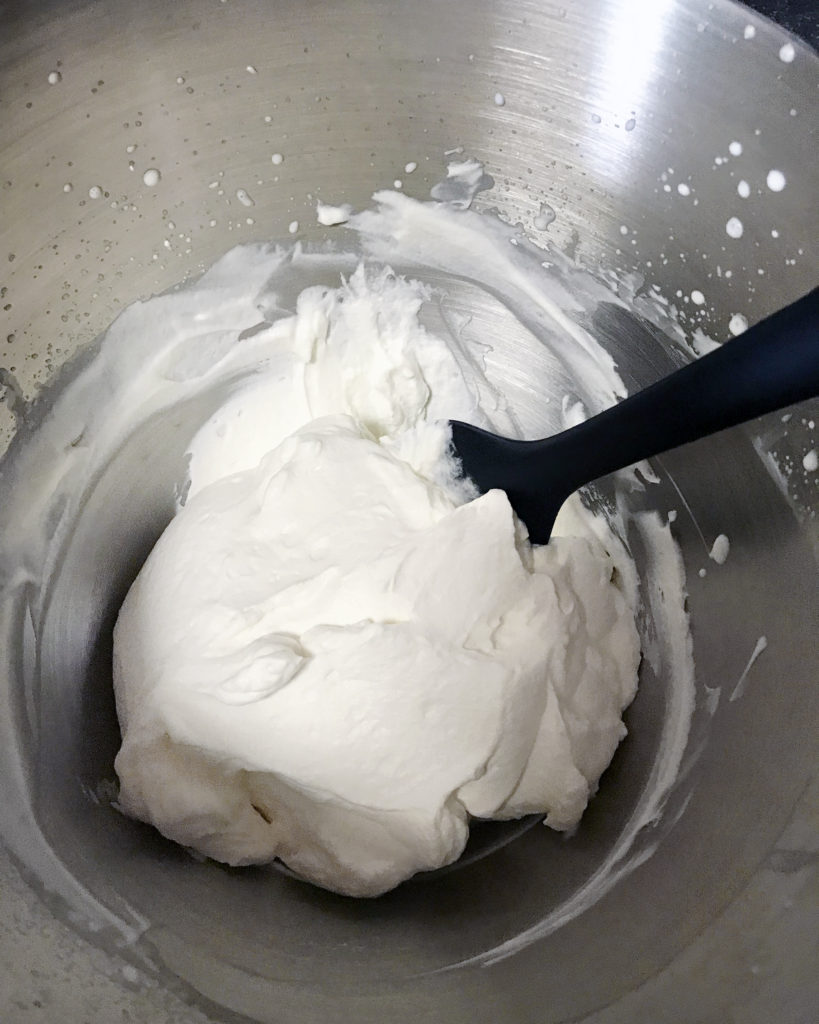
Tip: After whipping, you can place the mixing bowl in a bigger bowl containing ice water to keep the cream from weeping (becoming watery).
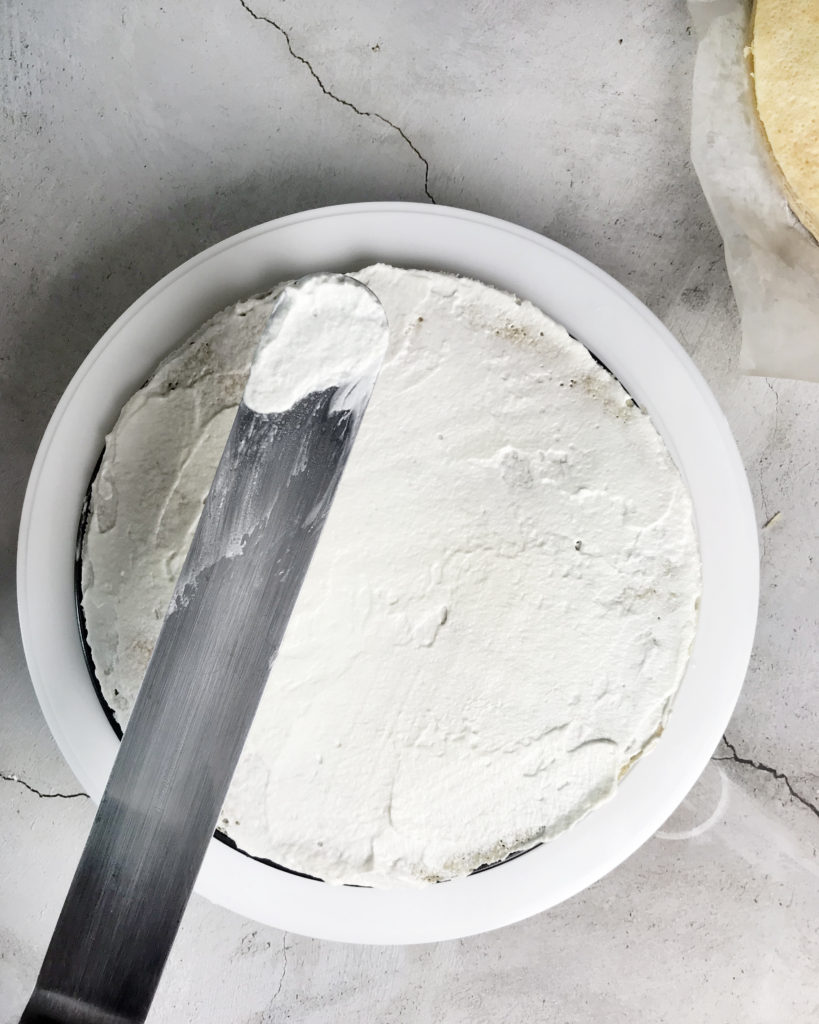
Once the crepes are cool, place one crepe onto a cake stand (a turntable if you have one) then spread a layer of cream onto the crepe. Make sure this layer is thick enough! Place another crepe on top then add another layer of cream. Repeat until all the crepes have been stacked.
Tip: Try to add more cream at the edges of the crepe to even out the cake as the center of the crepe is usually thicker than the sides.
Once the cake is done, keep the cake refrigerated for at least 1 hour before eating. If you want to take your crepe cake up a notch, I highly suggest making it creme brulee style! It will enhance the taste and the look of your entire cake. But for those who prefer the cake to be less sweet, you can skip the next step.
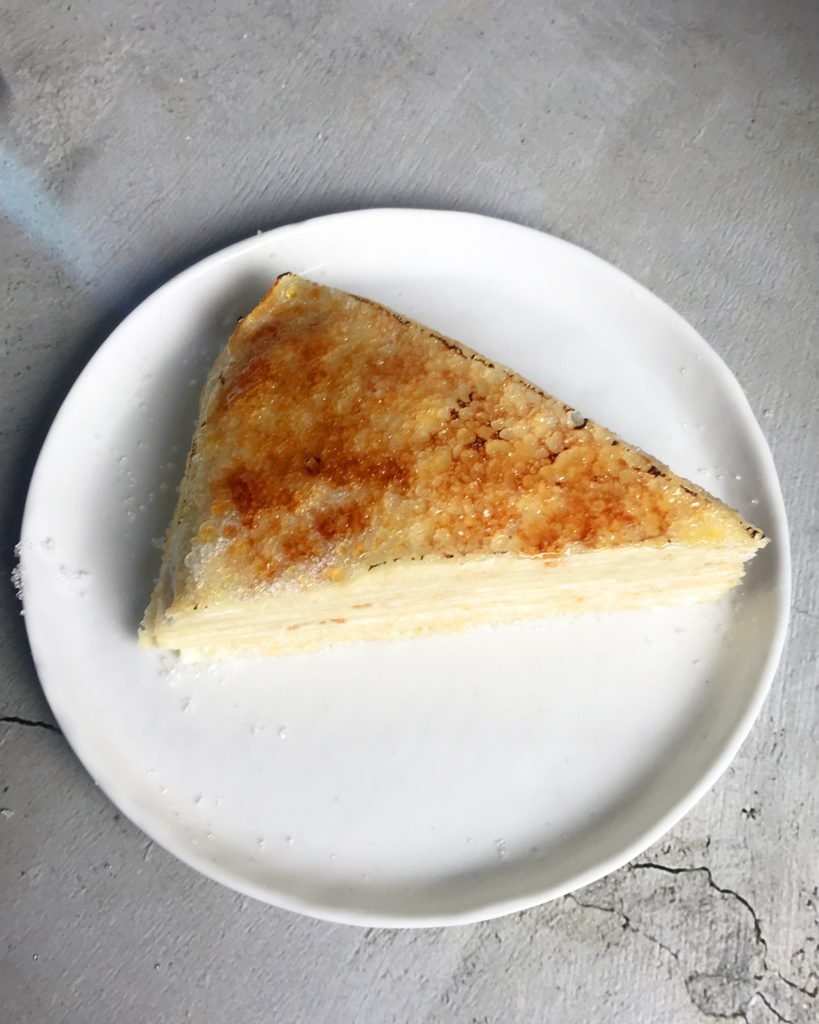
Sprinkle a layer of sugar on the cake and use a blowtorch to torch the sugar until it melts and caramelizes. You can either torch the entire cake at once, or slice by slice. You may want to torch the sugar slice by slice, as it may be harder to cut the cake properly once there is a caramelized layer of sugar on top (the hardened layer of sugar will crack).
Tip: Ensure the cake is very cold before torching the sugar to prevent the cream from melting! It’s best to keep the cake in the freezer for at least 15-30 minutes before torching the sugar.
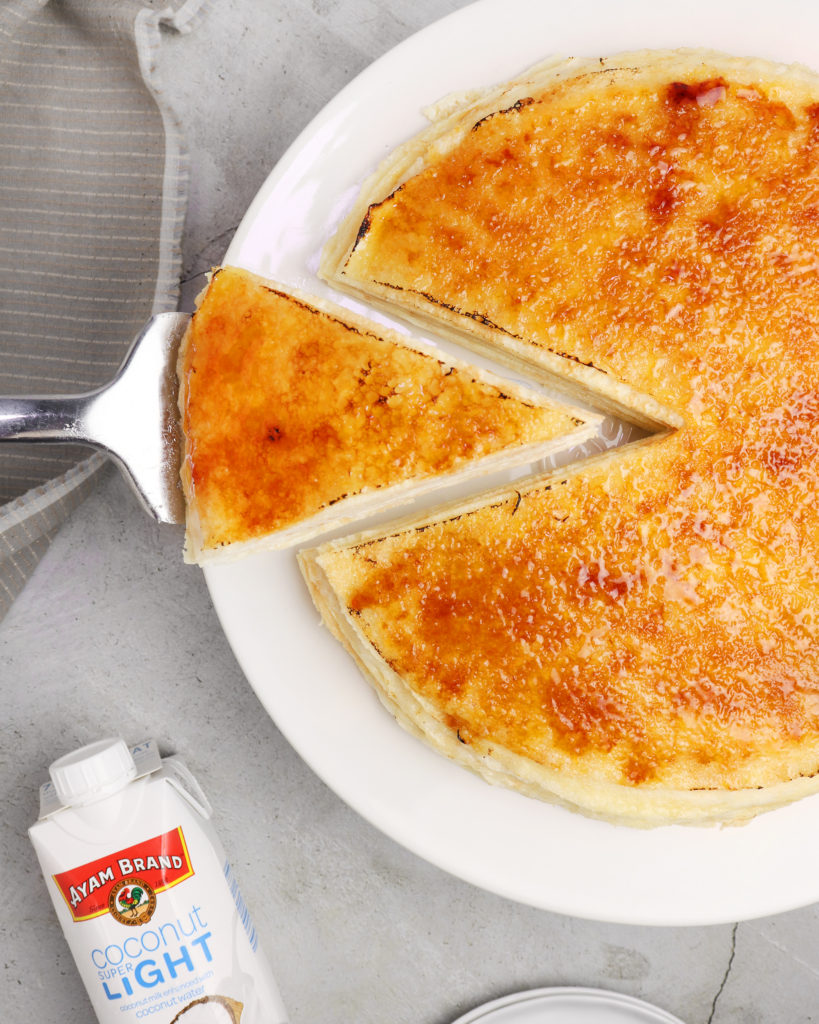
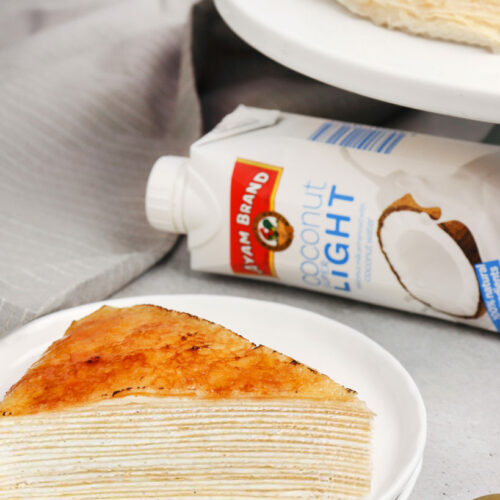
The golden and brown hues of the caramelized sugar definitely makes the entire cake look more appealing! And the crunch when you bite into the caramelized sugar is even more satisfying. Always keep the cake refrigerated if not consuming so that the cream doesn’t melt.
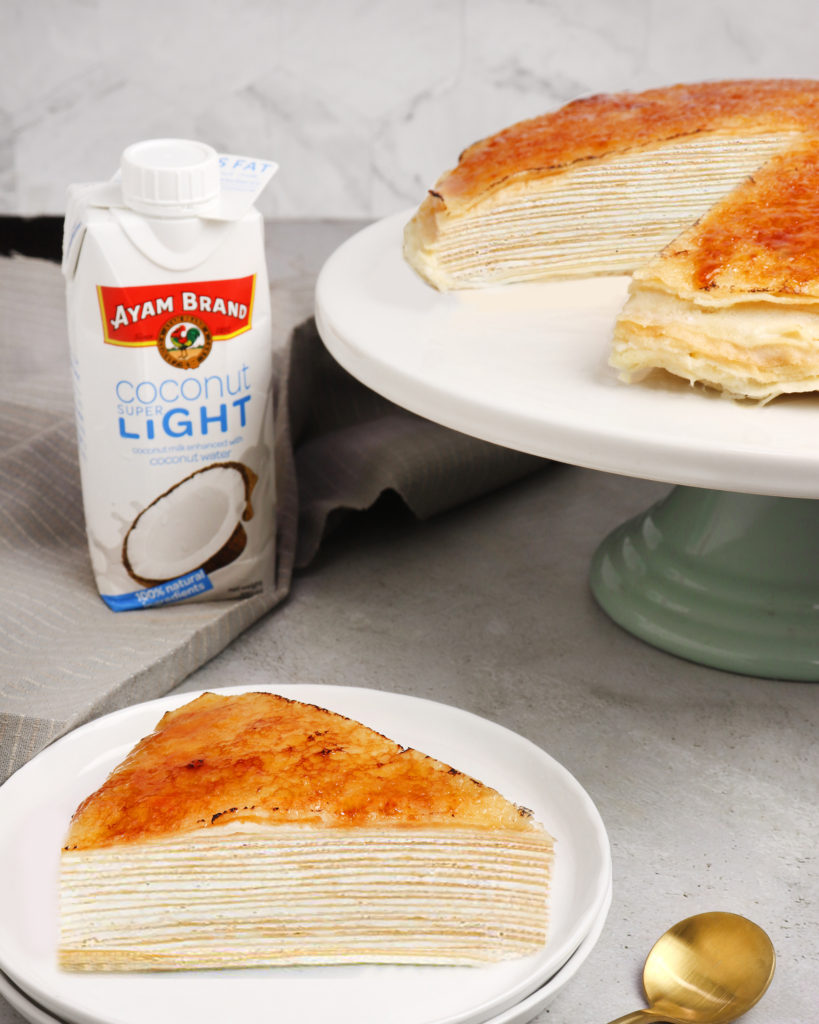
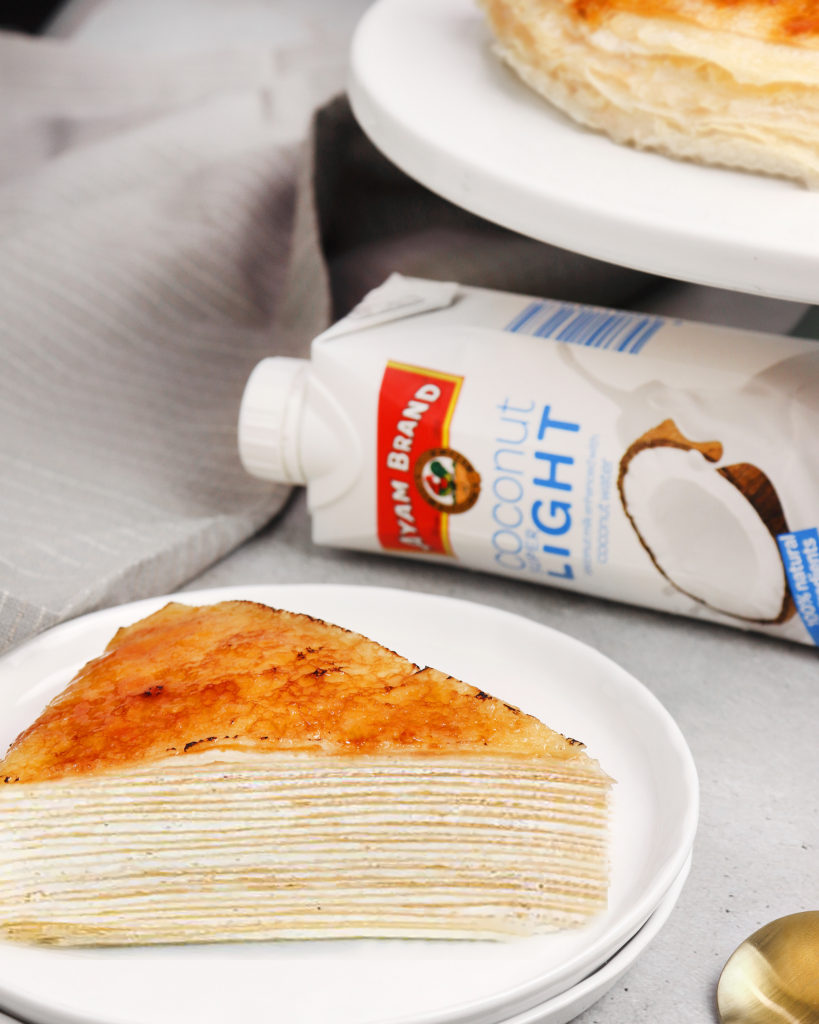
The entire crepe cake (including taking photos in between) took a good 3 hours to make. Very time-consuming but when you taste the final product you will feel it’s worth the effort. The crepe cake had a distinct coconut fragrance but did not overpower the sweetness of the whipped cream and caramelized sugar. It’s definitely a recipe you should try once in your lifetime, but maybe only once (because you may not want to try it again after realising how labour-intensive it is haha)!
Creme Brulee Mille Crepe Cake
Ingredients
CREPE
- 3 large eggs or 4 medium eggs
- 50 g melted butter
- 330 ml coconut milk warm
- 420 ml water
- 3 tbsp sugar
- 1 tsp vanilla extract
- 200 g flour
CREAM
- 600 ml whipping cream
- 60 g sugar
TOPPING
- sugar
Instructions
- In a mixing bowl, combine eggs, melted butter, coconut milk (warm), water, sugar and vanilla extract using a whisk. Sieve flour into mixing bowl and combine well. Strain mixture to ensure a smooth batter without lumps.
- Heat a skillet (base size around 18-20cm) over medium-low heat, then grease a thin layer of butter onto the pan using a paper towel. If you are using a non-stick skillet, you can skip the butter. Once pan is hot enough, add a scoop of batter into the middle of the skillet and swirl quickly to spread the batter out into a thin layer. If there are any holes, add more batter to mend the holes. Once the sides turn brown, carefully flip the crepe using a spatula. Cook the underside for another 20-30 seconds then set the crepe aside.
- Continue cooking until all the batter is finished, greasing the pan with a little butter in between each crepe. You should be able to make around 20 crepes using a pan with a base size of 18-20cm.
- Use a cake ring of around 7"/17.8cm to cut the crepes so that every crepe will be identical and perfectly round. Allow the crepes to cool down.
- Using a hand mixer or stand mixer, beat the whipping cream and sugar until medium peaks form. Thereafter, you can place the mixing bowl into a bowl of ice water to keep the cream cold as you assemble your crepe cake.
- Once the crepes are cool, place one crepe onto a cake stand (a turntable if you have one) then spread a layer of cream onto the crepe. Place another crepe on top then add another layer of cream. Repeat until all the crepes have been stacked. Try to add more cream at the edges of the crepe to even out the cake as the center of the crepe is usually thicker than the sides.
- Once assembled, place cake in the refrigerator for a while before eating.
- (Optional) For a creme brulee-style crepe cake, sprinkle a layer of sugar on top of the cake and use a blowtorch to torch the sugar until it melts and caramelizes. You can choose to torch the entire cake at a go, or slice by slice. You may want to torch the sugar slice by slice, as it may be harder to cut the cake properly once there is a caramelized layer of sugar on top.