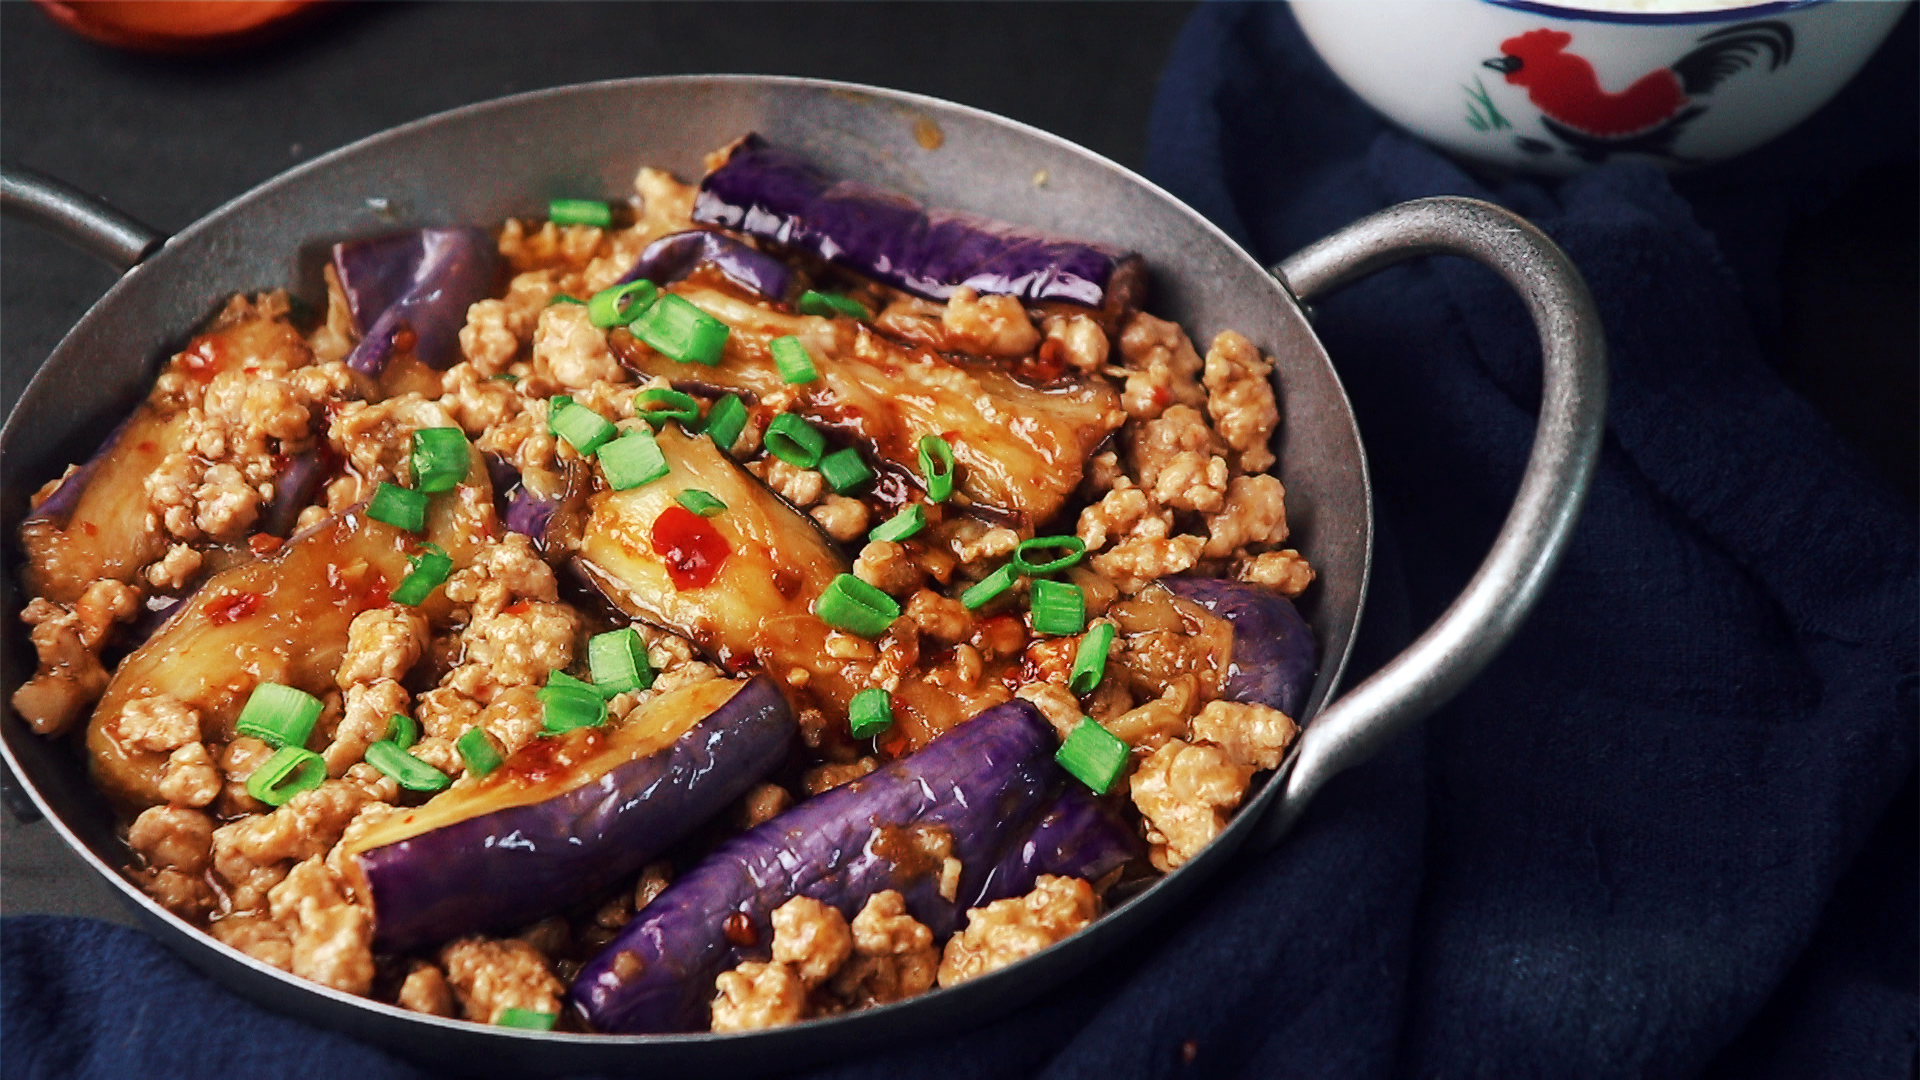
Claypot brinjal with minced pork is my all-time favourite dish to order at Tze Char! Brinjal, if done well, should not be oily, but instead boast a creamy flesh that has absorbed all the delicious flavour of the sauce it has been braised in.
Sometimes the beautiful purple hue of the brinjal skin can turn an unappetizing brown colour if not done right. While there is more than one method to retain that gorgeous purple colour of the brinjal, my favourite method, as well as the method Tze Char stalls tend to use, is to flash fry the brinjal in oil.
The temperature of the oil as well as the timing is very crucial in this process. If these two are not grasped well, the brinjal can end up absorbing a lot of oil and become an oily and soggy mess. But fret not, making a successful claypot brinjal is way easier than you might think! Watch this video recipe or continue reading below for more tips.
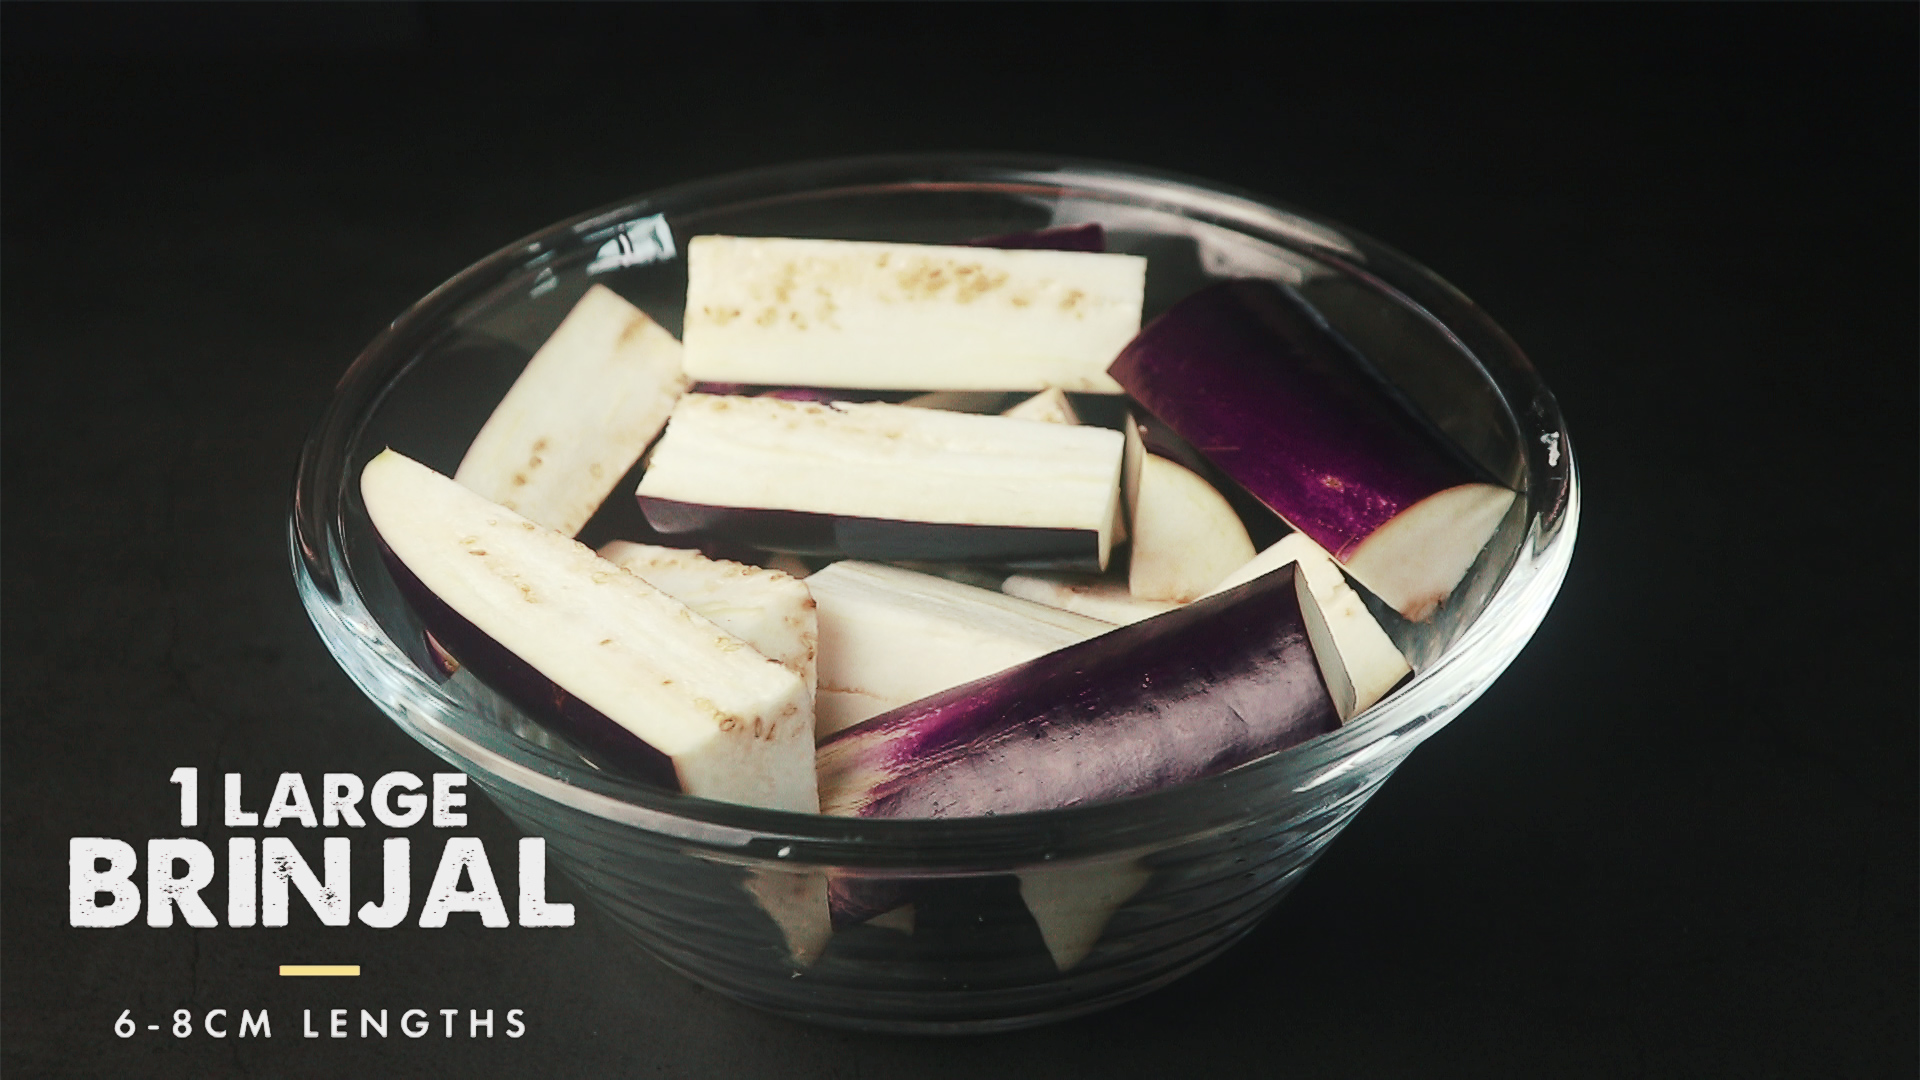
Cut one large brinjal into 6-8cm lengths, or whatever lengths you prefer. If you don’t have large brinjals, simply use more small brinjals. You’ll also need minced garlic, ginger and shallots which are not pictured here.
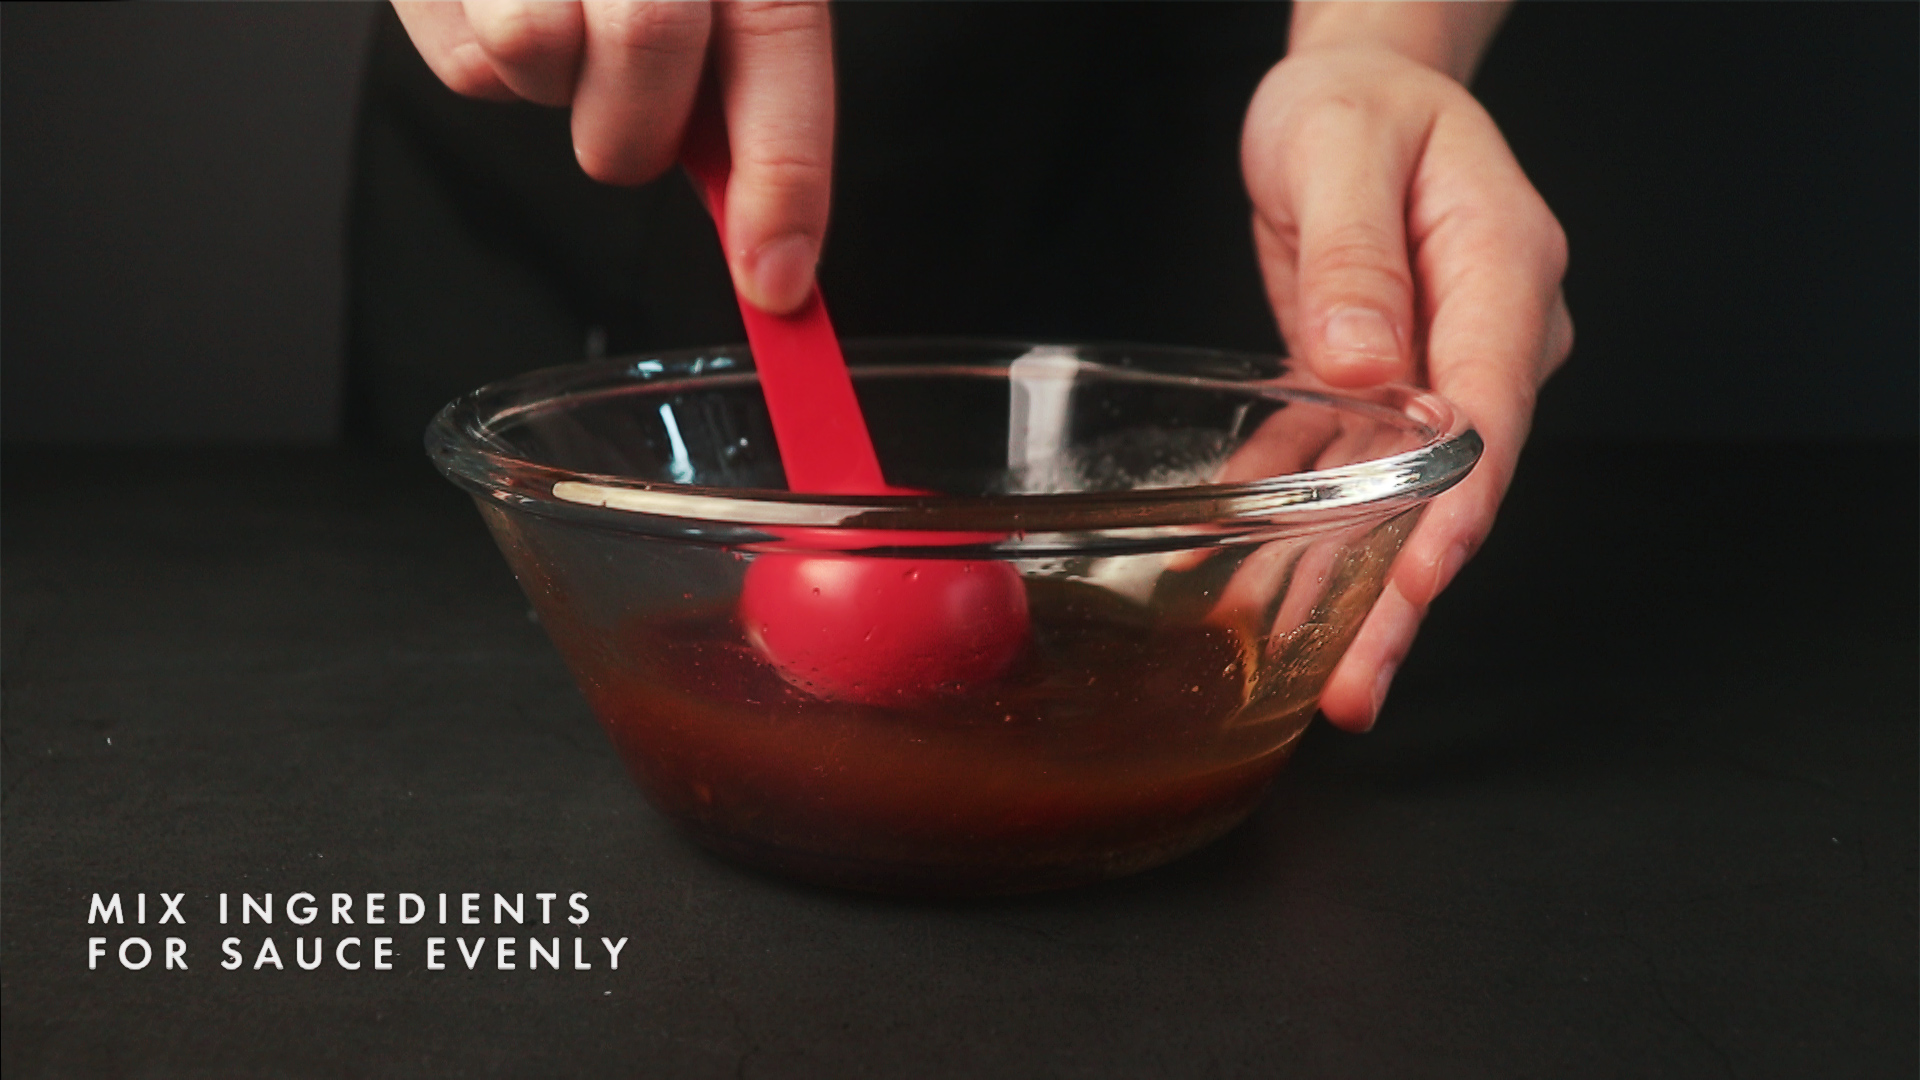
Make a sauce mixture out of chilli bean sauce, oyster sauce, light soya sauce, shaoxing wine, sugar and water. You can add more or less water depending on how much sauce you want.
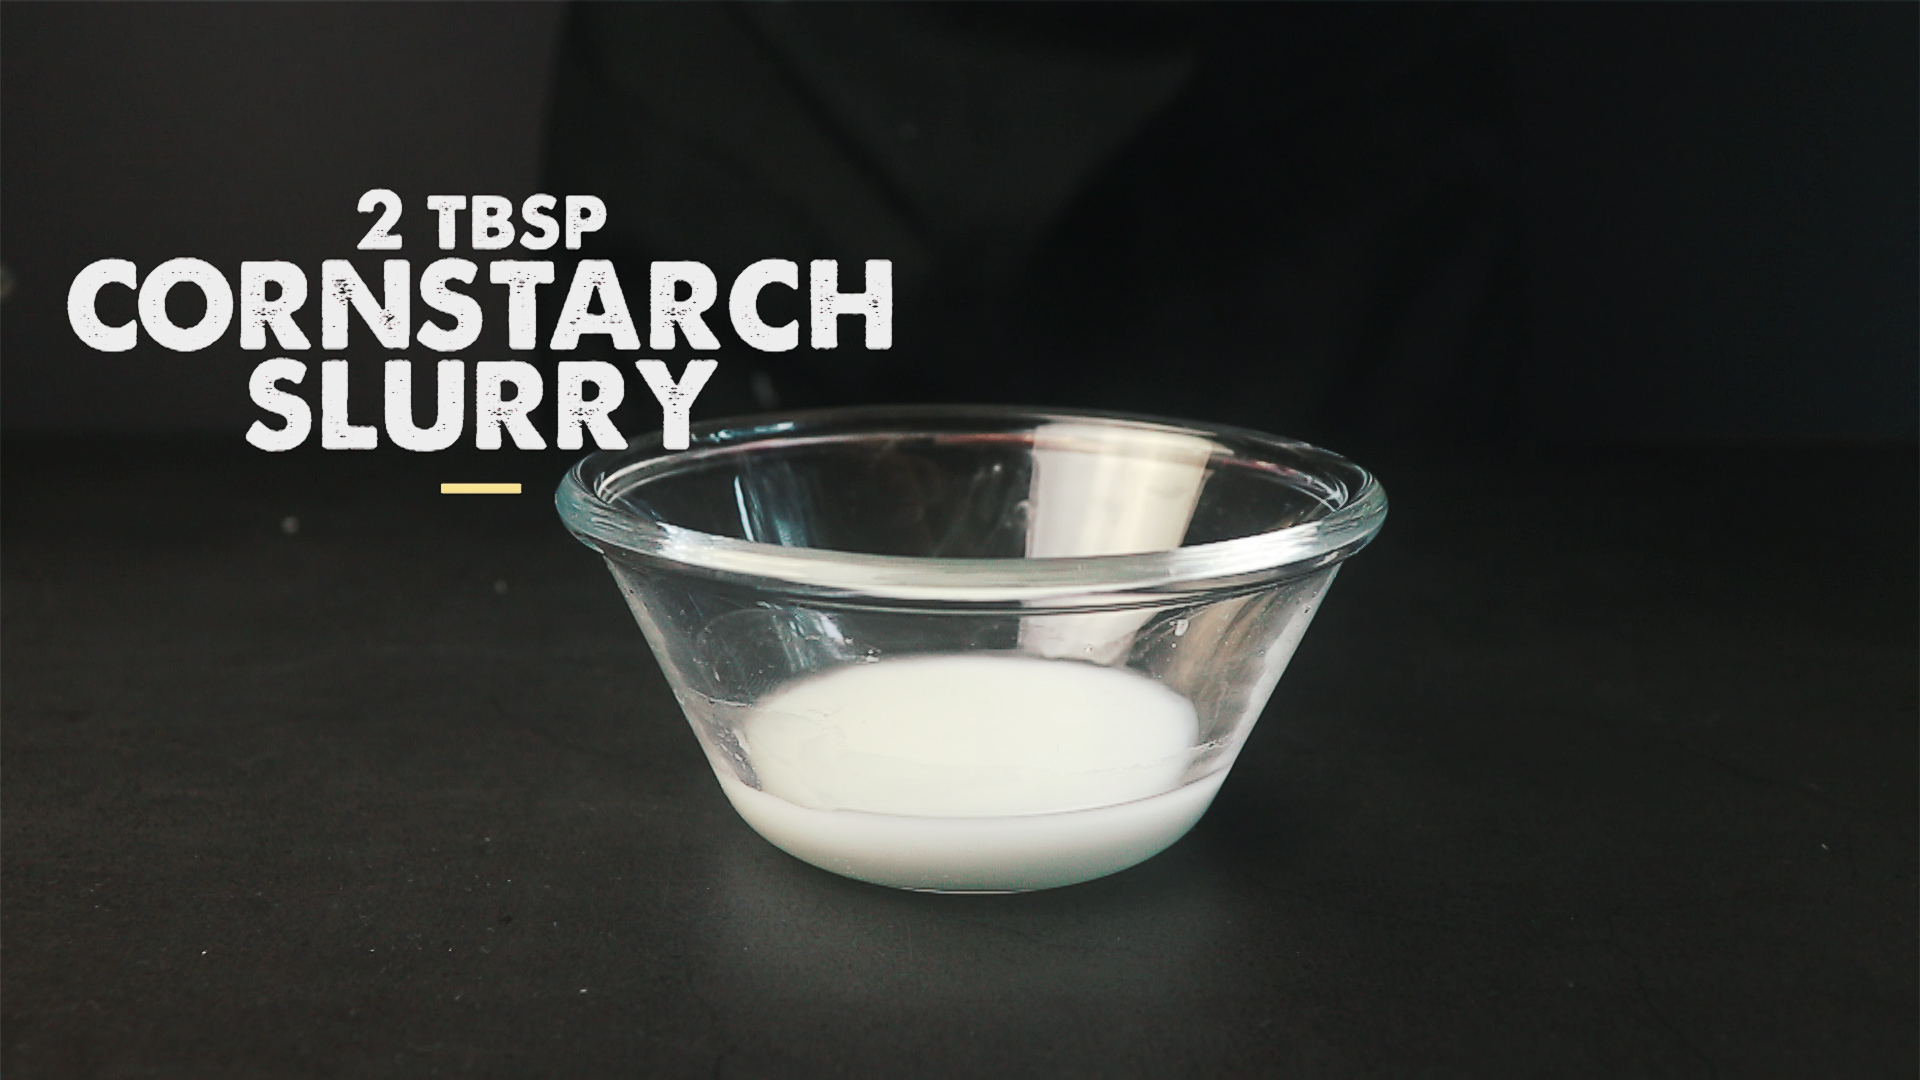
Prepare a cornstarch slurry by mixing 1 tbsp of cornstarch with about 2 tbsp of water. You’ll need this to thicken the sauce.
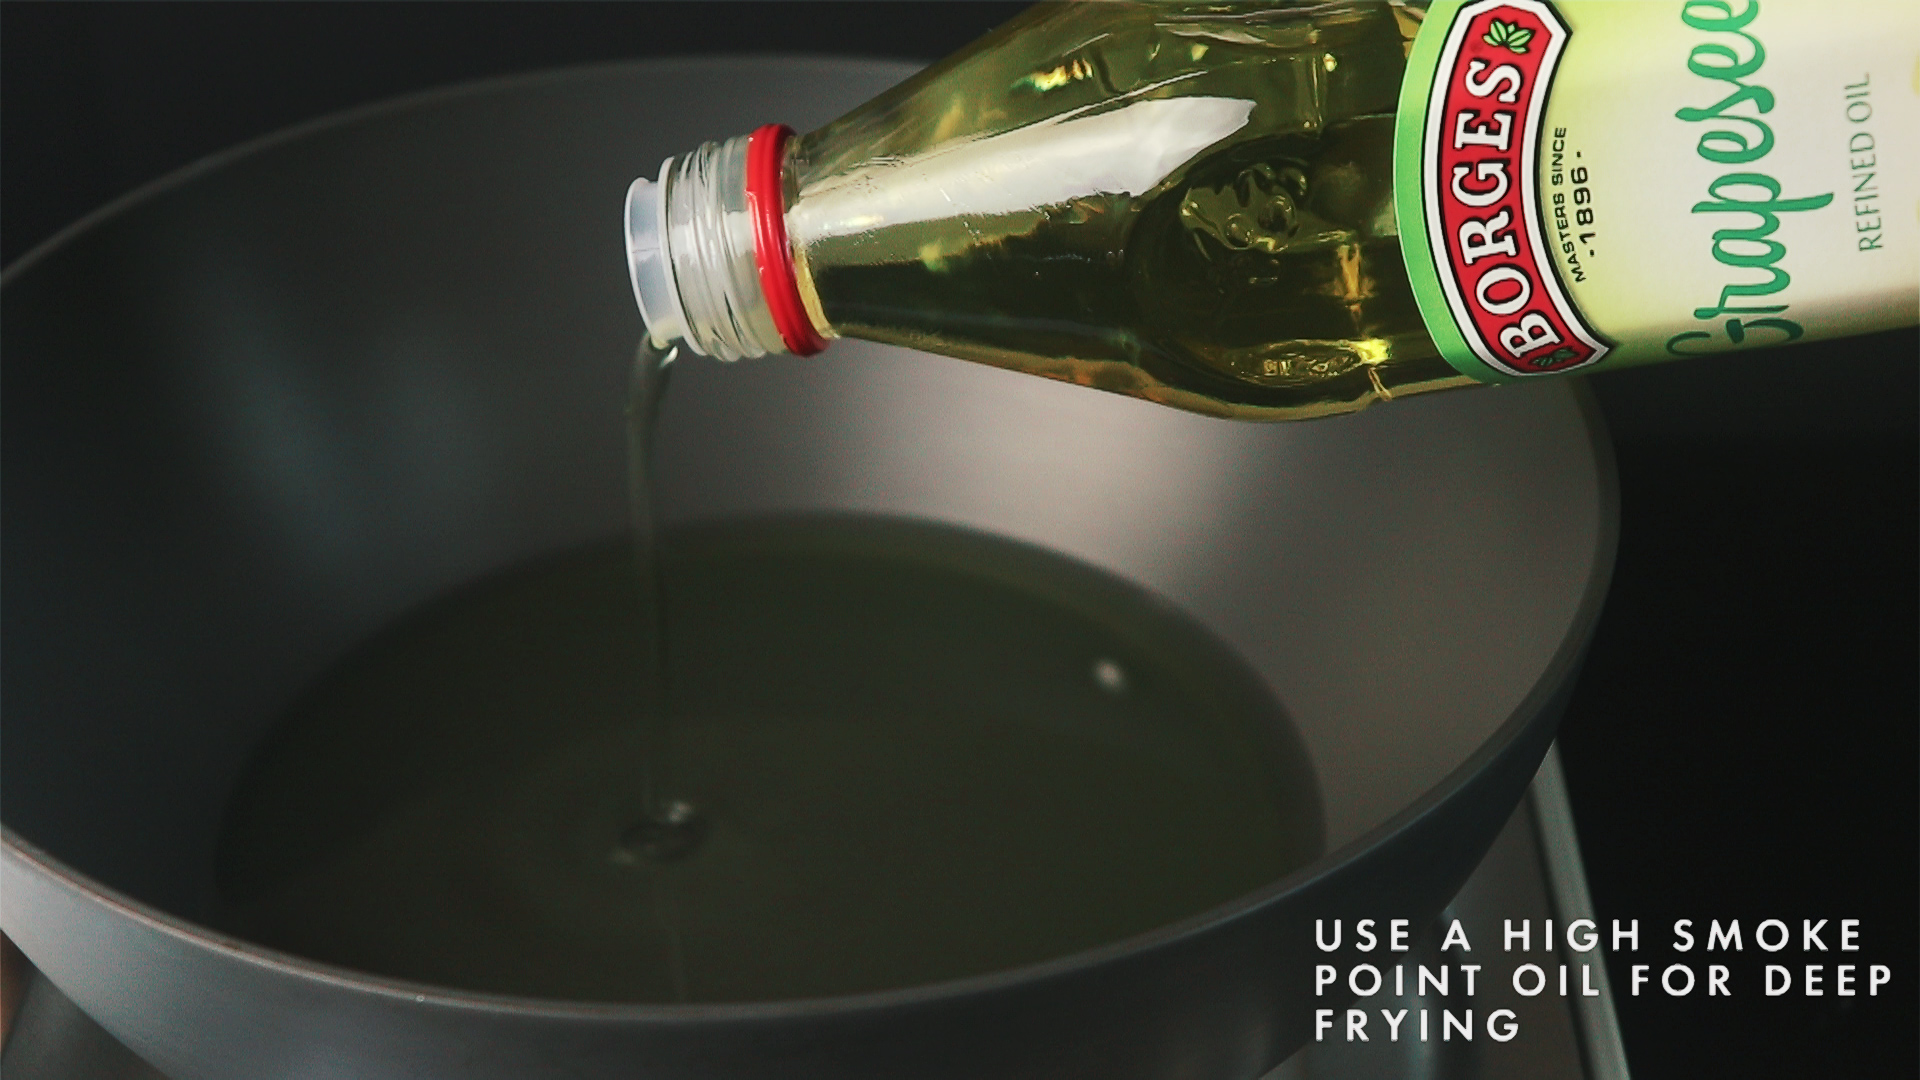
Use a high smoke point oil for deep frying. This is the first time I used grapeseed oil for cooking and I have to say I like its relatively neutral taste and ability to withstand high heat!

Flash fry brinjal, skin side down, in hot oil to retain its purple hue. Don’t fry the brinjal skin side up otherwise it can oxidize and turn brown easily. Ensure that the oil is relatively hot (around 175°C) so that the brinjal will not absorb too much oil and end up tasting oily. Also, fry for just 1-2 minues as frying any longer than that will cause the brinjal to absorb a lot of oil.
In short: skin side down, hot oil (~175°C), 1-2 minutes.

Remove brinjal once its flesh turns brown. You can drain the brinjal on paper towels if you wish but I didn’t. I personally prefer the exterior to have some oil as it adds to the flavour and texture of the dish when you braise the brinjal with the sauce.
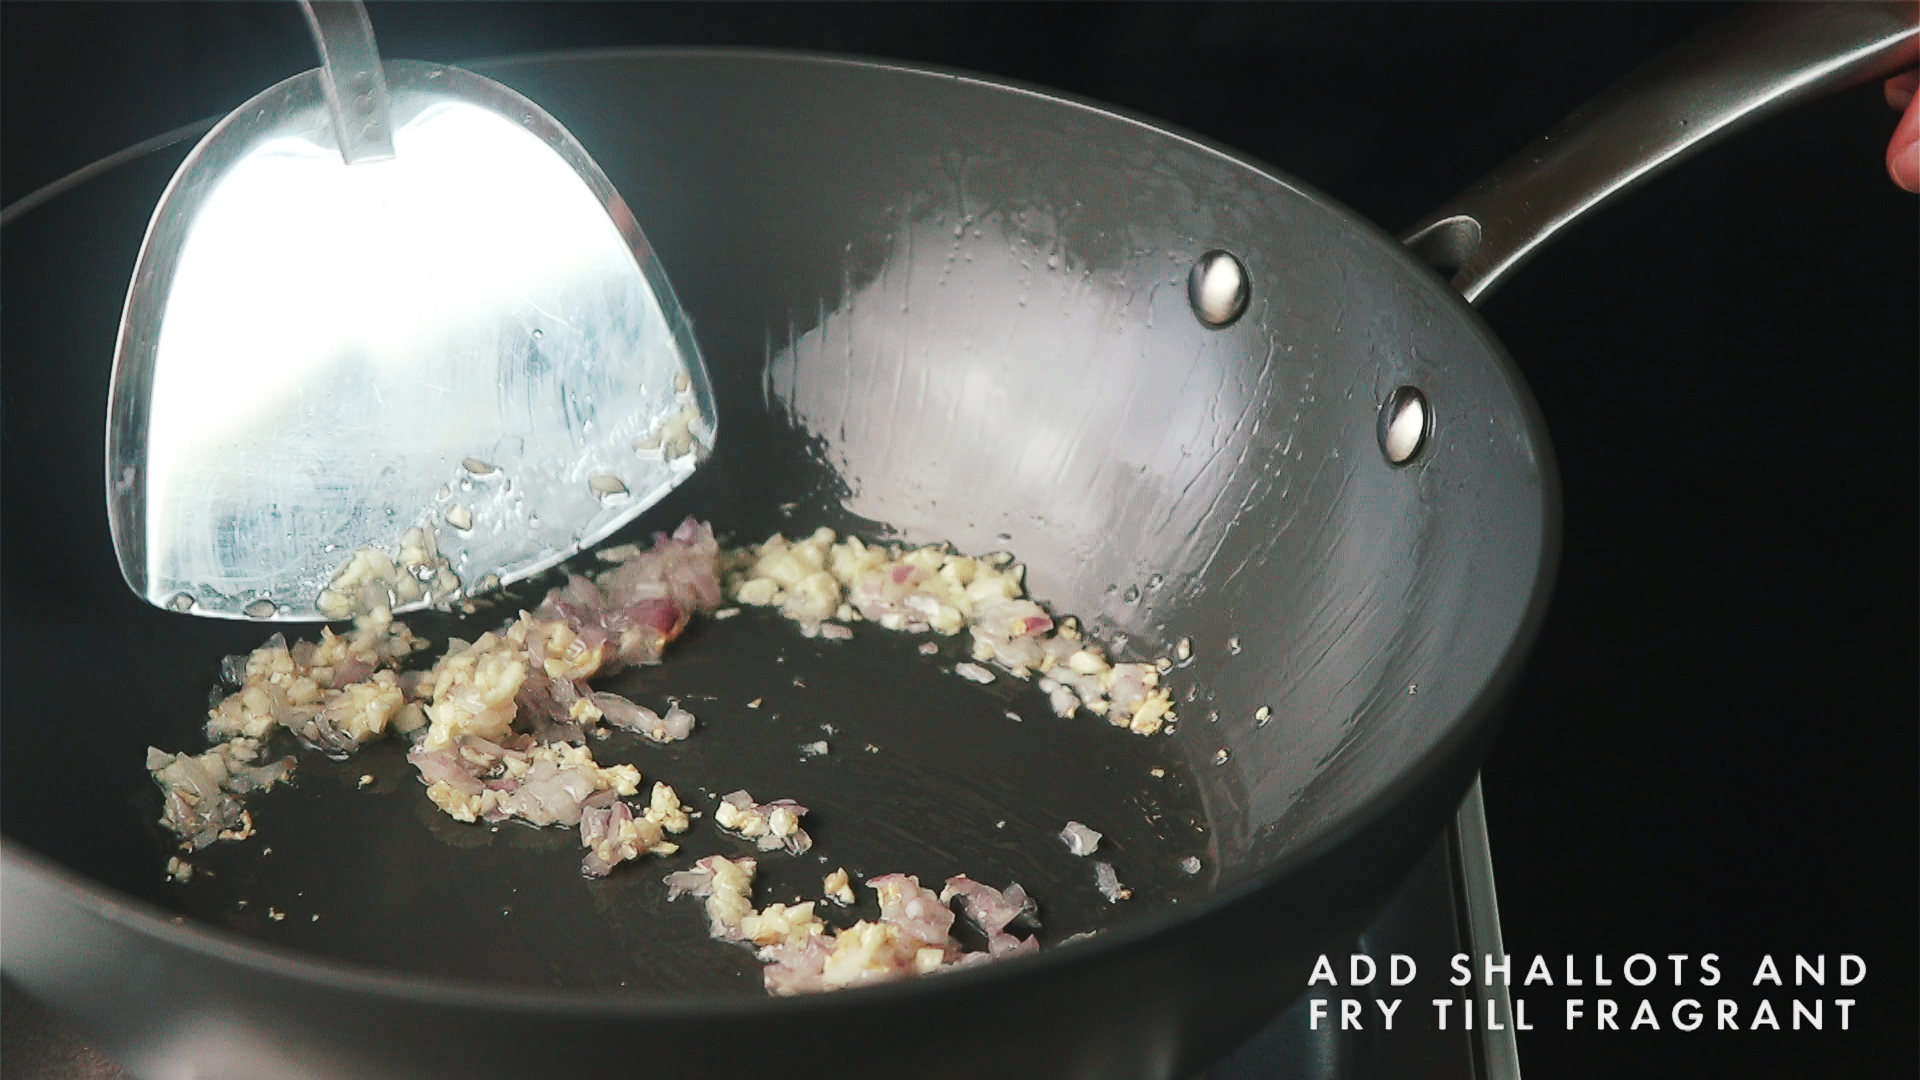
Fry garlic, ginger and shallots until fragrant.
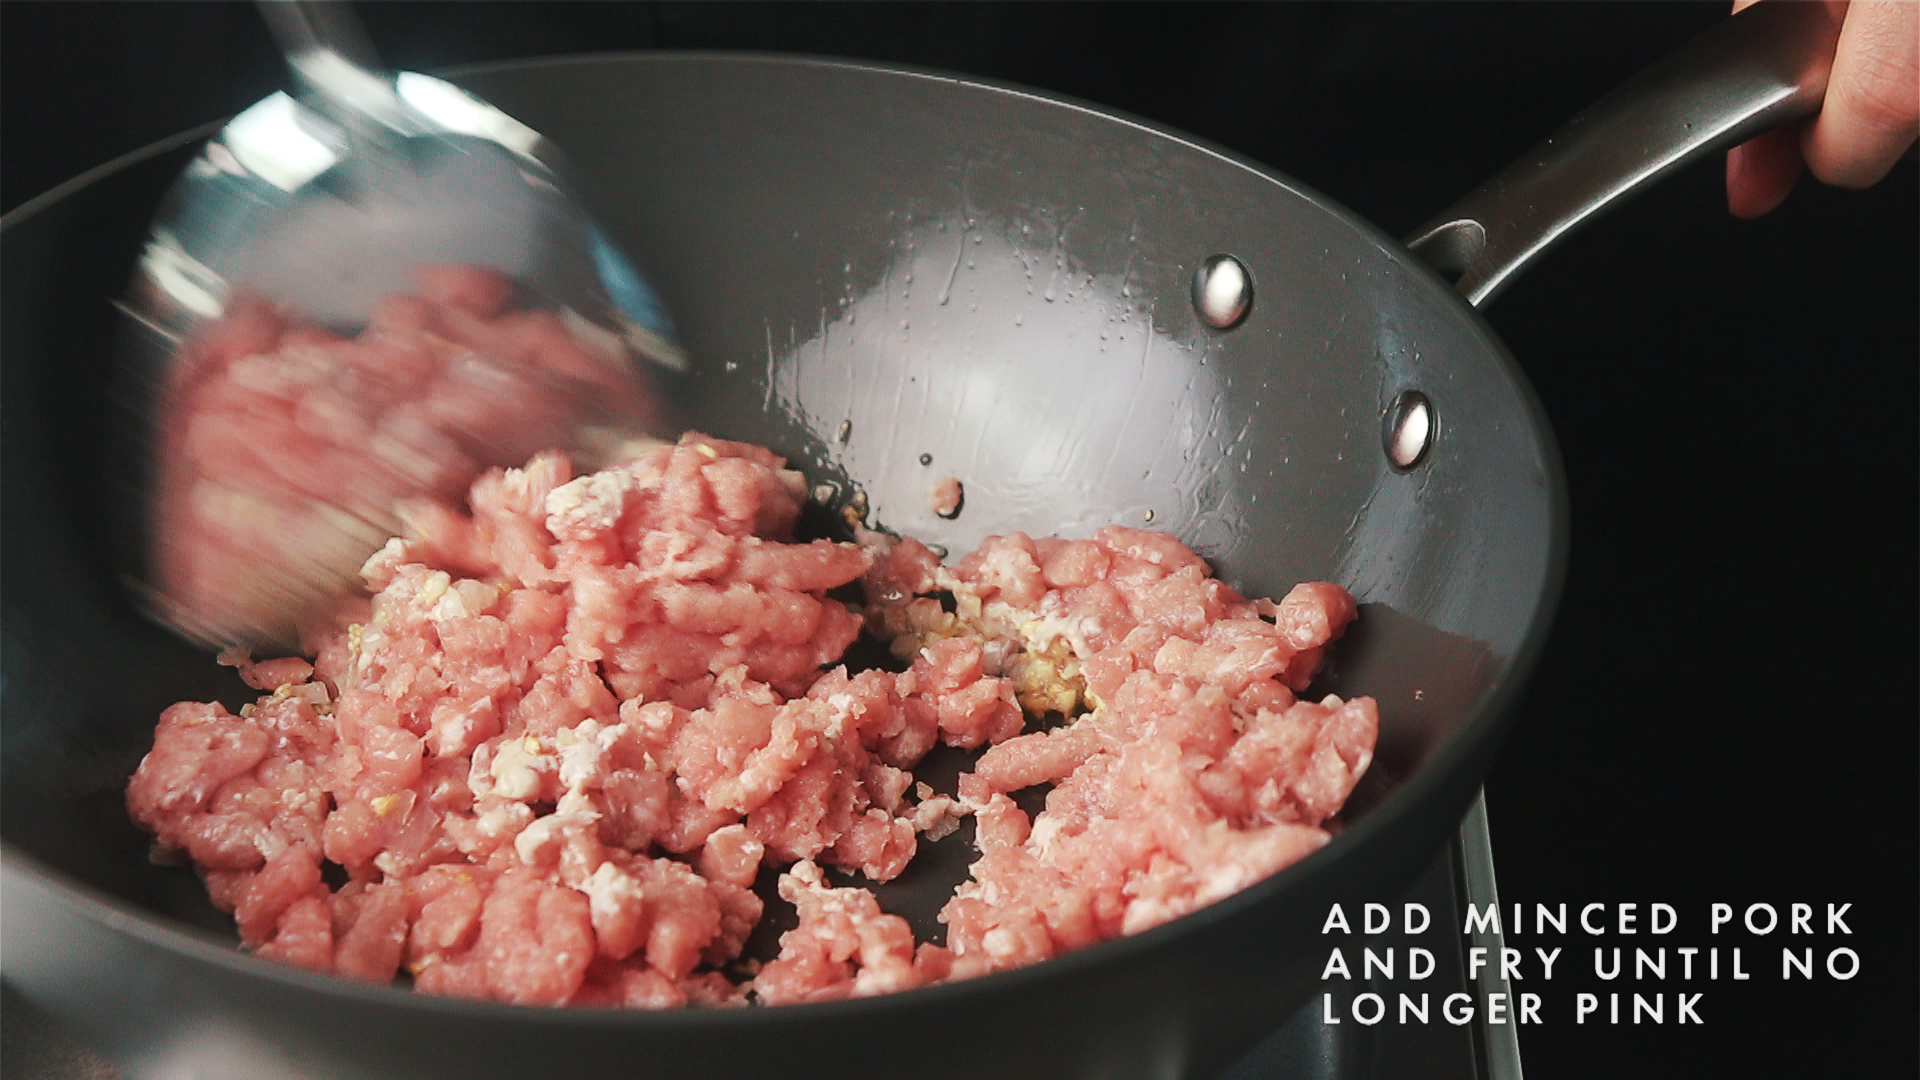
Add minced pork and stir fry until no longer pink.
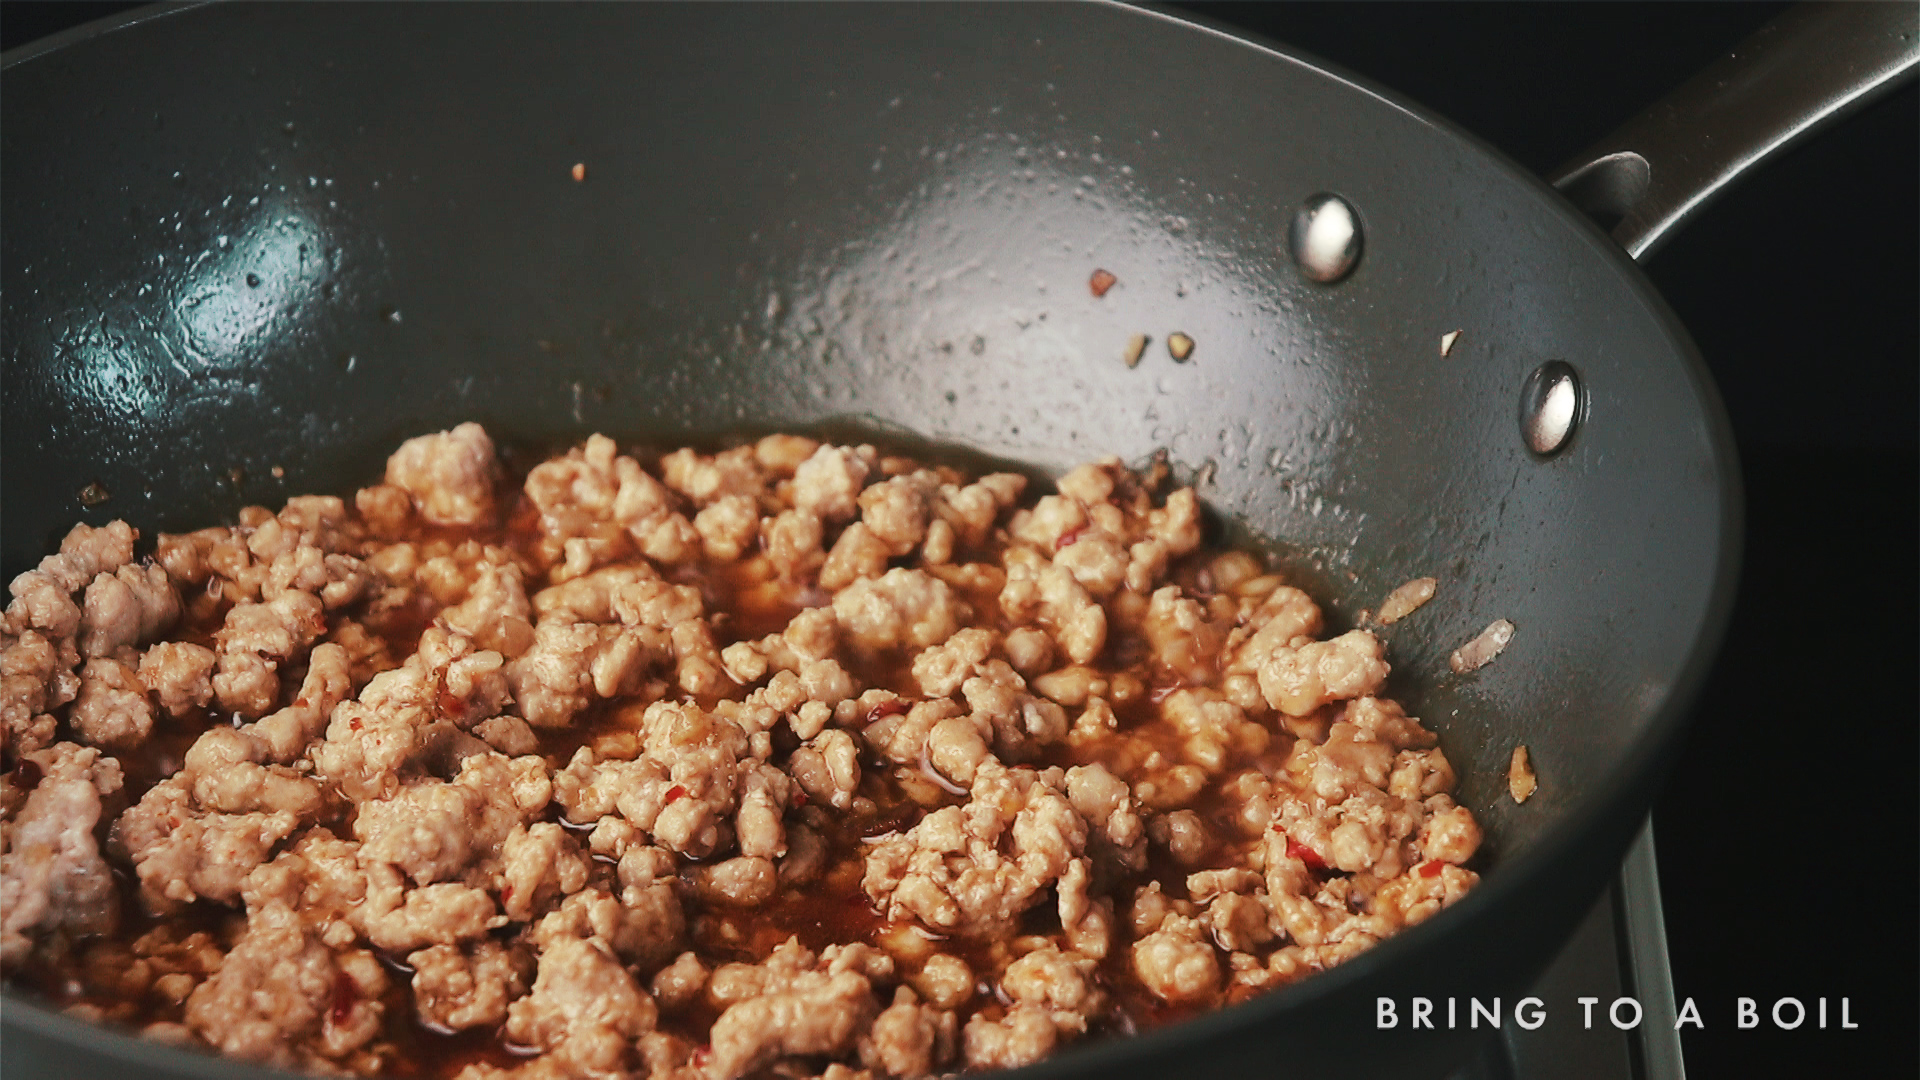
Add sauce mixture and mix well. Bring to a boil then lower the heat slightly.
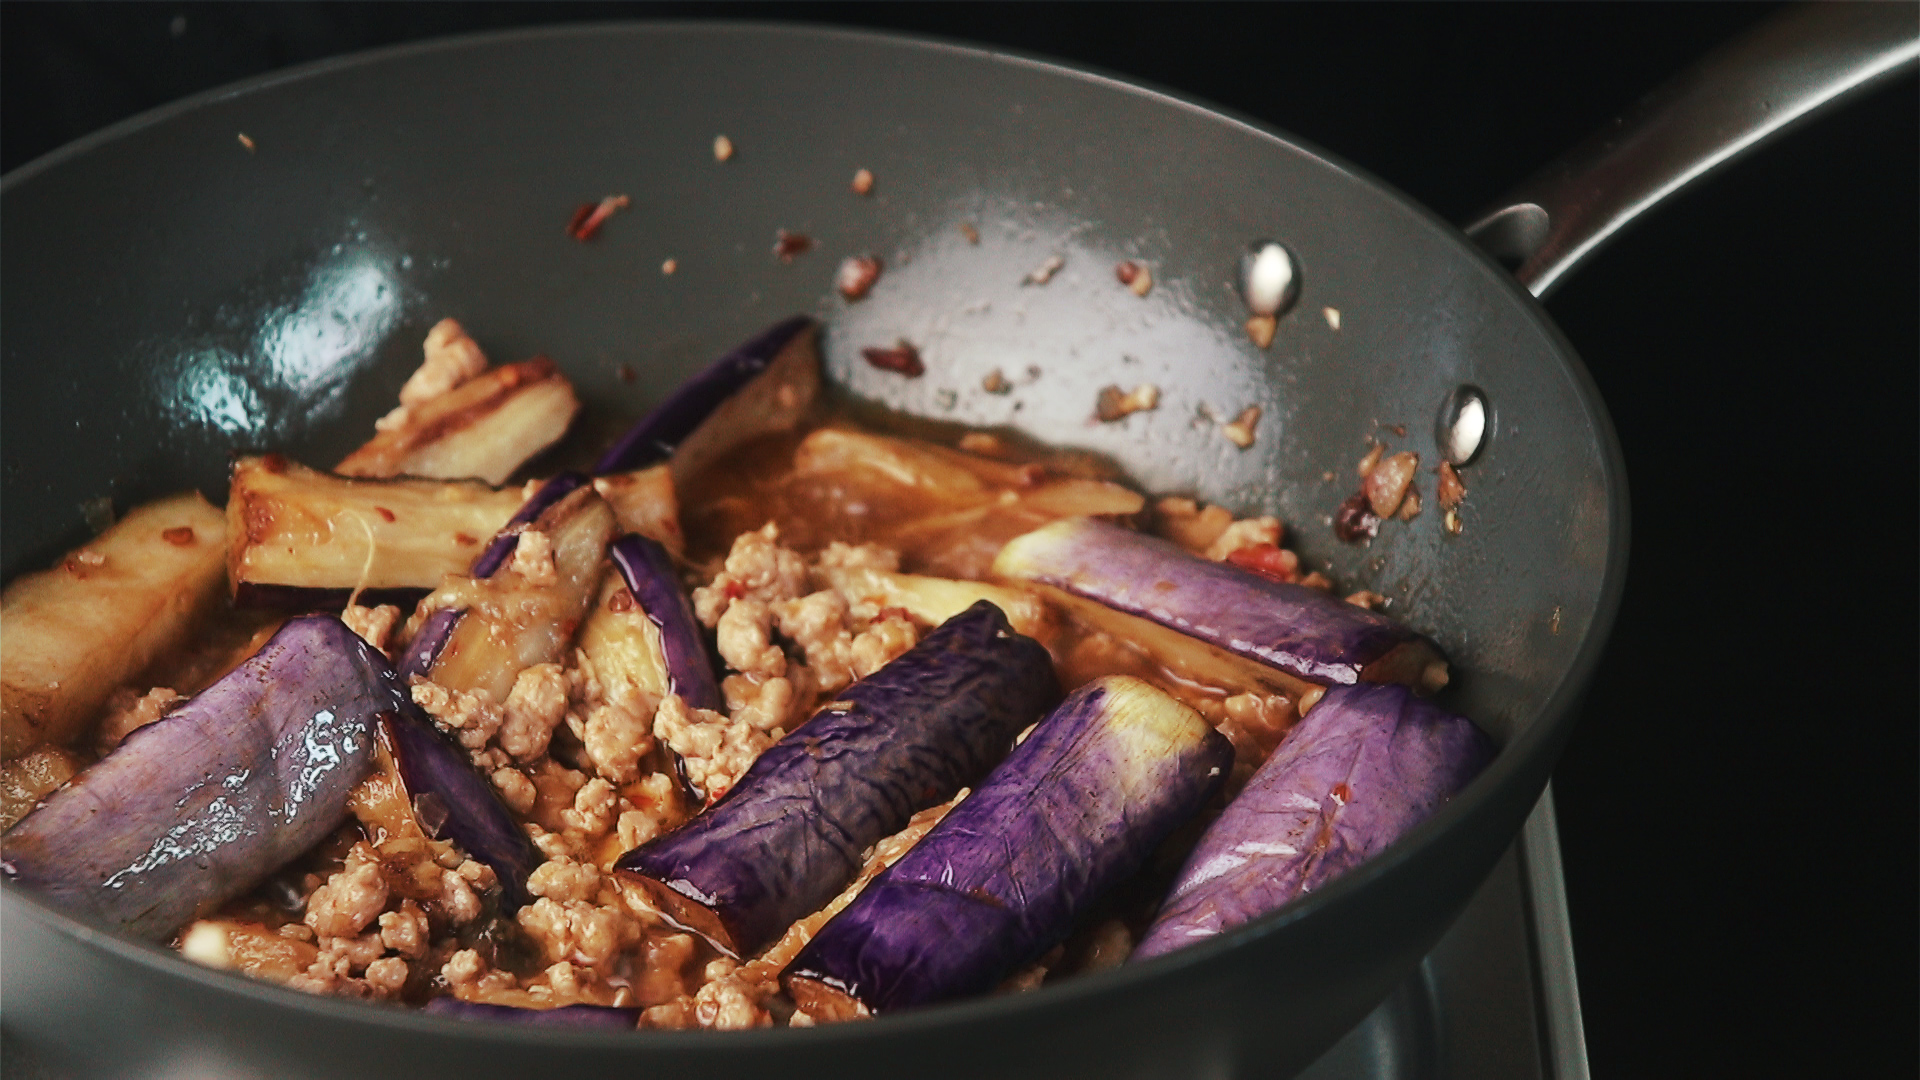
Add cooked brinjal into the pan and mix well.
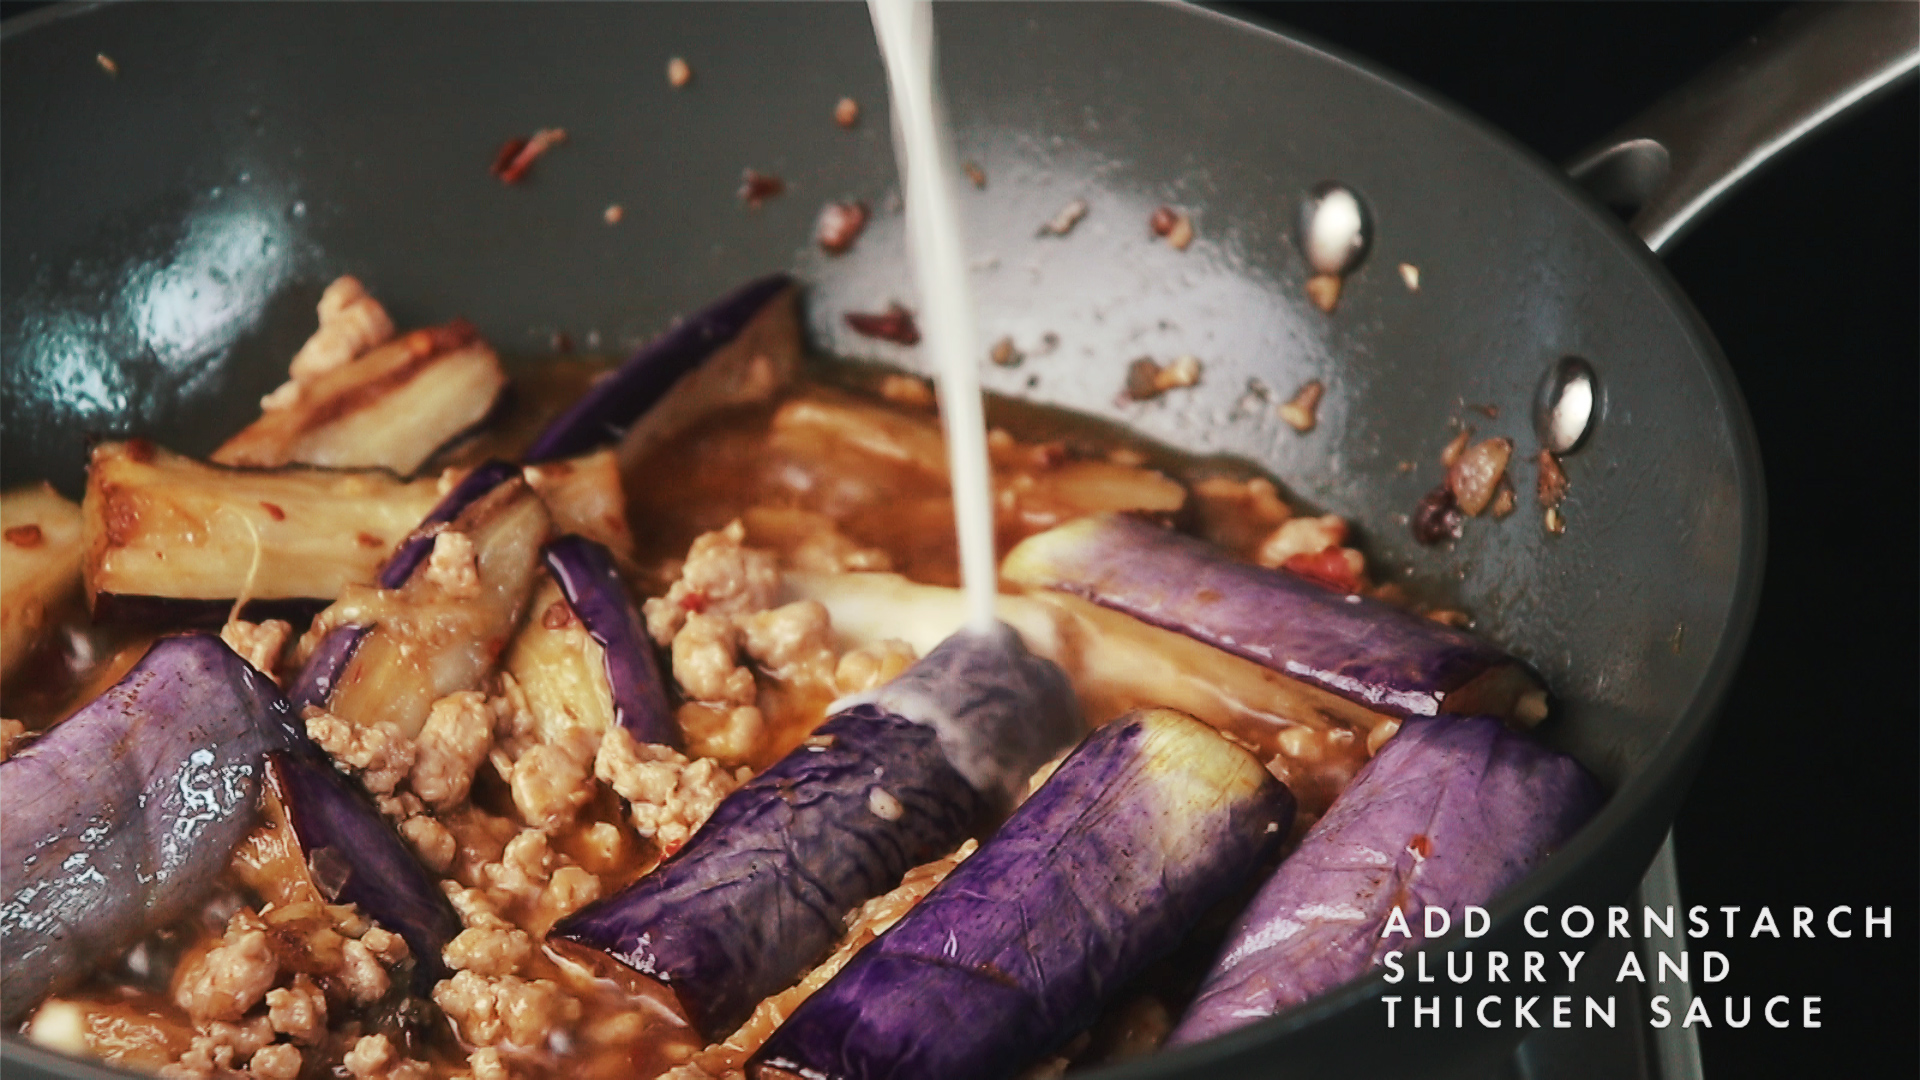
Add 2 tbsp of cornstarch slurry and thicken sauce. Then serve in a claypot or any other bowl.
Do eat this with plain rice as the dish leans towards the salty spectrum! When eaten with rice, the saltiness is balanced out perfectly. Some might want to add salted fish to this dish, but I opted out as I personally feel that this dish is already salty enough.
DIY: ~$4 (for 3-4 servings)
Dine out: ~$10-15 (for 3-4 servings)

Claypot Brinjal with Minced Pork
Ingredients
- 1 large brinjal $1.60
- 150 g minced pork $1.31
- 2 cloves garlic minced ($0.056)
- 1 tsp ginger minced ($0.03)
- 1 medium shallot minced ($0.008)
- 2 tbsp cornstarch slurry $0.021
SAUCE
- 2 tbsp chilli bean sauce $0.49
- 2 tbsp sugar $0.038
- 1 tbsp shaoxing wine $0.417
- 1 tbsp oyster sauce $0.093
- 1 tbsp light soya sauce $0.084
- 125 ml water
Instructions
- Flash fry the brinjal, skin side down, in hot oil (~175°C) for about 1-2 minutes. Remove brinjal once flesh turns brown. Drain oil using paper towels if you prefer.
- In a hot pan with some oil, stir fry garlic and ginger till fragrant. Add shallots and stir fry till fragrant.
- Add minced pork and fry till no longer pink.
- Add sauce mixture and mix well. Bring to a boil, then lower heat slightly.
- Add cooked brinjal and mix well. Add 2 tbsp of cornstarch slurry to thicken the sauce. Serve with rice.