I love the taste of butter in my food, but brown butter really takes things up one notch. The smell of butter browning fills the entire kitchen with a nutty and caramel-like aroma that is unrivalled. If you haven’t tried brown butter, you really should! I assure you that you will love it too. I don’t have that much of a sweet tooth, so I’m way more into cooking than baking. But I decided to try making some brown butter Victoria Sponge Cake. Funnily enough, although it’s called sponge cake, the recipe is more like a pound cake recipe.
It’s actually a pretty simple recipe. What you have to do is weigh your eggs (in shell), and use the same weight of sugar, butter and self-raising flour. That’s it! I used 3 jumbo eggs which were 70g each, which means I had to use 210g of sugar, butter and flour.
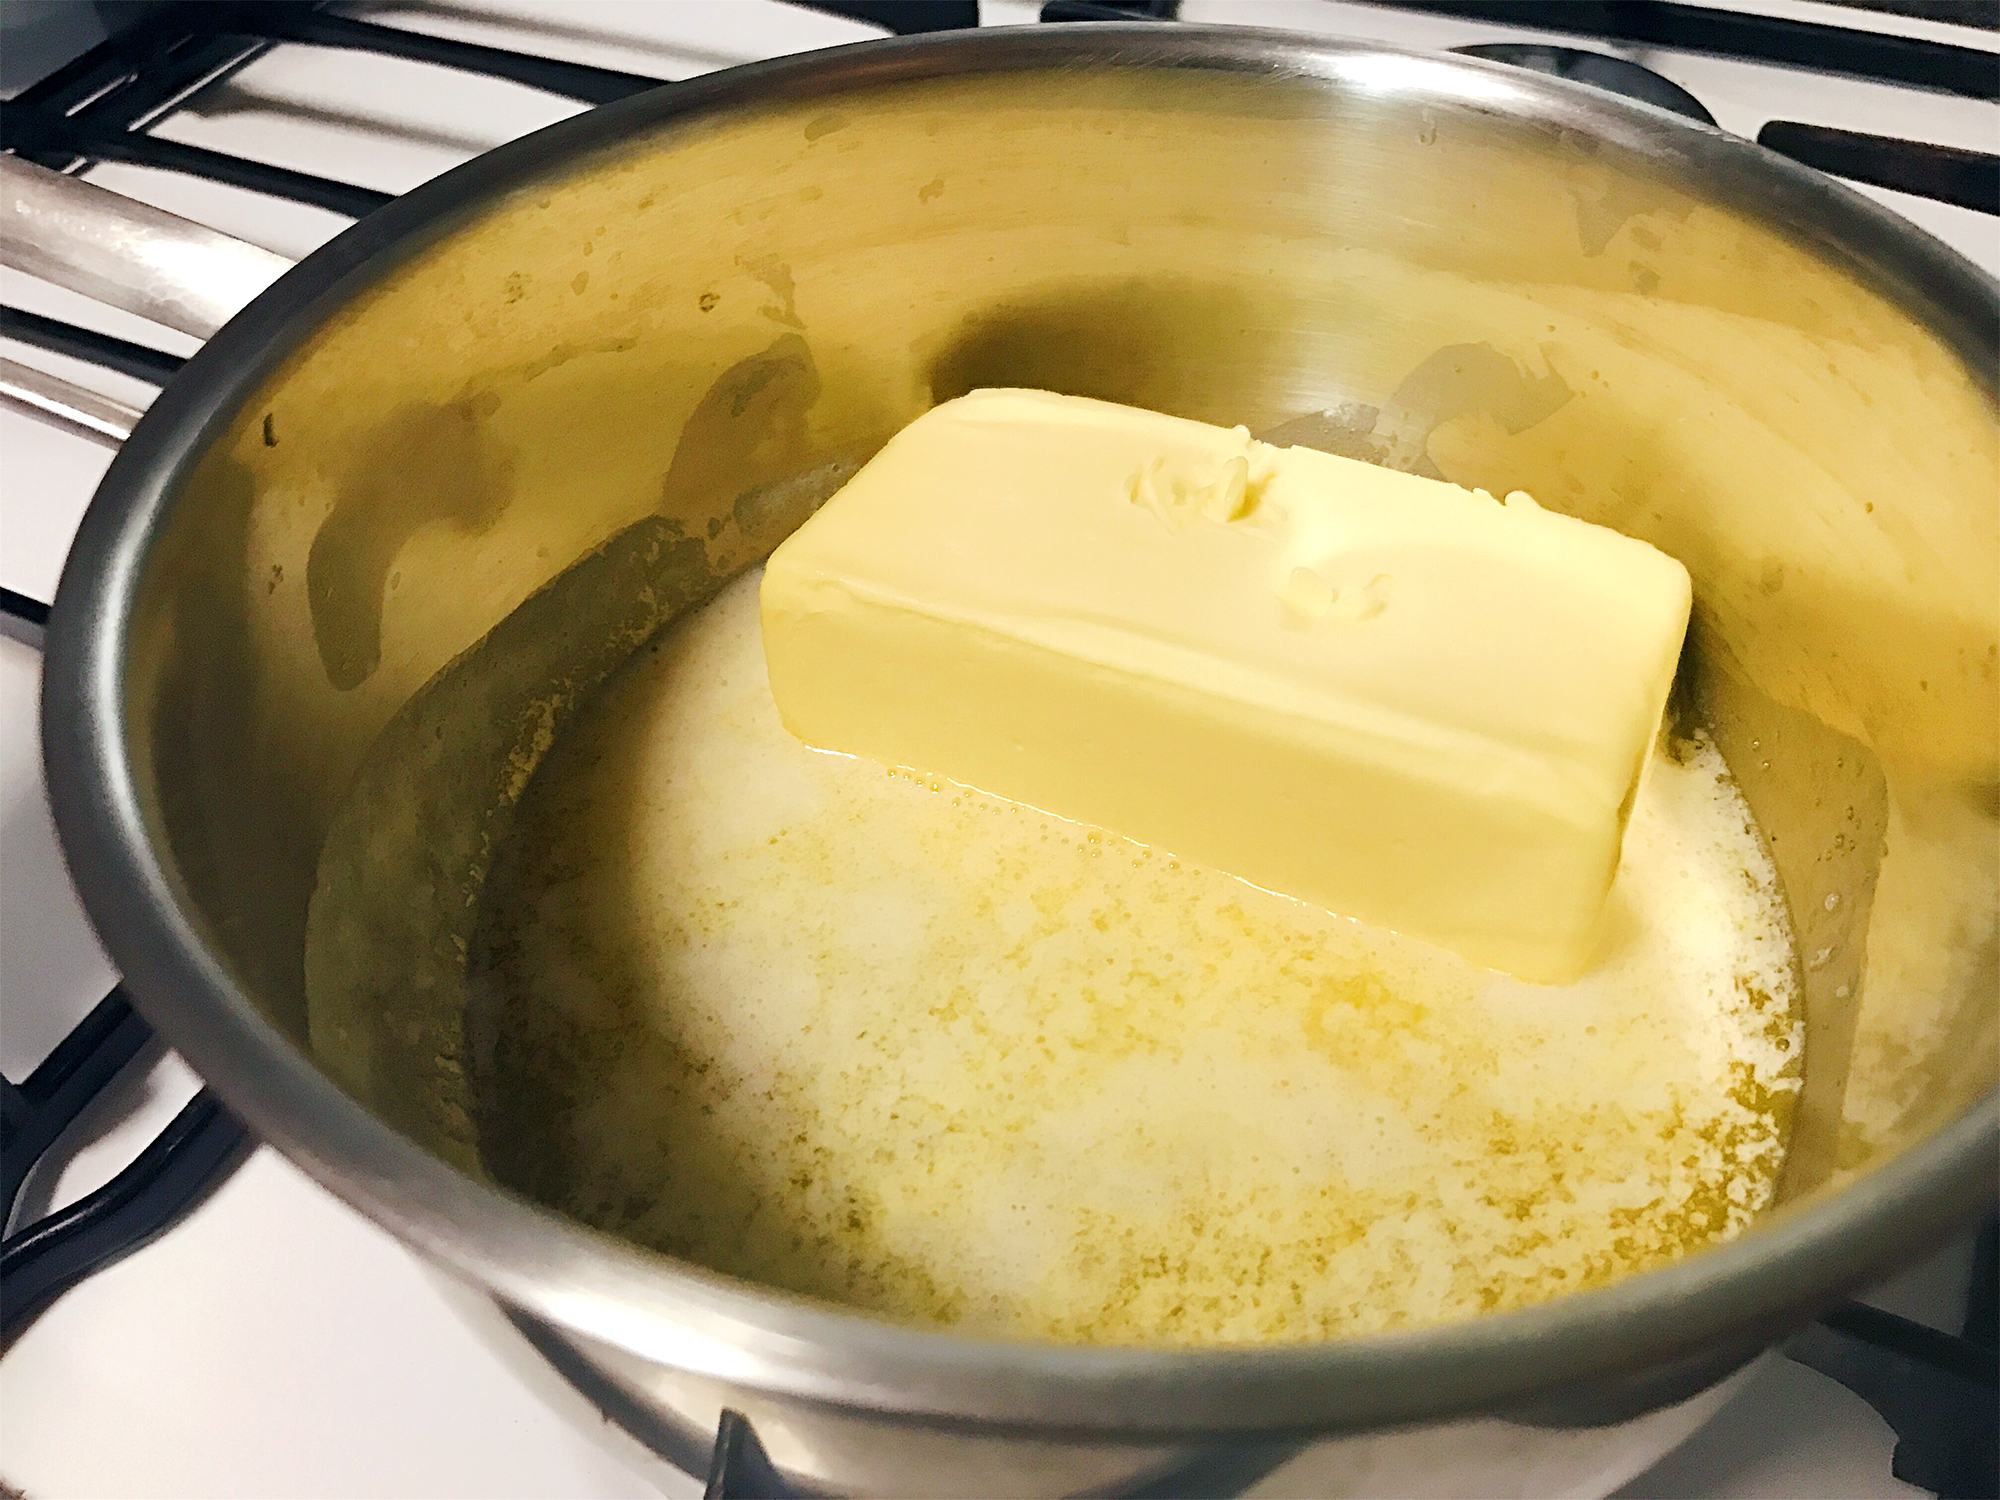
First you’ll need to brown your butter. If you can, brown your butter in a stainless steel pot so you can monitor the browning process. Most recipes call for unsalted butter but I usually use salted butter because it comes in a 250g slab as compared to the 227g slab of unsalted butter. For the same price, I can get extra 23g of butter, so why not? Plus, I personally like the hint of salt in my food.
Butter comprises 80-82% butterfat, 16-17% water and 1-2% milk proteins. When browning butter, the milk proteins are what become brown and the water will evaporate so you will end up with less butter than you had originally. So if a recipe calls for brown butter, remember to use at least 16% more butter for browning! I browned 250g of salted butter, so I ended up with about 210g of brown butter.
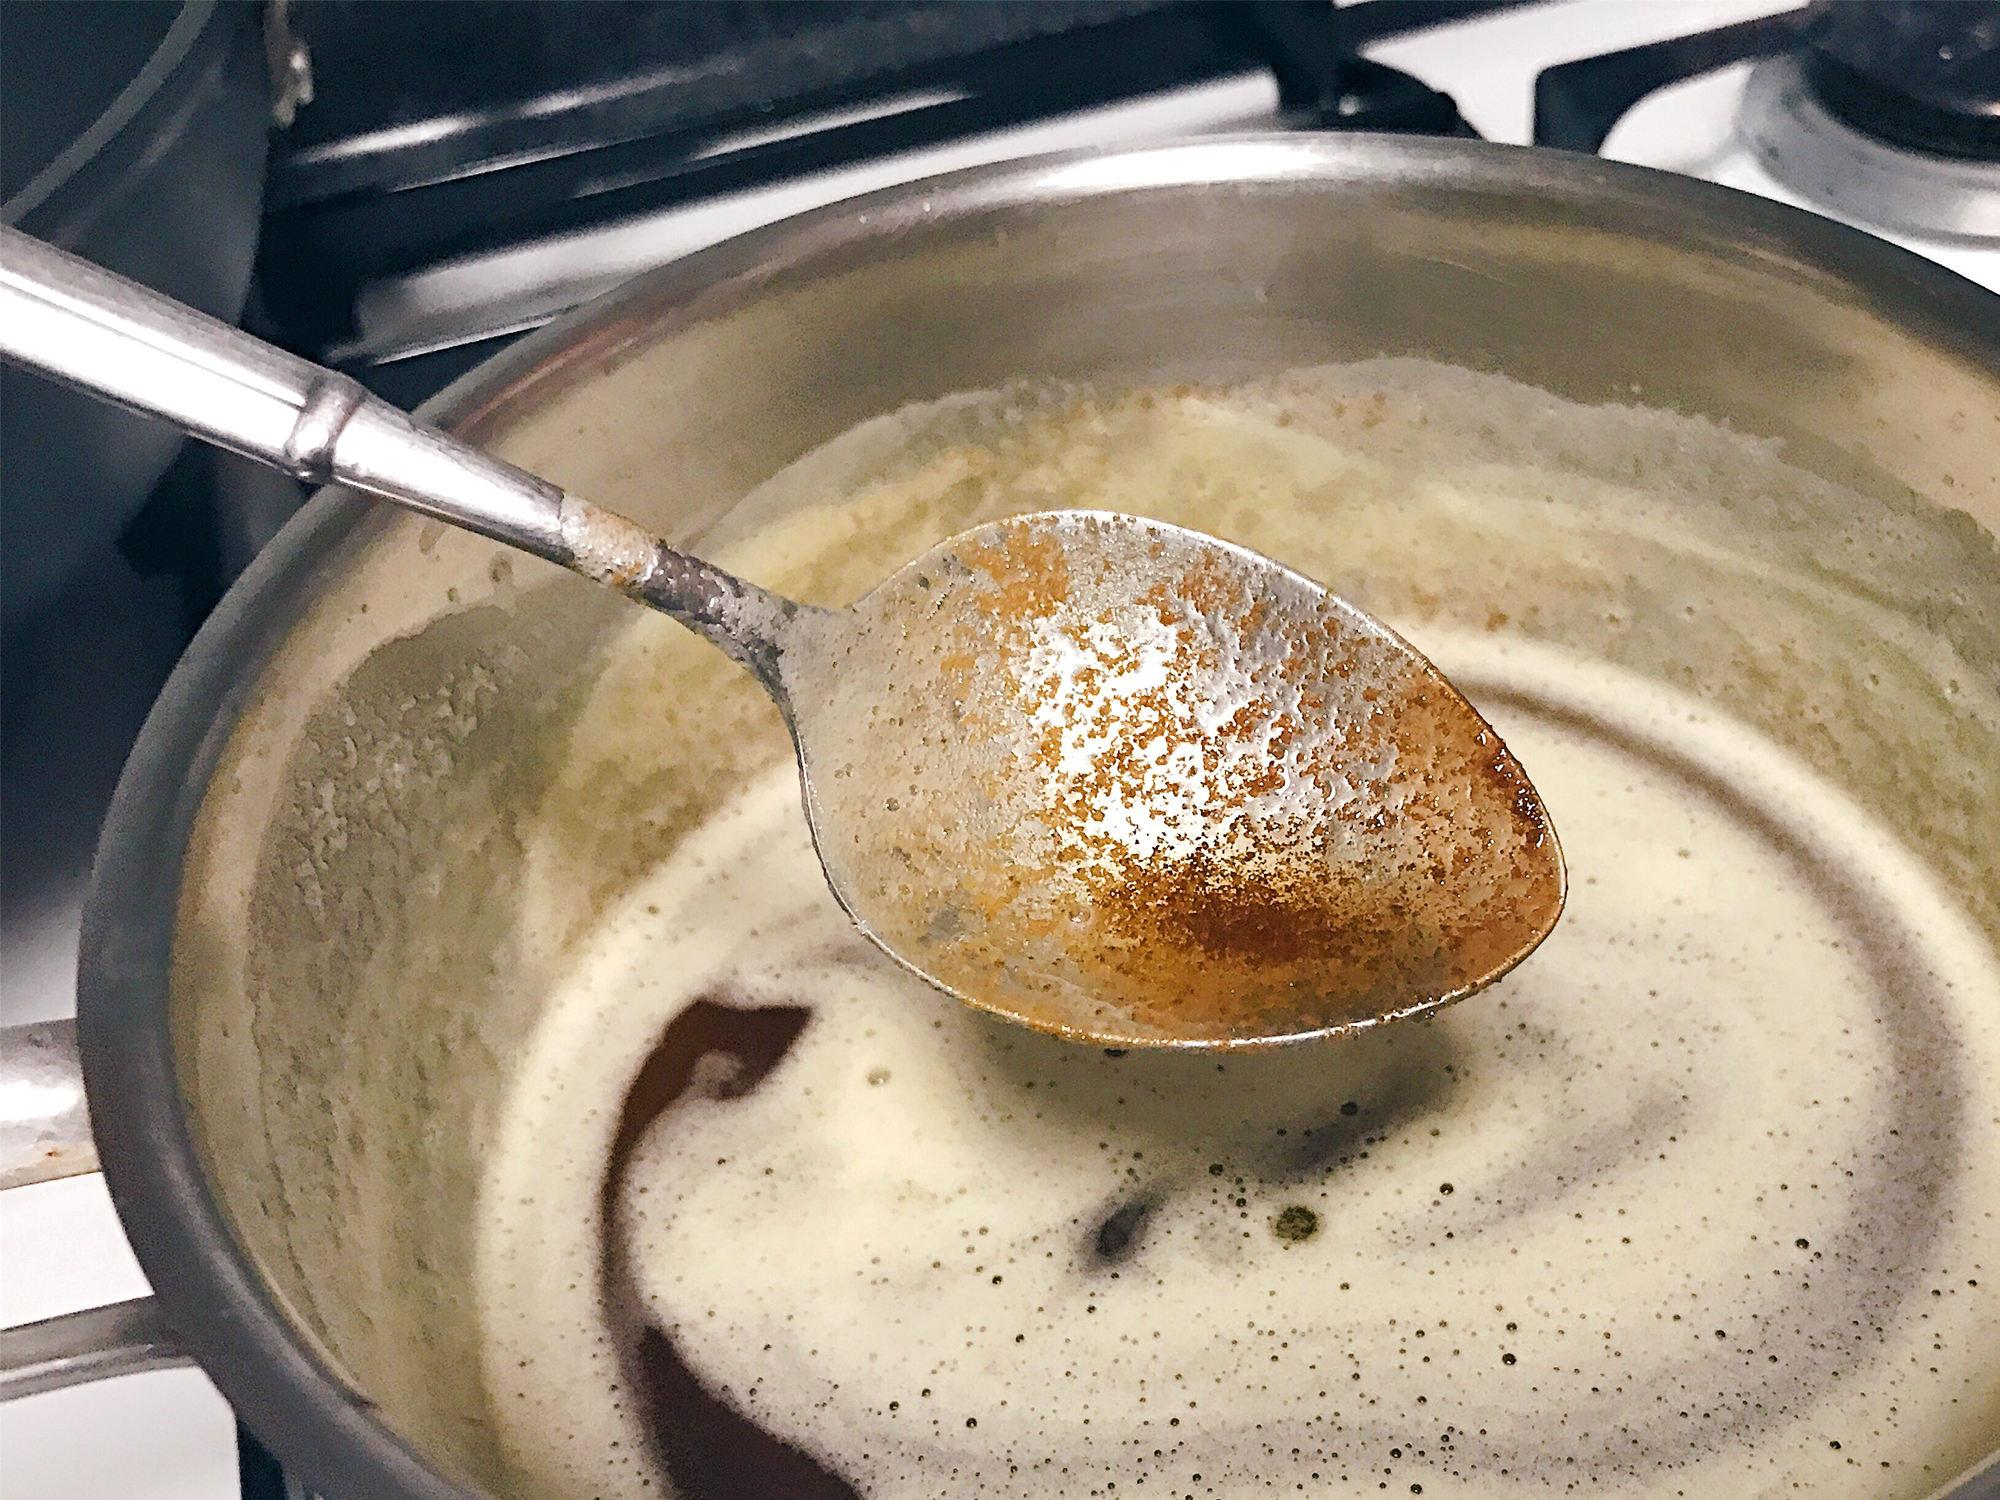
When you see many little brown solids aggregating at the bottom of the pan, the butter is done. Remove the pot from the heat quickly to prevent the butter from burning! At this point of time, your kitchen should smell fabulous.
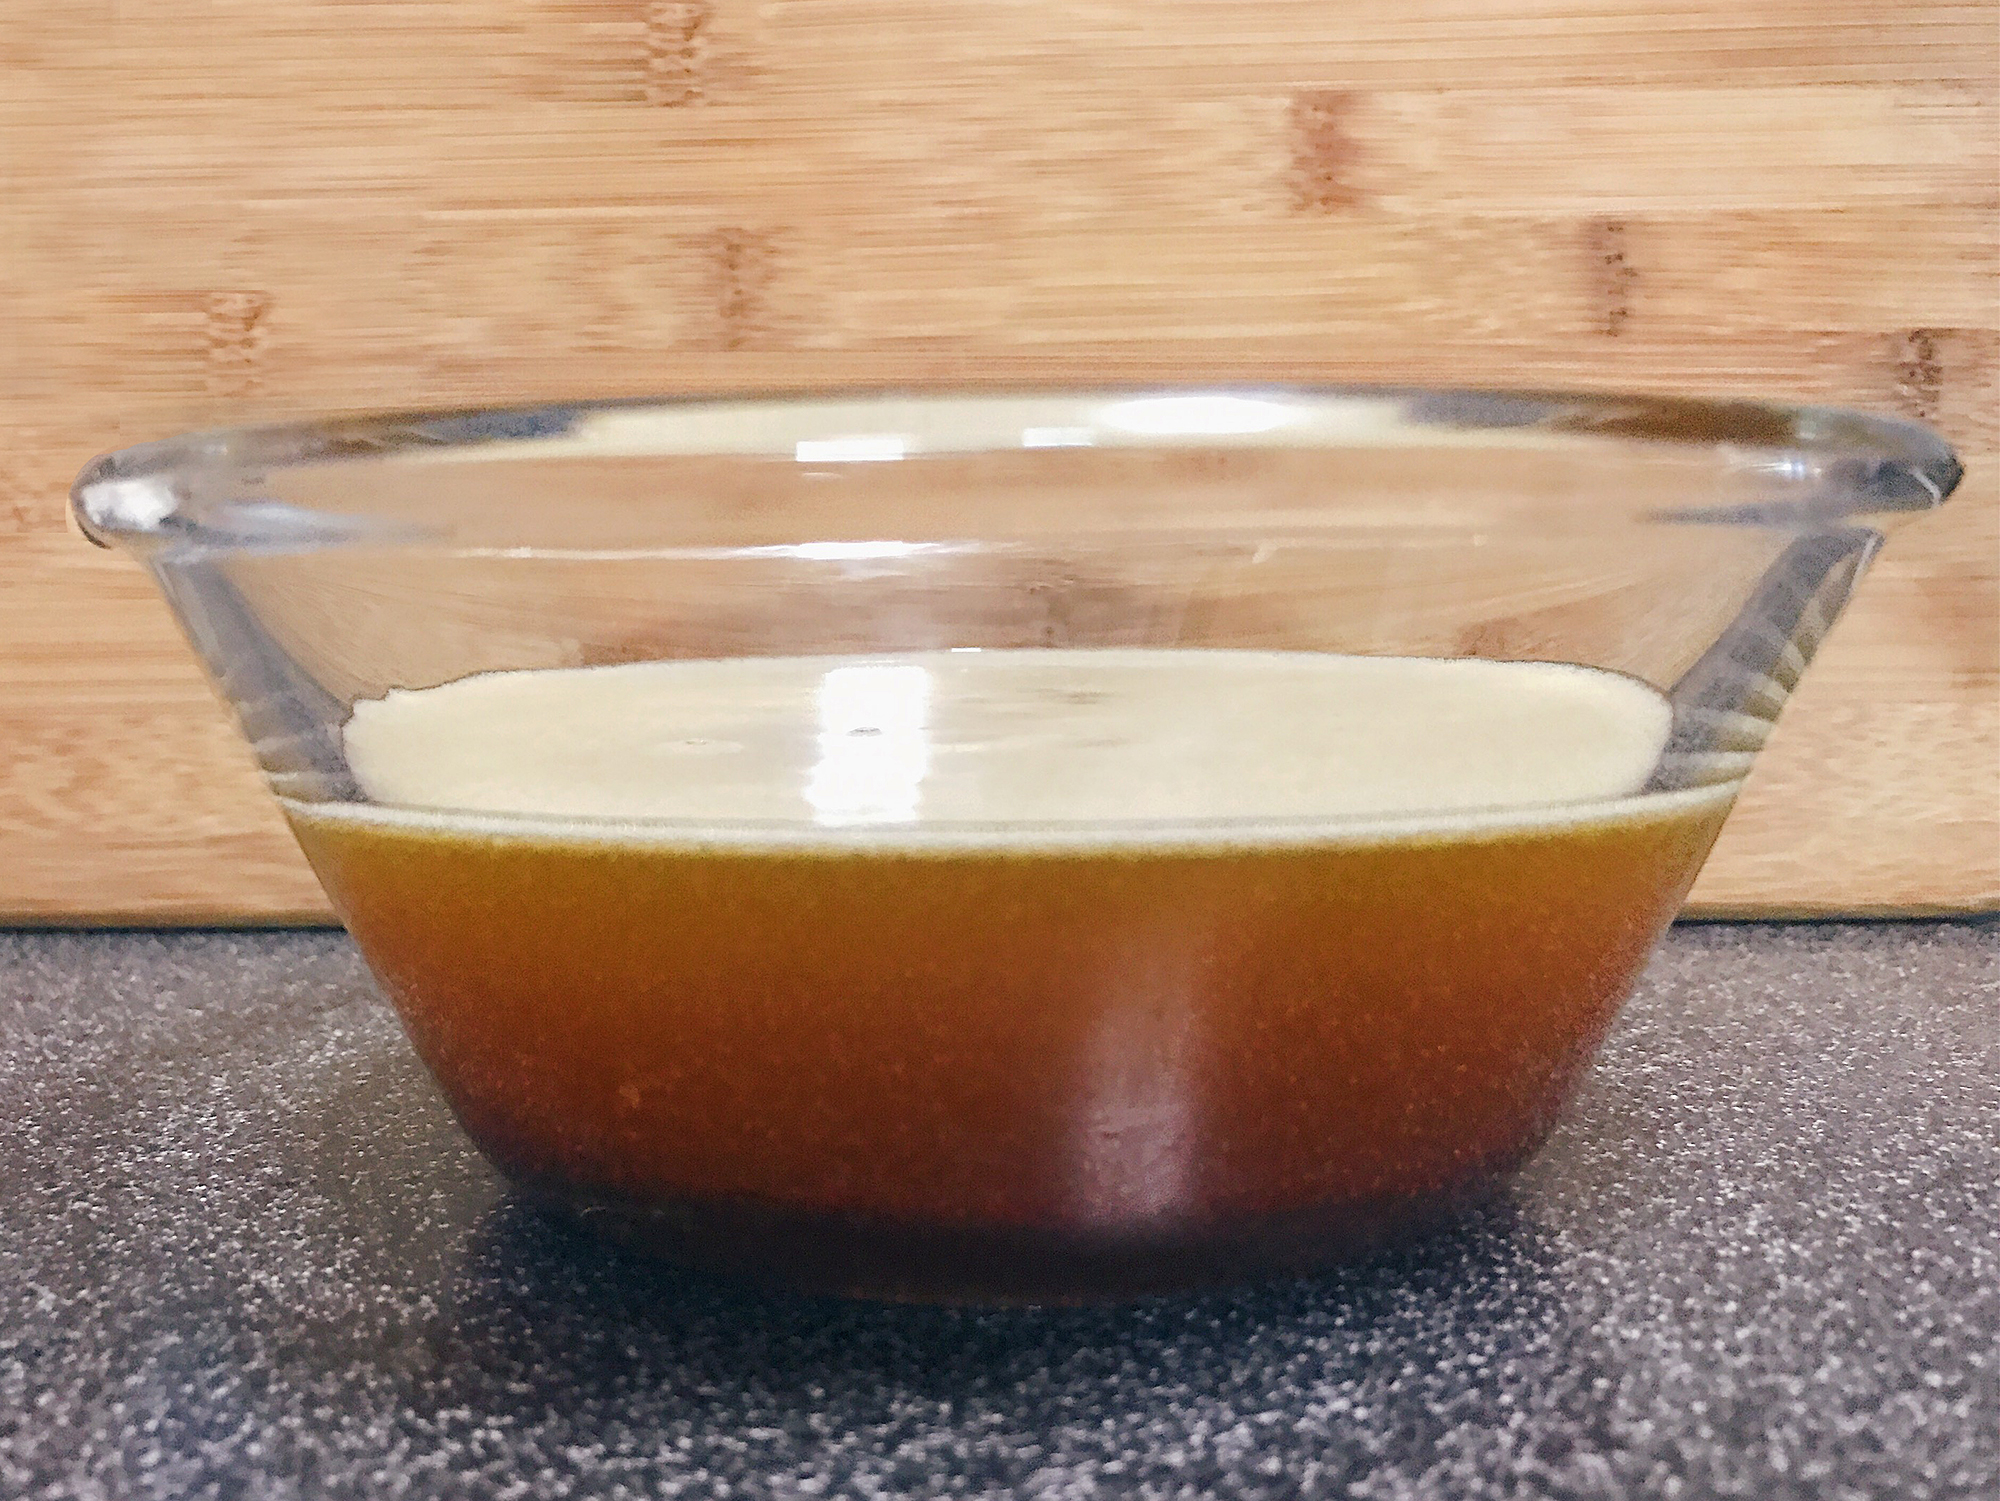
This is how my brown butter looks like. When making the cake, you’ll need to use softened butter so please keep your butter in the refrigerator for a few hours or overnight! It won’t work with melted butter.
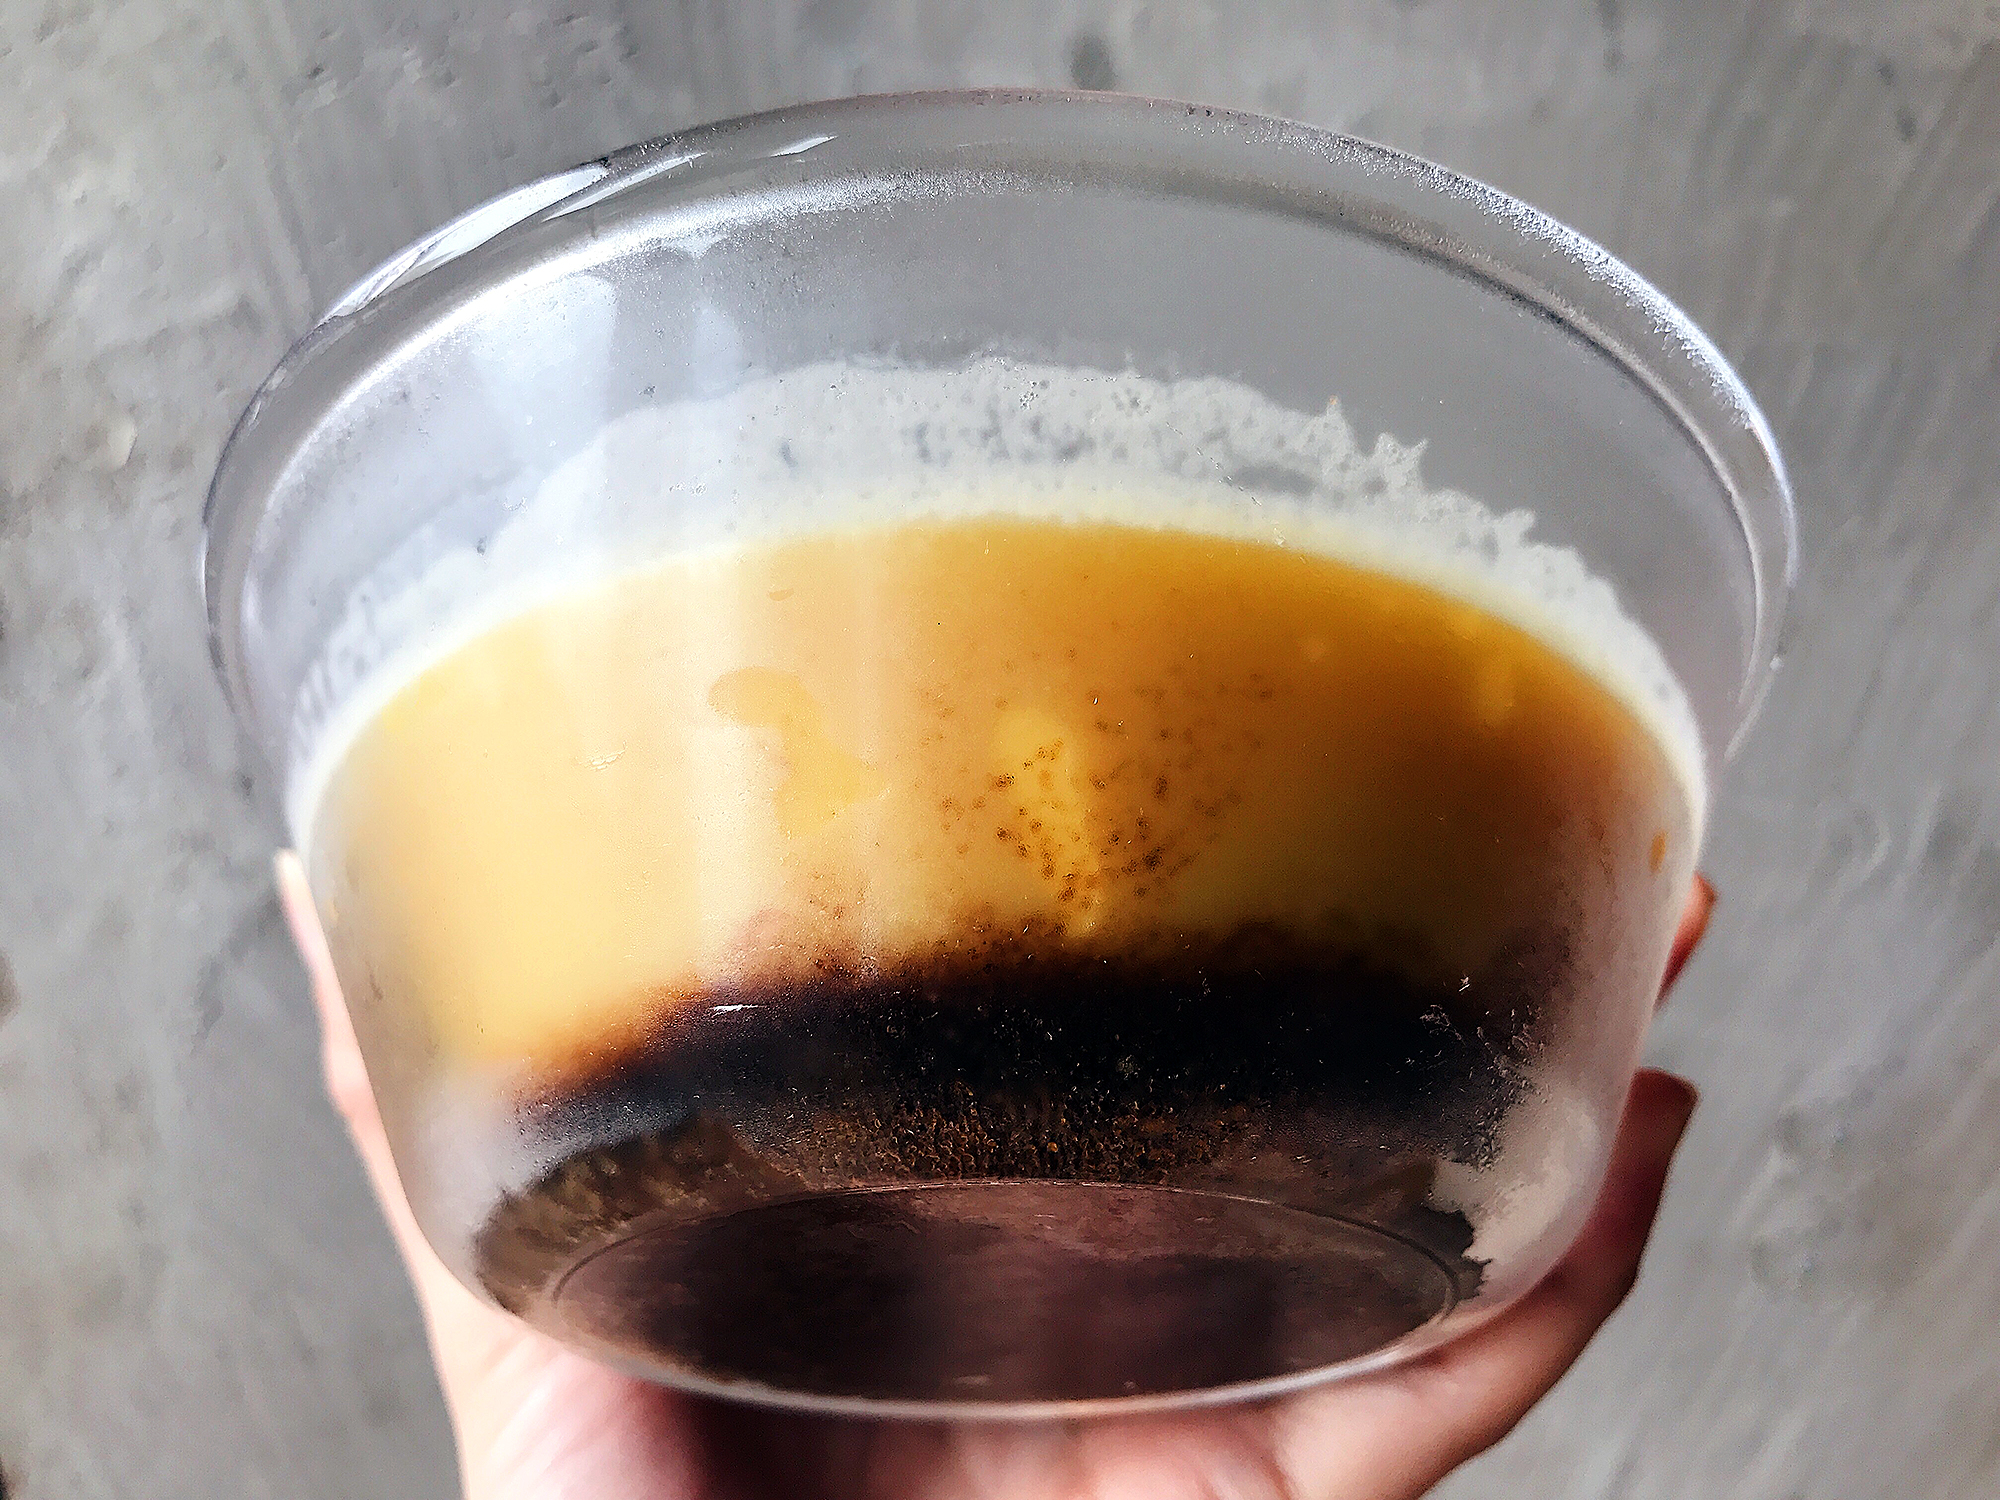
This is how it looks like after refrigerating.

These are the basic ingredients you’ll need – eggs, (brown) butter, sugar, self-raising flour and just a bit of baking powder for extra leavening. You’ll also need whipping cream and strawberries for the filling. Some important things to take note of: room temperature eggs, softened butter, clean and dry mixing bowl.

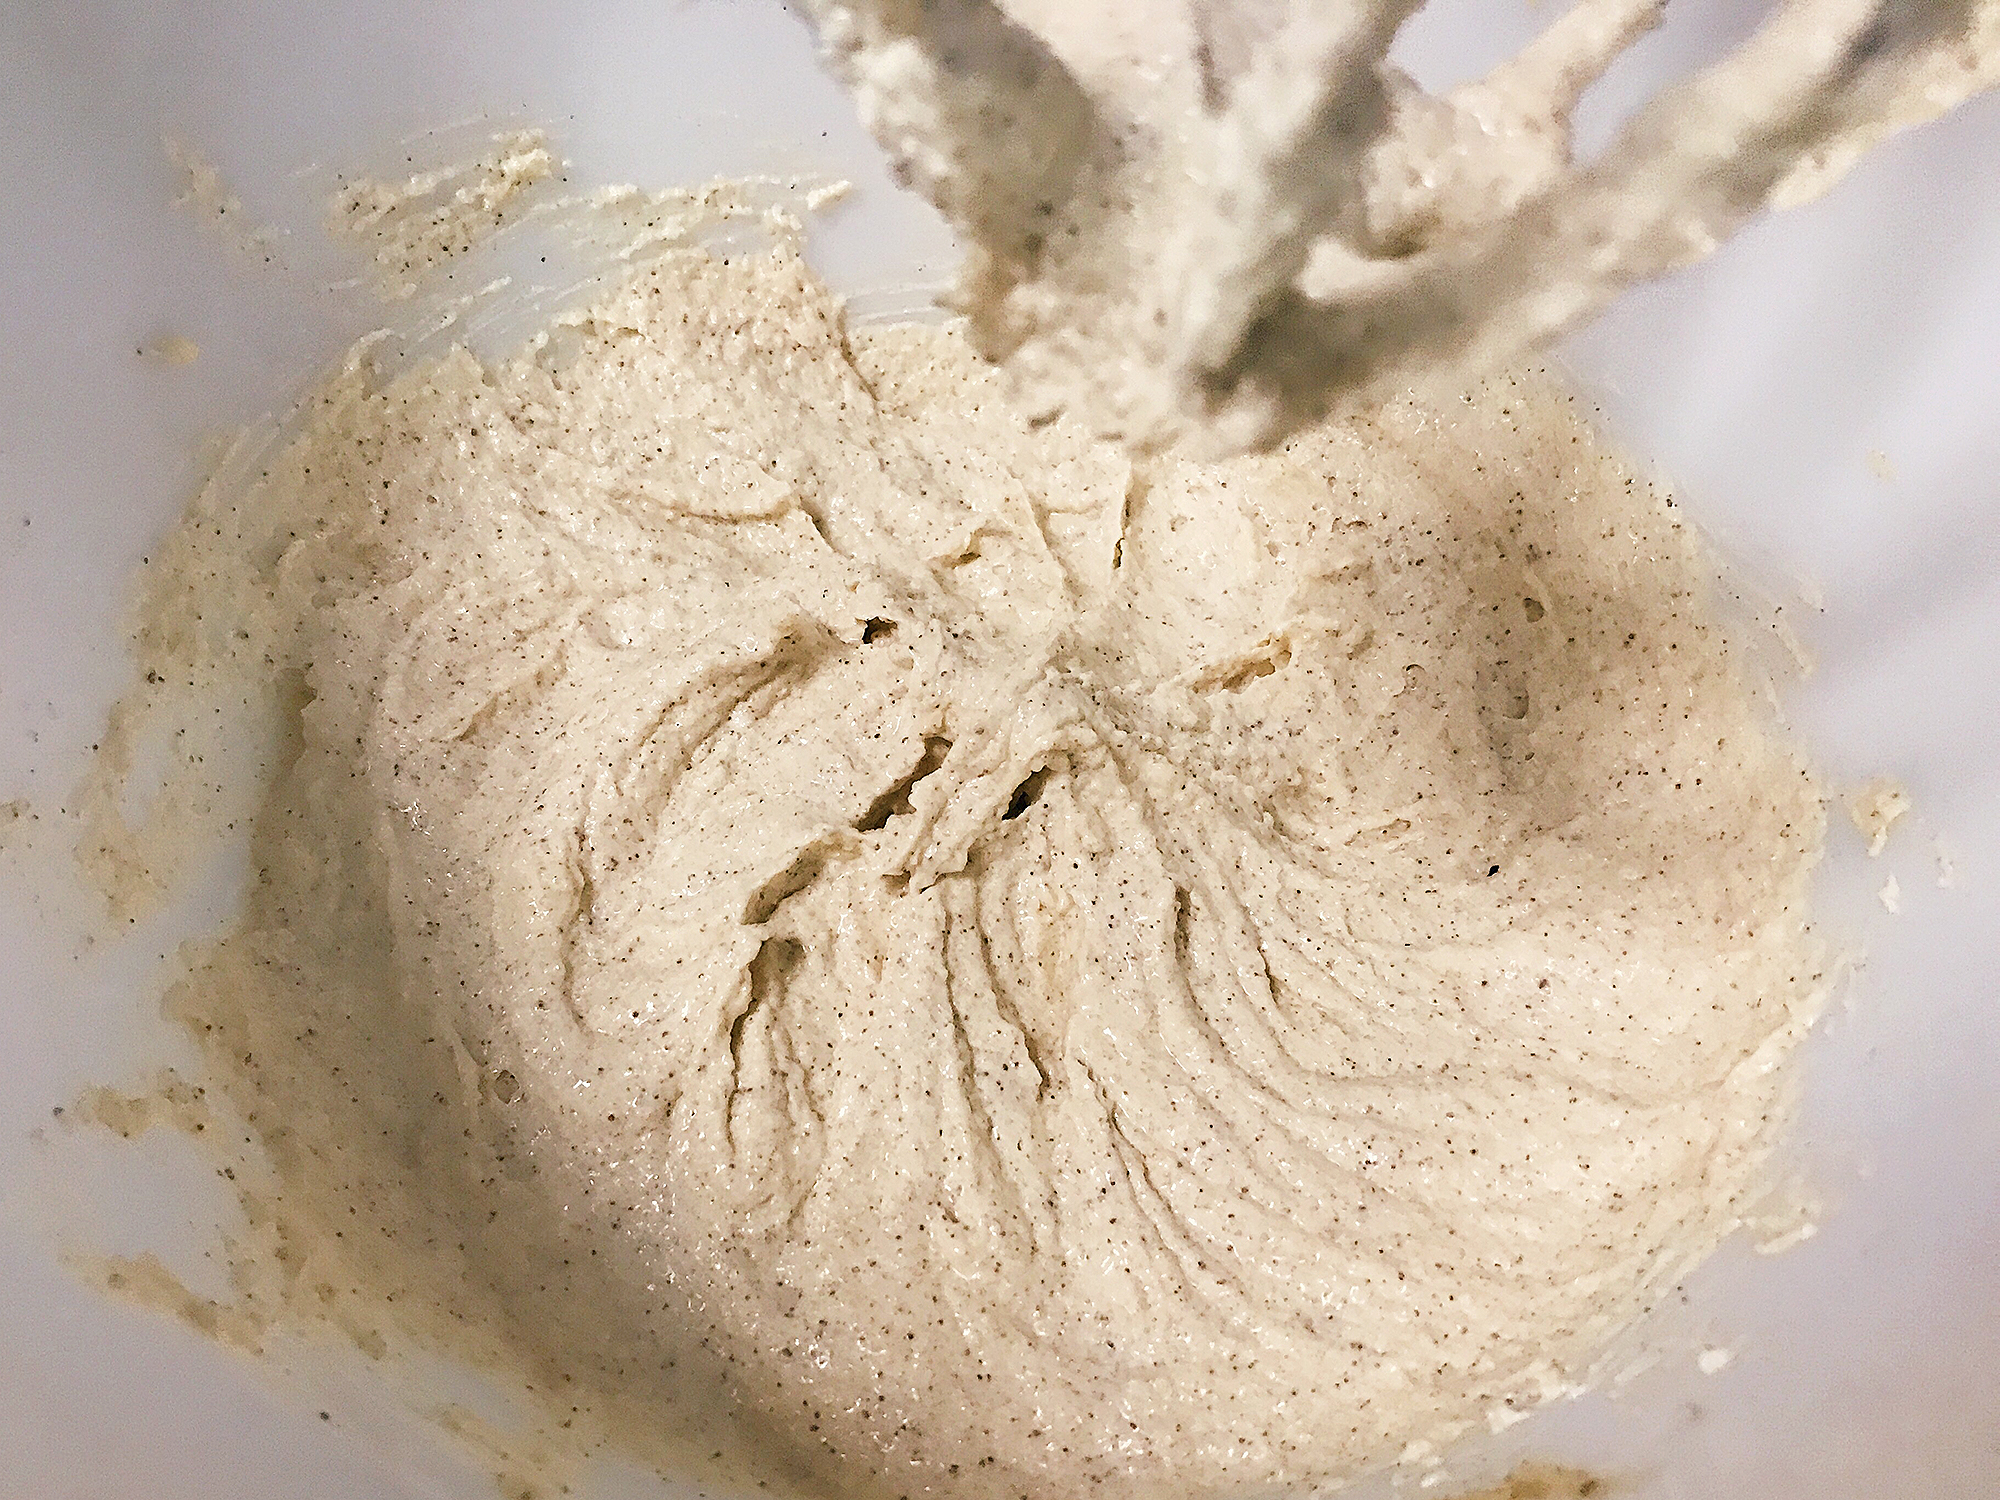
Beat the brown butter and sugar together till pale and fluffy.

Add eggs in, one at a time, and beat till evenly mixed.
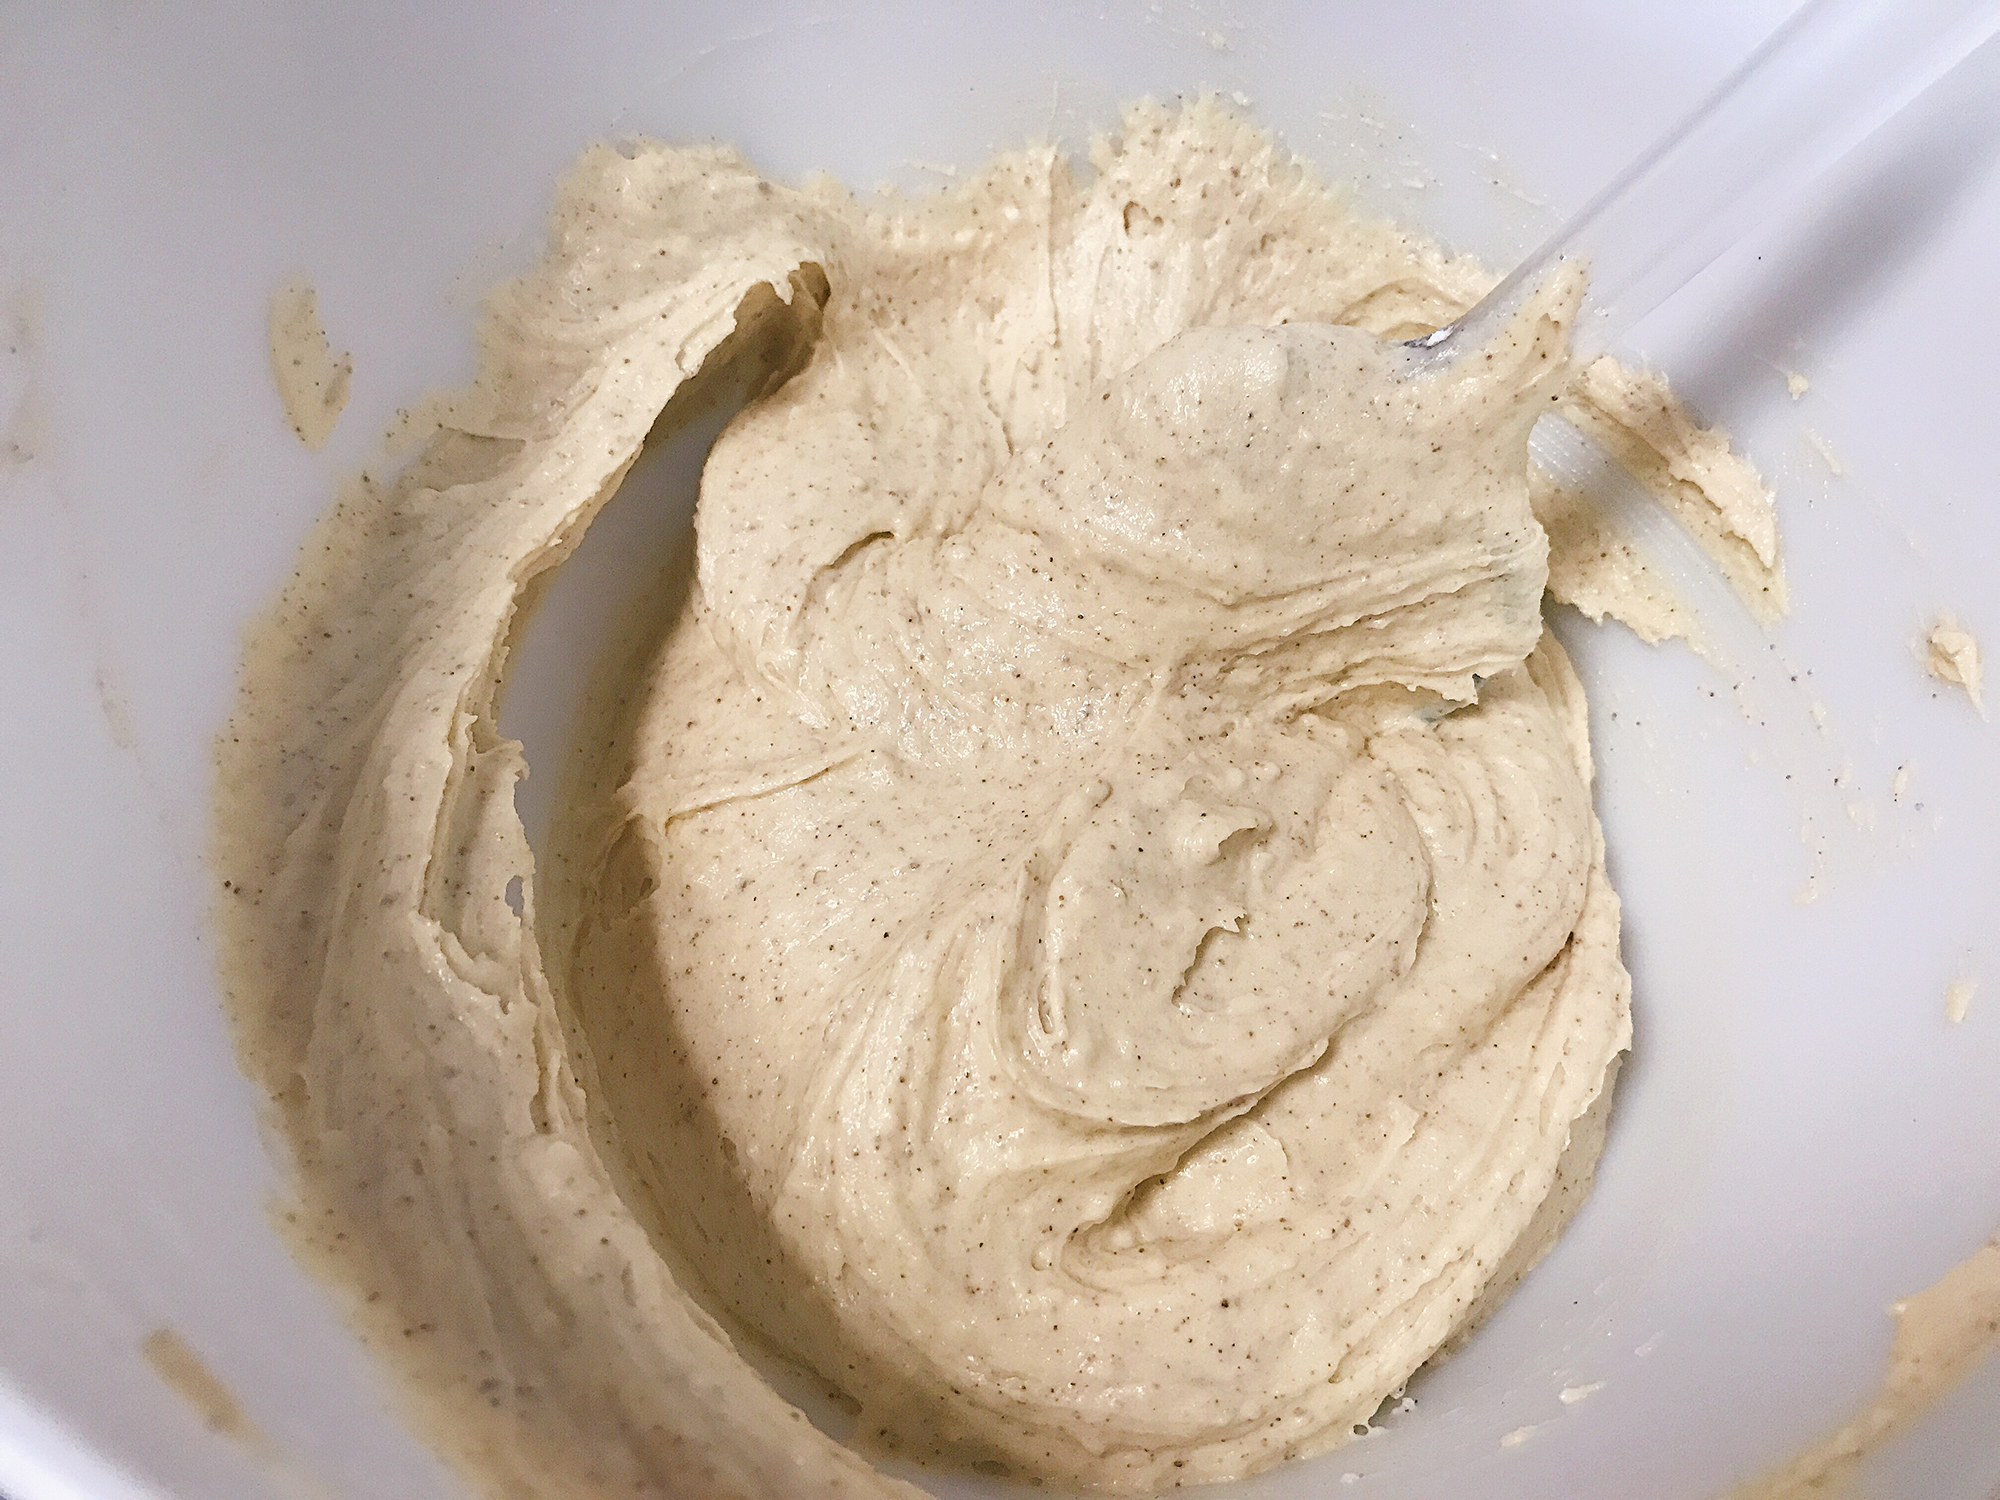
Add self-raising flour and baking powder in, and fold with a silicone spatula. Ensure all the flour is evenly mixed in!

Grease a cake tin with butter or oil, and dust with a coat of flour. This will ensure the cake doesn’t stick to the tin. I’m using a 20cm cake tin in my recipe.
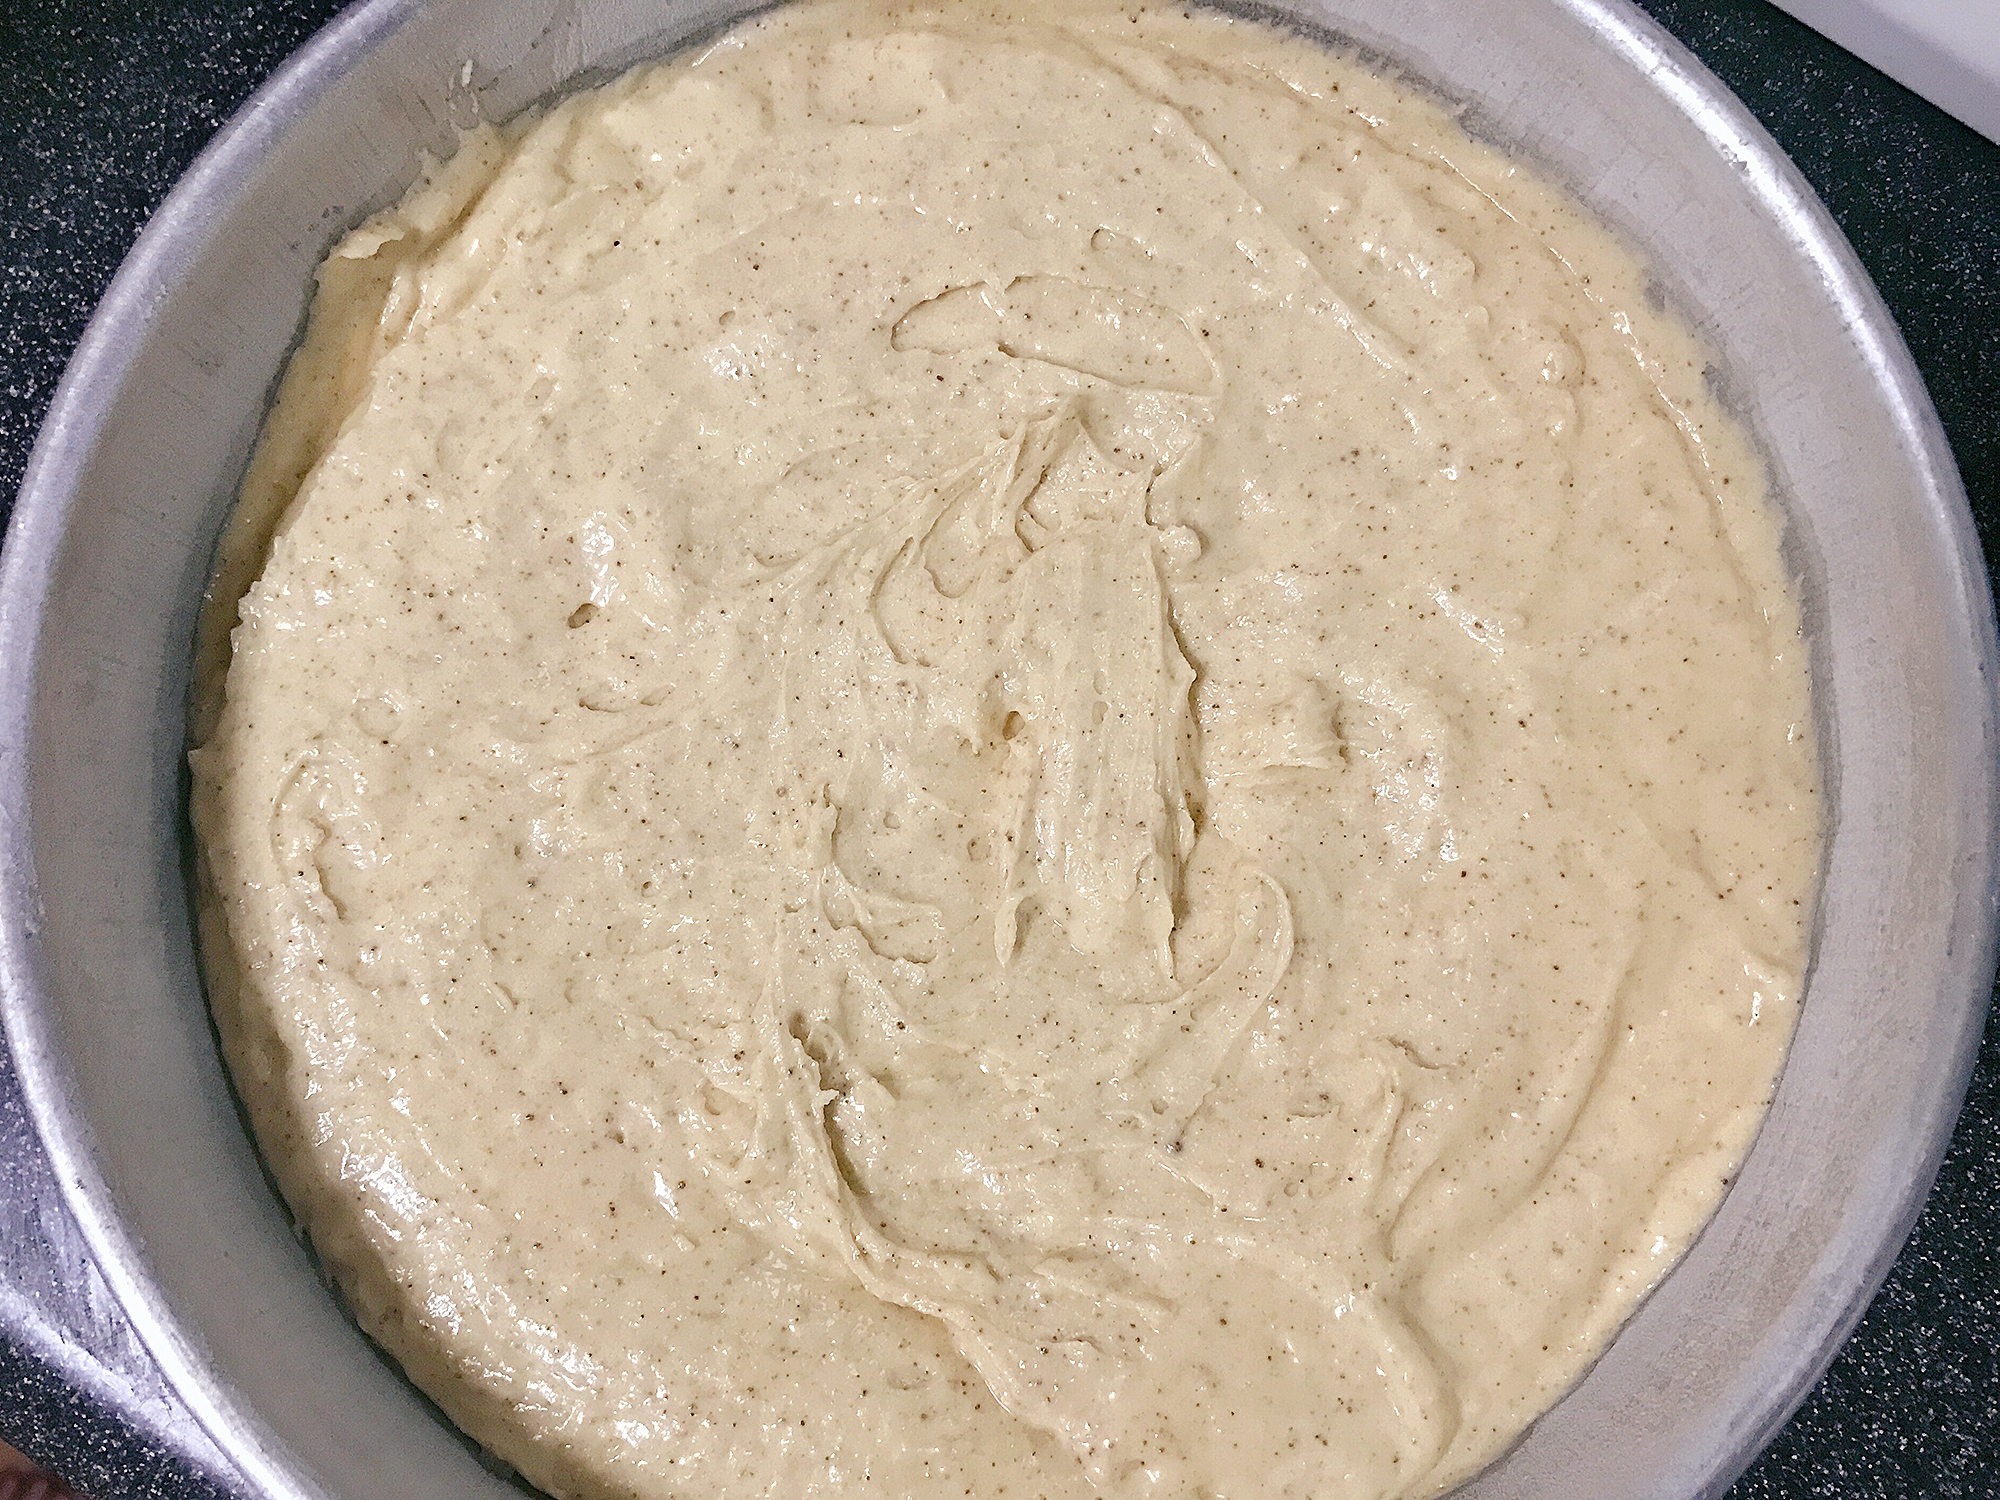
Add the cake batter into the tin and even out the batter. Tap the tin against the table to remove any trapped air bubbles. Then pop the cake into a pre-heated oven (180°C) and bake for around 40 minutes until fully baked. To check if cake is ready, poke a skewer into the centre of the cake and ensure that the skewer comes out clean.

Once the cake is done baking, remove it and let it cool down completely before slicing. Slice the cake to make two equal layers.

Time for the whipped cream! Add cold whipping cream, 1 tbsp of sugar and 1 tsp of vanilla extract into an electric mixer and beat till the cream forms firm peaks. Be careful not to over beat the cream otherwise it will become clumpy.
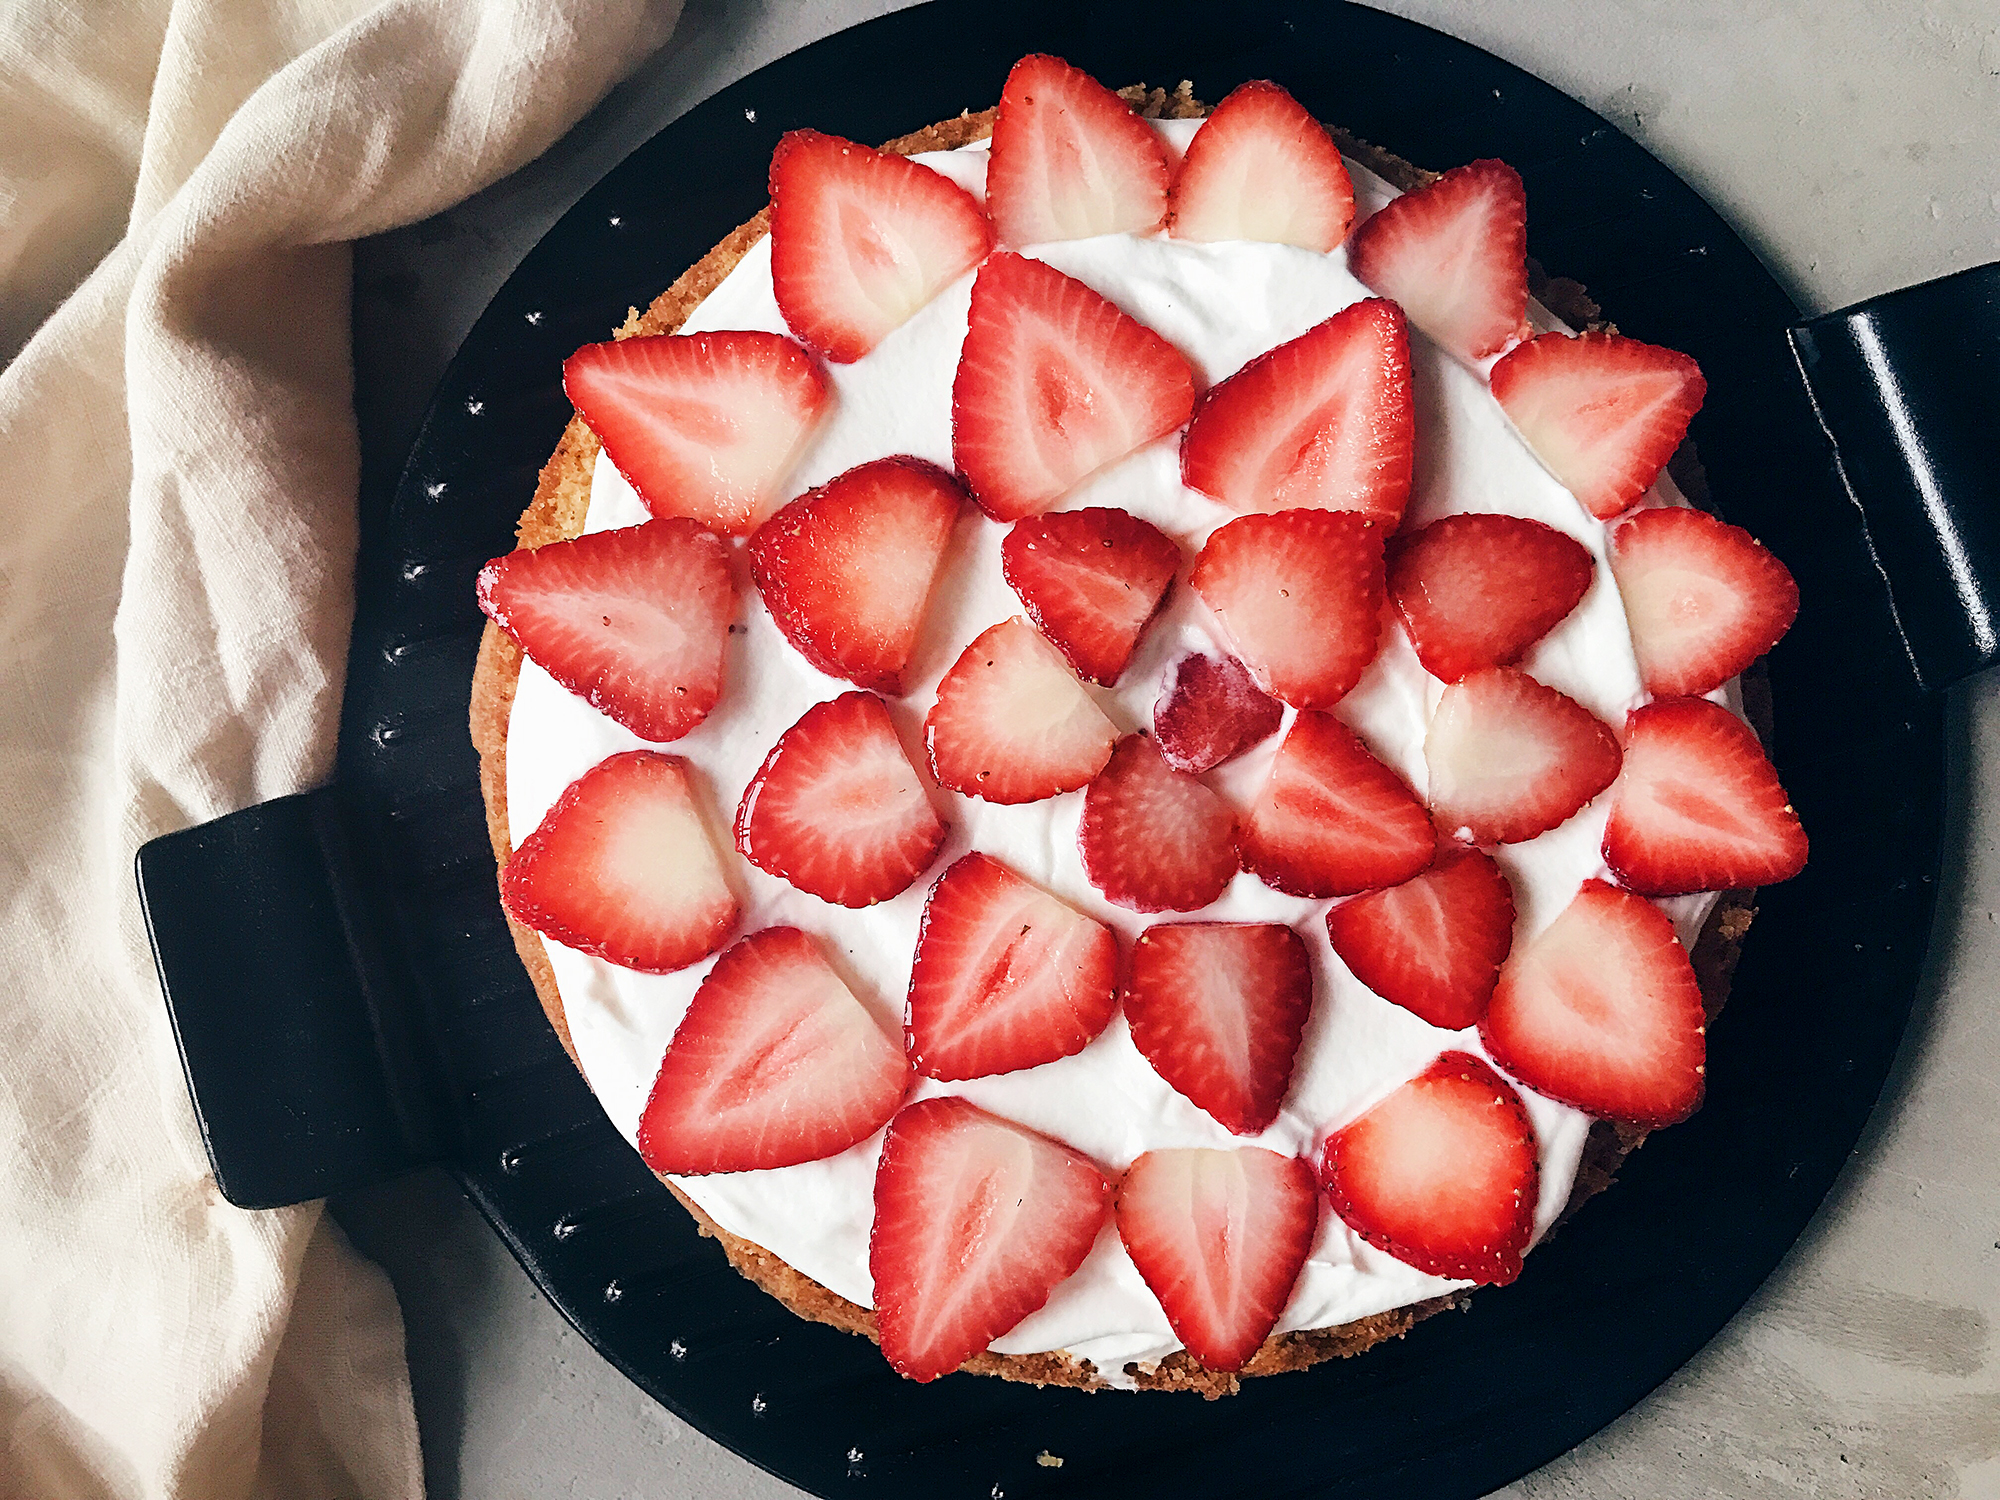
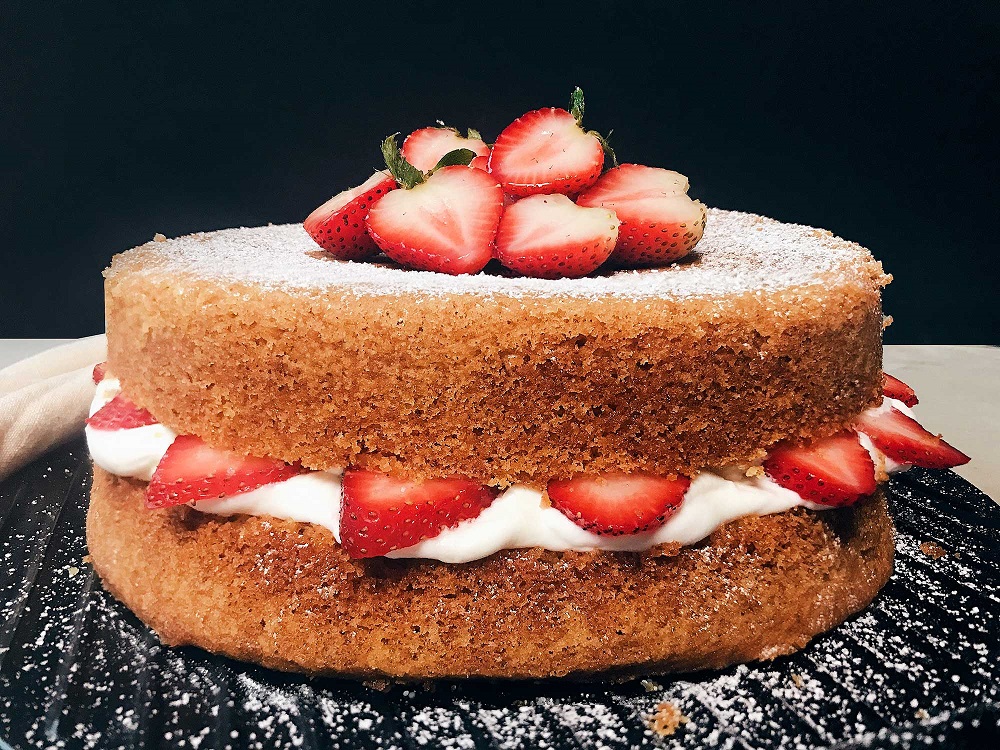
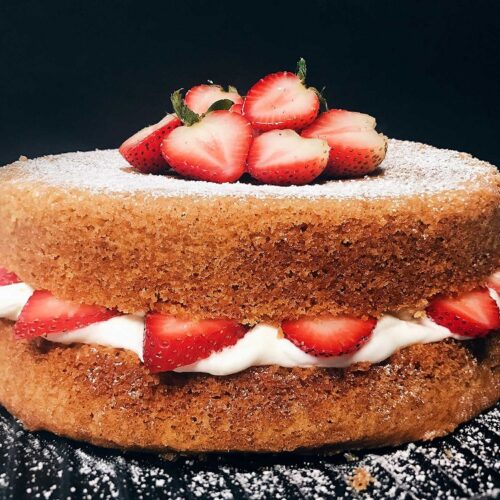
Spread the whipping cream onto the bottom layer and lay your strawberries on top in any manner you prefer. Then place the other layer on top and decorate with more strawberries and some icing sugar.
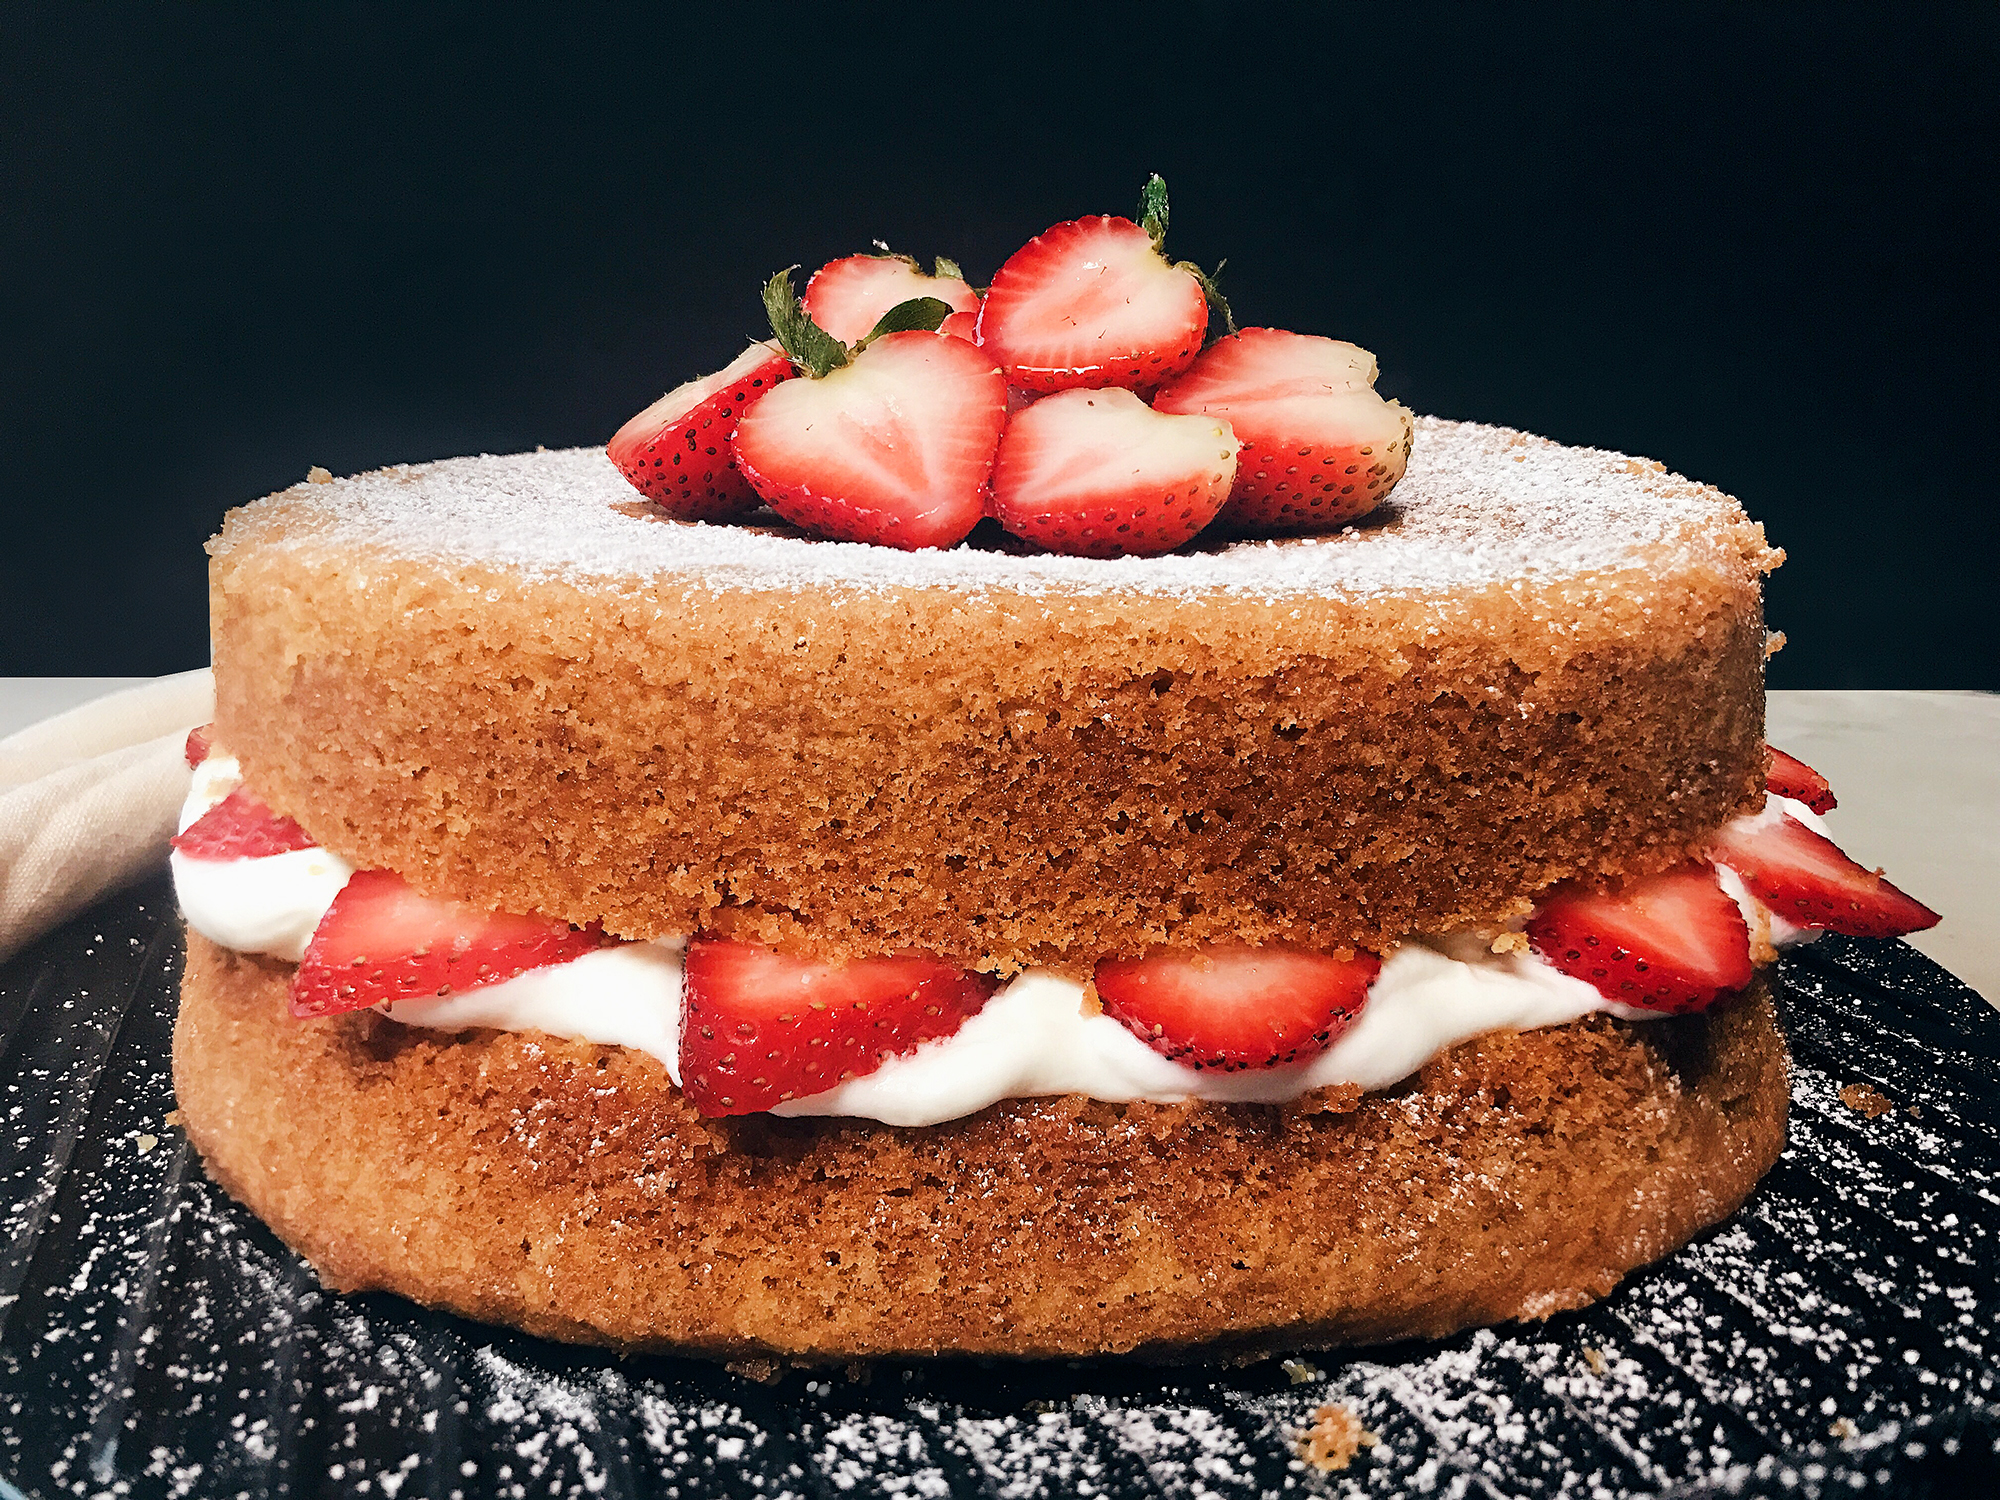

And tadahhhh~ You get a delicious snack perfect for tea break! The nutty, savoury tones of the butter cake go really well with the subtle sweetness of the whipped cream. You can also add strawberry or raspberry jam in between the layers if you want something more flavourful. I’m not sure how much an exact cake like this would cost outside but I guess it would be at least $35? Recently my friends and I bought a slice of cake from a particular shop and was shocked to see that it was $10 for just a slice! The entire cake was about $90. \(O_O)/ This really motivates me to make my own cakes in future. You should try making your own too!
Brown Butter Victoria Sponge Cake
Ingredients
- 3 jumbo eggs ($0.60)
- 210 g sugar ($0.319)
- 210 g brown butter ($5.15)
- 210 g self-raising flour ($0.577)
- 1 tsp baking powder ($0.077)
- 200 g strawberries ($4.52)
Whipped Cream
- 200 ml whipping cream ($2)
- 1 tbsp sugar ($0.019)
- 1 tsp vanilla extract ($0.27)
Instructions
- Preheat oven to 180°C.
- Cream softened brown butter and sugar in an electric mixer until pale and fluffy.
- Add eggs in, one by one, and beat till evenly mixed.
- Sieve in self-raising flour and baking powder, and fold in flour using a silicone spatula
- Grease a 22cm cake tin with butter and dust some flour. Pour cake batter into tin and place tin in oven to bake for about 40 minutes until cake is fully baked. To check if cake is ready, poke a skewer through the centre of the cake and see if the skewer comes out clean.
- Remove cake from oven once fully baked. Let cake to cool down fully before slicing into two equal layers.
- Meanwhile, add cold whipping cream, sugar and vanilla extract into an electric mixer and beat until firm peaks form. Be careful not to over beat the cream.
- Spread whipped cream onto the bottom cake layer and top with some sliced strawberries. Place the other cake layer on top and decorate with more strawberries and some icing sugar.